
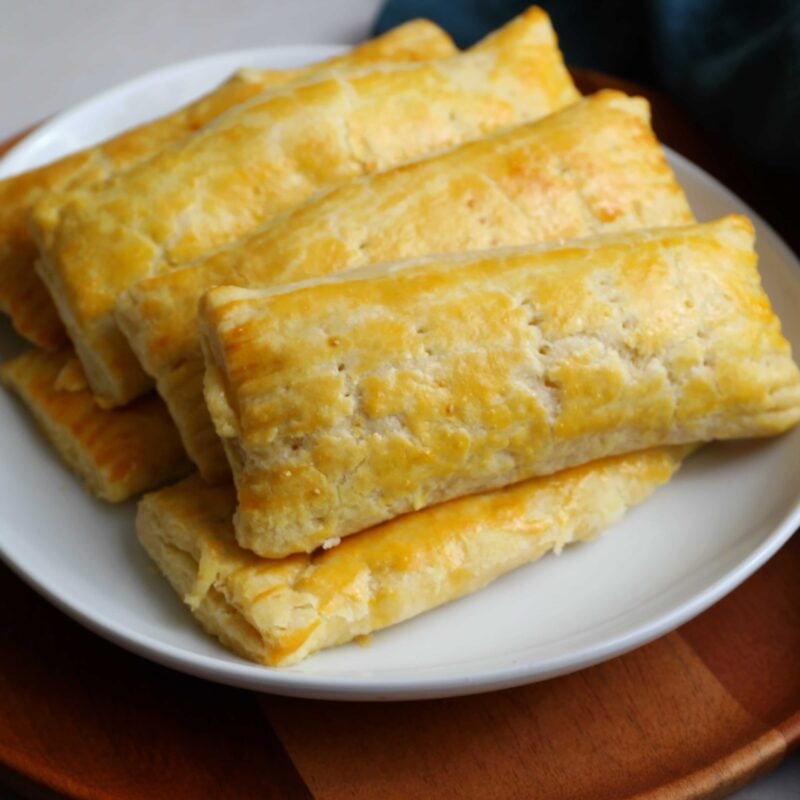
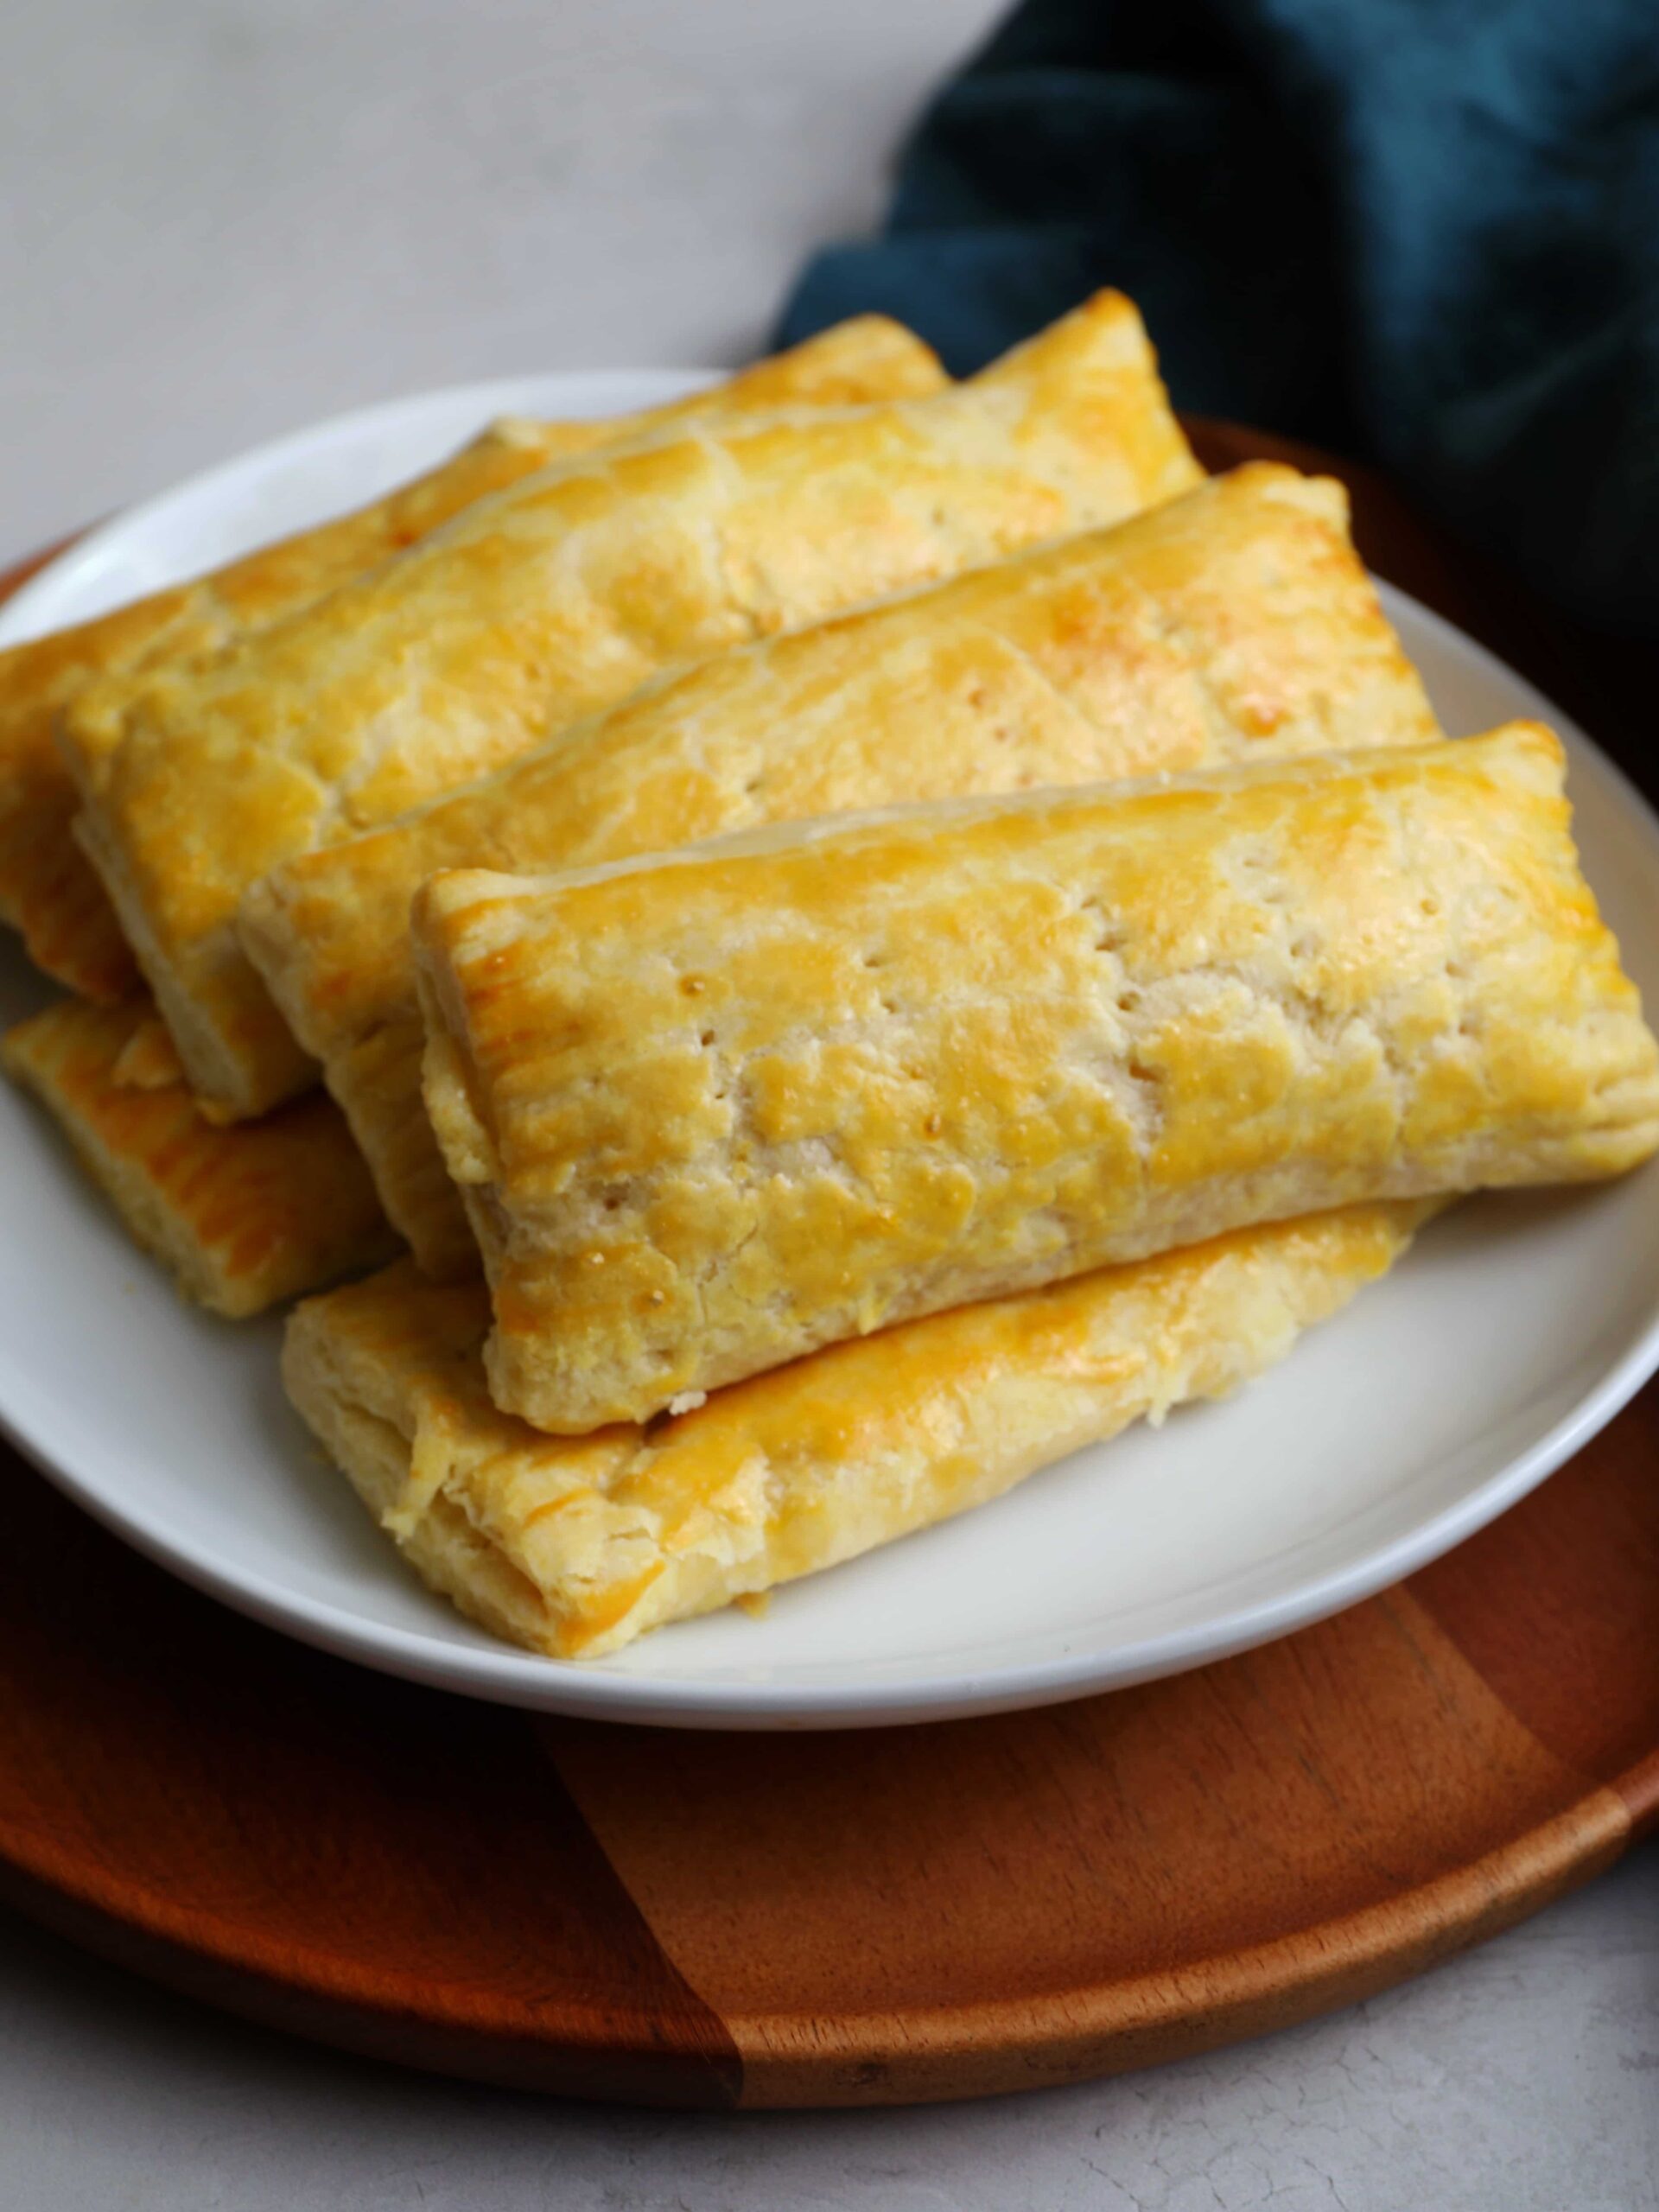
Guyanese Cheese Rolls are buttery, flaky shortcrust pastries stuffed with a savory cheddar cheese filling. They are a staple in Guyanese homes and can be eaten as an anytime snack or for breakfast or lunch.

Guyanese Cheese Rolls
Guyanese cheese rolls are a play on British Cheese and Onion pasty, a hand pie stuffed with a savory cheese filling. Similarly Guyanese cheese rolls are filled with a savory sharp cheddar cheese filling.
Eating Cheese Rolls in Guyana
Cheese rolls take me right back to high school when the best cheese rolls came in a white plastic bag from the school canteen. There was a trick to eating Jerrie’s cheese rolls––you simply kept the entire cheese roll in that white plastic bag it came in, carefully taking little bites, until all that flaky cheesy goodness was gone. This was the only way to avoid getting pastry flakes all over your hands and school uniform.
- Guyanese Cheese Rolls
- Eating Cheese Rolls in Guyana
- Why You’ll Love This Guyanese Cheese Rolls Recipe
- Guyanese Cheese Roll Ingredients
- How to Make Guyanese Cheese Rolls
- How to Shape Guyanese Cheese Rolls
- Substitutions & Variations
- Equipment
- Storage
- Tips for the Best Guyanese Cheese Rolls
- Frequently Asked Questions
- Guyanese Cheese Roll
Now I make my own flaky and equally delicious cheese rolls. My son always asks for a bowl to catch the flakes, then at the end, he empties the bowl into his mouth because as he puts it, he doesn’t want to waste any of it.
Why You’ll Love This Guyanese Cheese Rolls Recipe
- Easy Prep: The rolls are made with simple ingredients and with easy-to-follow instructions, making them is a breeze.
- Great for Any Occasion: Indulge any time of the day and serve them as an appetizer at any gathering. They are also a convenient treat to eat on the go.
- Versatile: The cheese filling goes so well with other ingredients. Get creative with delicious additions!
Guyanese Cheese Roll Ingredients
This cheese rolls recipe comes together with some pantry staples so you can enjoy this whenever the craving strikes!
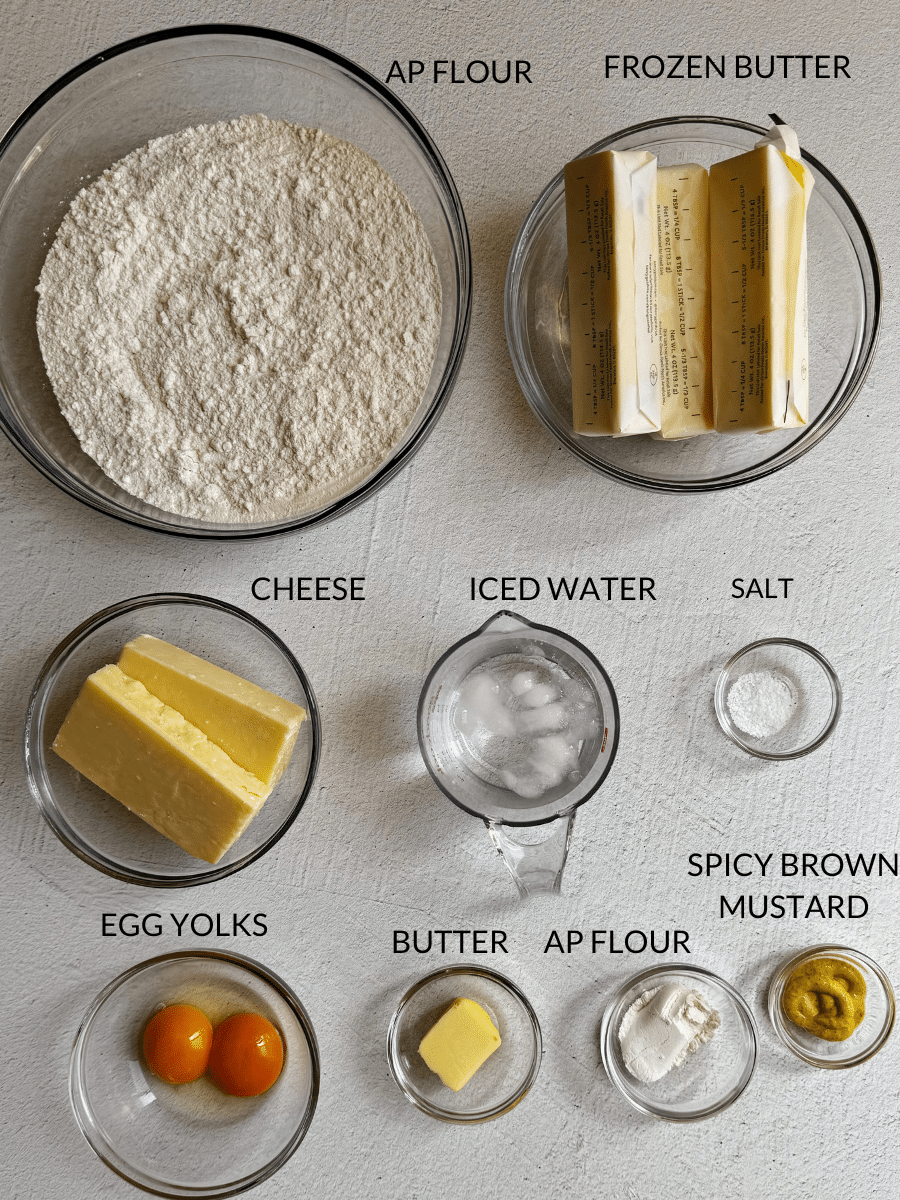
For the Pastry Dough
- All Purpose Flour: This is the primary ingredient and is the foundation of the dough.
- Butter: Frozen butter works best for this recipe.
- Ice cold water: This binds the ingredients together.
- Pinch of salt: Only use this if you are using unsalted butter.
For the Filling
- Extra sharp cheddar cheese: I used an aged cheddar and find that the sharper the cheese, the better the cheese roll tastes.
- Spicy brown mustard: Add this for a zesty kick of flavor.
- Butter: For taste.
- Flour: This thickens the mixture.
- Wiri wiri pepper: Remove the seeds and veins. I add pepper to my cheese for the flavor. Removing the veins and the seeds removes the heat of the pepper.
- Cold water: Apply this to the assembled rolls with a pastry brush to seal the edges of the cheese rolls.
- Beaten egg yolks: This adds a golden brown color to the crust.
See recipe card for quantities.
How to Make Guyanese Cheese Rolls

Make the Pastry Dough
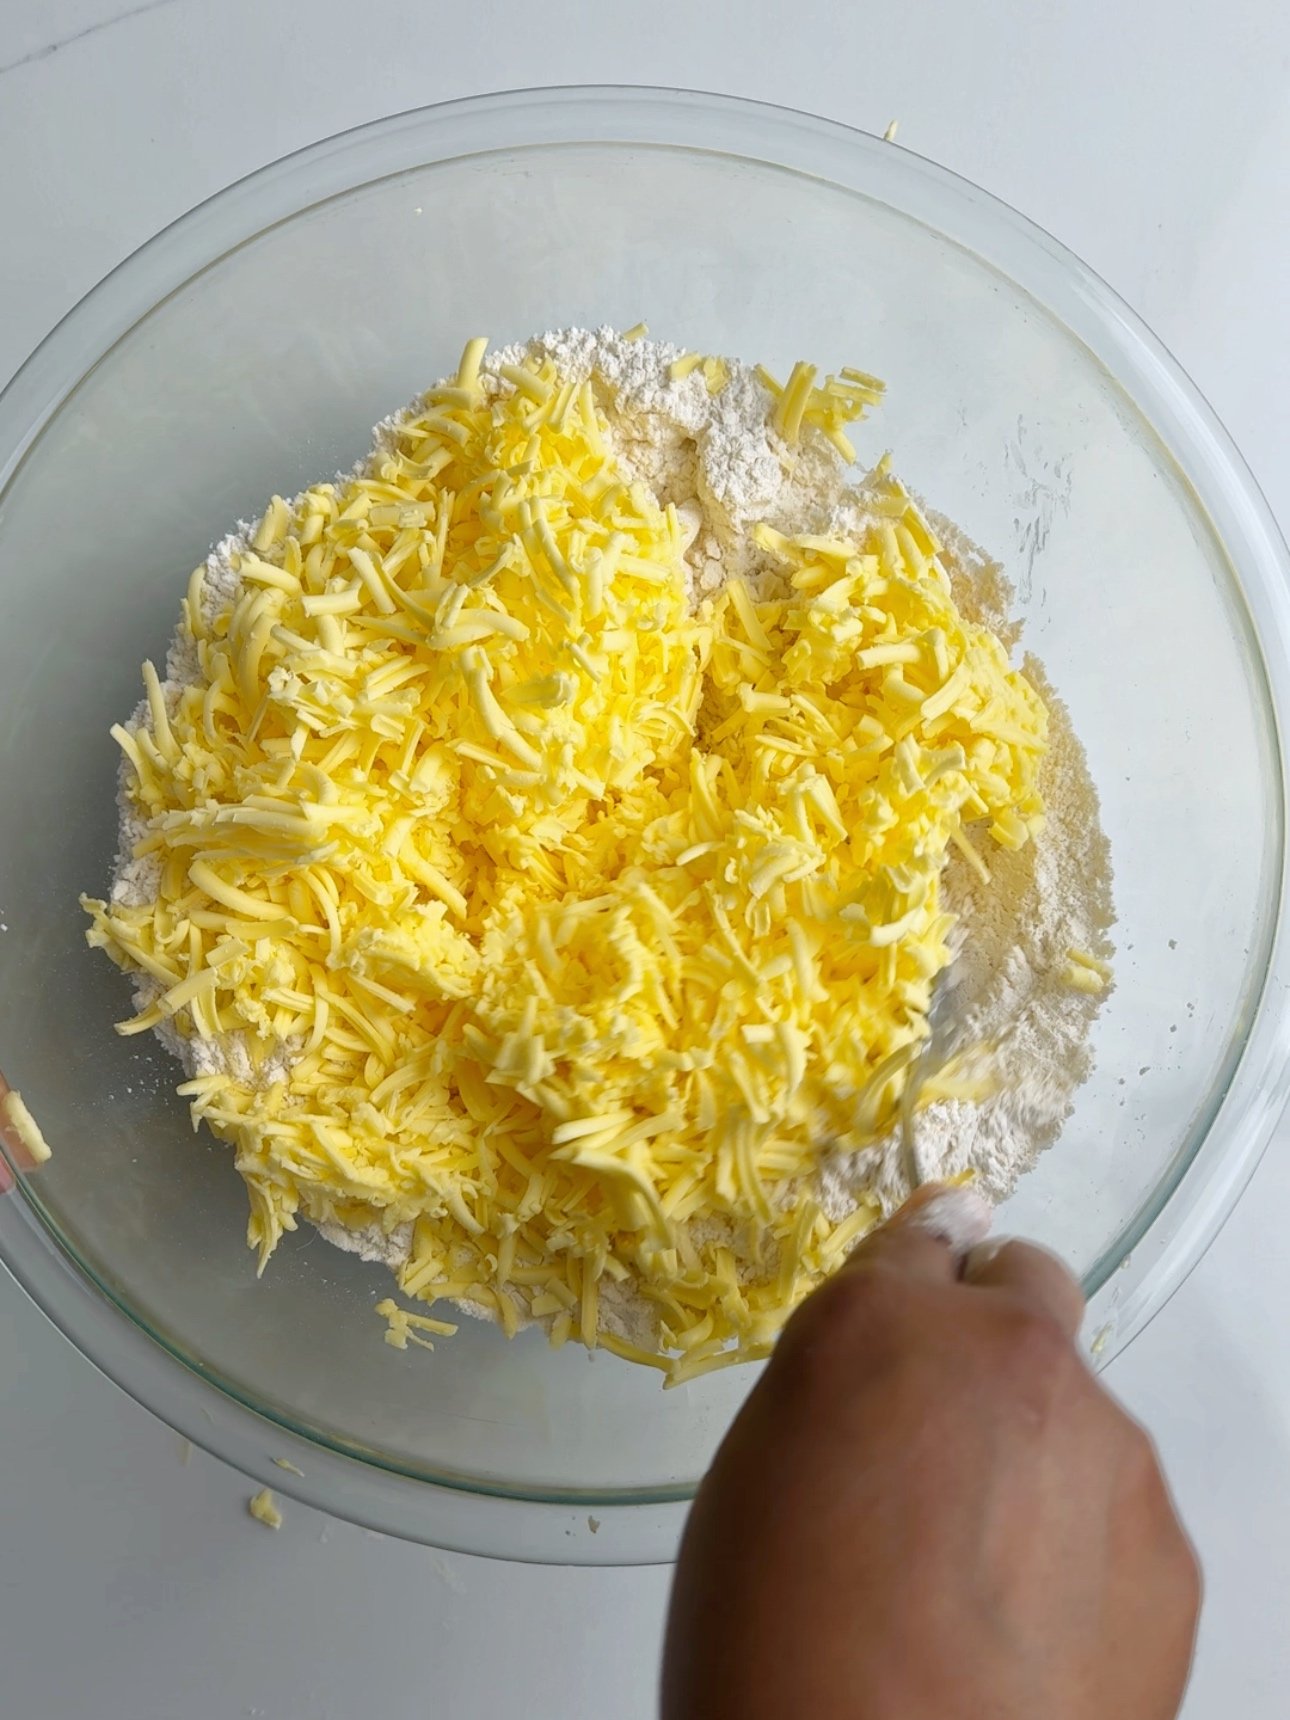
Combine flour and a pinch of salt, then grate frozen butter using the shred side of a cheese grater into the flour. Then use a pastry blender or fork to blend the butter into the flour but do not over blend. Leaving little chunks of butter creates a really flaky texture.
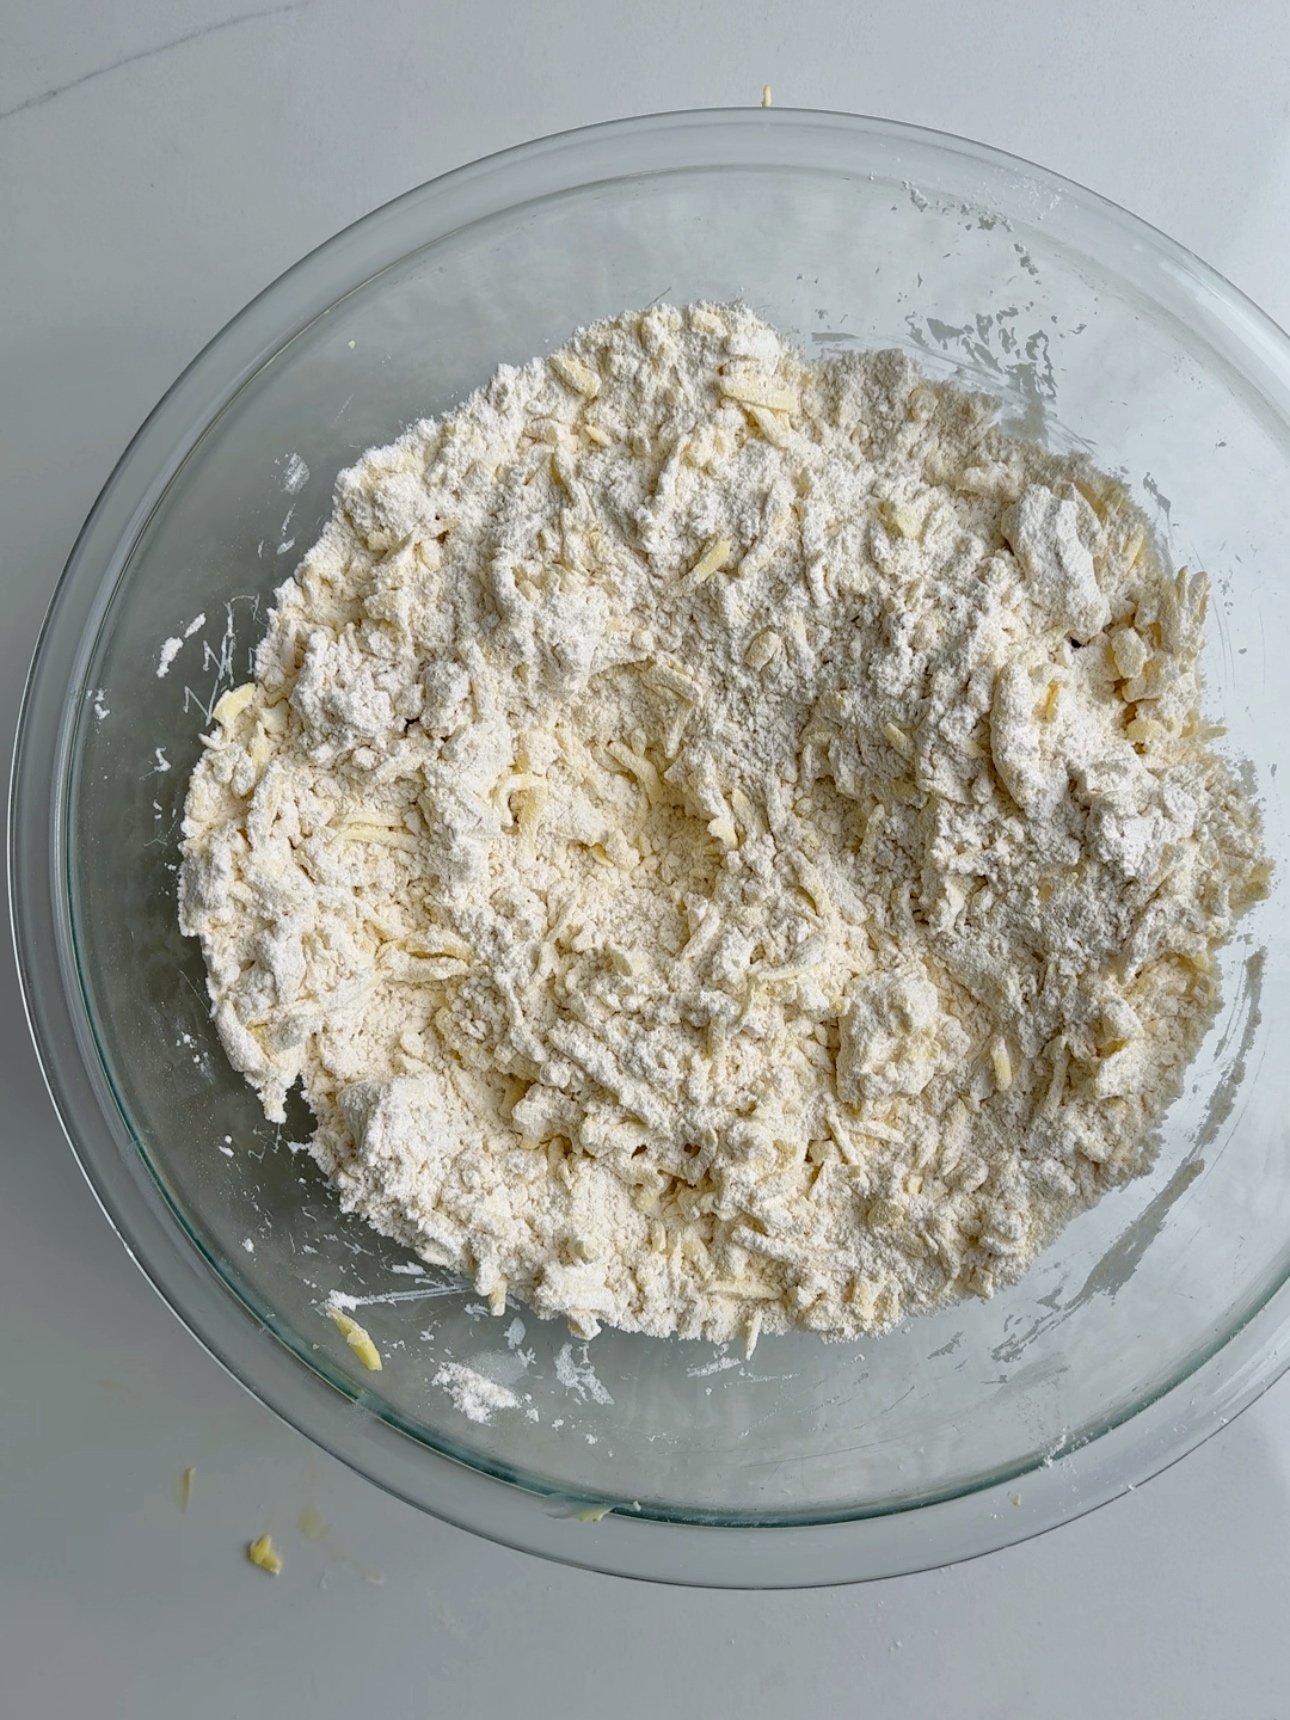
Then add the vegetable shortening and combine until it is fully mixed and crumbly. Gradually add the ice water and press the flour together in order to form a dough ball.
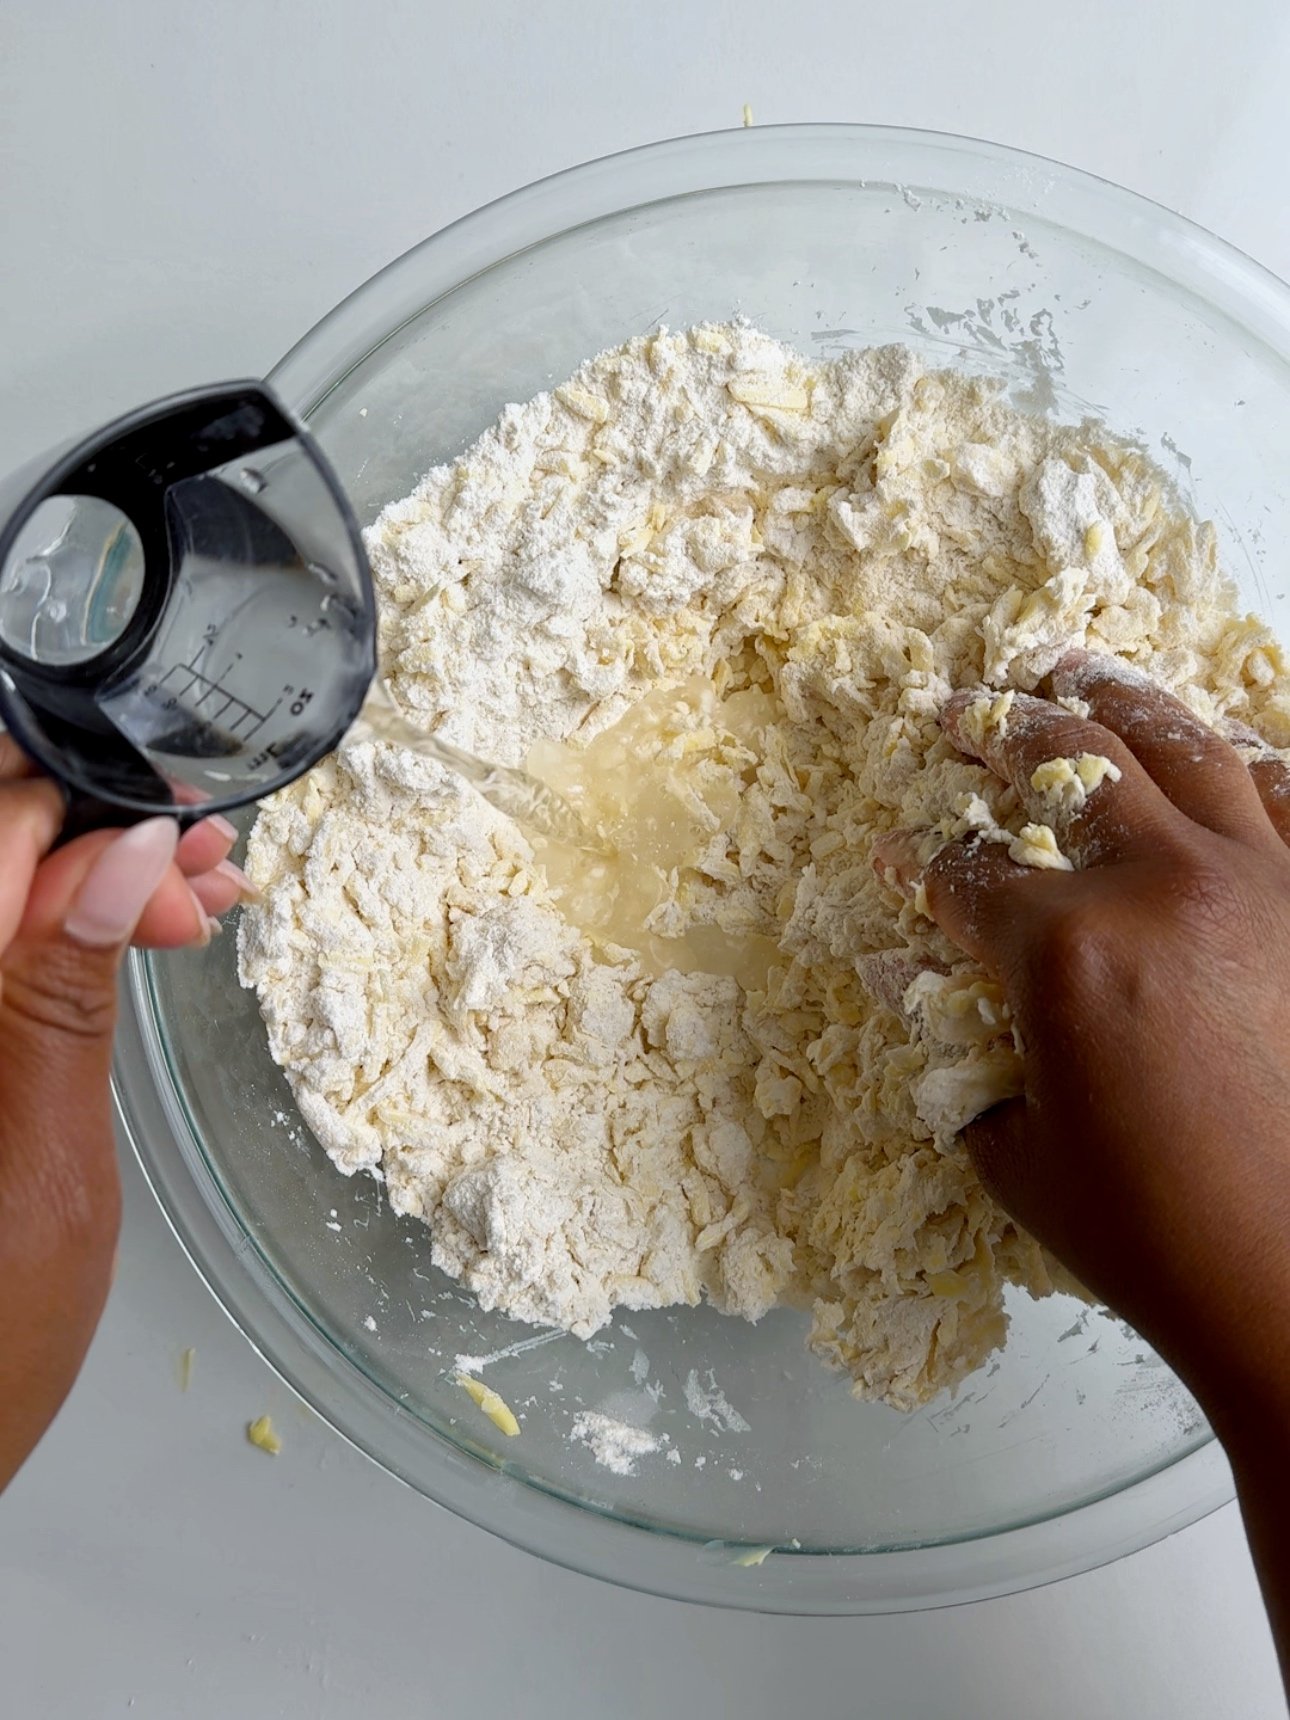
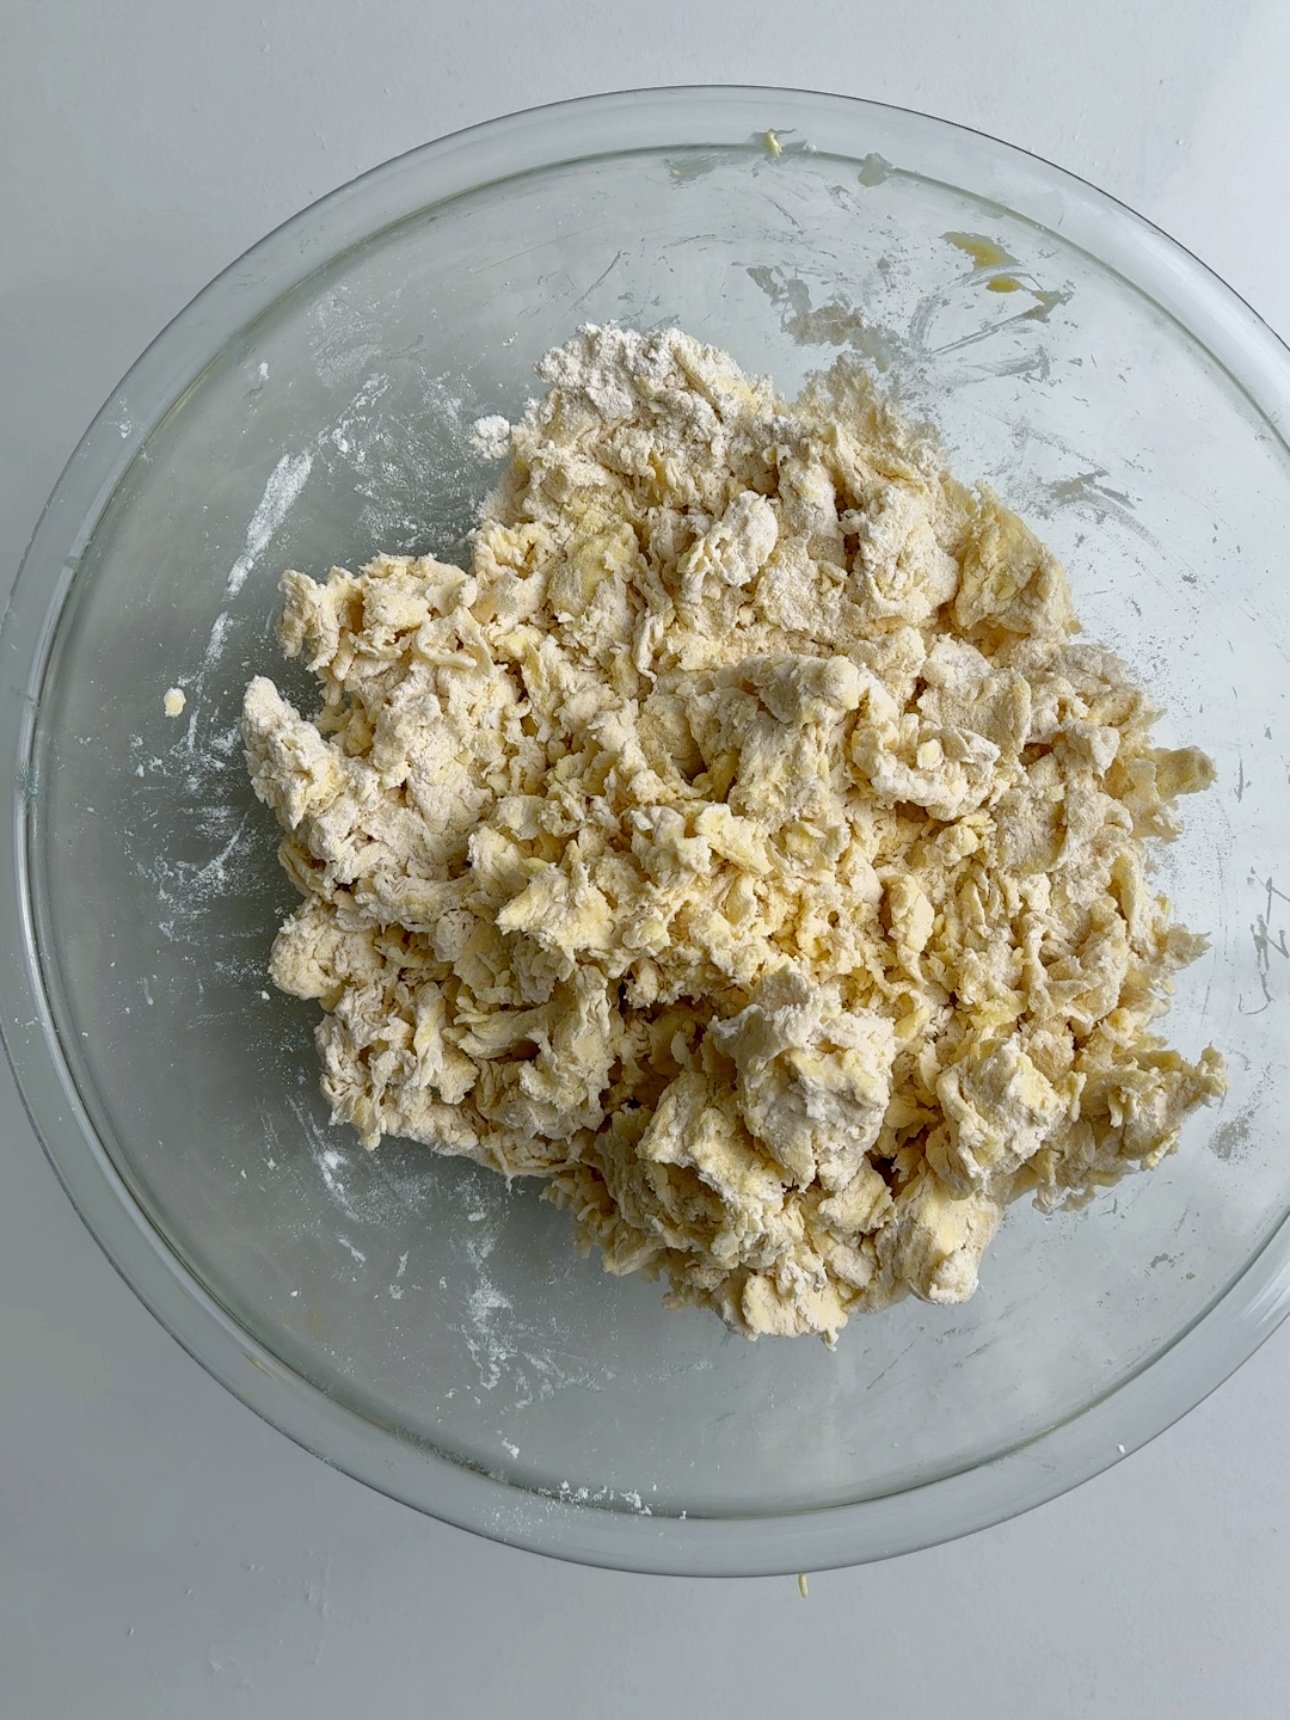
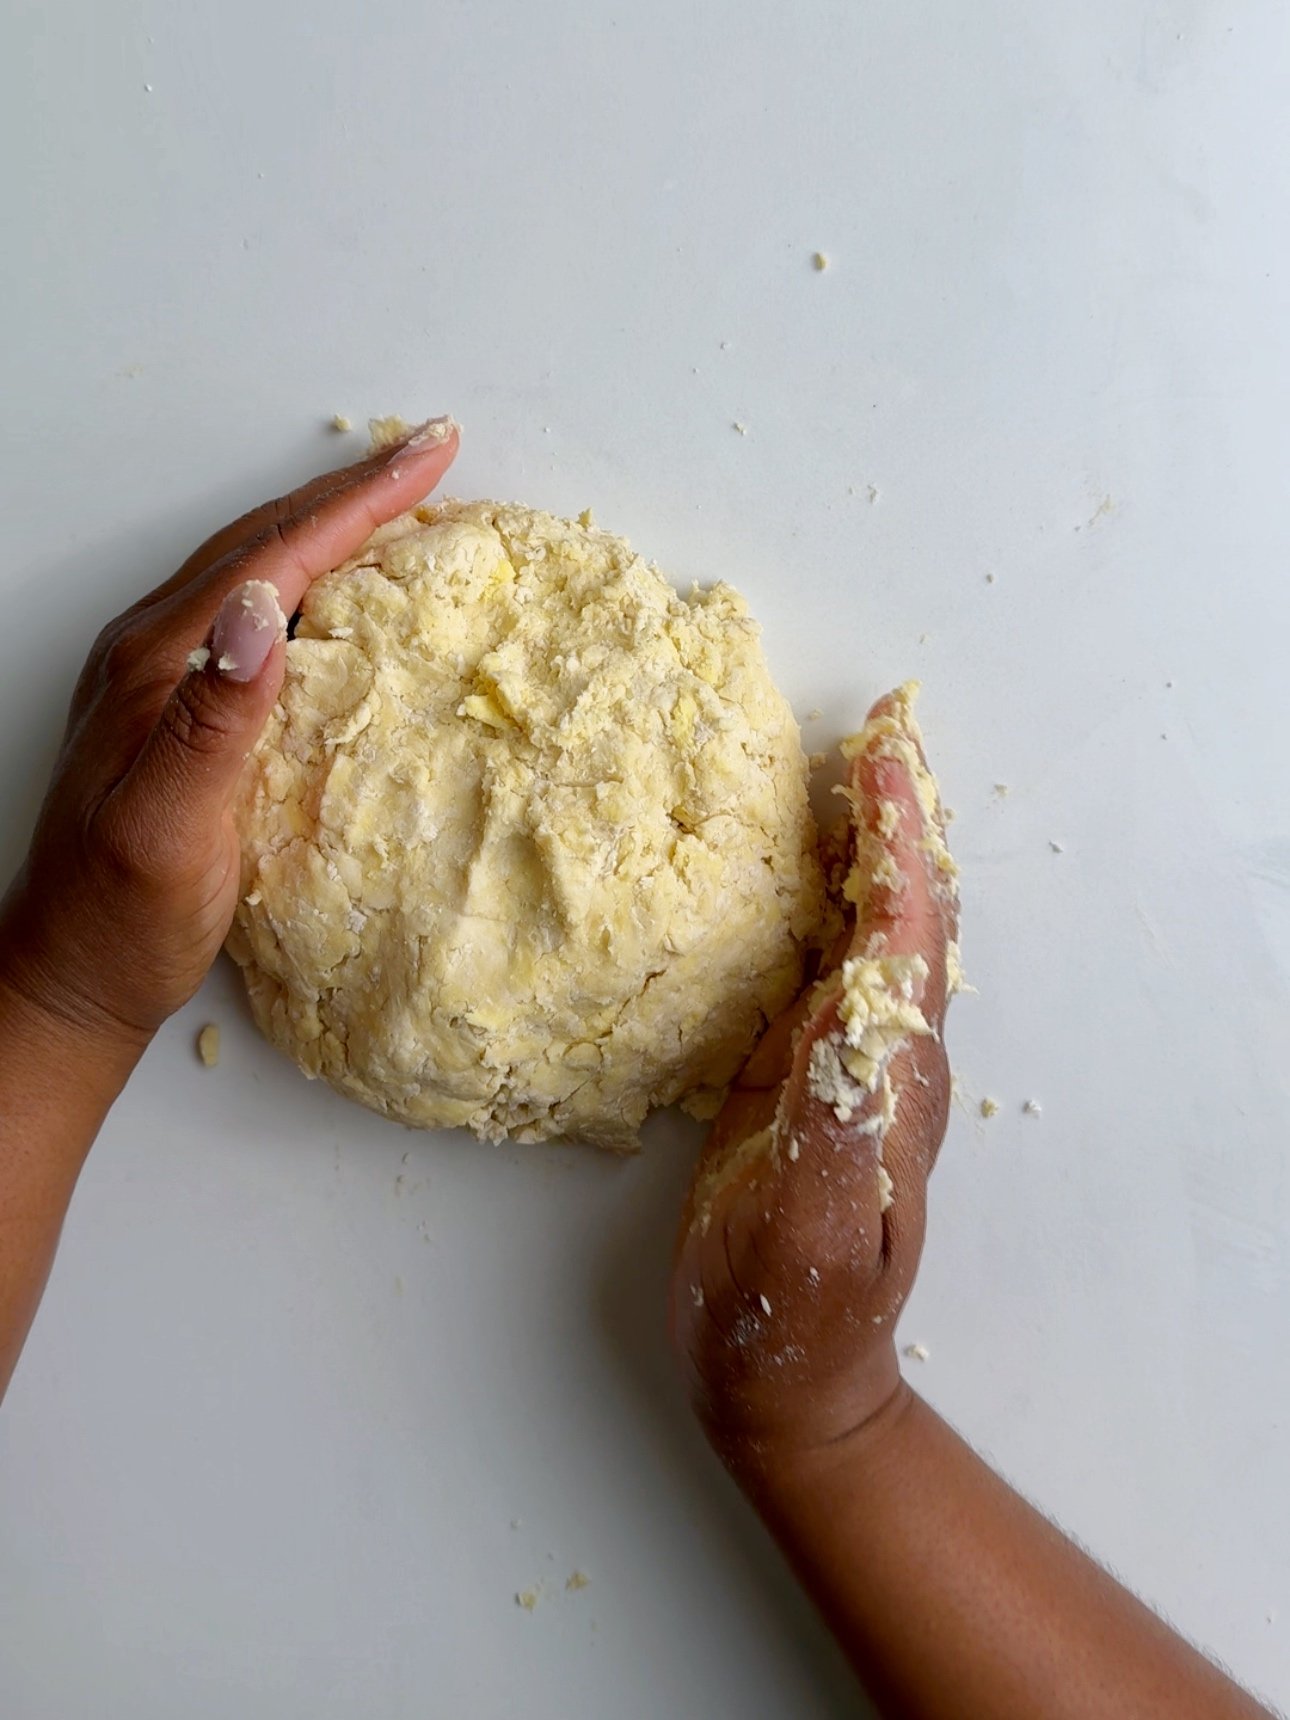
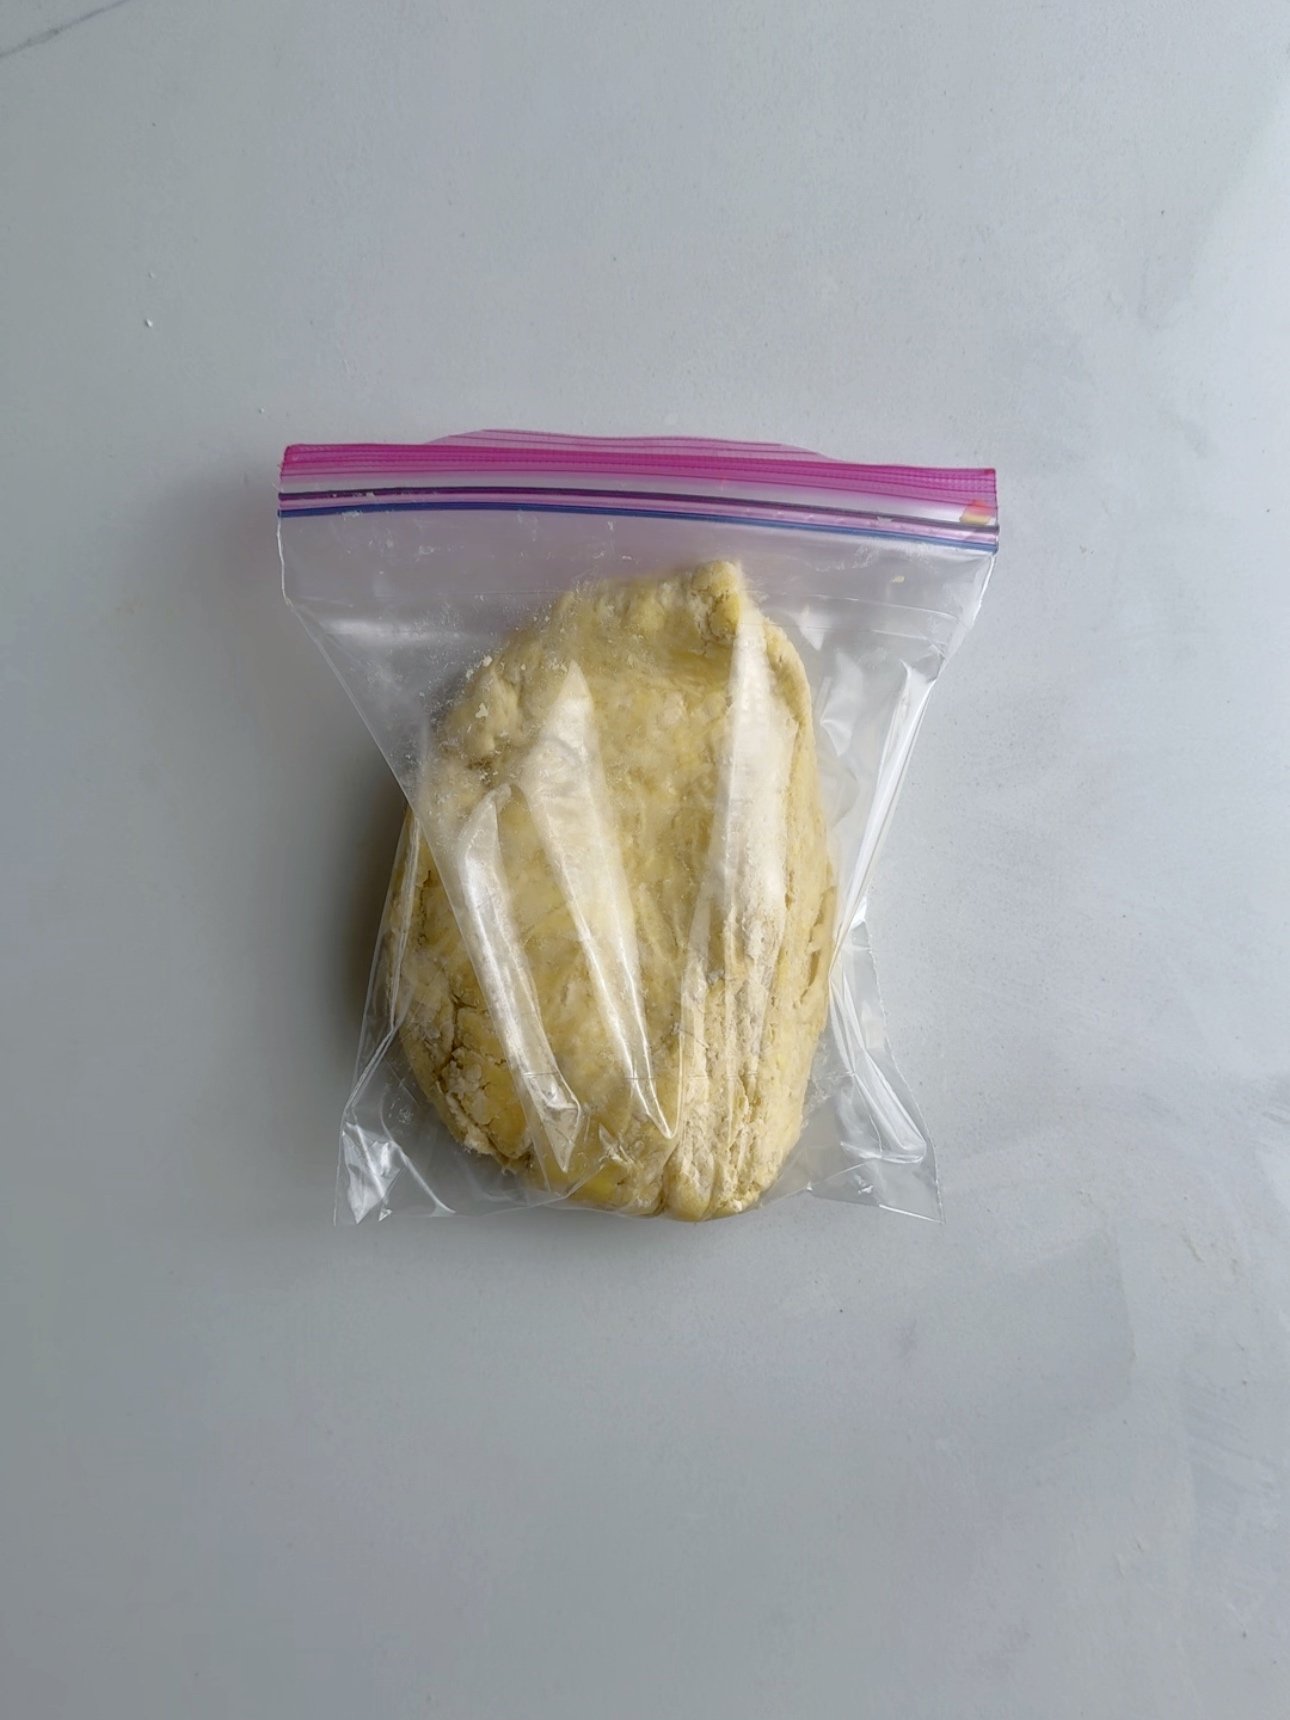
Then turn onto a floured surface and continue to bring the dough together to form a dough ball. Do not knead the dough as this will remove the flaky texture.Place the dough in a ziplock bag and refrigerate for about 30 minutes.
Prepare Cheese Filling
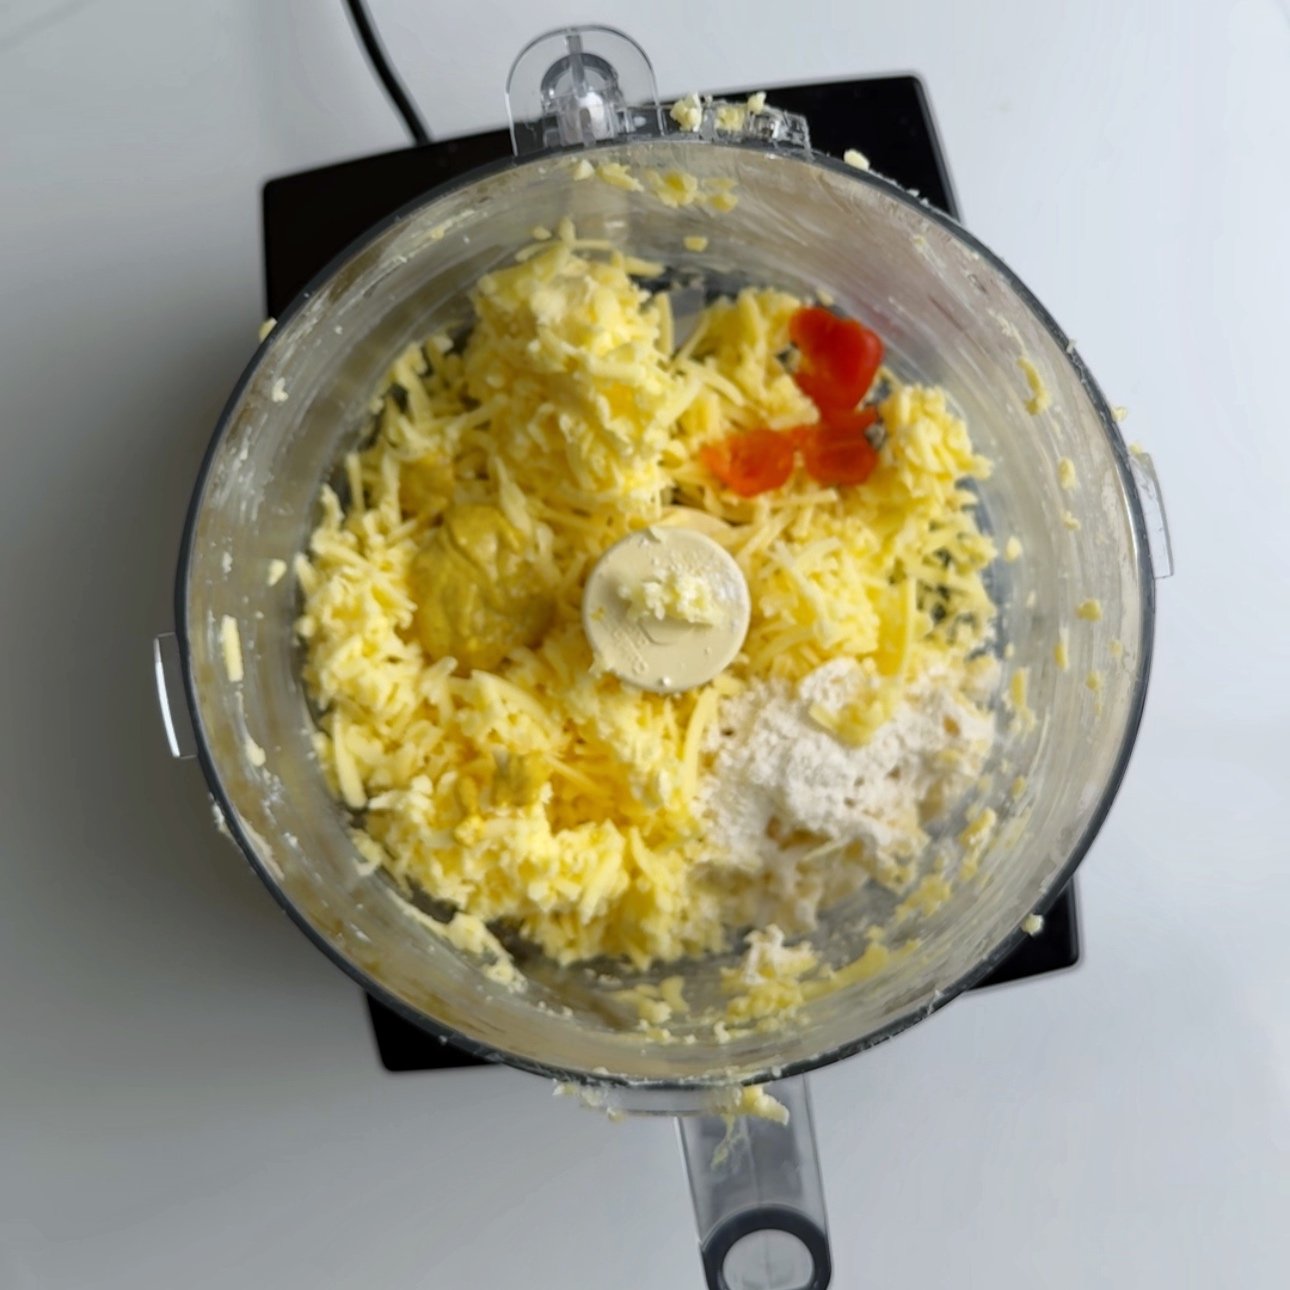
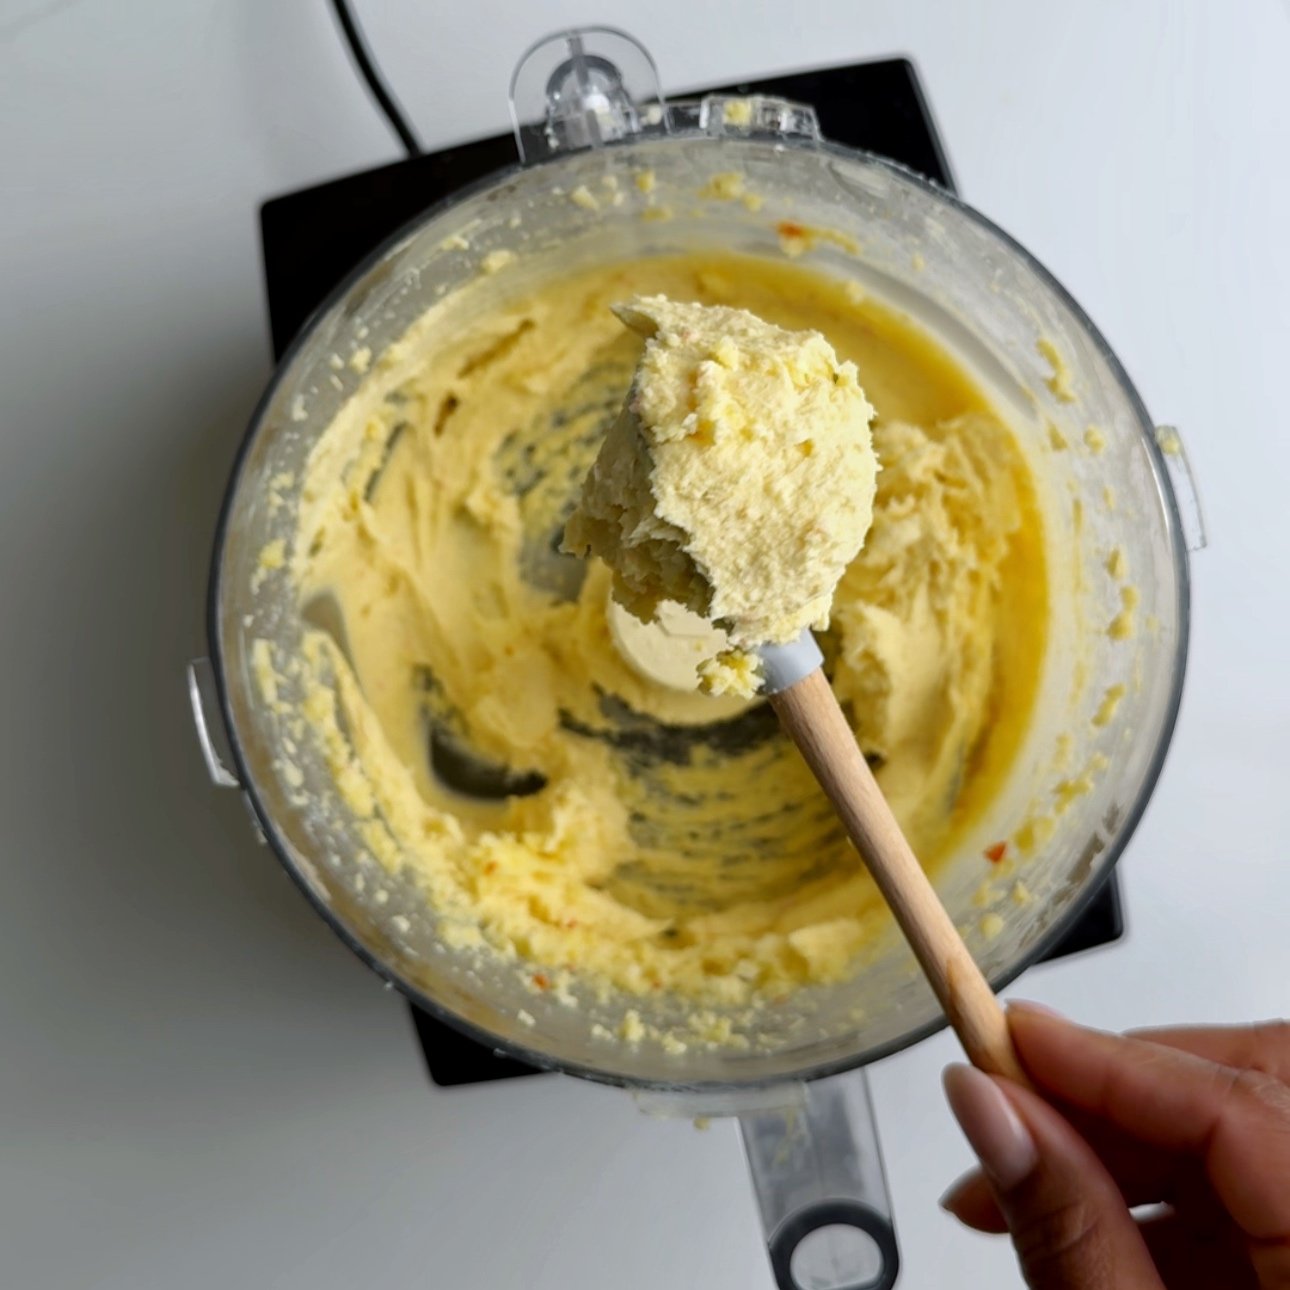
While the dough chills, make the simple cheese spread. Cut the cheese into cubes, then add that (along with the flour, mustard, butter, and pepper) to a food processor and blend until a smooth paste is formed.
Assemble Cheese Rolls

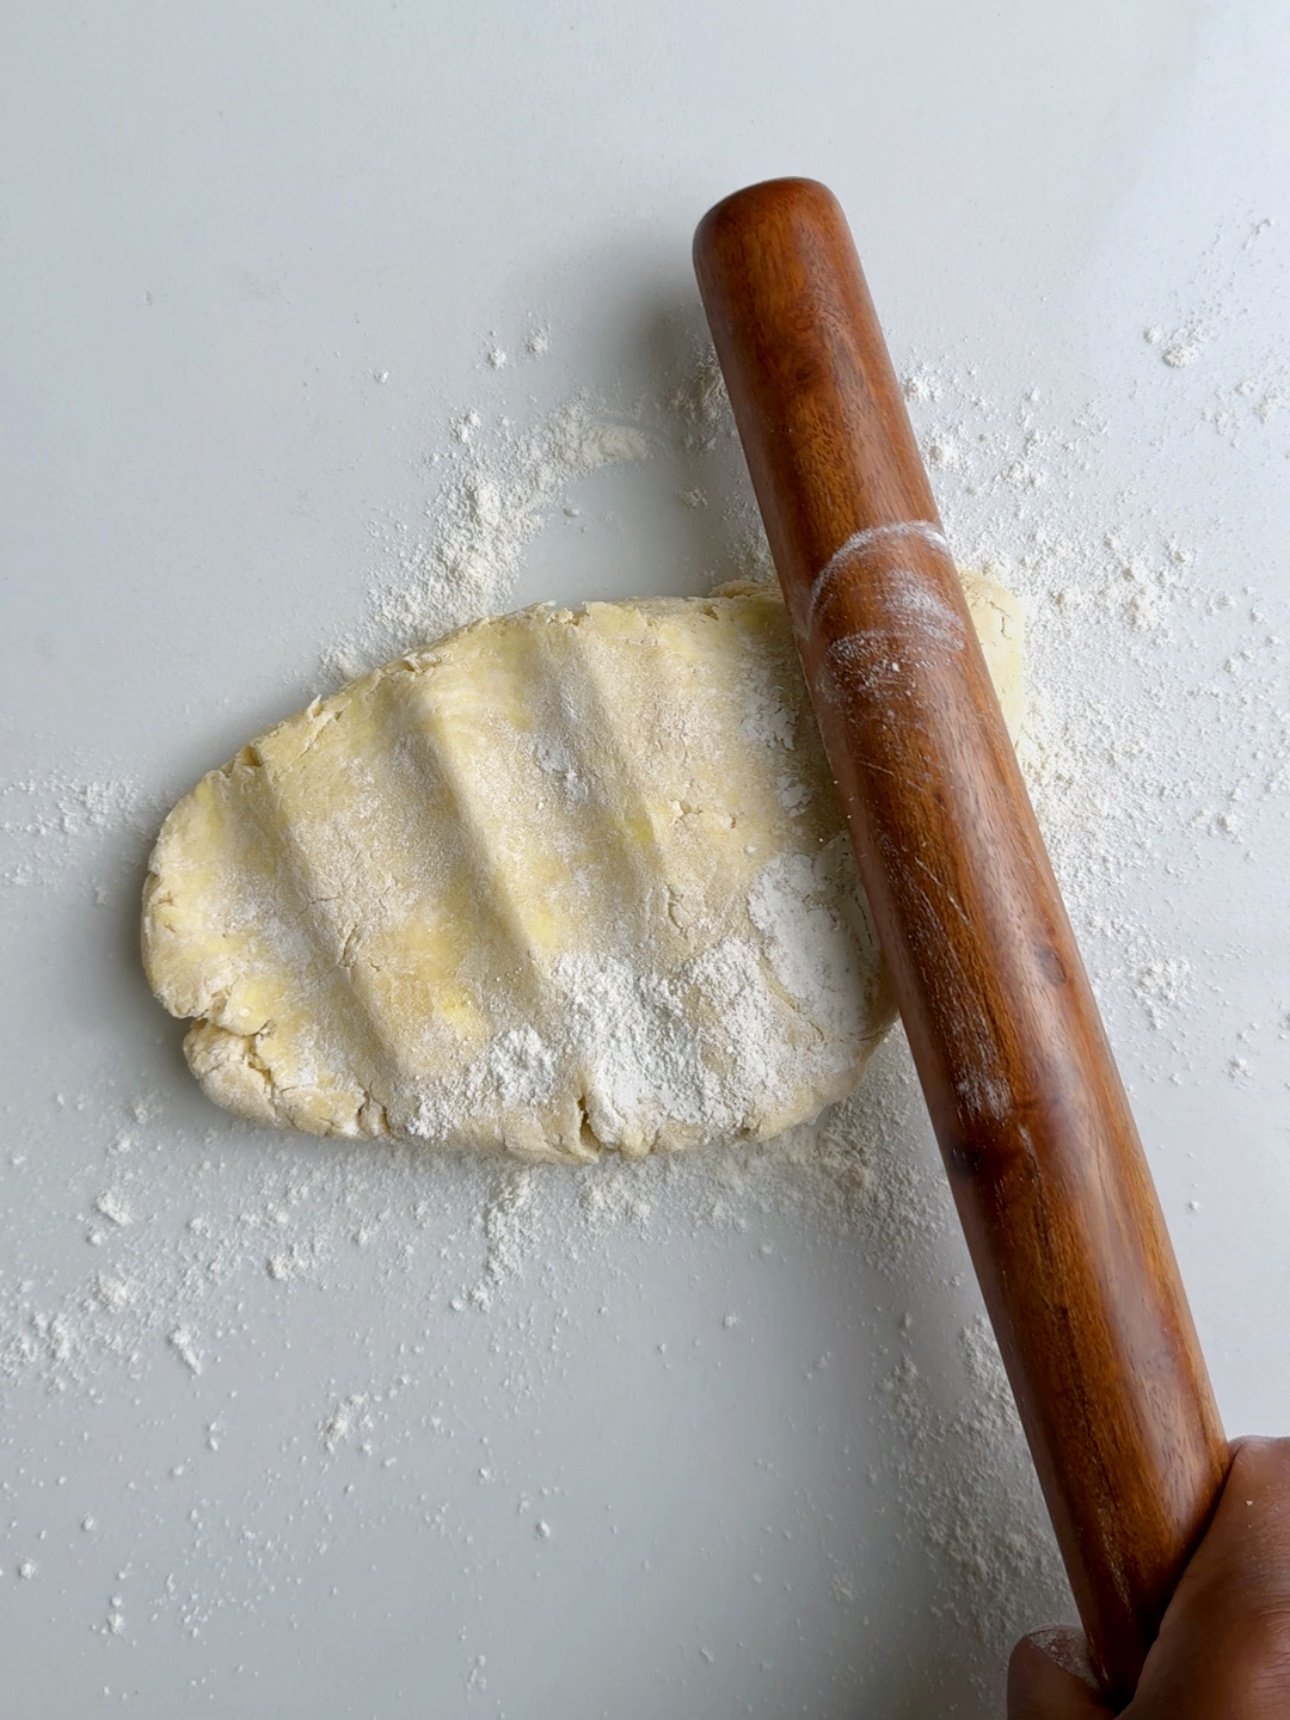
When you are ready to start making the Guyanese cheese rolls, remove the dough from the refrigerator and divide it into two. Return half the dough to the refrigerator. Place the dough you kept out of the refrigerator on a floured surface and tap it with your rollin pin to soften. Alternatively, you can let it rest at room temperature for 5 minutes before starting to work with it.
Then roll the dough out until it is about 1/8 inch thick and cut it into 6 inches by 6 inches squares
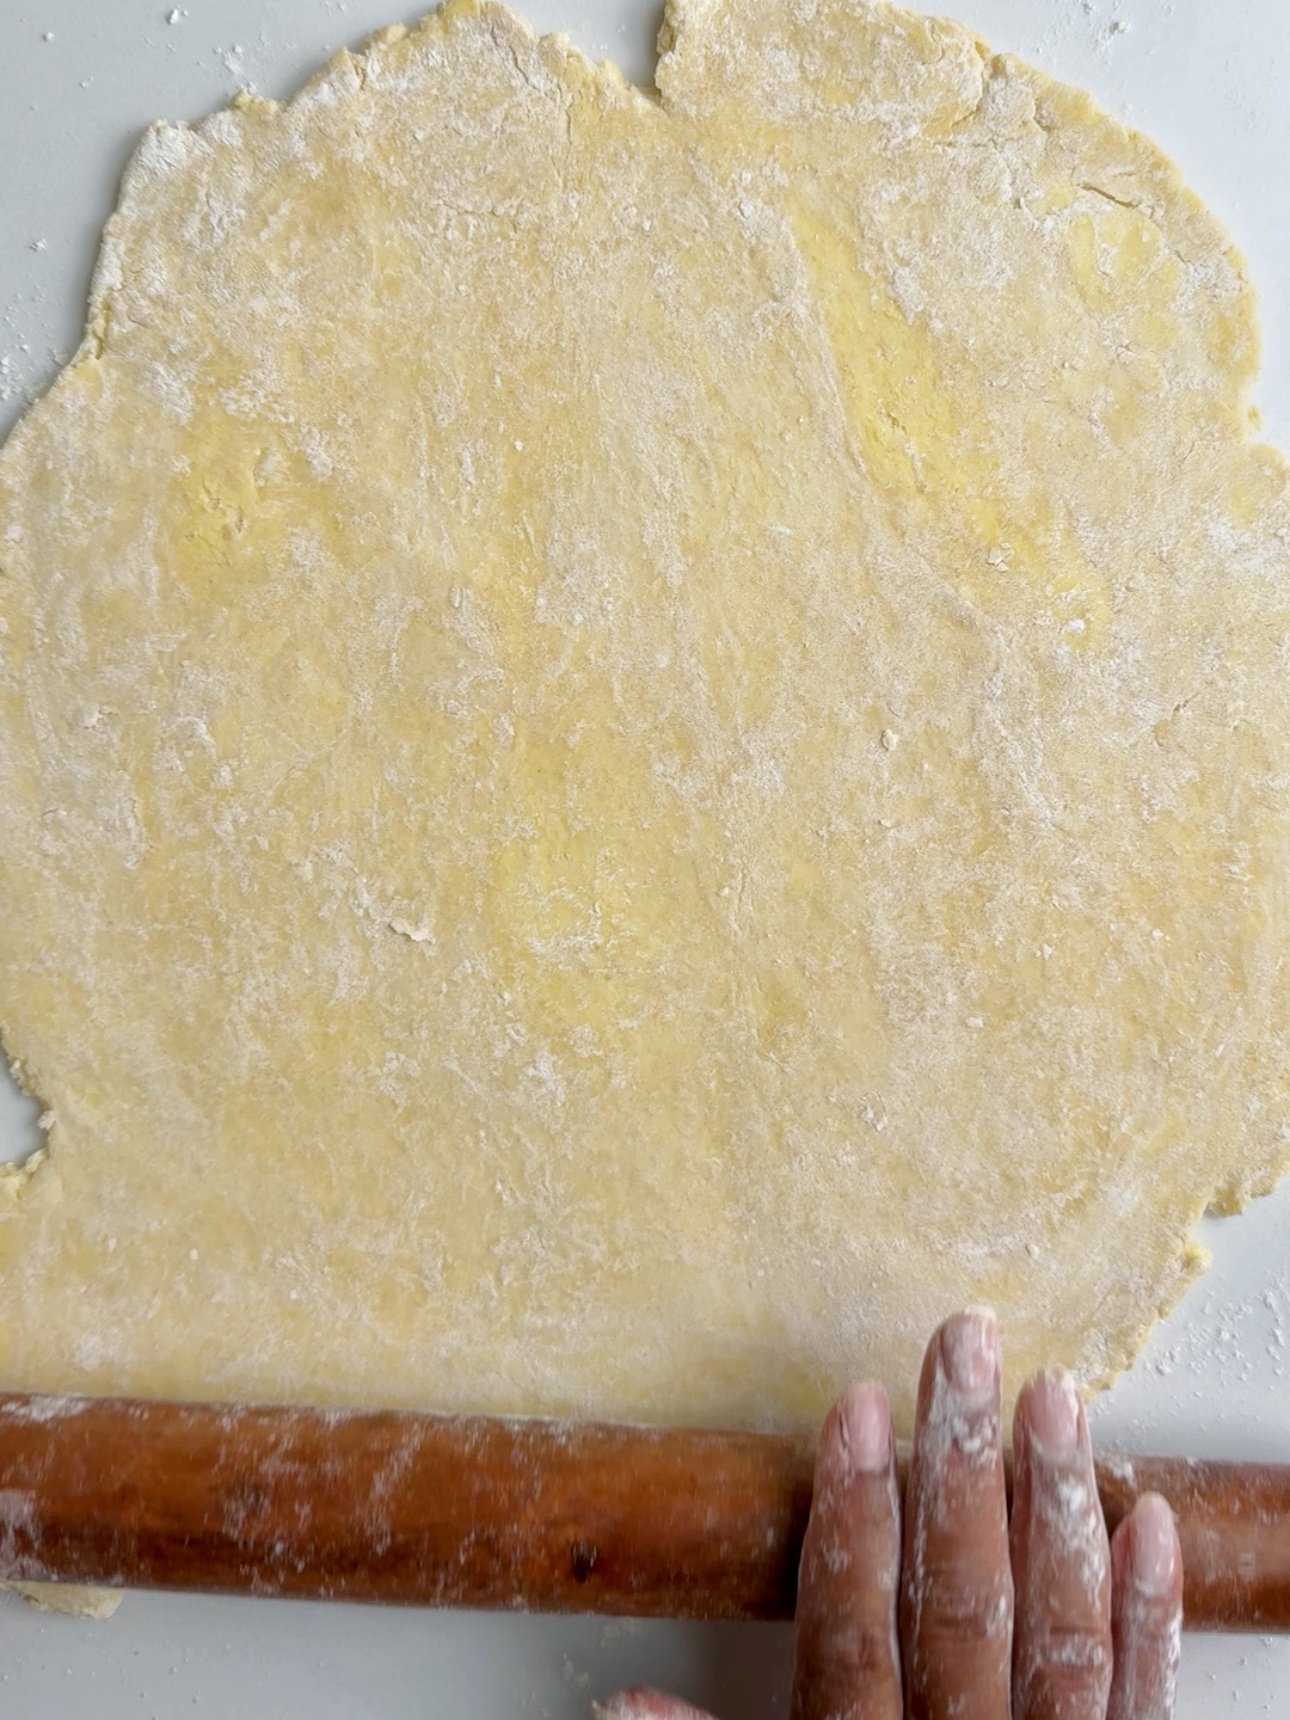
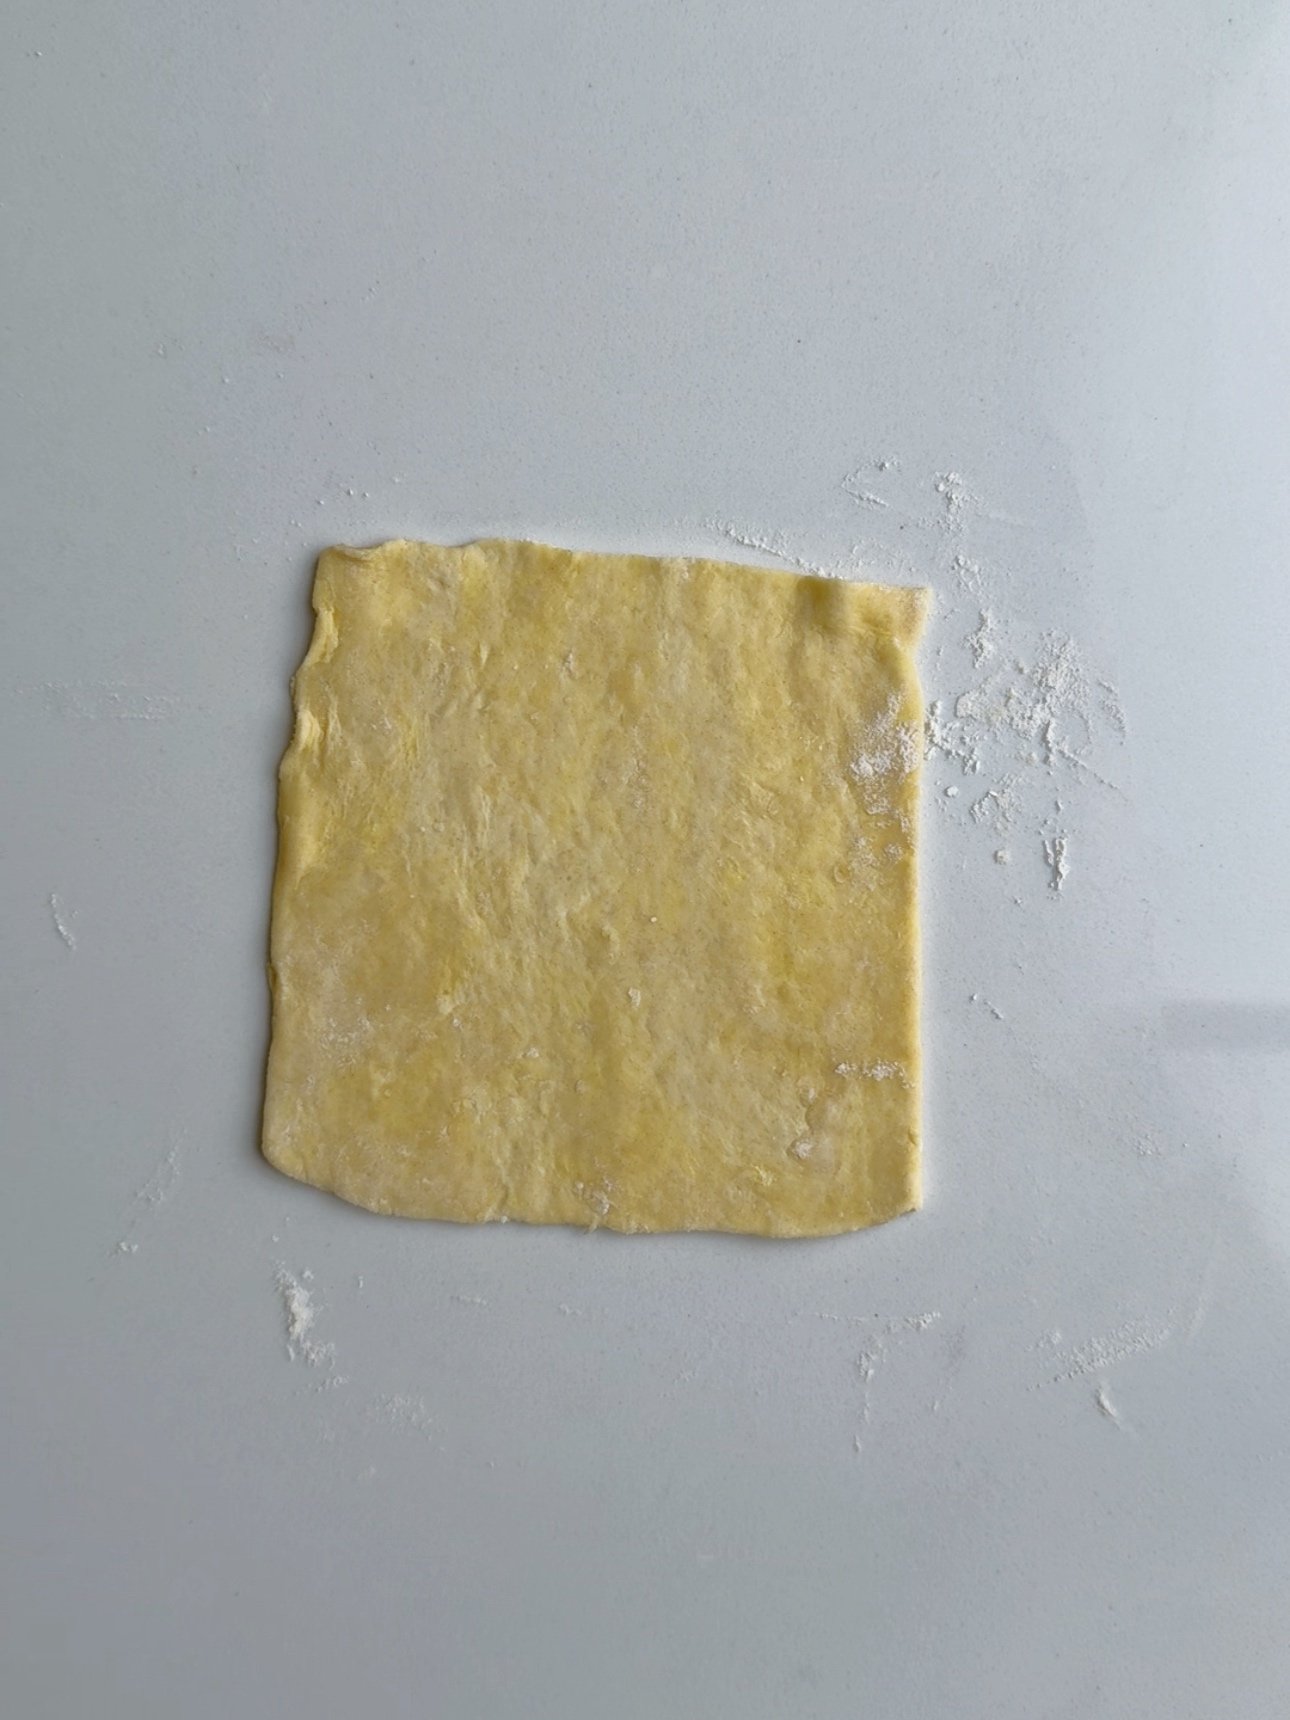
You will need to flour your rolling pin as well as the top of the dough to ensure that it is not sticking. When you are rolling pastry dough, try to push the dough in one direction. A back-and-forth rolling motion will activate the gluten in the dough and make the dough lose some of the flakiness.
How to Shape Guyanese Cheese Rolls
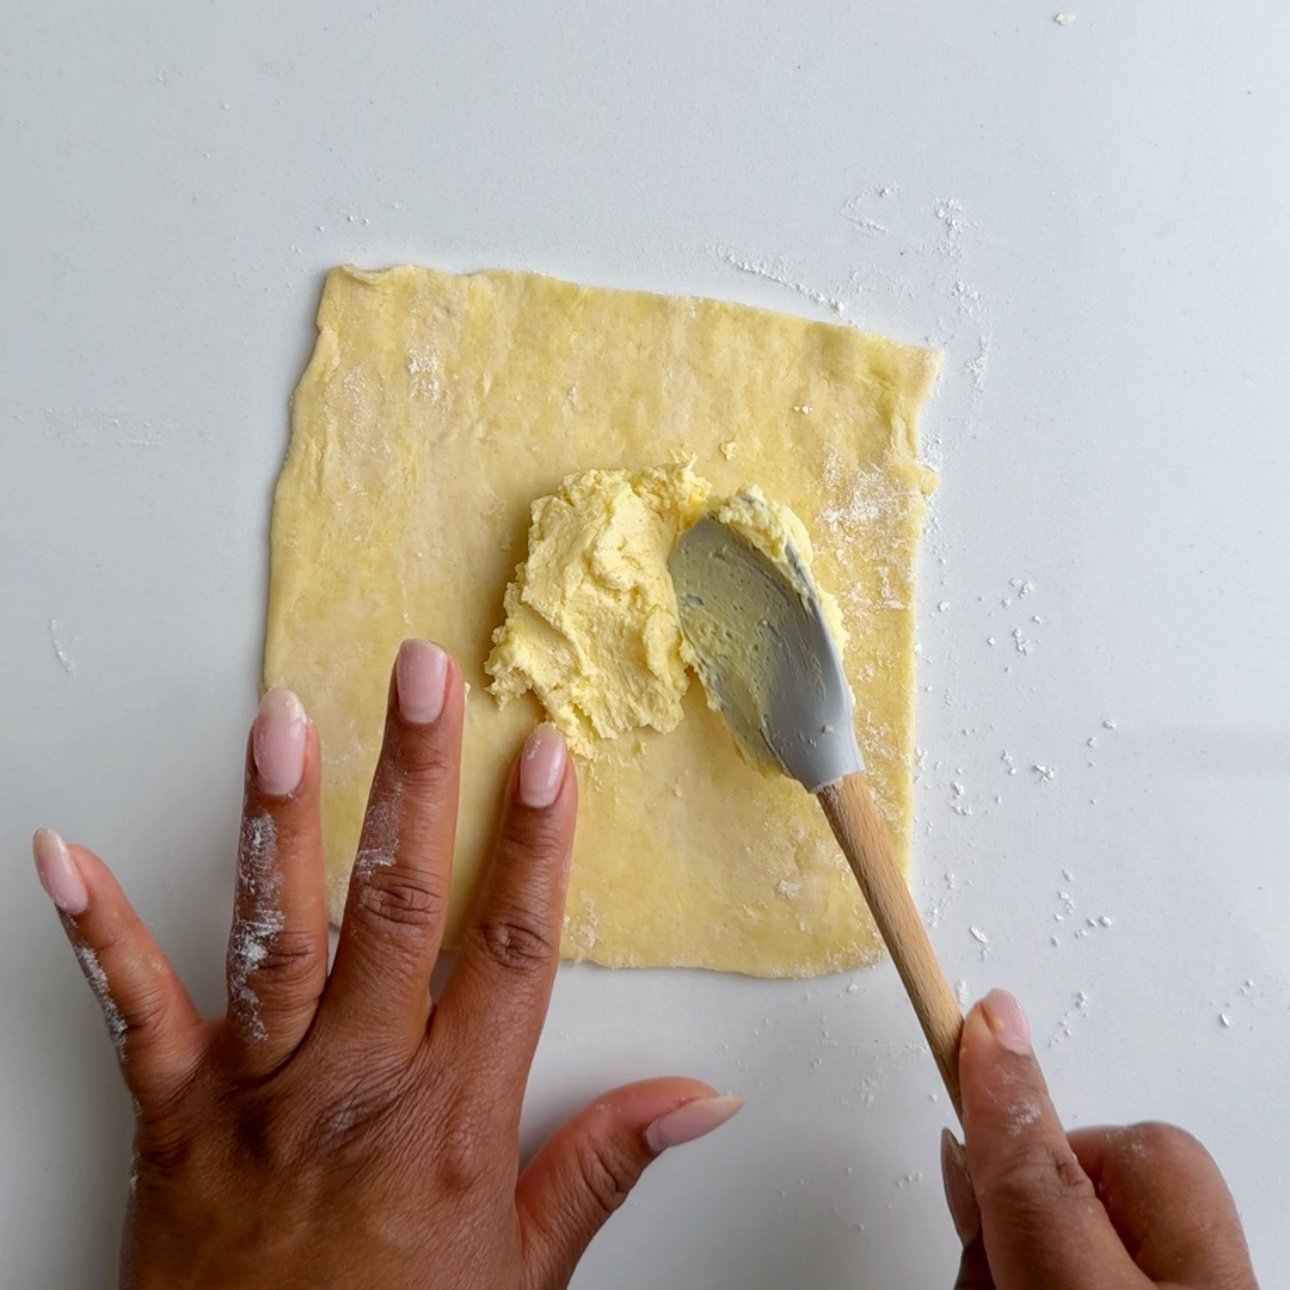
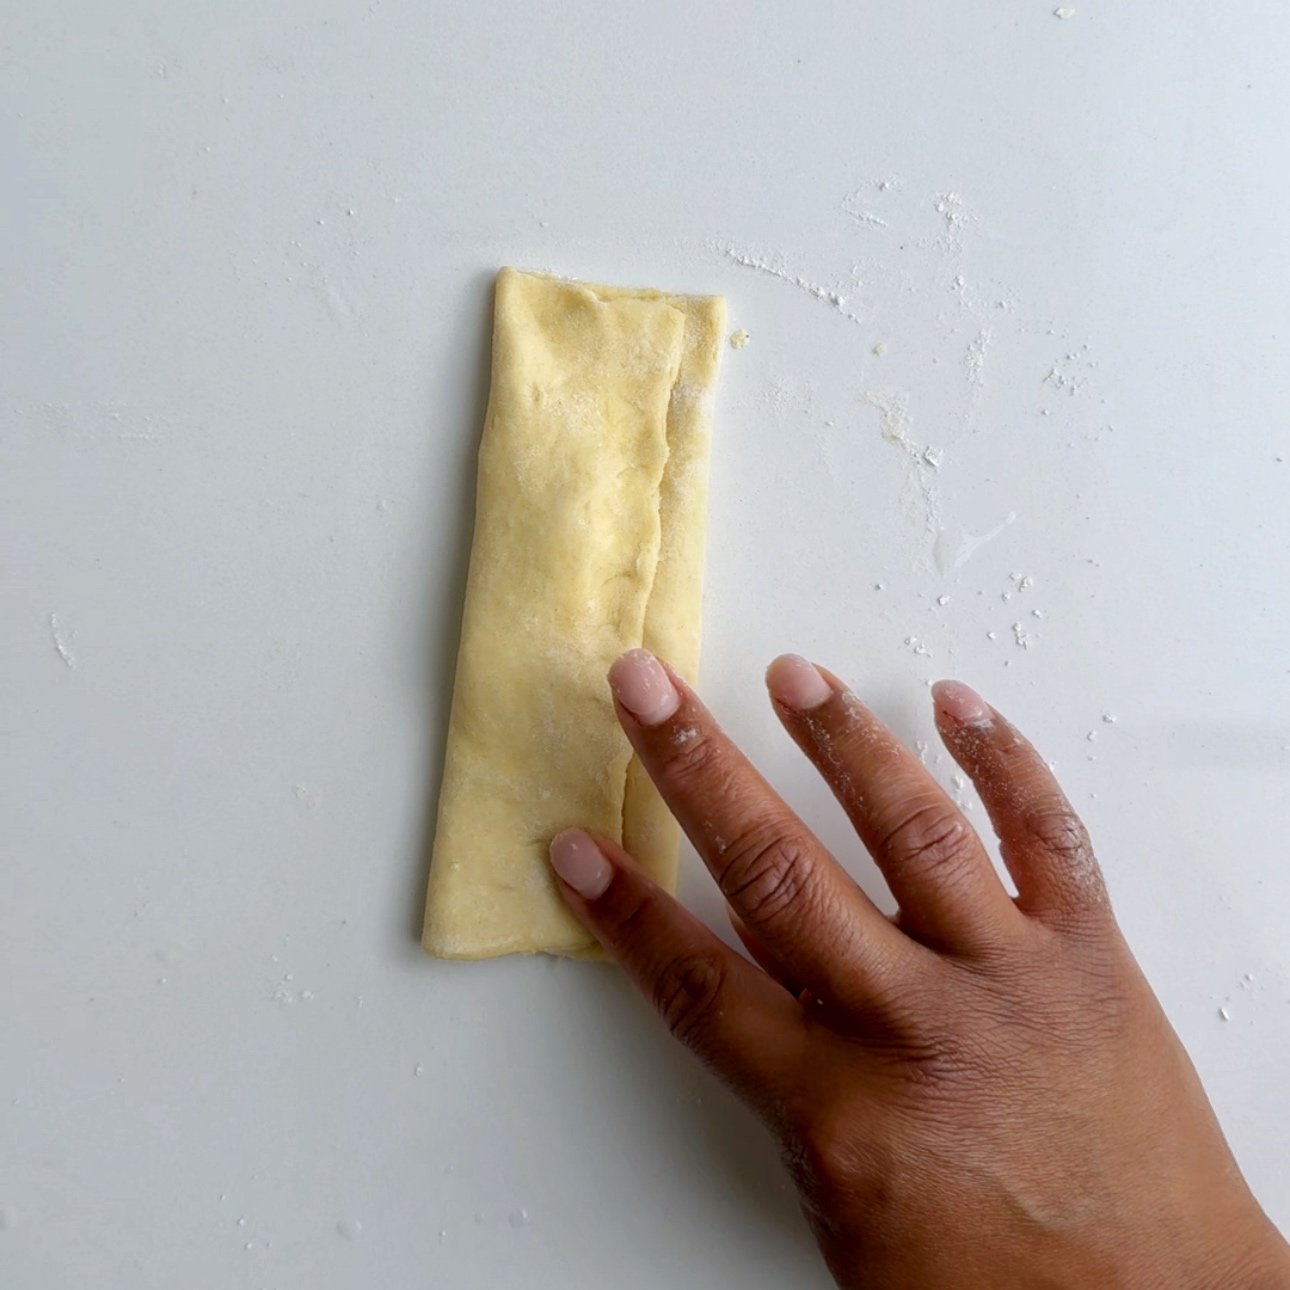
Use a cookie scooper (but you can use a tablespoon) to add one scoop of cheese spread (about 2 tablespoons) to each rolled out square of rolled out dough. Then brush the edges with room temperature water and sealed the edges to form a flat roll.
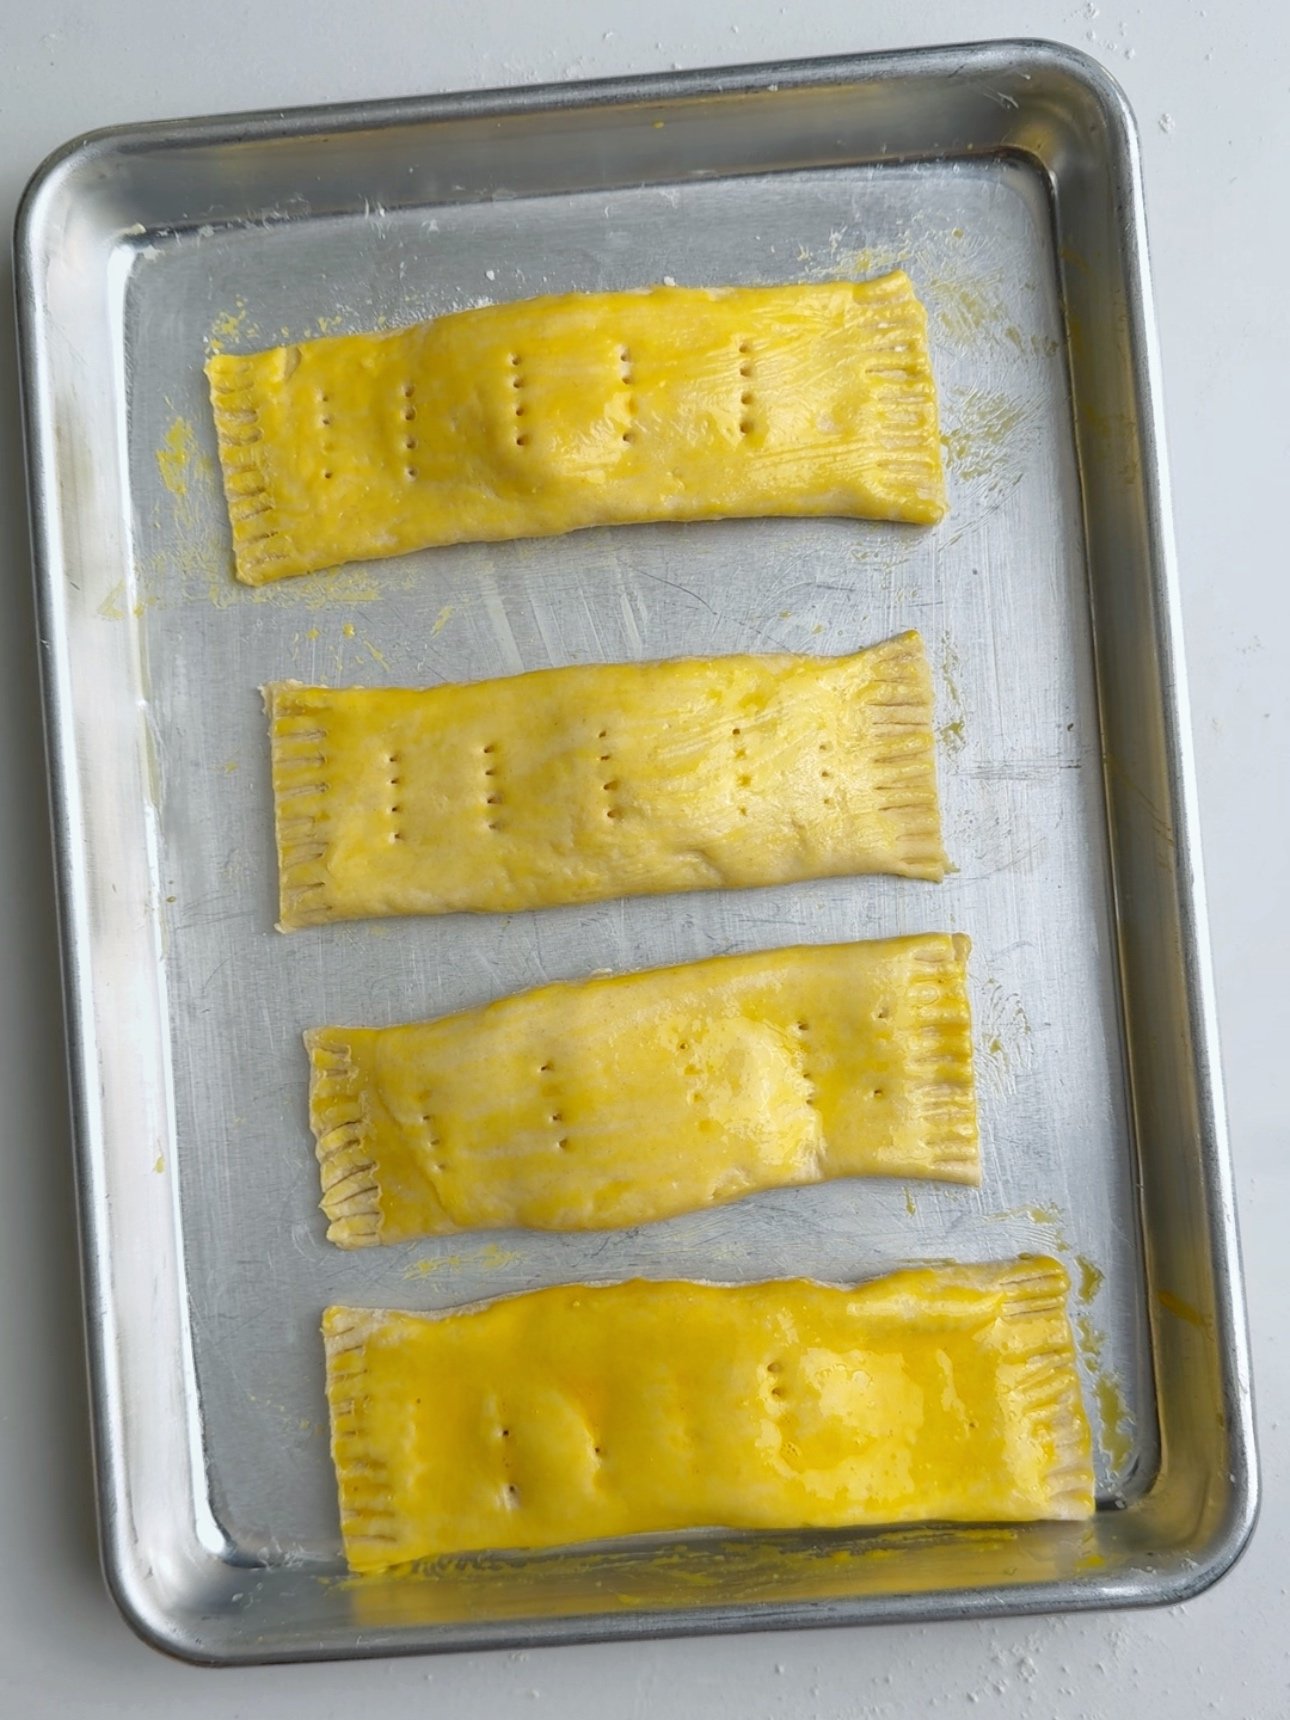
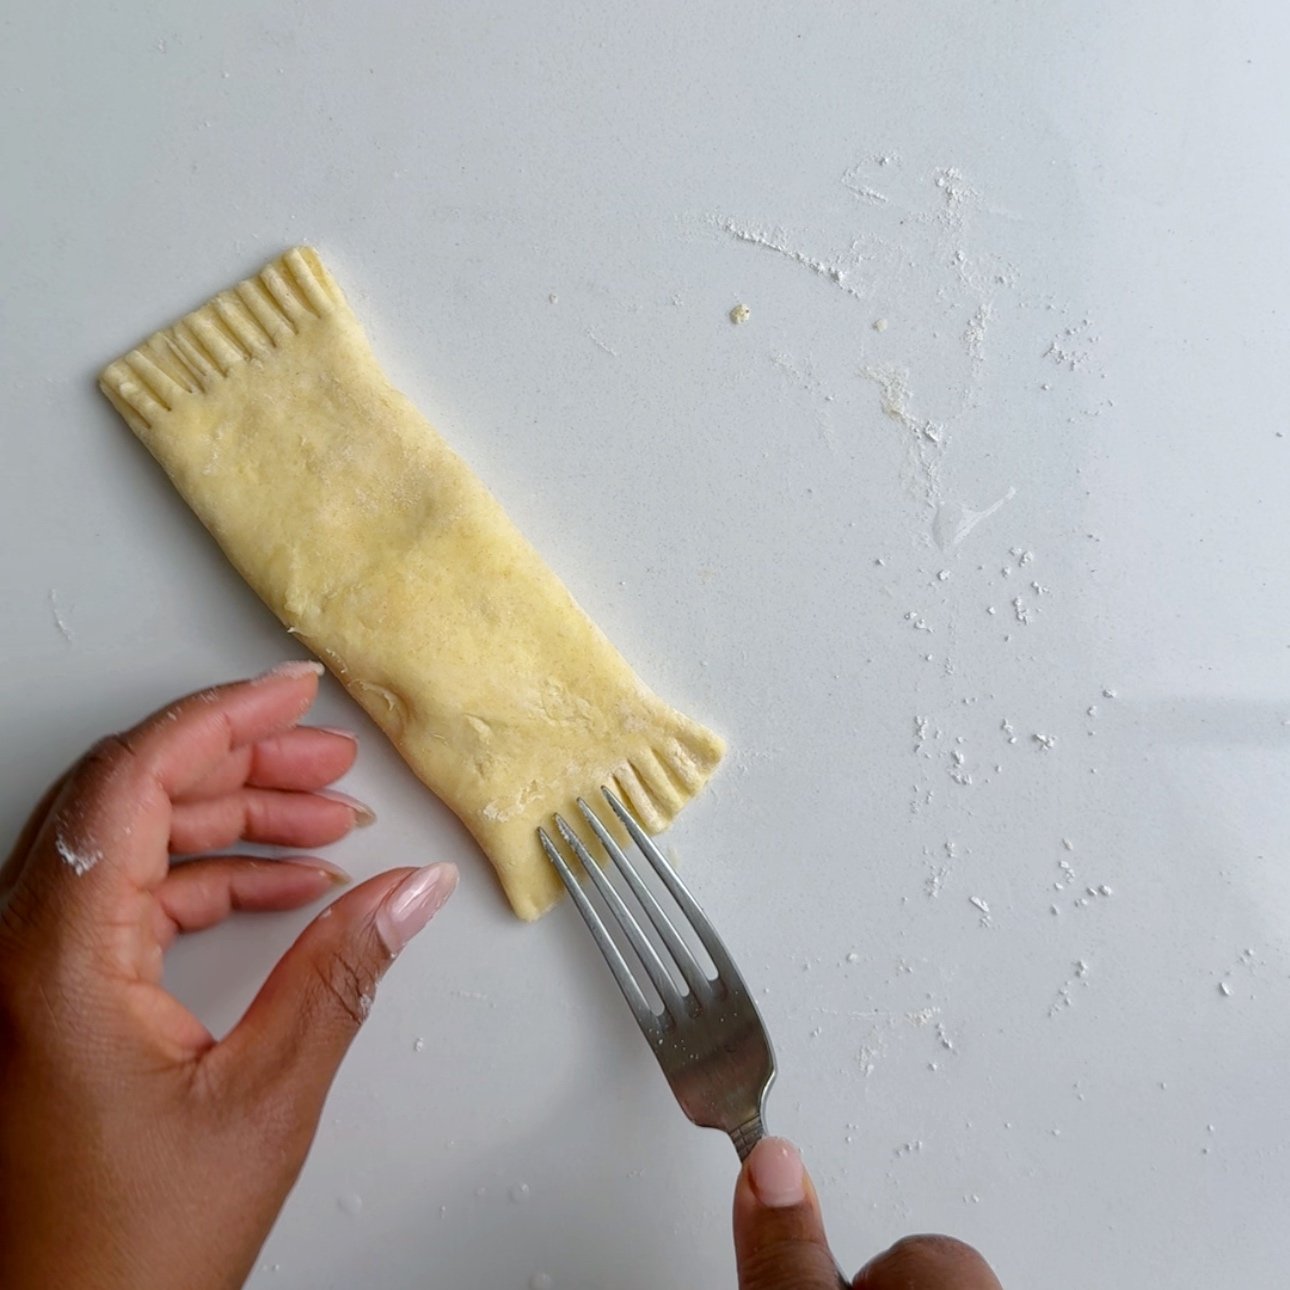
Press the center seam and the edge firmly to seal. Then, use a fork to crimp the the end of the cheese rolls. To make it extra neat I use a pastry cutter to cut the ends straight. Use the fork to poke a few rows of holes on the top of the cheese rolls. Then place the cheese rolls on a baking sheet and brush the top of the cheese rolls with the whisked egg yolk.
Baking Guyanese Cheese Rolls
When ready to bake preheat the oven to and bake your cheese rolls for 20 minutes. Let them cool before serving as the cheesy center can be quite hot!

Substitutions & Variations
- More Spice. For a spicier cheese roll, add pepper sauce to the cheese paste.
- Add Meat. Make these handheld treats even more satisfying by adding some protein. Once, I pressed all the excess dough together and made hotdog cheese roll combination for my 5-year-old!
- Add Veggies. Not a traditional option but try adding some fresh vegetables make for a healthier addition. Try including diced onions, green bell peppers, sauteed spinach, or even herbs to enhance the flavor.
- Gluten Free Cheese Rolls: Check out my recipe for gluten free shortcrust pastry dough.
Equipment
- Rolling Pin: To roll out the dough.
- Food Processor: Use this to blend the ingredients for the cheese paste.
- Cookie Scooper: To add even scoops of cheese paste to the cheese roll pastry.
- Pastry Brush: To seal the edges of the cheese rolls.
- Baking Sheet: To bake the cheese rolls on.
Storage
Store leftovers in an airtight container in the fridge for up to one week. For longer storage, freeze them. Thaw them overnight in the fridge before reheating. Reheat them in the oven or the air fryer to keep them crisp.
Tips for the Best Guyanese Cheese Rolls
- The key to perfect cheese rolls is the temperature of the ingredients and the mixture techniques.
- Allow the dough to chill in the fridge for at least 30 minutes because it helps the crust maintain its structure as it bakes.
- If the dough is too dry, add a small amount of cold water. And if it’s too wet, add a little flour.
- Do not knead the dough the way you would when making bread, just press it together with your hands to make a ball.
- Make a cheese paste instead of just having grated cheese.
- If you don’t have a food processor, grate the cheese instead of cutting it into blocks for easier mixing.
- Add a bit of flour to the cheese paste to prevent it from leaking out of the crust.
- Pierce the top of the pastry with a fork to release air while baking. This prevents the cheese from oozing out.
Frequently Asked Questions
Yes. You can prepare the dough and keep it covered and refrigerated for up to 4 days to save yourself some time. I recommend making the cheese filling the day you plan to bake the cheese rolls because it could possibly dry out.
The dough may be too cold. Be sure to let it sit at room temperature for about 5 minutes before handling it. Otherwise, it is difficult to work with and much more likely to break apart. If this doesn’t work, your dough may be too dry. Add a tablespoon of ice cold water (at a time) to the dough and push it back together into a dough ball.
Guyanese Cheese Roll

Equipment
- Pastry Blender
- Rolling Pin
- Food Processor
- Cookie Scooper
- Pastry Brush
- Baking Sheet
Ingredients
For the pastry dough
- 4 cups All Purpose flour
- 1 1/2 cups Butter frozen butter works best for this recipe (see notes below)
- 3/4 cup ice cold water
plus a few more tablespoons if needed - Pinch of salt If using unsalted butter
For the Filling
- 8 ounces extra sharp cheddar cheese
- 1 tbsp spicy brown mustard
- 1 tbsp butter
- 1 tablespoon flour
- 1 wiri wiri pepper seeds and veins removed
- 2 beaten egg yolks
- room temperature water and a pastry brush for sealing the edges of the cheese rolls
Instructions
Make the Pastry Dough
- Combine flour and pinch of salt, then grate frozen butter using the shred side of a cheese grater into the flour. You can also shred the butter with a food processor with a shred attachment, then add it to the flour.
- Using a fork mix the butter into the flour but do not over blend, leaving little chunks of butter creates a really flaky texture.
- Add the ice water a little at a time and press the flour together to form a dough ball. Do not knead the dough as this will remove the flaky texture.
- Place in a ziplock bag and refrigerate for about 30 minutes.
Make the filling
- Cut the cheese into cubes and add to a food processor along with the butter, flour, mustard and pepper and process until smooth. Alternatively you could grate the cheese on the fine side of a cheese grater, then mix in the butter, flour, mustard and pepper until it is a smooth paste.
Making the cheese rolls
- When ready to bake, Preheat the oven to 350°F
- Remove pastry dough from the refrigerator then cut into half. Return one half to the ziplock bag and back into the refrigerator. Then working with the remaining half, roll out until it is about 1/8th thick.
- Then cut into 6×6 inch squares and add about 2 tablespoons of cheese mixture to the center of the square.
- Brush the perimeter of the square dough with some room temperature water, then fold over the edges to meet in the center and overlap to seal in the cheese filling. Then press to seal that center seam.
- Using a fork crimp the ends of the cheese roll on both sides and then pierce the top a few times to allow air too escape during baking.
- Place the cheese rolls on a greased baking sheet and brush with the whisked egg yolks.
- Remove the remaining half of the dough and repeat the steps for rolling it out and shaping it into the cheese rolls.
- Bake at 350°F for 20-25 minutes then remove and let cool before serving.
Notes
- I am using all butter for this recipe. In the past I used butter and shortening. I find that all butter makes the best version of Guyanese pastries.
- I add ice cubes to my water and then take a table spoon at a time until I have 3/4 cup of cold water added to my dough. The dough should be workable but not too wet or soft.
- If you make all of your cheese rolls and then preheat your oven to bake, place the cheese rolls in the refrigerator until the oven is ready.
Nutrition
The information listed in the recipe card is an estimate provided by an online nutrition tool. The tool evaluates ingredient names and amounts then makes calculations based on the number of servings listed for the recipe. It is provided as a general guideline and not as a precise calculation. For precise nutrition information please feel free to add the ingredients to your preferred nutrition calculator or consult a doctor or licensed nutritionist.
 Sardines and Crackers
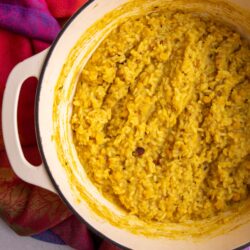 Guyanese Kitchri
 Guyanese Milk Peera
 5 Must Try Guyanese Foods
Colvin Says
Best recipe
Althea Brown Says
Thank you for trying the cheese rolls.
Hyacinth Stephen Says
Awesome work! Awesome work and time put into this.
Thank you,
Sarika Says
The pastry was bang on! Finally found myself a pastry recipe. I just needed to add more cheese…lol. I was too scared of over filling.
Charmaine Says
Hi – can you direct me to the gluten free cheese roll recipe. Thanks so much.
Mary Says
Thank you Althea for all the love, time and resources you devote to publishing your recipes for us to enoy. I look forward to trying this sometime. Can i suggest that you put the tips and notes at the top of the recipe so that one could read them before you start, there might be something mentioned that is key to making the product and it might get missed if you read it after. Also small typo in wiri wiri pepper. 🙂
thank you again.
Althea Brown Says
Hello Mary, Thank you for your comment and for catching that typo! I use a plugin for the recipes and unfortunately that’s the layout. I do, however, almost always include my tips in the blog post while I am breaking down each recipe. If you scan through there before attempting the recipe you’ll see how I made a particular dish and my “tricks and tips.” hope this helps.
Mary Says
Good idea. I will read it thru before i start. I tend to be in a rush to get going LoL.
Althea Brown Says
You’re like me when I find a new recipe. Lol