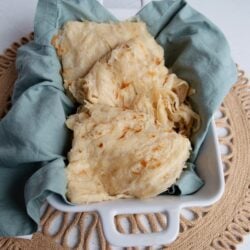
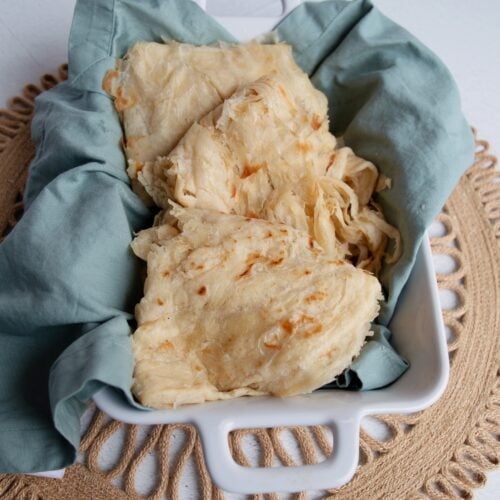
This easy Guyanese oil roti recipe for beginners makes melt-in-your-mouth paratha style flatbreads with flaky, buttery layers. Serve this popular flatbread as a side with your favorite meals.
If you’ve made roti a few times and feel like you have the hang of it, check out my more advanced Guyanese Paratha (Oil) Roti recipe.
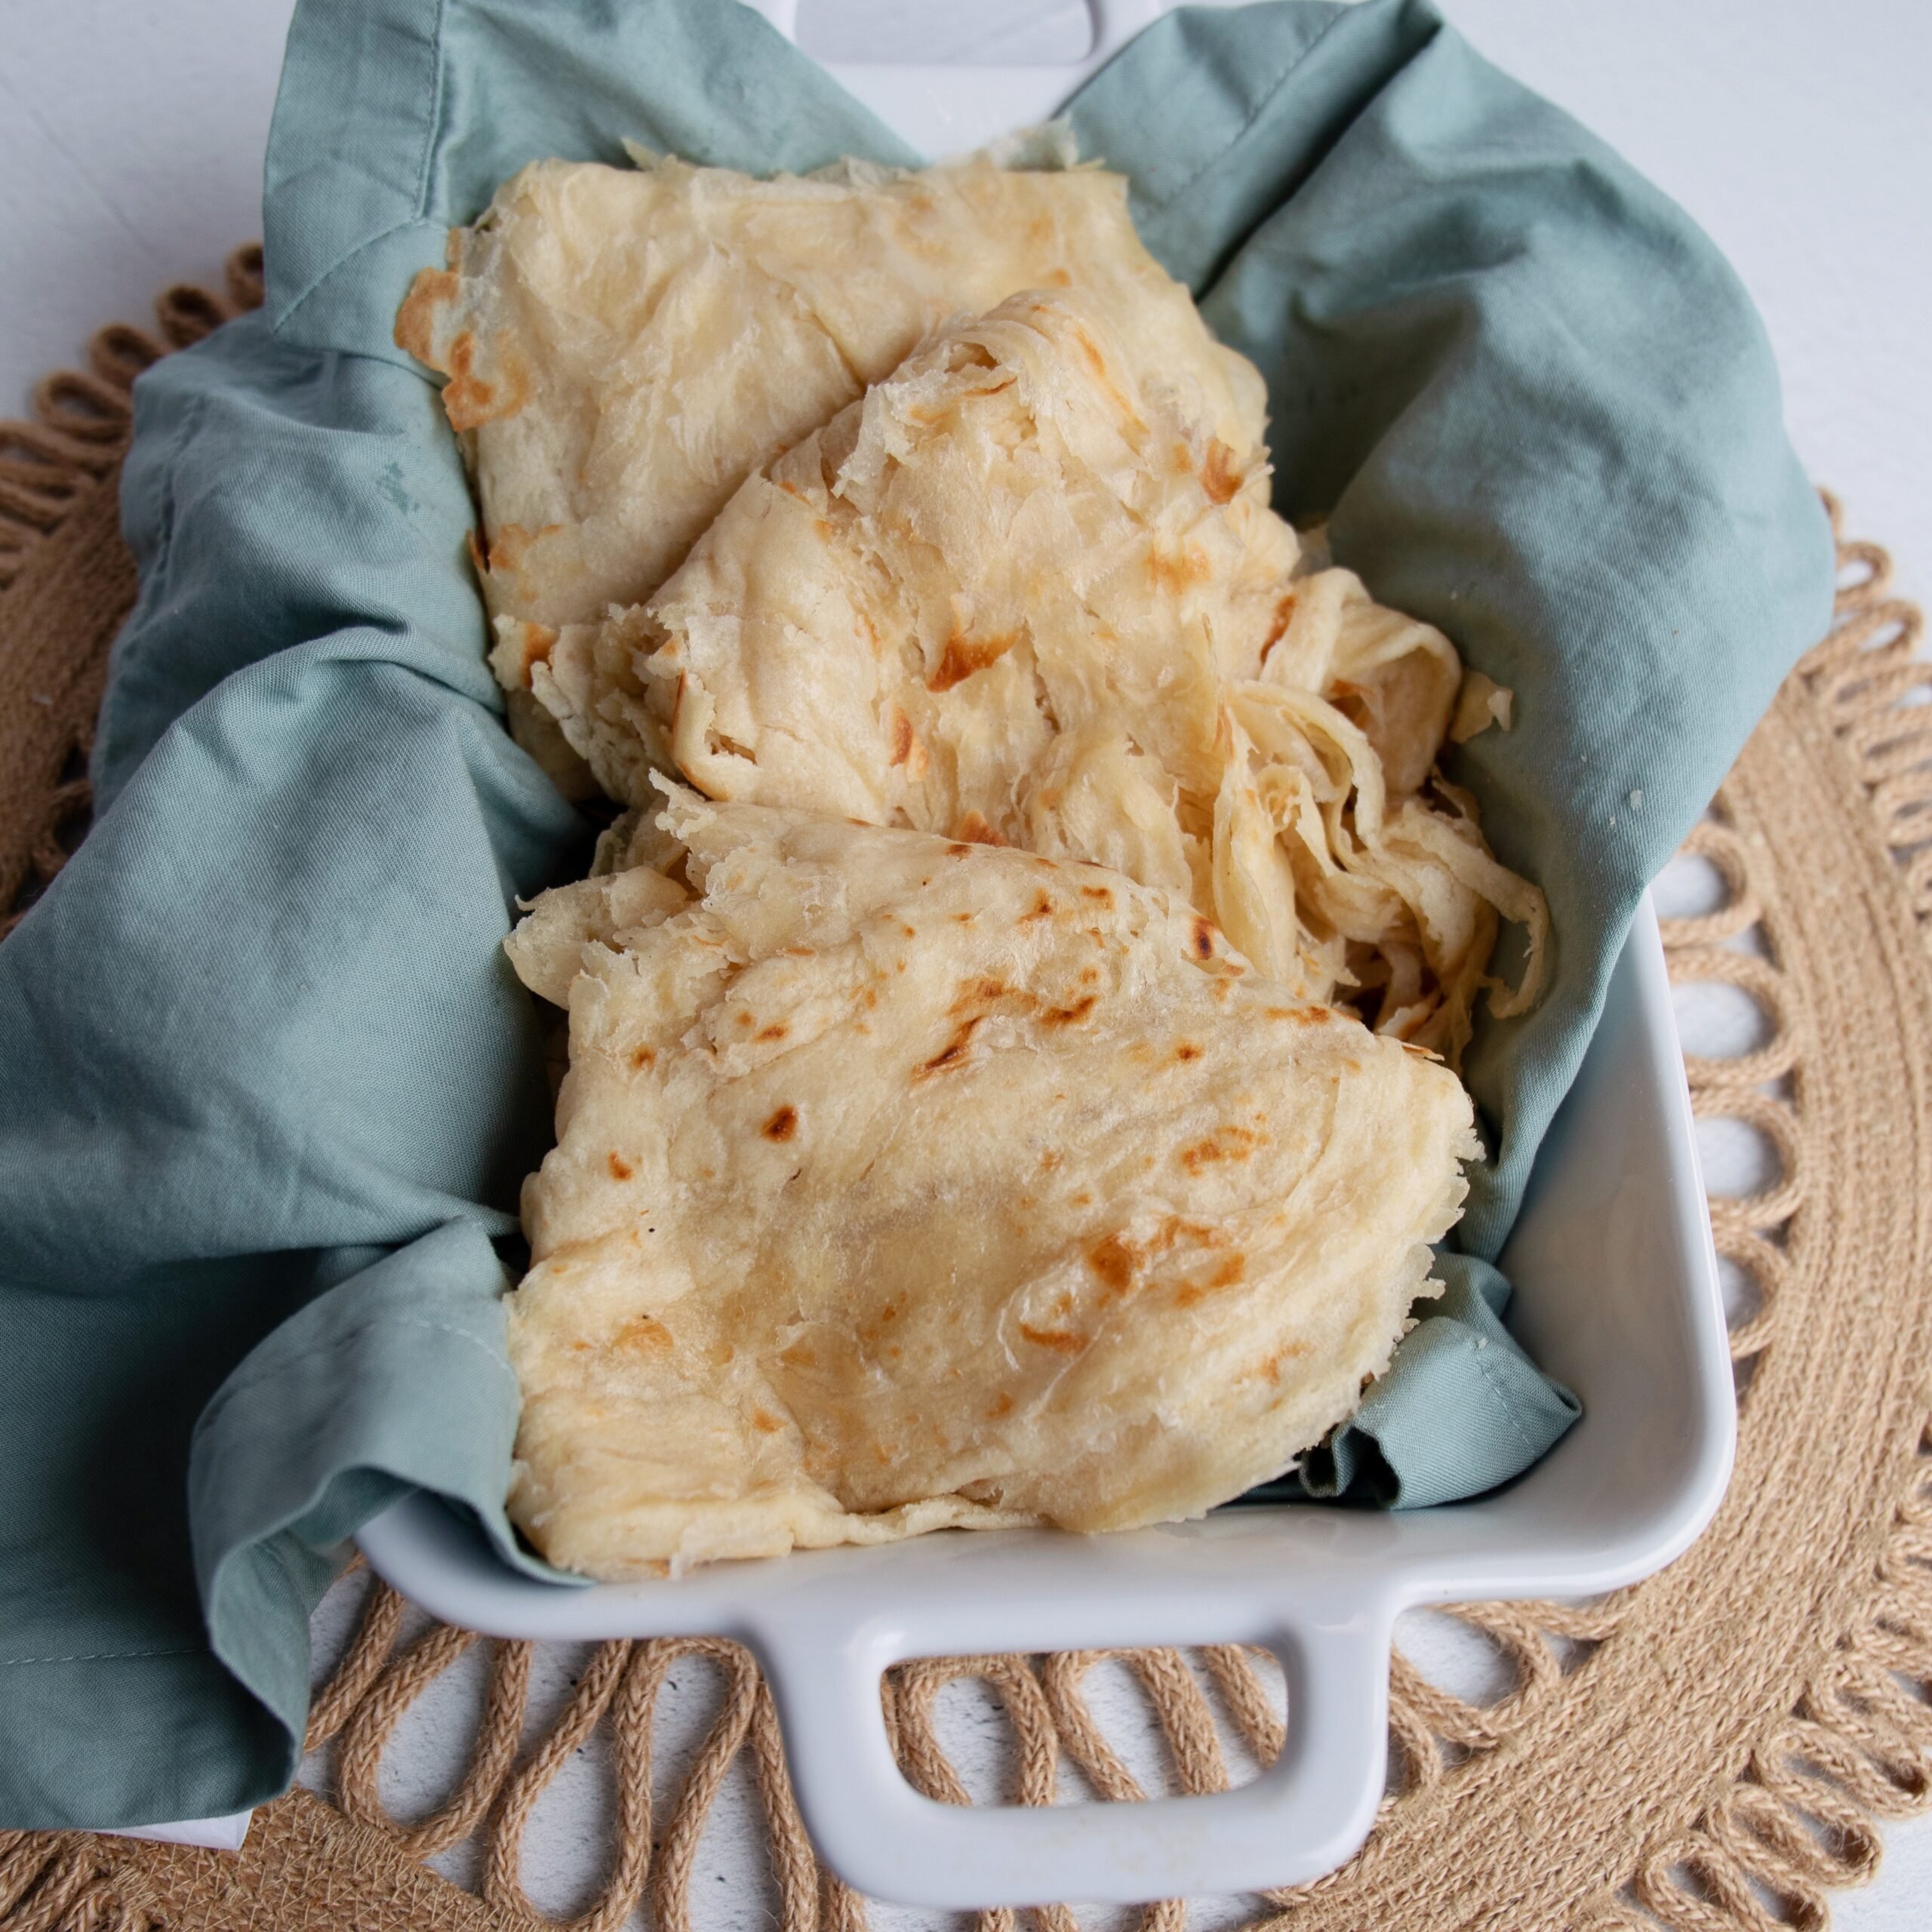
What is Guyanese Oil Roti?
Guyanese oil roti is a flatbread. It was brought to Guyana by Indian indentured laborers in the 1800s. Roti is very similar to a Malabar or Kerala Parotta. It also has many similarities with roti canai.
- What is Guyanese Oil Roti?
- Why You’ll Love This Easy Guyanese Roti Recipe
- Guyanese Oil Roti Ingredients
- Different types of fat for your Guyanese oil roti
- How to Make Easy Guyanese Oil Roti
- Roll Dough into a Log
- Square roti shaping (the easiest way to form a roti loi)
- Rest Dough and Preheat Tawah or Skillet
- Clap the Oil Roti
- Substitutions & Variations
- Equipment
- Best pan for Guyanese roti
- Tips for the Best Roti Dough for Beginners
- Storage
- Frequently Asked Questions
- Easy Guyanese Oil Roti (Paratha)
In the Caribbean roti has many names. What we call oil or clap or clap hand roti in Guyana, is also called parathas in Trinidad and Tobago and buss up shut when it is shredded into pieces. In Jamaica you may hear roti skin when referring to this roti. In other Caribbean islands you may just hear roti or paratha.
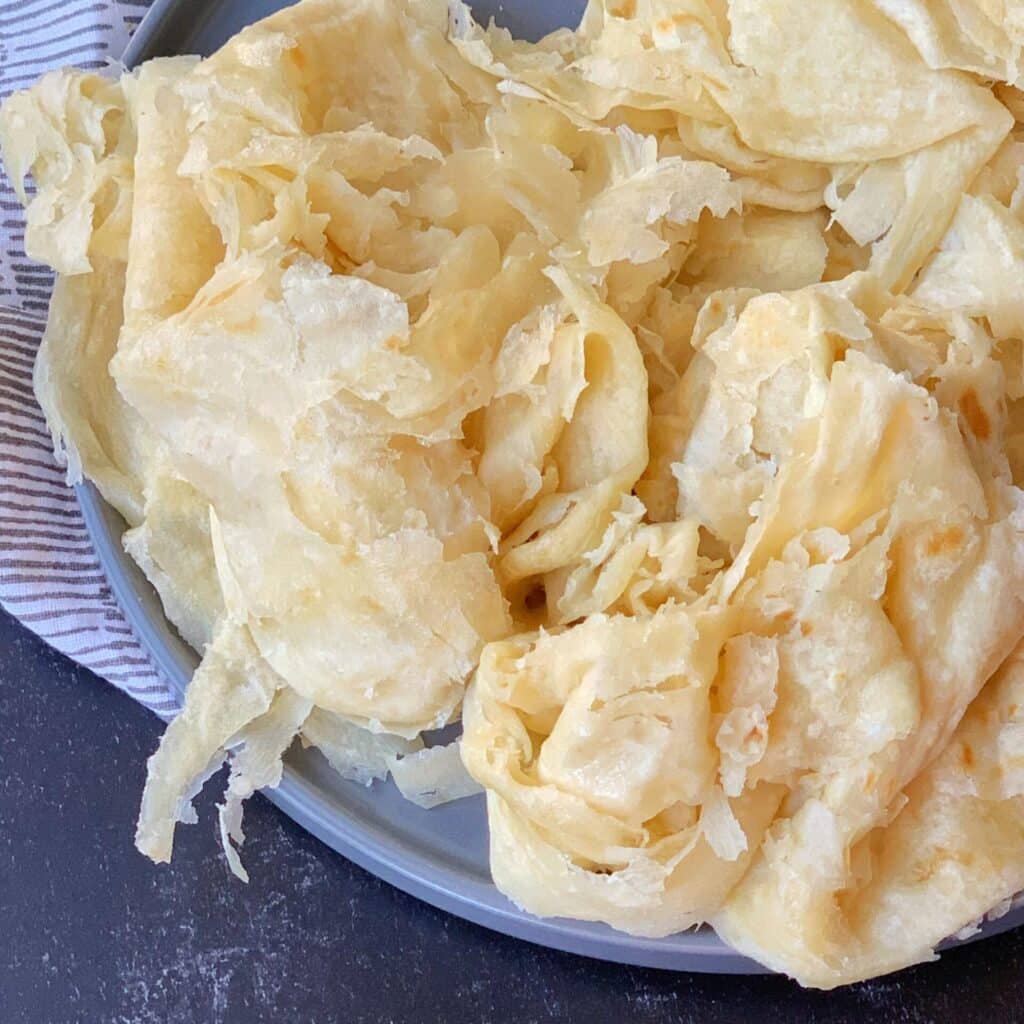
When I was growing up in Guyana, my mother made roti nearly every morning. What I found most fascinating about her daily ritual was the fact that she never used a measuring cup or utensils. Everything was made from instinct and with love.
Guyanese oil roti tastes so delicious. Making it can be daunting and takes practice. I’ve simplified some of the steps to make this the easiest roti making recipe you’ll ever try. It delivers results that even a beginner will be proud of.
Why You’ll Love This Easy Guyanese Roti Recipe
- Easy to Make: Did I mention that this recipe makes roti making easy? Making Guyanese oil roti doesn’t have to be hard. Traditional roti is made without yeast and requires a bit more time to work the dough and rest it. These step-by-step instructions ensure you make the perfect roti, with minimal effort even if it’s your first time.
- Delicious: Although this recipe includes some shortcuts, the taste and texture is authentic. No one will be able to tell you took the non-traditional route to make it.
- Versatile: You can eat roti for breakfast, lunch, dinner, or a snack. Enjoy it as is, with a pat of butter, or serve it with your favorite saucy dishes.
Guyanese Oil Roti Ingredients
Making Guyanese roti doesn’t require many ingredients. I guarantee, you already have most if not everything that you need already.
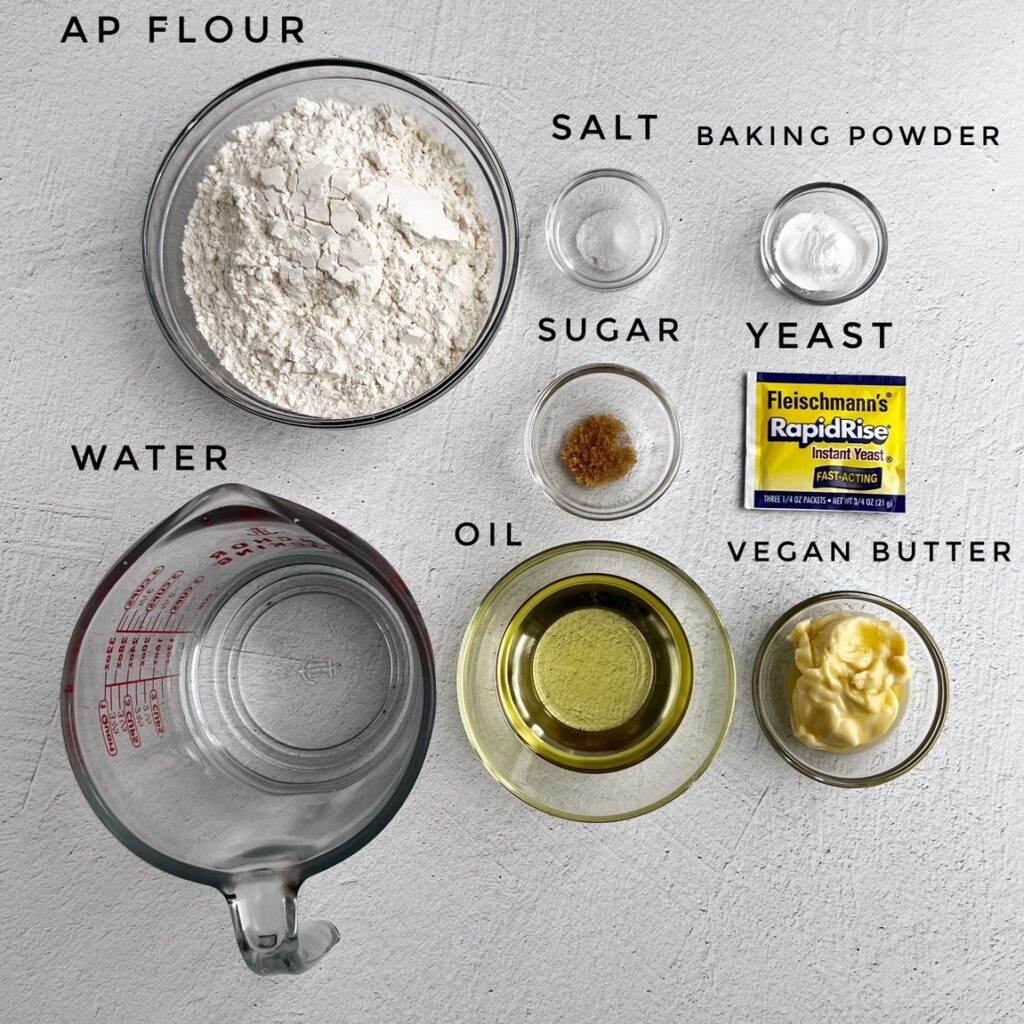
- All purpose flour: You will need an additional 1 cup for dusting.
- Baking powder: This leavening agent creates pockets of air as soon as the roti hits the hot pan. It makes the bread fluffy.
- Rapid rising yeast: This ingredient is the key to having a soft roti on your first try
- Warm water: About 110°F is good. Warm water makes the dough easier to work with and also yields softer, fluffier bread.
- Room temperature fat: Use vegan butter, ghee or oil. Below I go into detail about each option.
- Cooking oil: Use a high heat oil like Sunflower, avocado or vegetable.
- Sugar: You won’t taste it but this activates the yeast and keeps the dough soft for longer.
- Salt: This enhances the overall flavor so don’t skip it!
See recipe card for quantities.
Different types of fat for your Guyanese oil roti
Most Guyanese people use vegetable oil or ghee to make the lois (cone shaped roti dough). My mother uses oil and melted butter combined, and that’s what I used for a long time. In this recipe I used vegan butter (Earth Balance Soy Free Butter) and I loved the layers of the roti with the vegan butter. You can also use a light oil like sunflower oil, avocado, light tasting olive oil or vegetable oil.
How to Make Easy Guyanese Oil Roti
Make the Dough
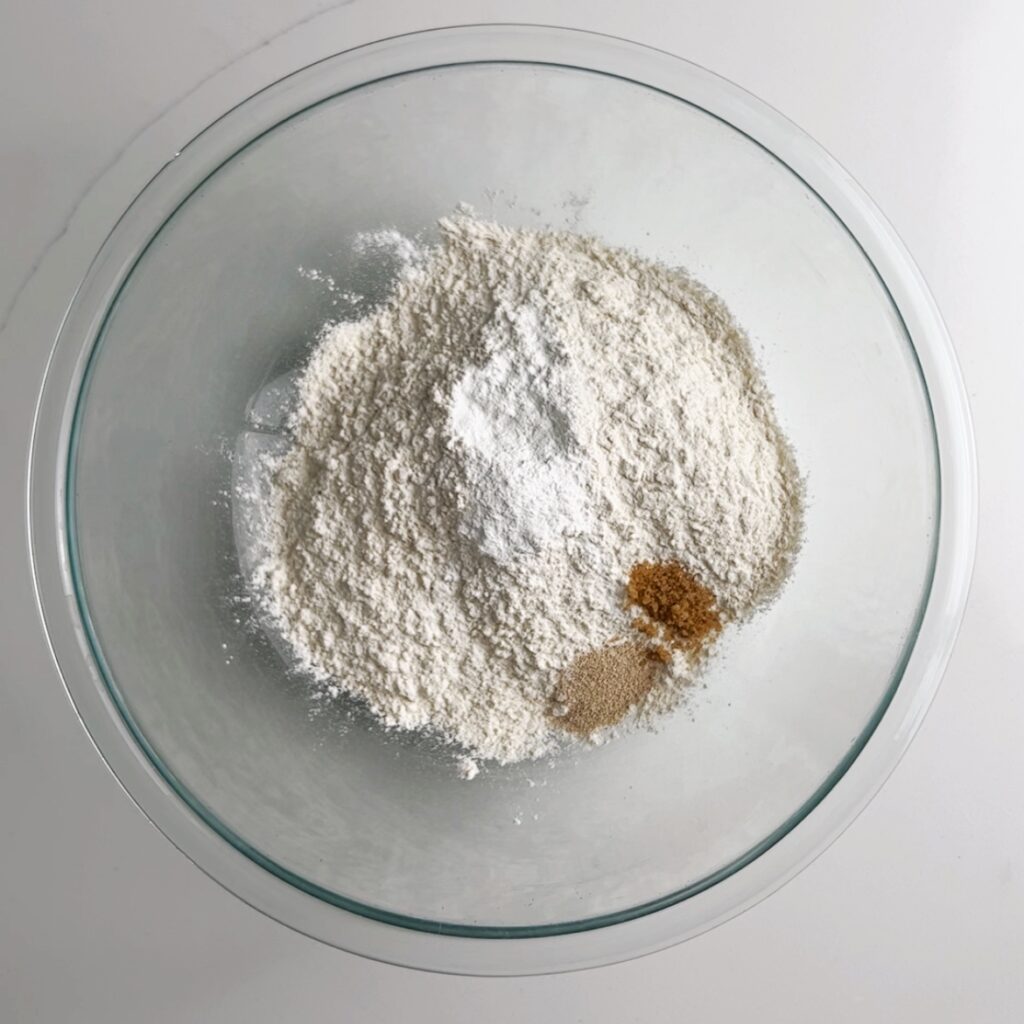
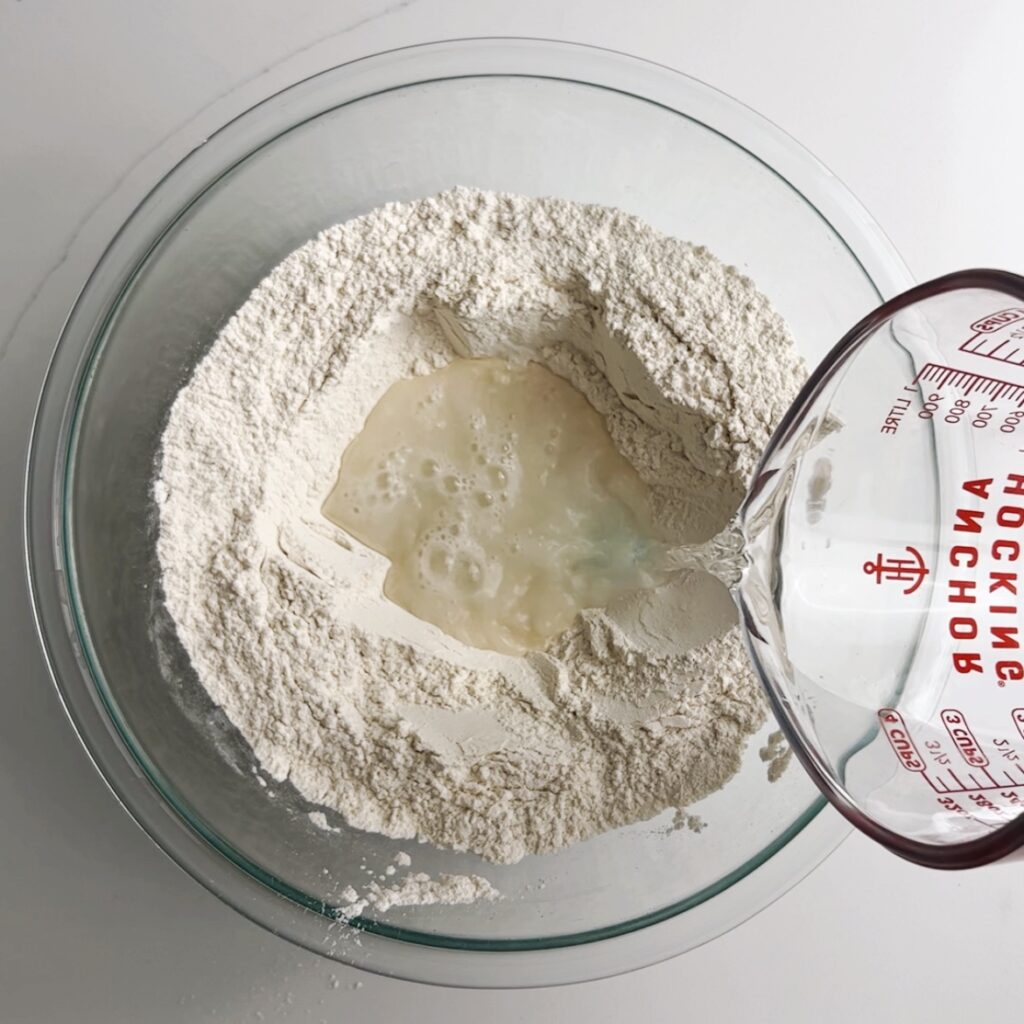
In a large mixing bowl add the flour, baking powder, salt, sugar and rapid rising yeast. Mix together with a whisk until combined. Then make a well in the center of the flour mixture and add the warm water. Use a silicone spatula to mix the water and flour together to form a soft dough ball. This is my easy no knead method
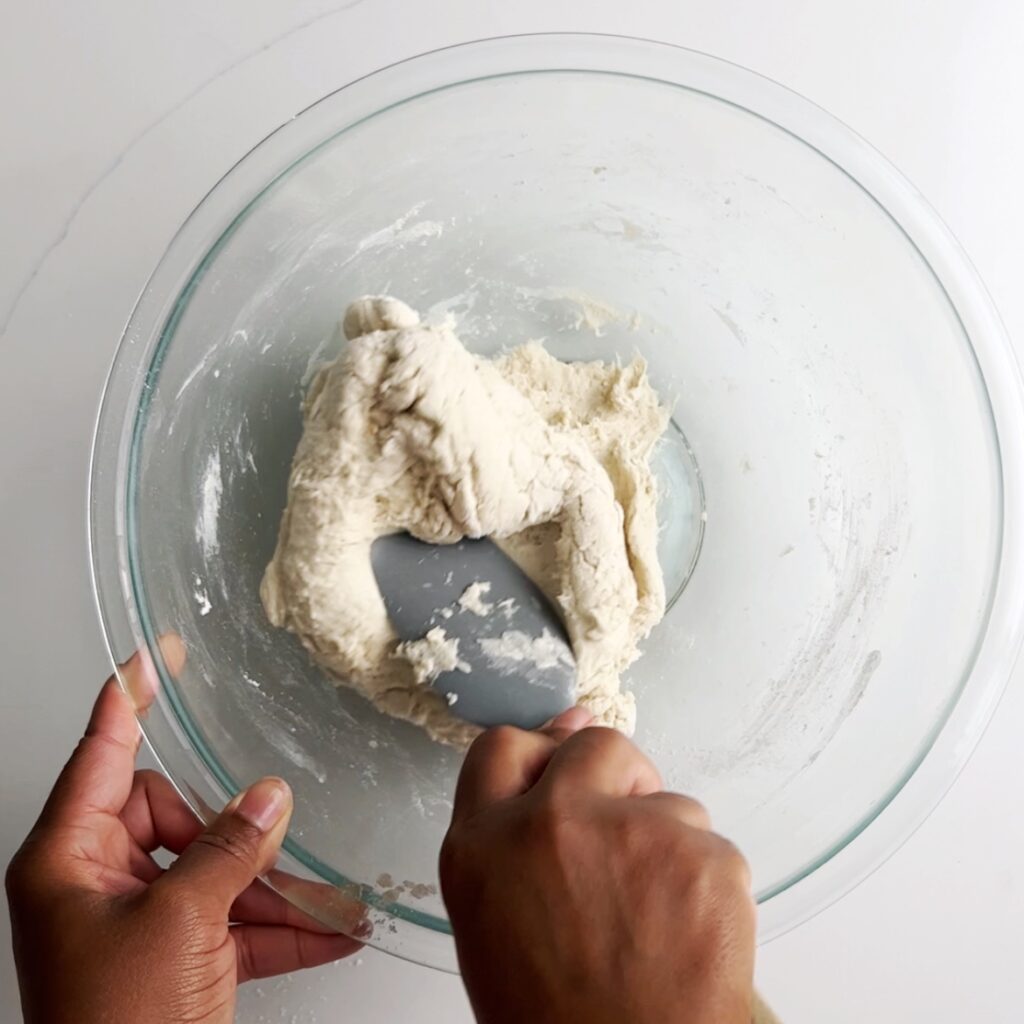
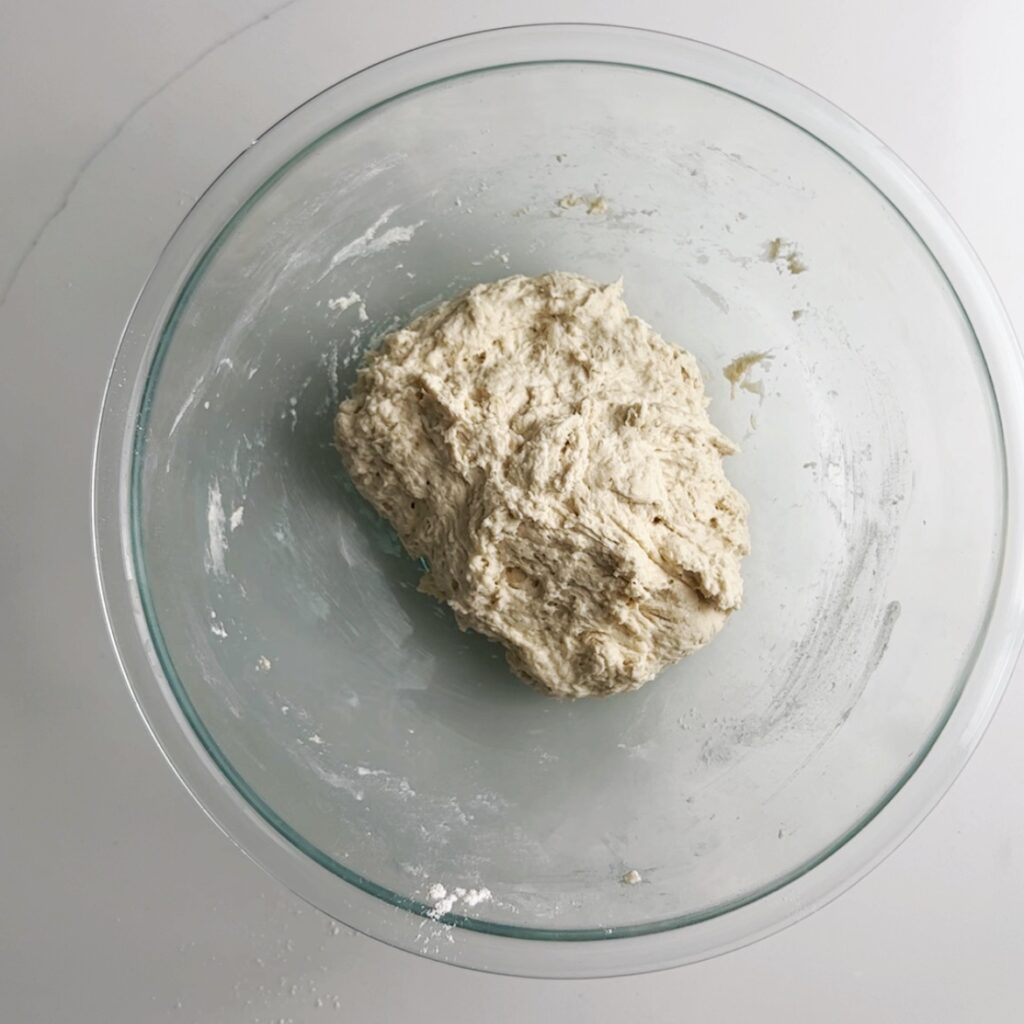
Form a Dough Ball
Cover the dough ball with a kitchen towel and let rest for 20-30 minutes. After the dough has rested for at least 20 minutes, divide the dough into 5 equal pieces.
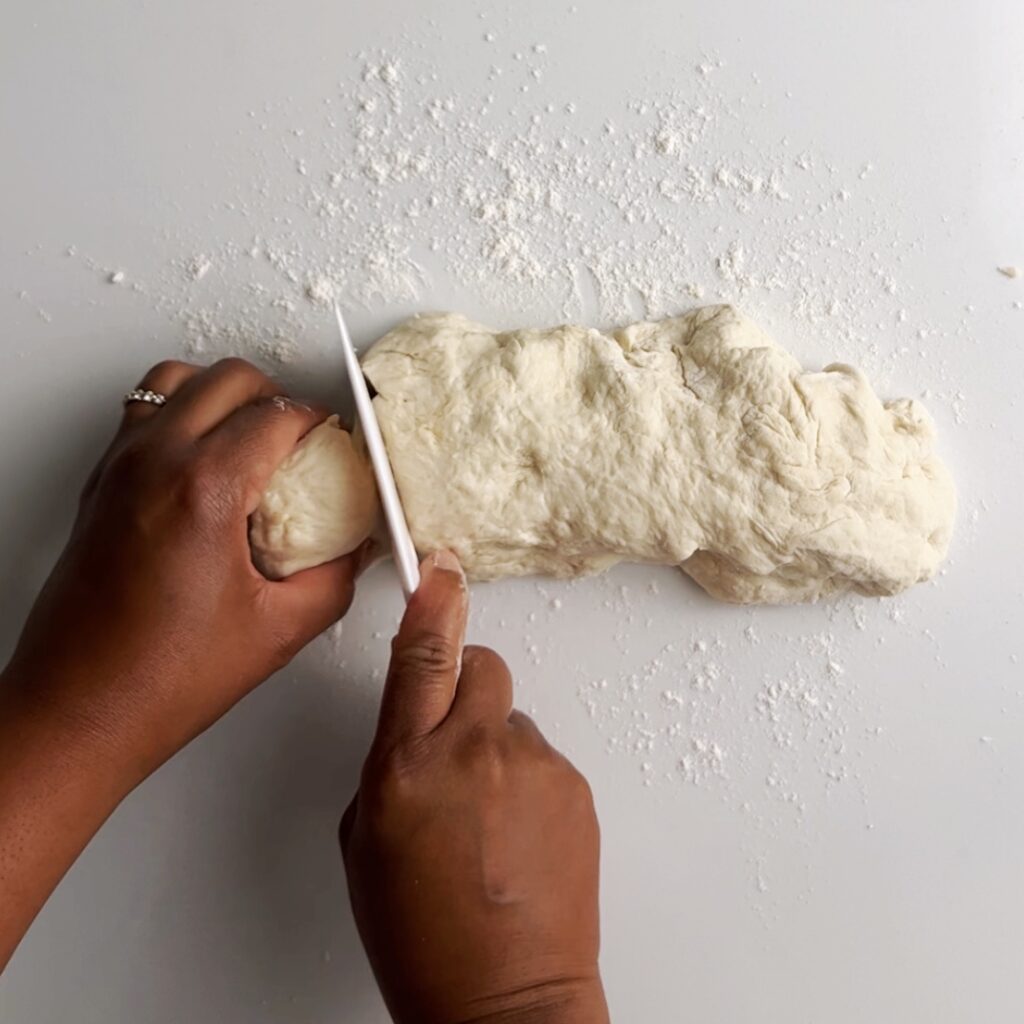
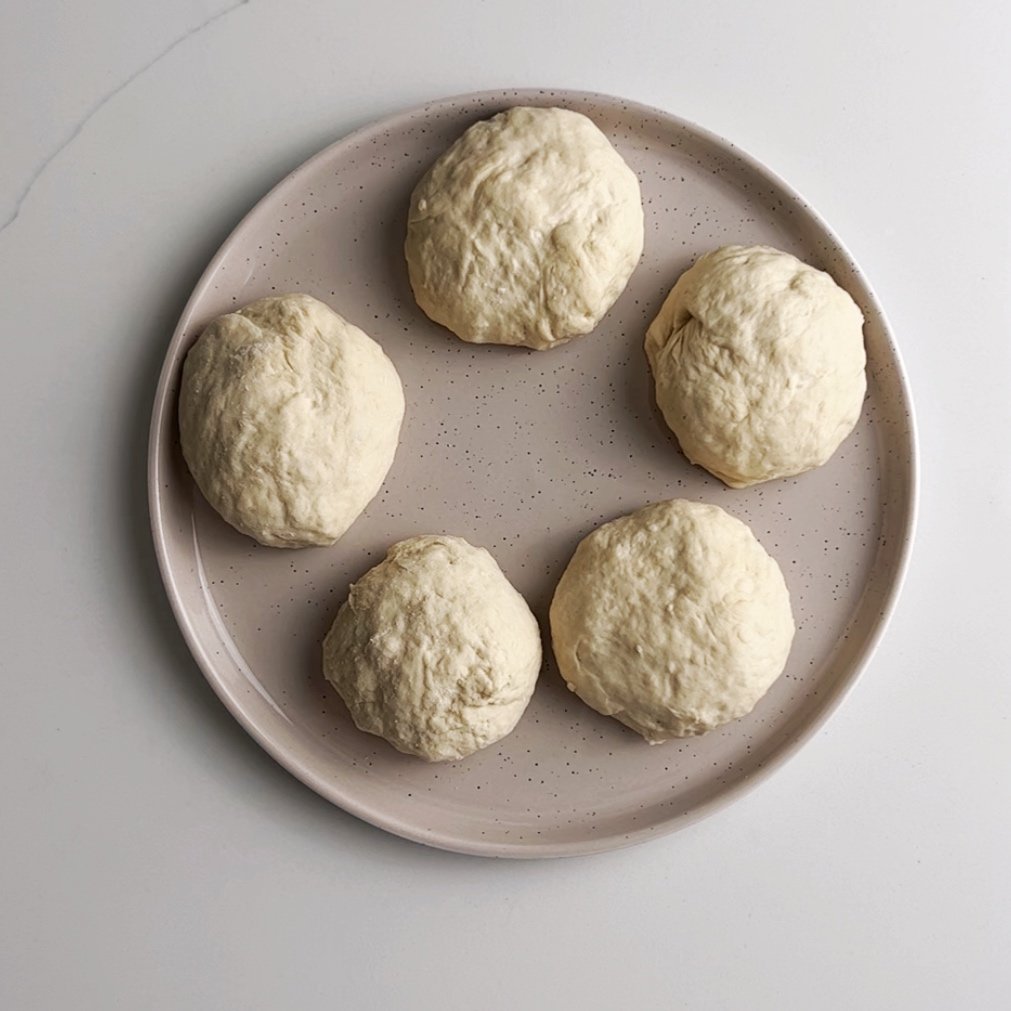
Easy way to create layers in the roti dough
On a floured surface, roll a piece of dough out until it is a large, round, flat disk (like a large tortilla). Add about 1 tablespoon of fat to the rolled out dough, brush the fat over the entire surface of the rolled out dough. Then sprinkle with about 1/4 teaspoon of flour.
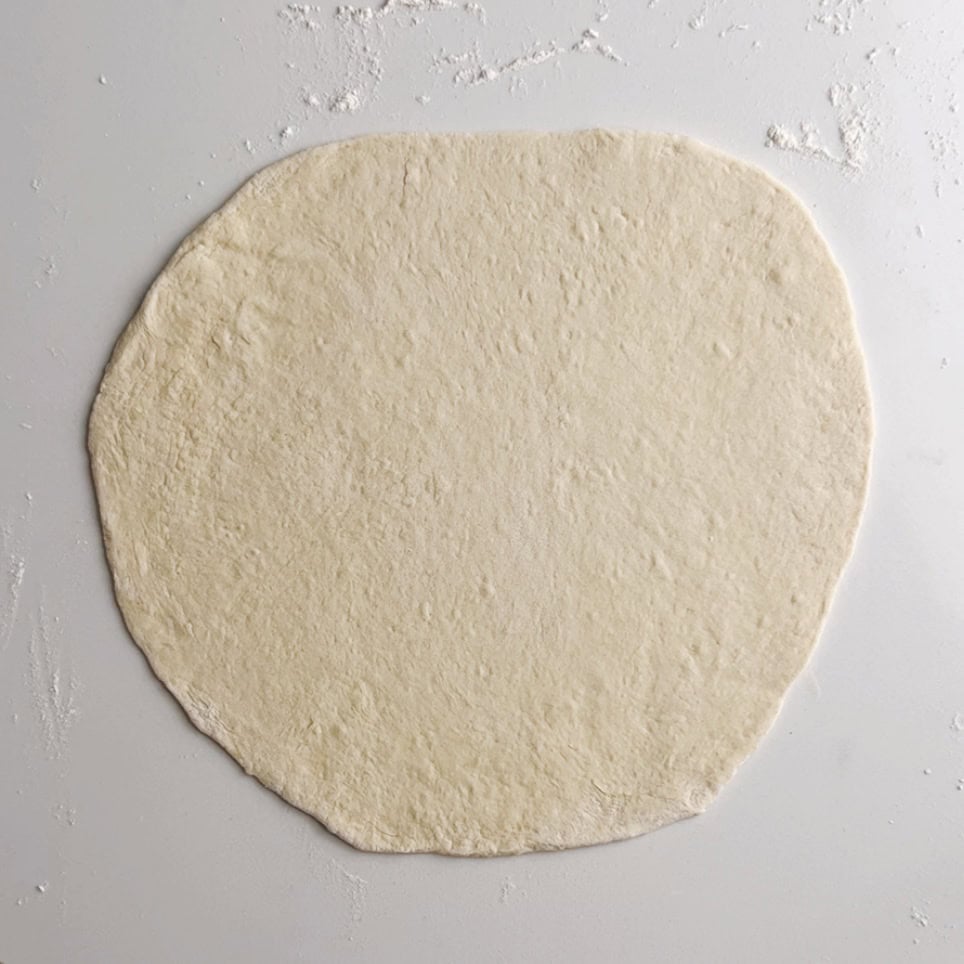
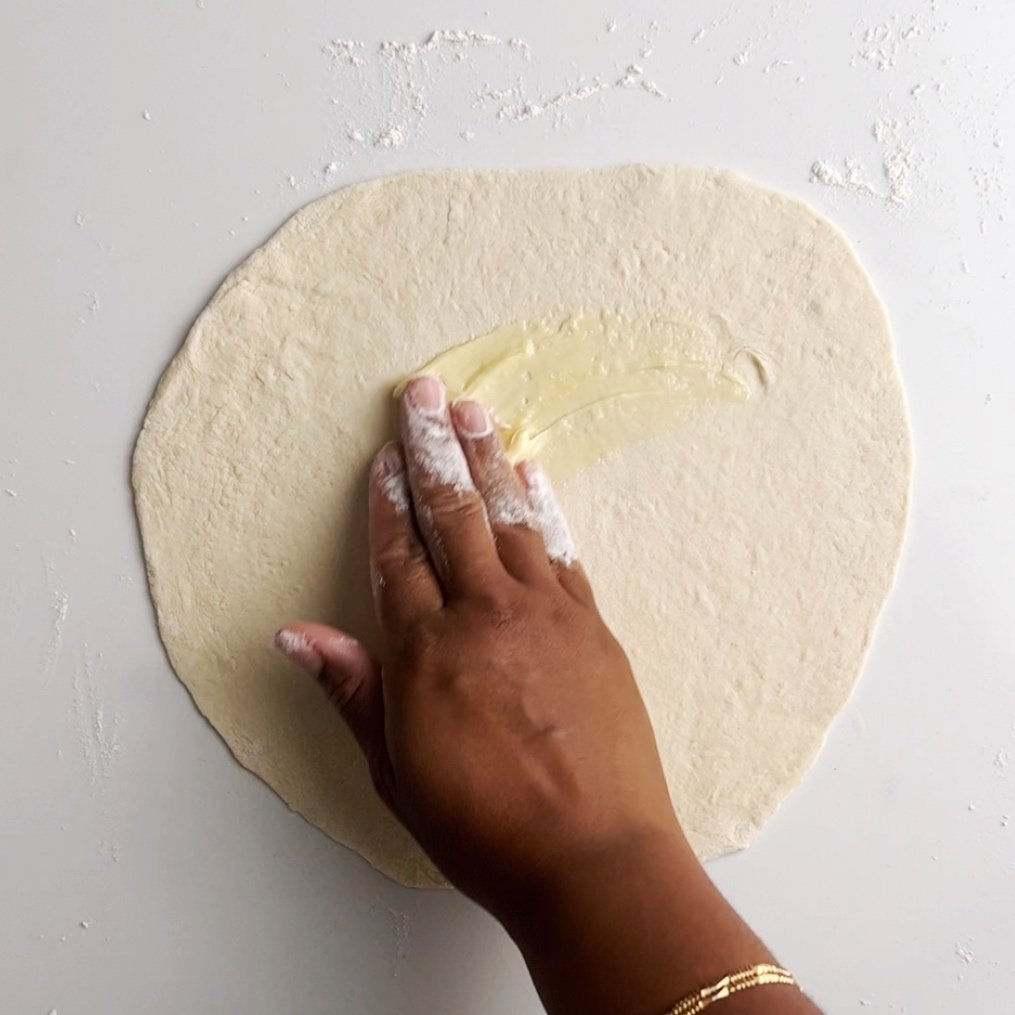
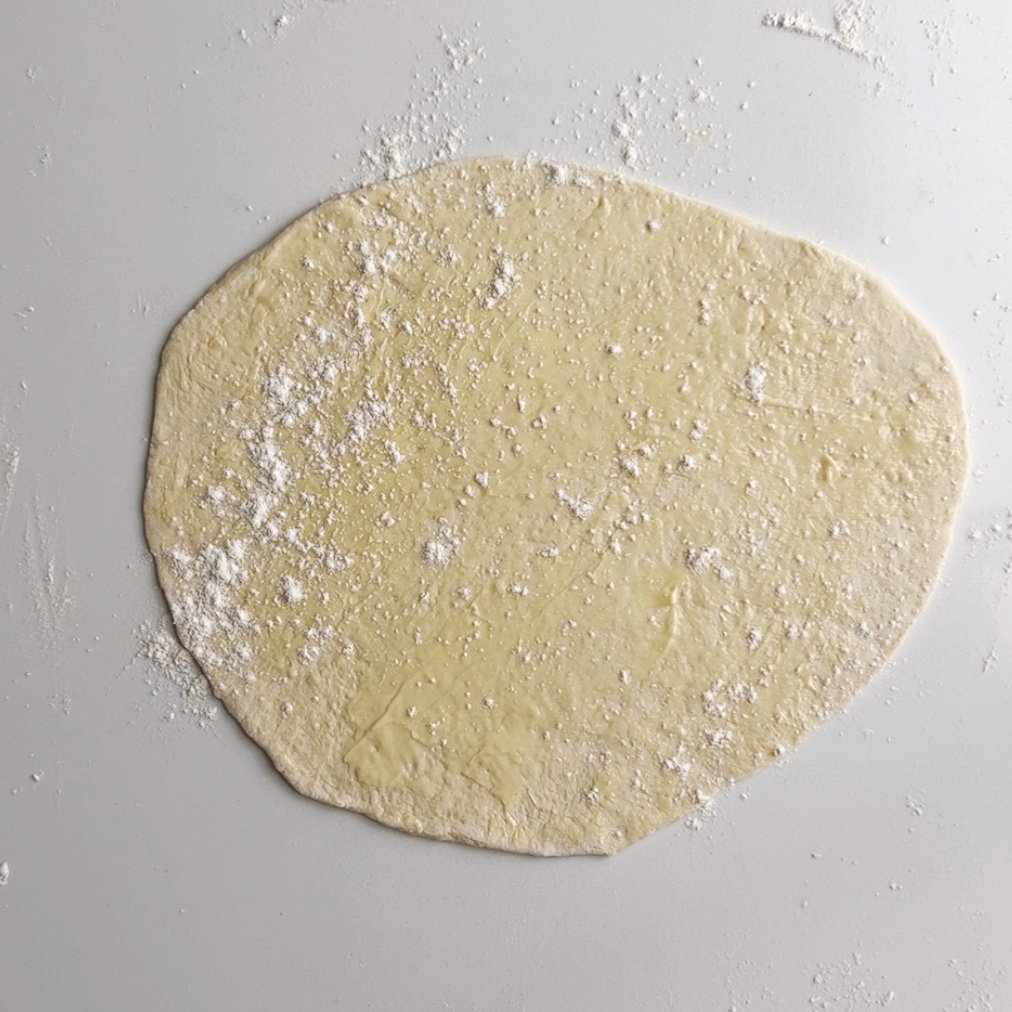
Roll Dough into a Log
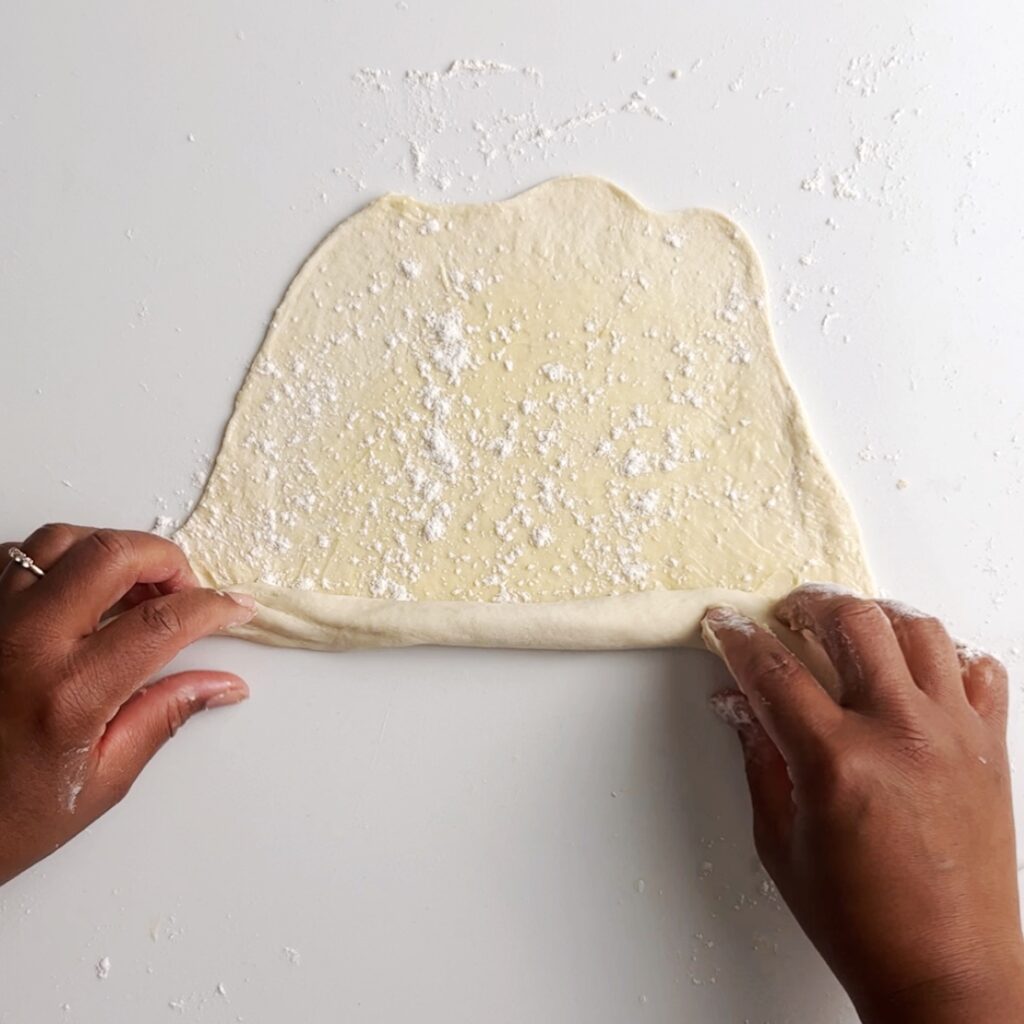
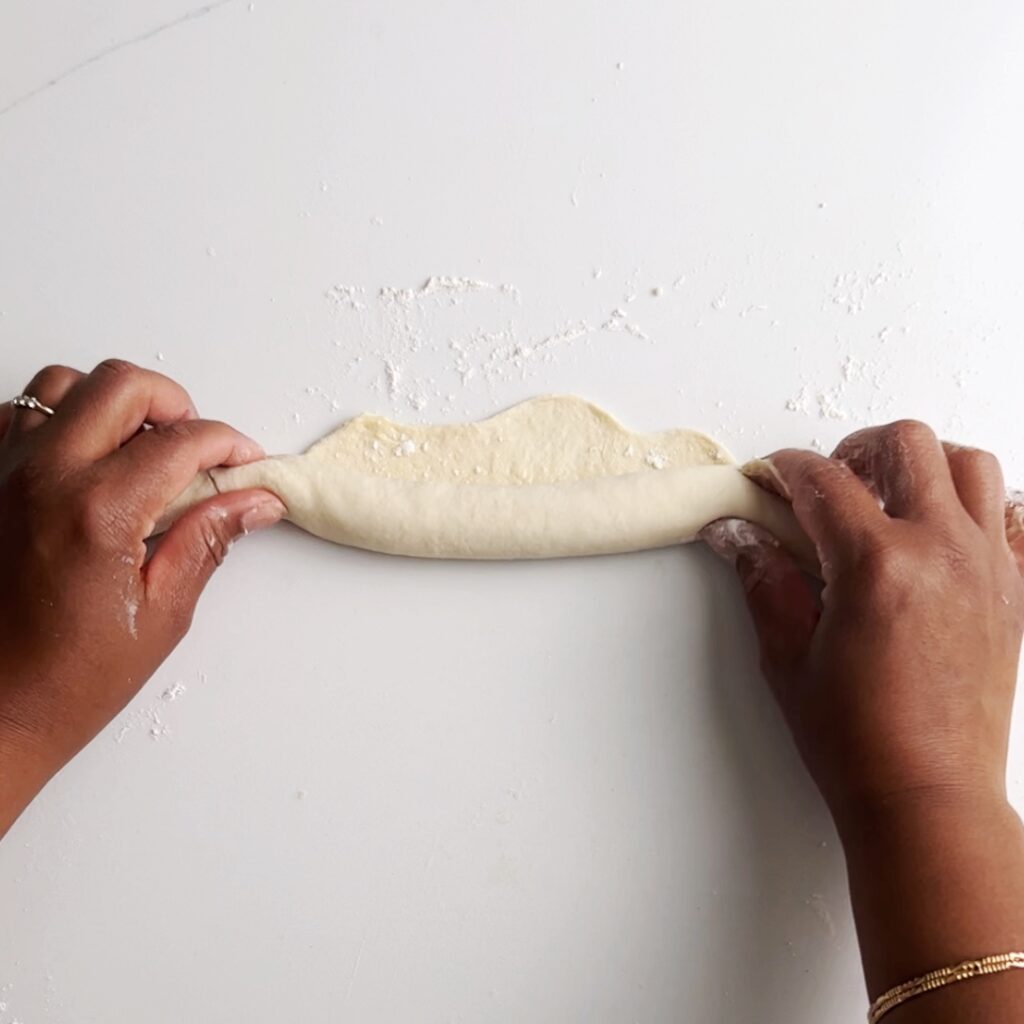
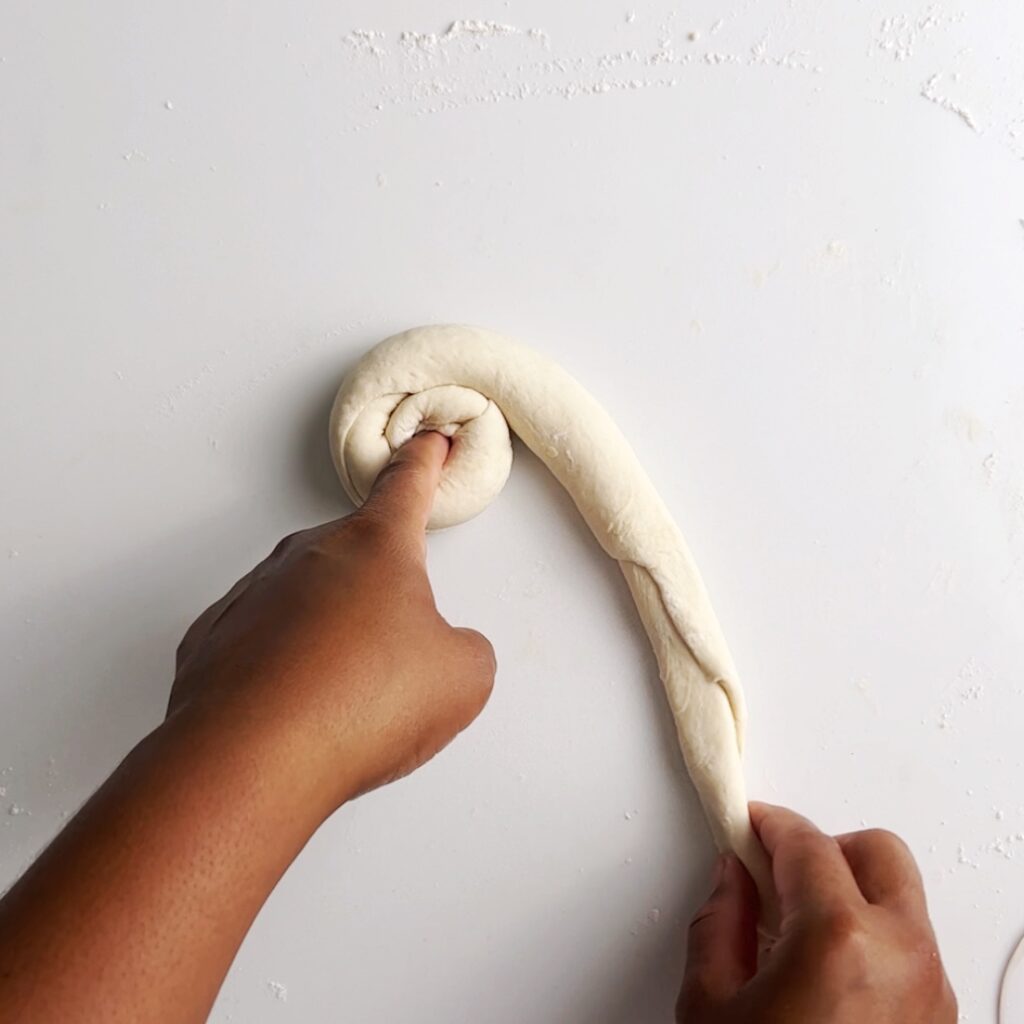
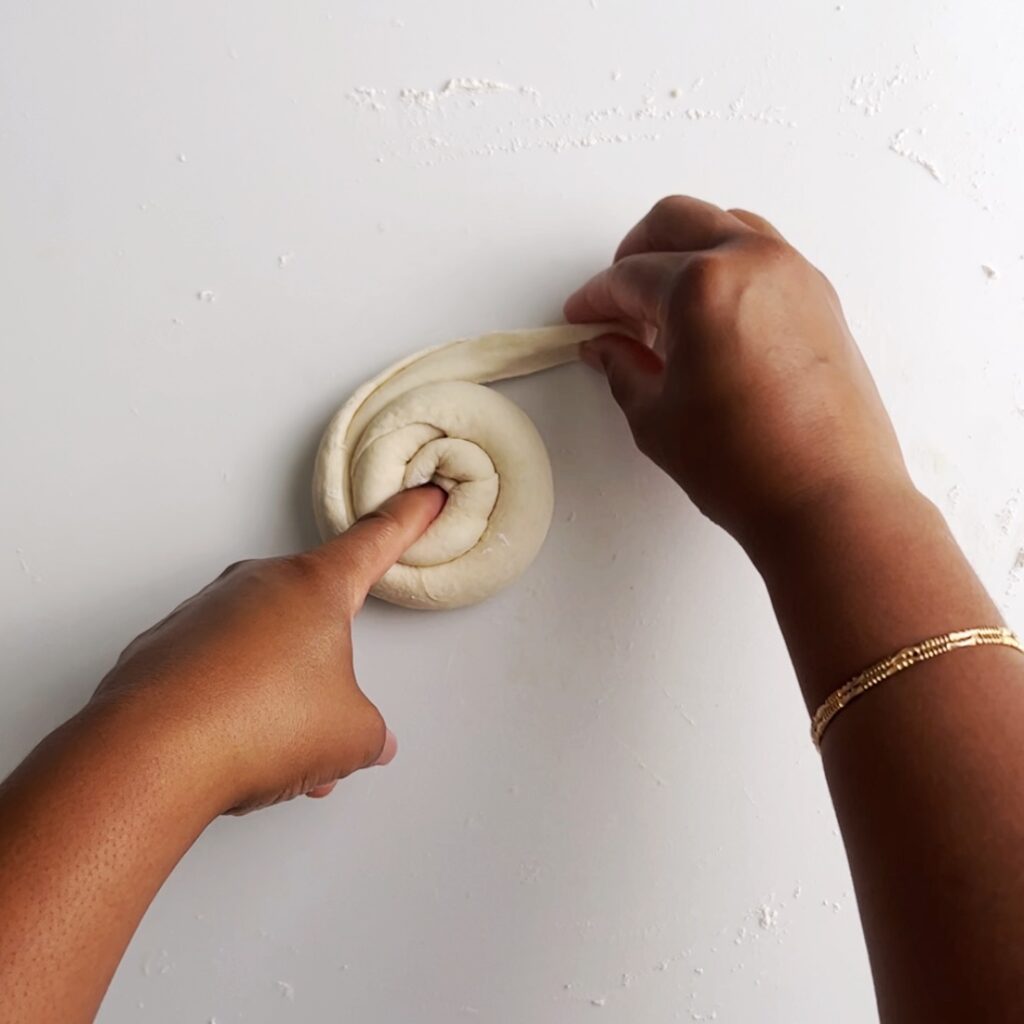
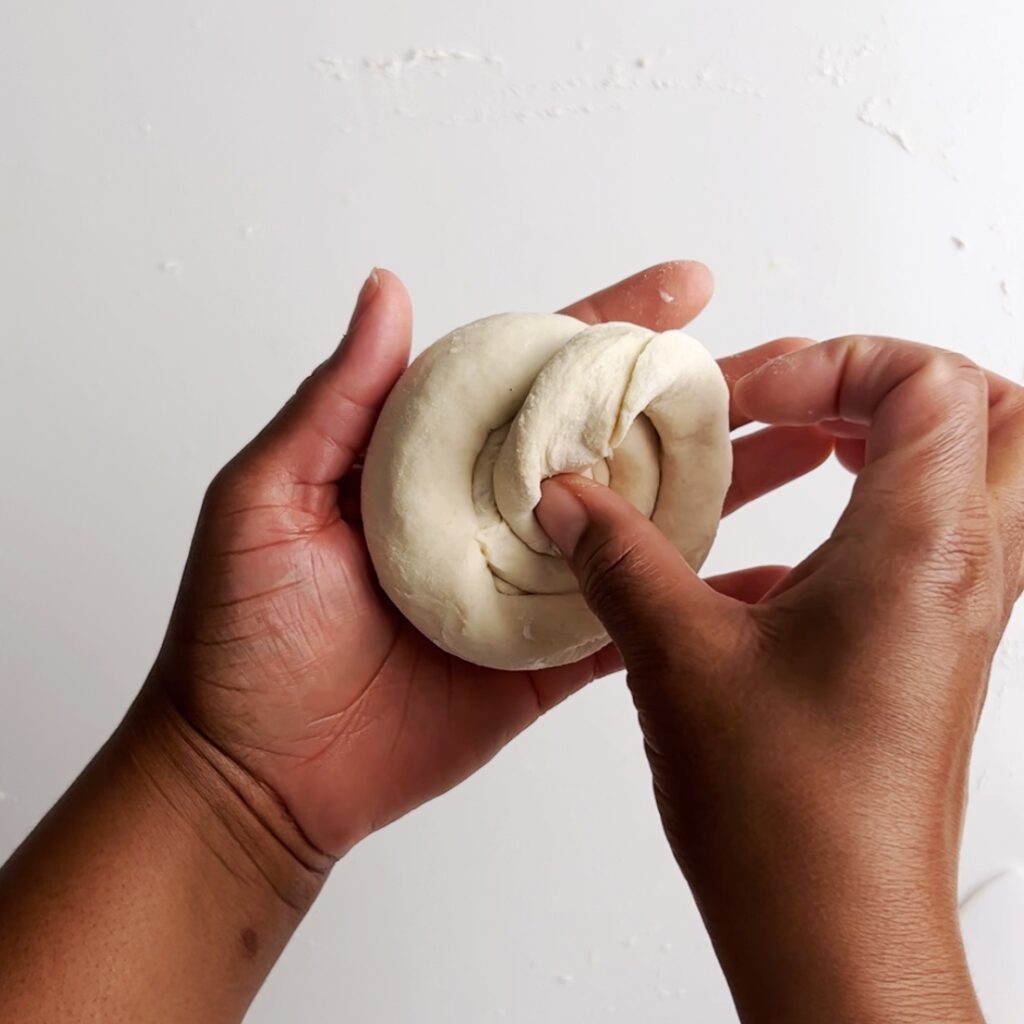
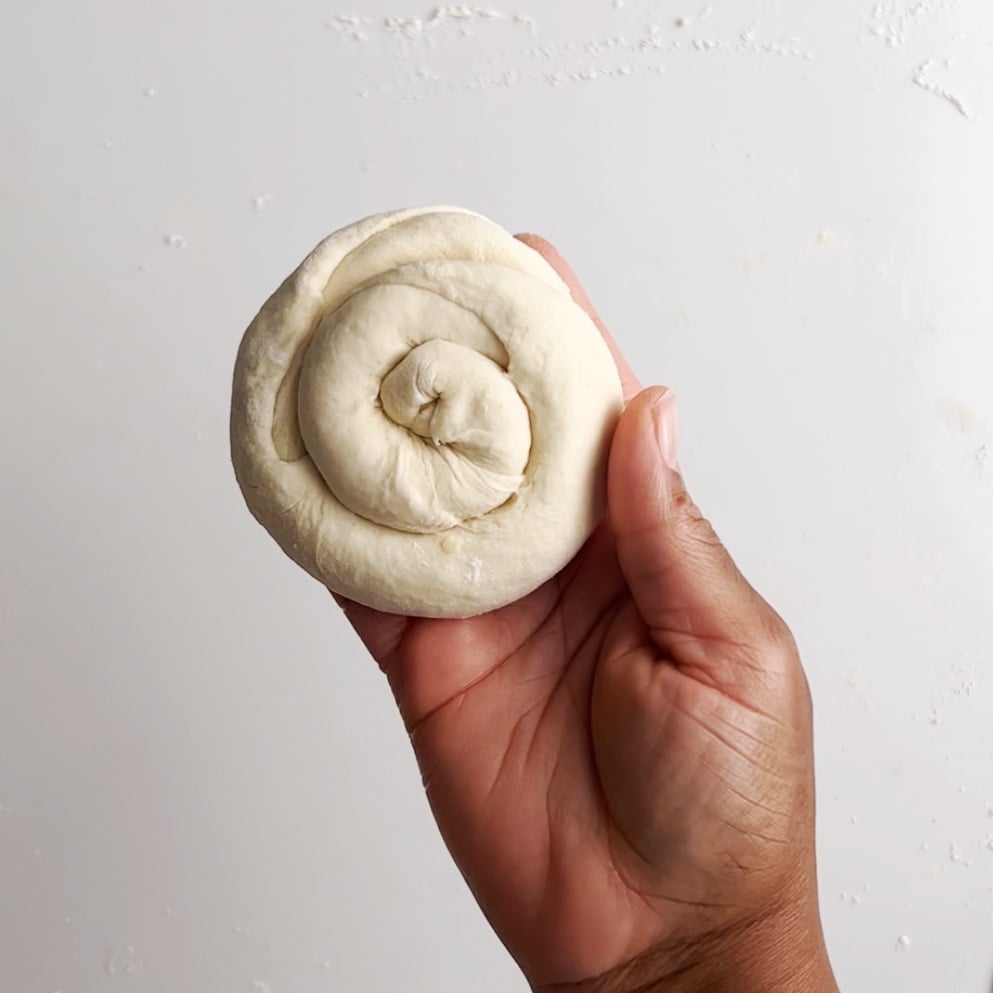
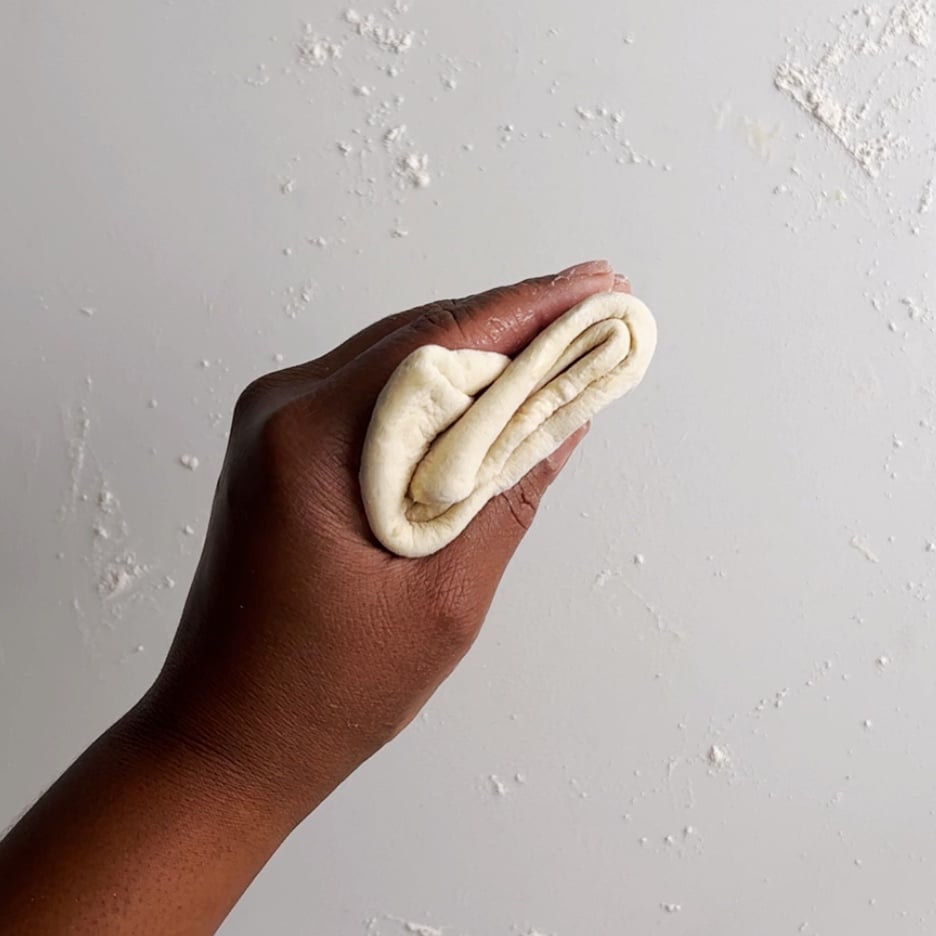
Then roll dough into a log. Next, Swirl the dough log around your finger to form a circular dough ball that looks a lot like a cinnamon roll. Then tuck the loose end of the log into the bottom of the rolled up dough. Repeat for other 4 pieces of dough. Want to learn how to make the traditional cone shaped loi? Then check out my traditional Guyanese oil roti recipe.
Square roti shaping (the easiest way to form a roti loi)
I was 9 years old when my mom taught me how to make roti. “The easiest way to form the loi (layered roti dough) is to make it into a square,” she told me. So here it is the easiest roti shape you will ever make.
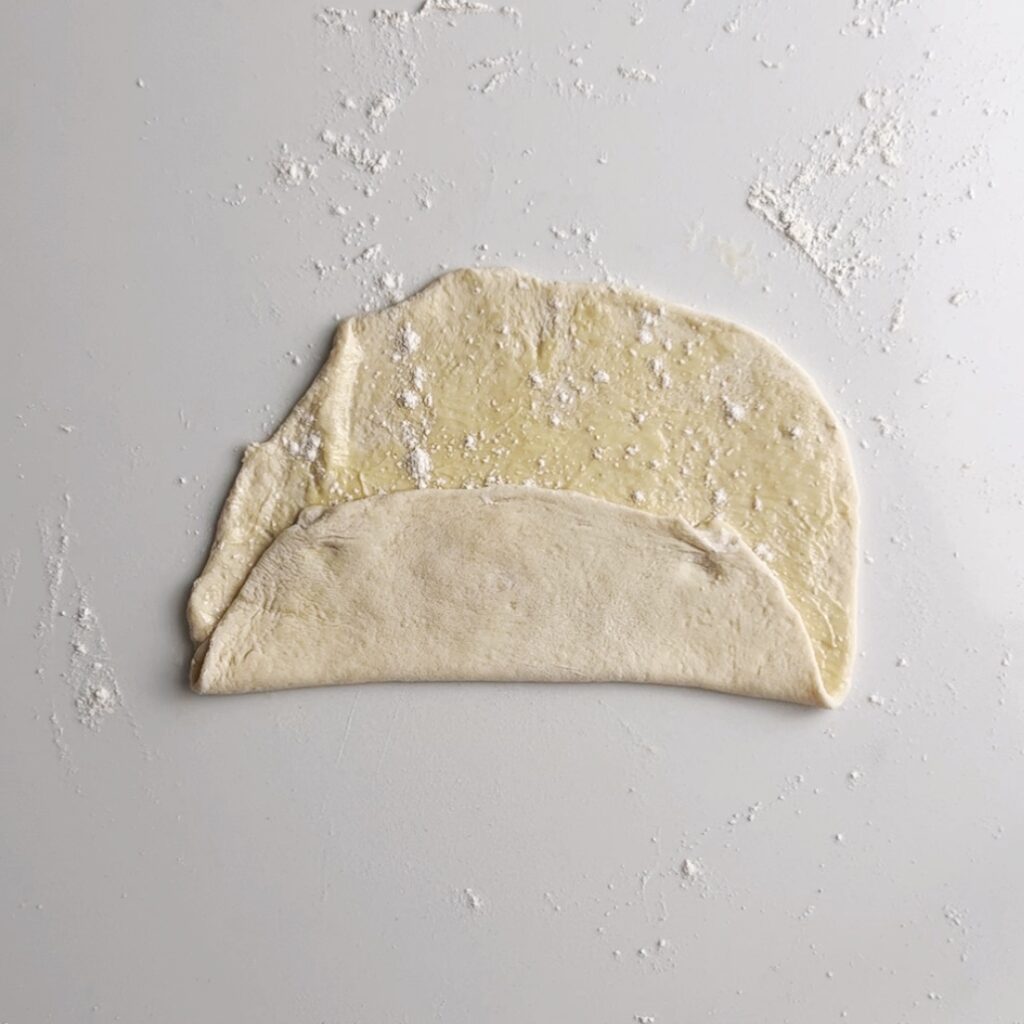
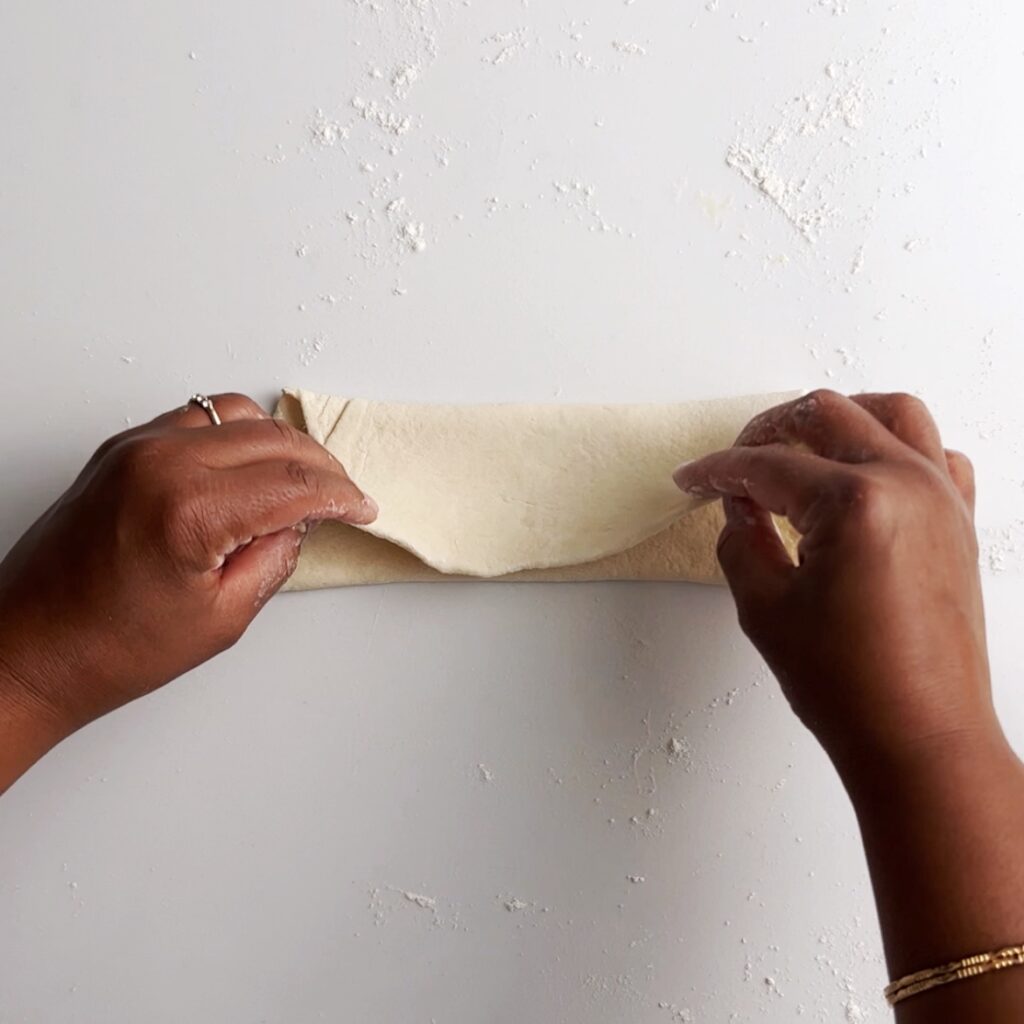
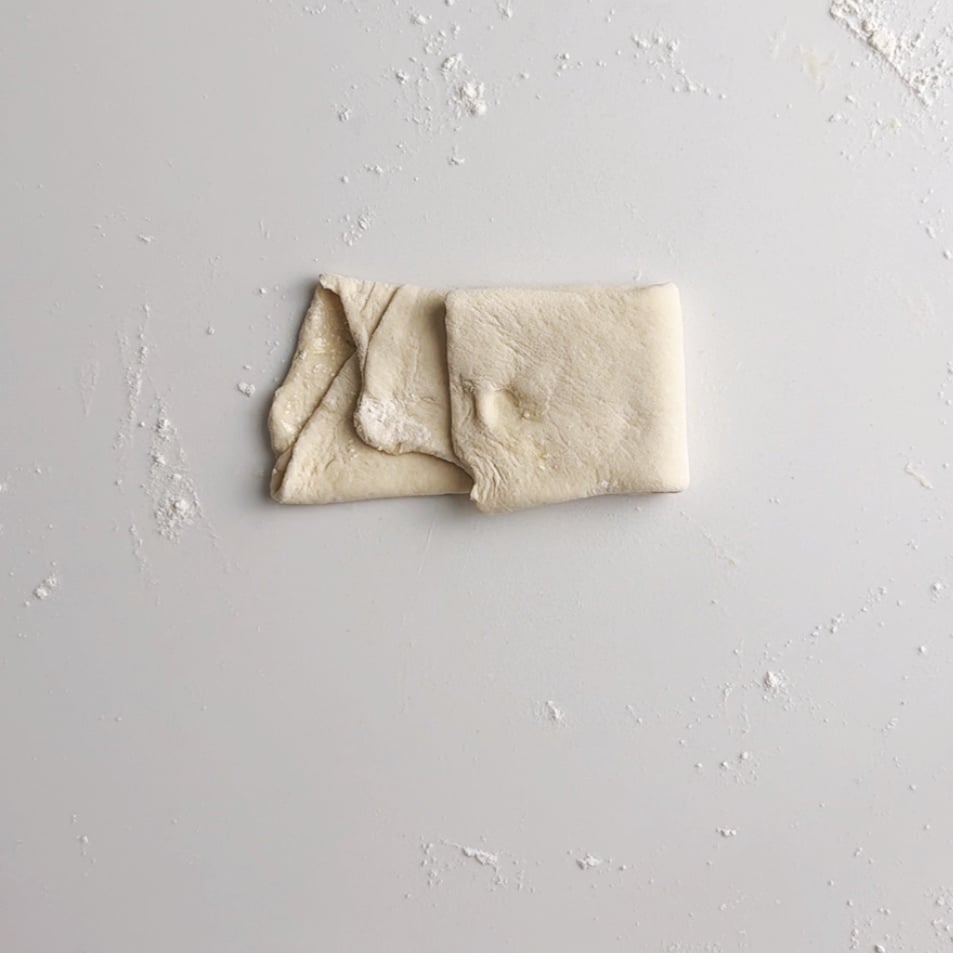
Start by folding one end of your buttered and floured flatted roti dough up to the center. Then fold the other end over to meet the edge of previous fold. Next, the right edge over to meet and the center. Then fold the left edge to meet the right fold.
Rest Dough and Preheat Tawah or Skillet
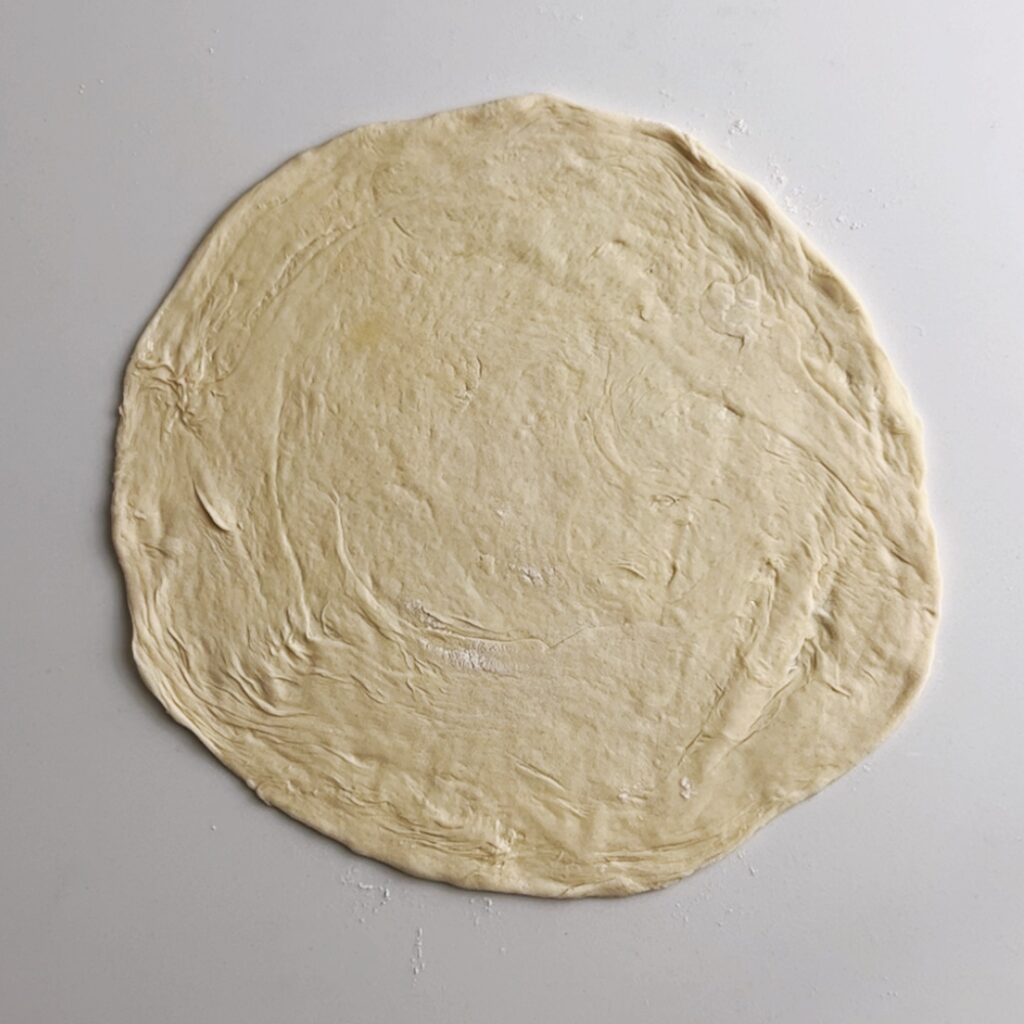
Cover and let sit for 5 to 10 minutes. Preheat a large skillet / tawah (traditional cast iron skillet for roti) on medium heat. Roll out one of the buttered roti doughs (oiled off roti) into a large thin disk, about ⅛ inch thickness (like a large tortilla).
Cook the Guyanese Oil Roti
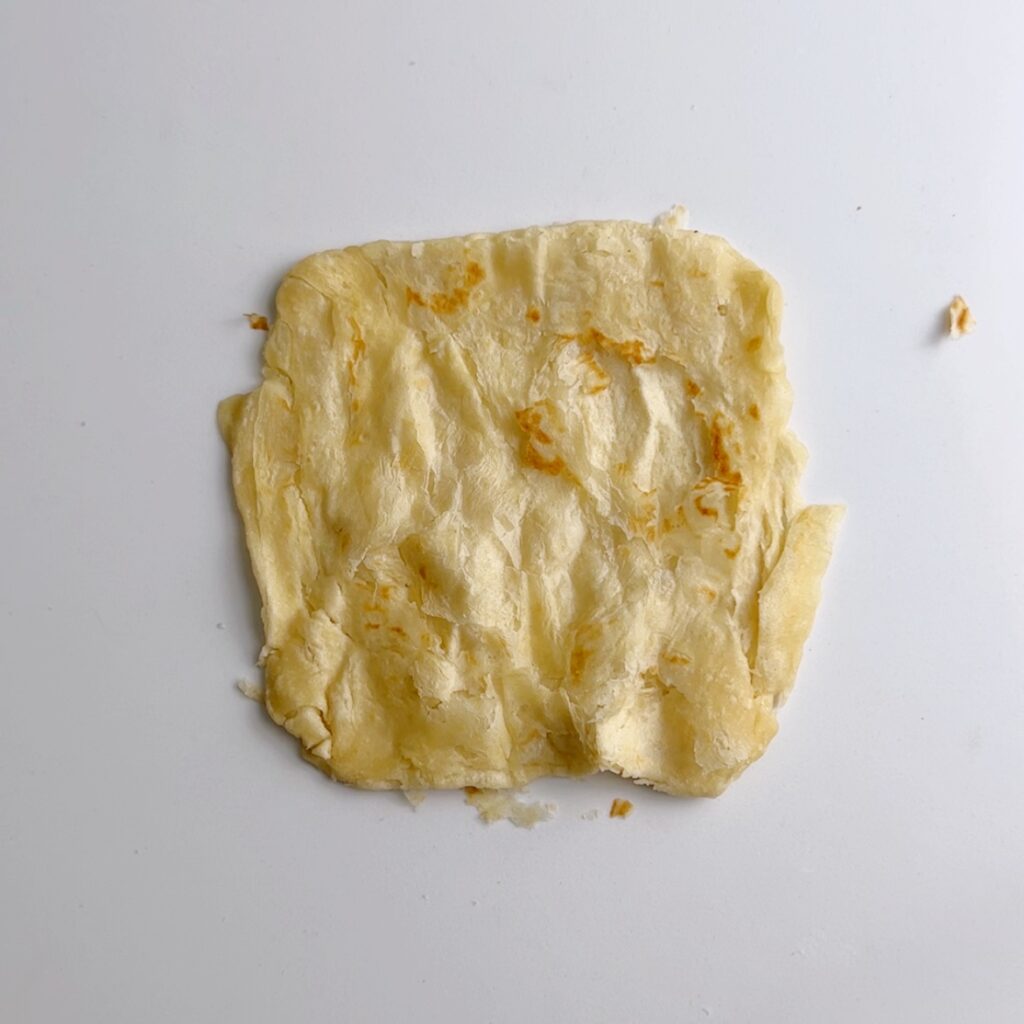
Place roti on the warm skillet or tawah. Cook until tiny bubbles / air pockets appear on the top of the roti (for about 30 seconds to 1 minute).
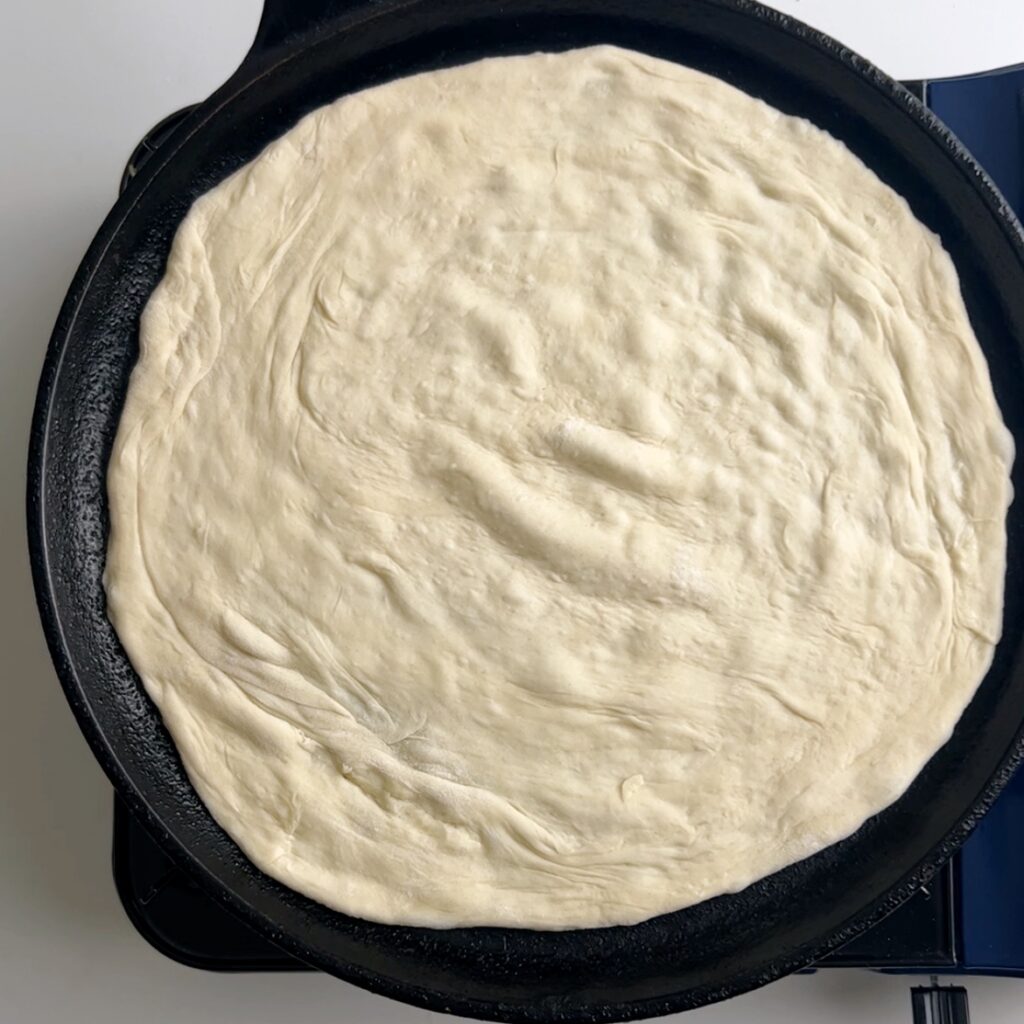
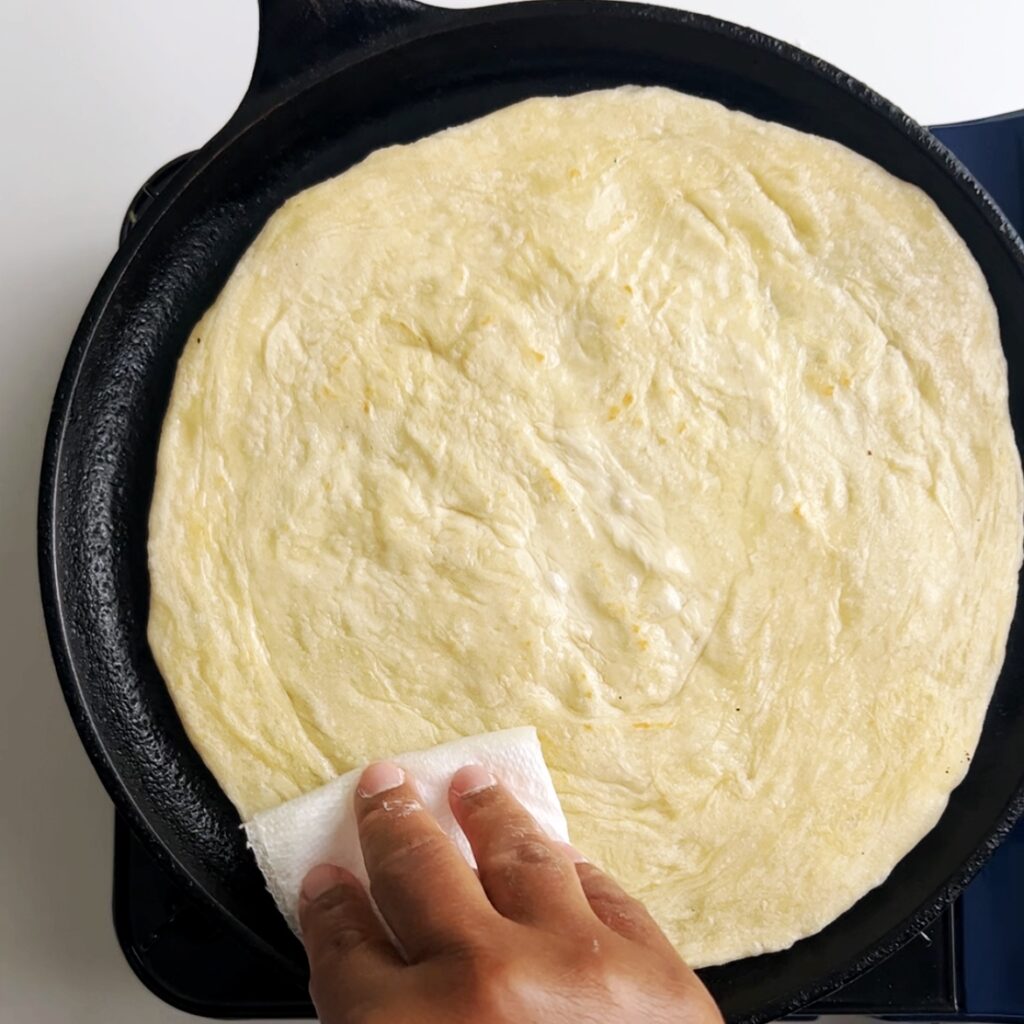
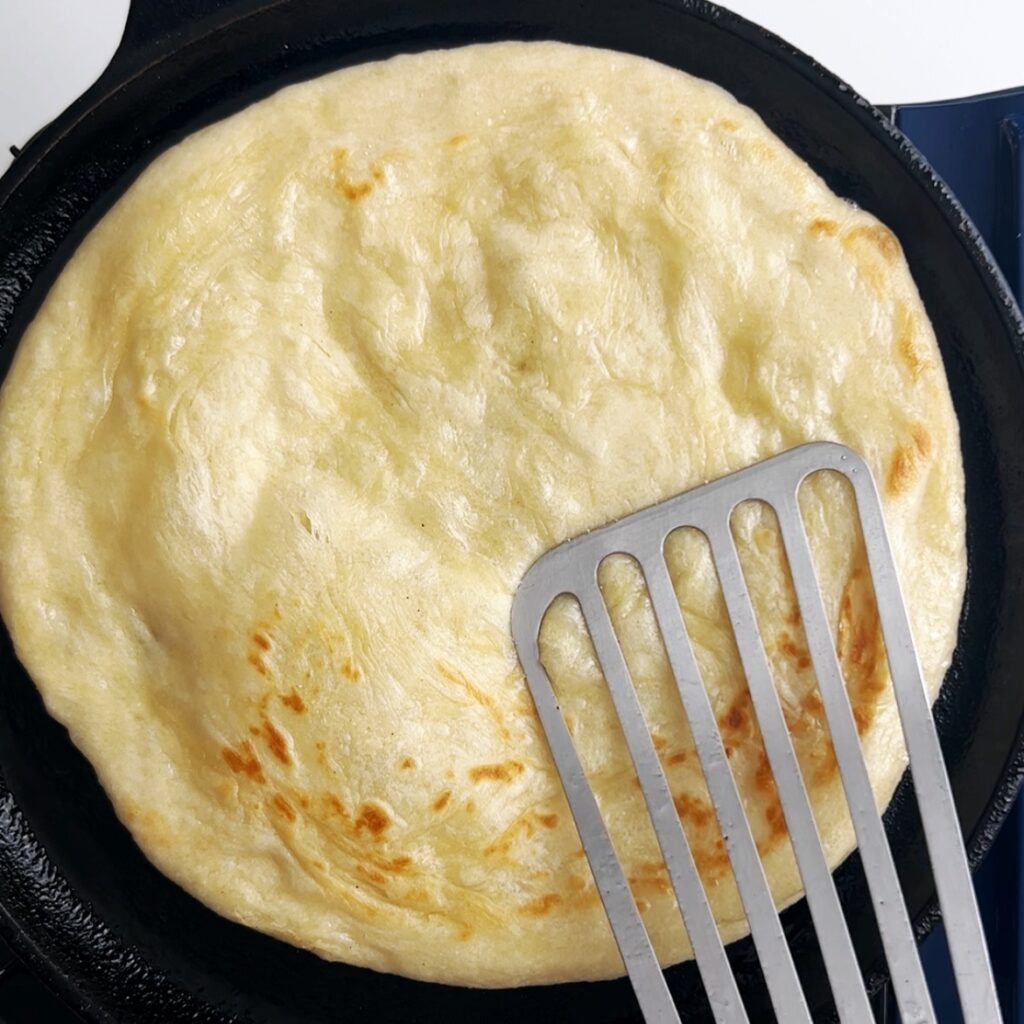
Flip and brush with cooking oil and cook for another 30 seconds (or for as long as it will take to apply the oil). Flip again and apply oil to the other side. Cook for an additional 30 seconds to 1 minute, then remove from heat.
Clap the Oil Roti
Clap the roti to release the air pockets and create flaky layers. To clap the roti place the cooked roti on a flat surface. Fold it in half then forcefully push it into itself with your palms (clapping). Similar to compressing an accordion.
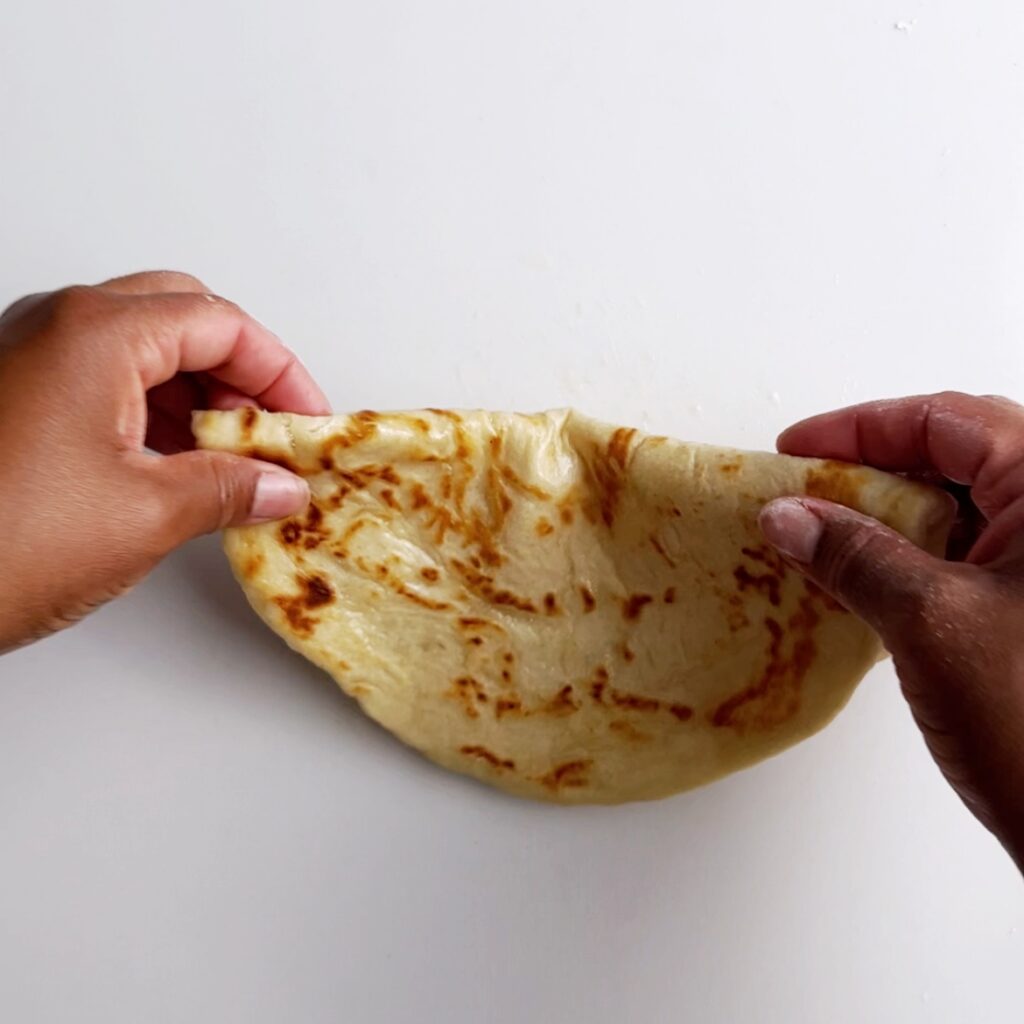
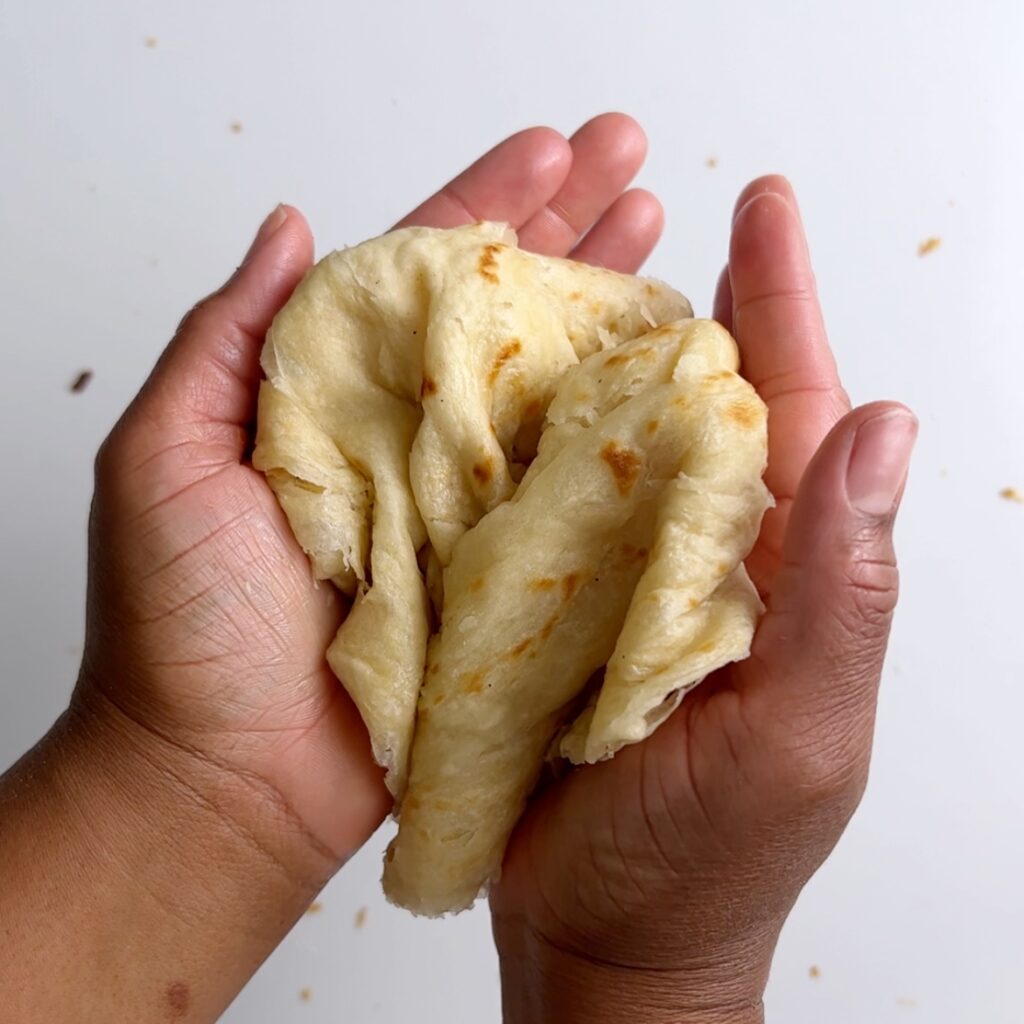
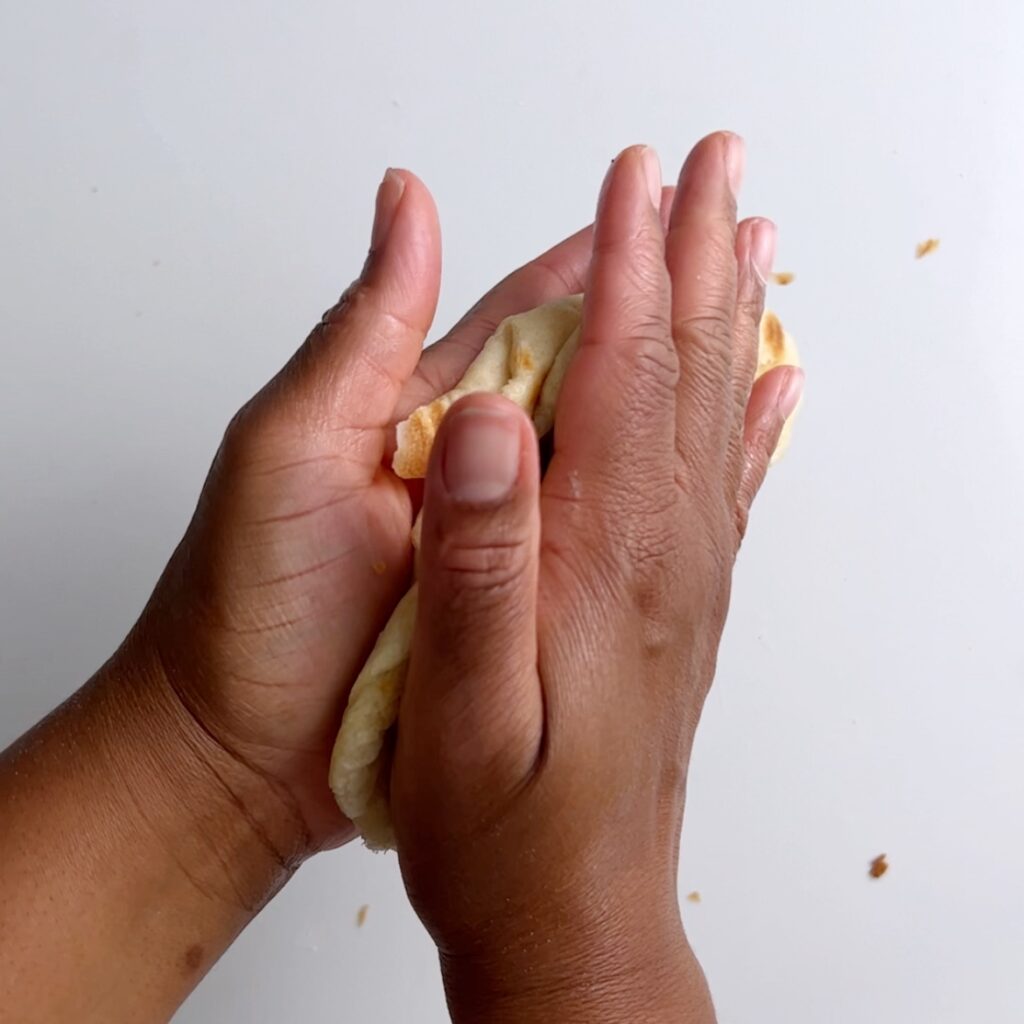
Repeat the roti clapping steps 2-3 times until the roti layers loosen.
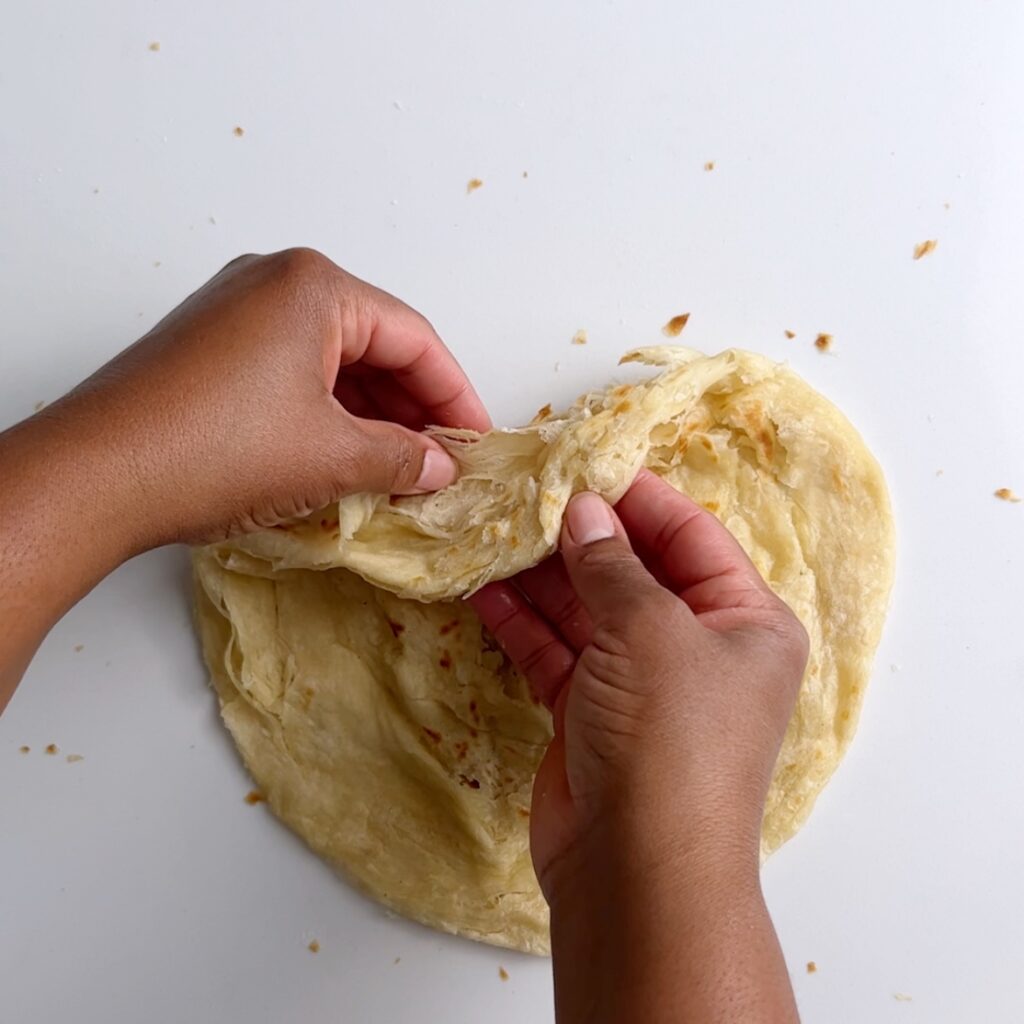
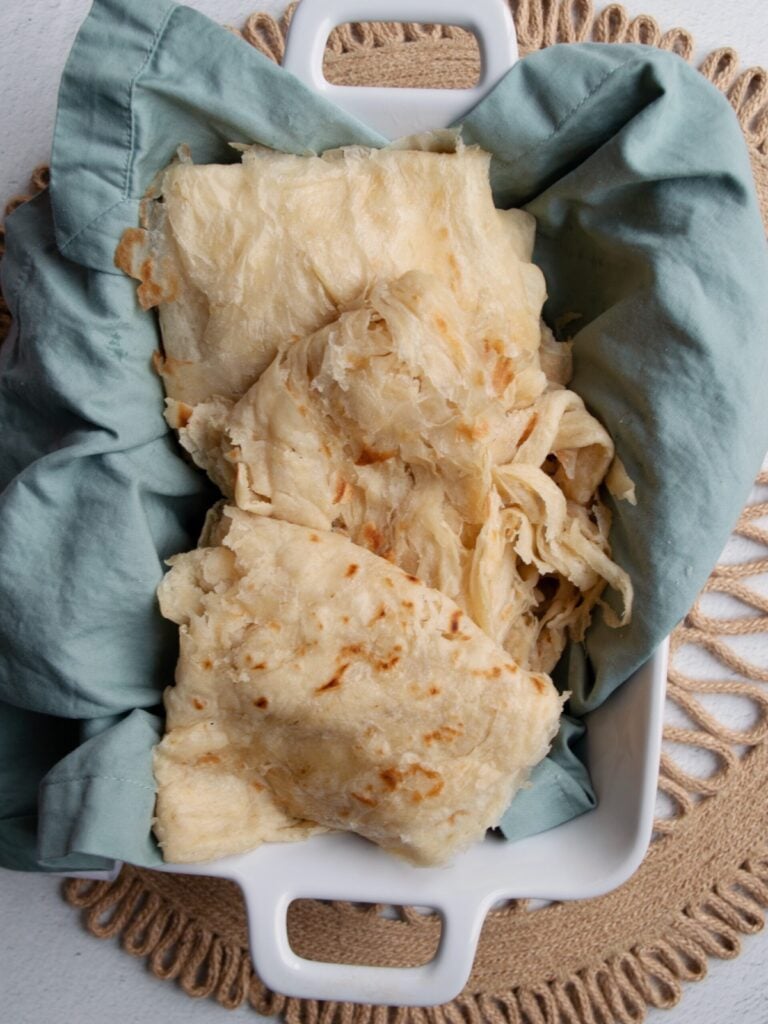
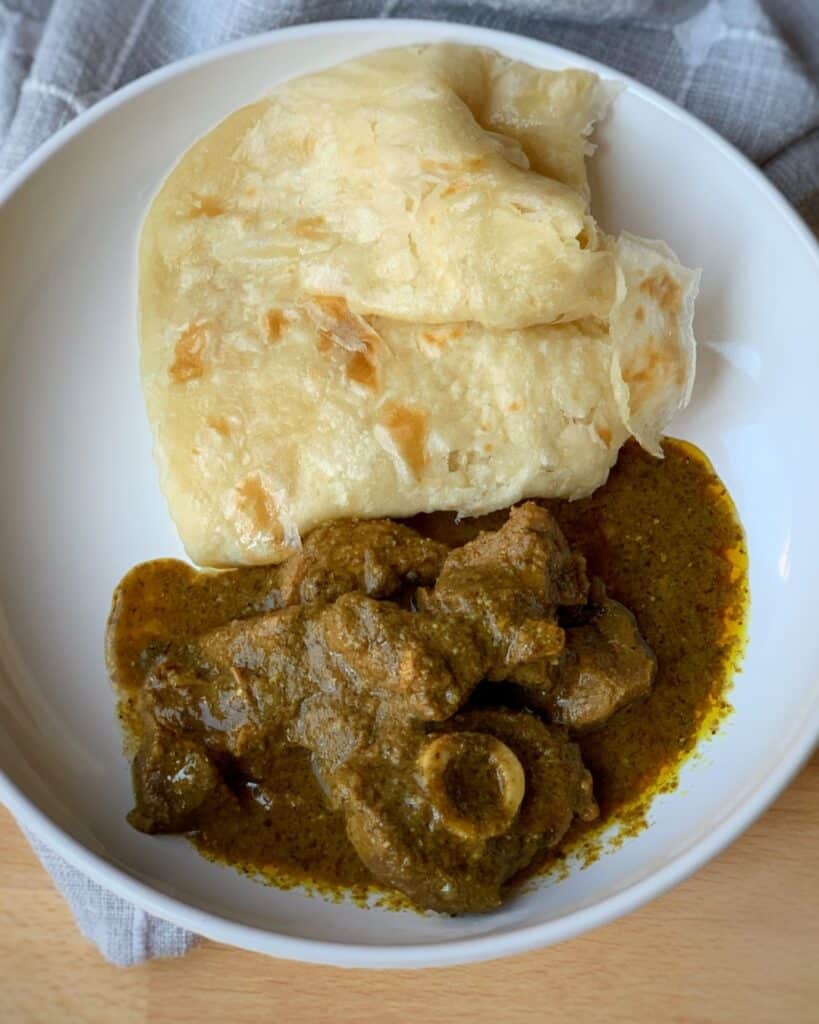
Alternatively you can place the roti in a covered bowl and shake to separate the layers and release the air pockets. Serve your warm and delicious roti with your favorite curry.
Substitutions & Variations
- Yeast or No Yeast? Adding a pinch of instant yeast to the dough saves time and effort. Instead of waiting hours for the dough to rest. I’ve made roti in 15 minutes, because I added a pinch of instant yeast and a tiny bit of (sugar) to feed the yeast.
- Flour: You can also use whole wheat flour with this recipe. Use 2 cups of whole wheat flour and 1 cup of all purpose flour for a more nutrient dense roti with a bit of a nutty flavor.
- Gluten Free: Substituting all purpose gluten free flour for the all purpose flour in this recipe will not deliver the same results. For a gluten free Guyanese roti with the authentic roti flavor you know and love, try my Grain Free / Gluten Free Roti recipe.
Equipment
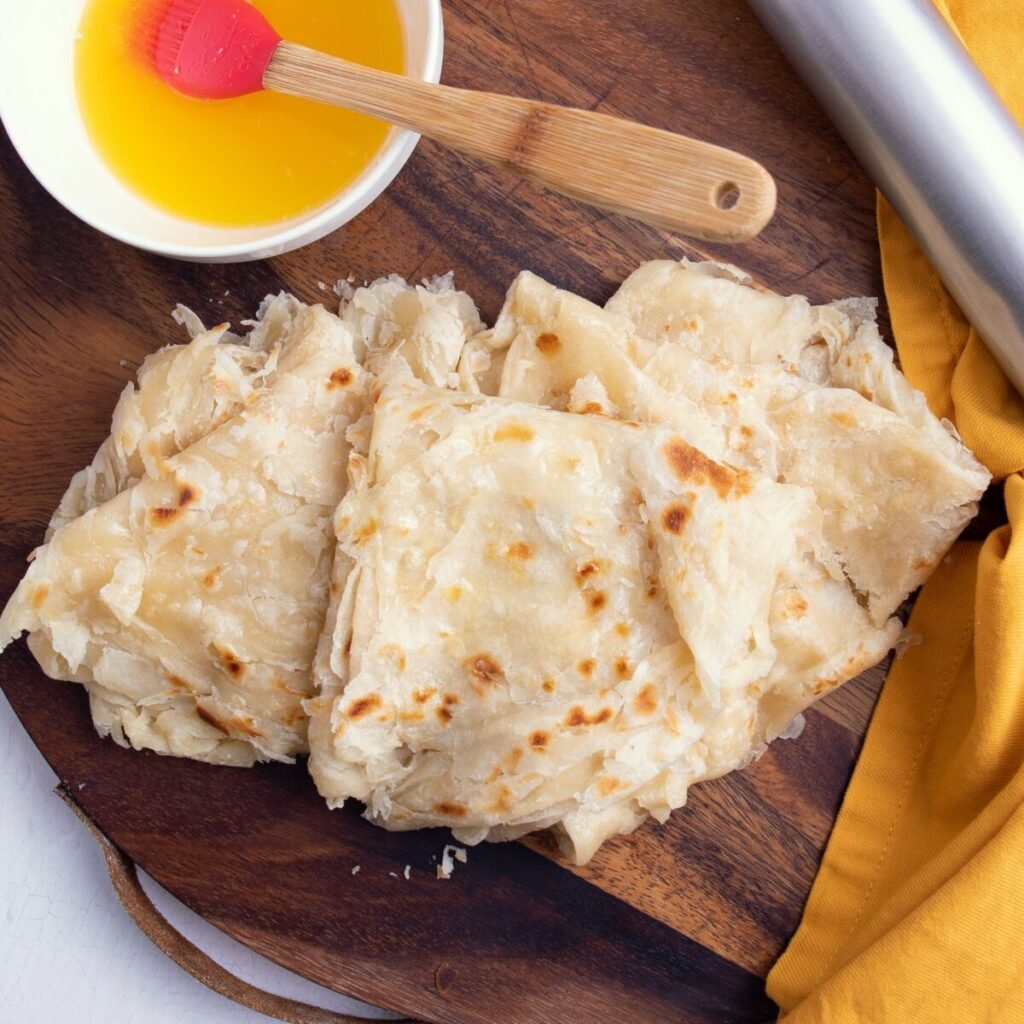
- Large Bowl: This will be great for making the dough. Use it to combine the wet ingredients and dry ingredients. This also contains the dough while it rests in between kneading.
- Whisk: Using a whisk instead of your hand to bring the ingredients together is less messy and easy to work with.
- Rubber /Silicone Spatula: I highly recommend using a spatula to bring the dough together for an easy no knead roti dough making process.
- Rolling Pin: Perfect for rolling out the roti dough. Don’t have a rolling pin? Try a wine bottle.
Best pan for Guyanese roti
The best pan for Guyanese oil roti is a tawah. If you have a glass top cooker this may not work for you. I use a flat cast iron skillet on my glass cooker and it is perfect.
- A tawah: Here’s a link to a cast iron tawah online. I haven’t tried it but heard great things about it from friends.
- A flat cast iron skillet: You can find these at stores like target and Walmart for under $20. You can also find similar ones on amazon.com, like this one.
- Cast iron skillet or heavy bottom frying pan: If you have a regular cast iron skillet or heavy bottom frying pan this also works.
Tips for the Best Roti Dough for Beginners
I used these tips when teaching my eldest son how to make roti at 7 years old. These tips made the process seamless and the results were unbelievable for a first attempt.
1. Measure your ingredients properly.
As a beginner roti maker it is important to measure your ingredients properly, especially the flour. Here is a link with a quick how-to on measuring flour and dry ingredients.
2. Use a whisk and a rubber spatula.
Until you get comfortable with roti making, use a whisk to bring the dry ingredients together and a rubber spatula to mix the dough. Yes, I said a rubber spatula! Using a rubber spatula really helped my son to navigate the ingredients in the bowl and mix it into a soft dough. With the rubber spatula no tedious kneading was needed and the roti was perfect (see video for more details on using a rubber spatula for the roti dough).
3. Use a little bit of instant yeast for your Easy Guyanese oil roti dough.
Adding a little bit of instant (rapid rising) yeast to the roti dough, guarantees a perfect dough every time. A soft dough is important for a flaky and soft roti. This is a non-traditional ingredient. Yeast is not used in traditional roti making, but if you are a beginner it will make a huge difference for you. Trust me on this one!
4. Use warm water to bring the dough together.
Warm water (about 110°F) is best for this recipe. It will help to activate the yeast and ensure you have the best Guyanese oil roti possible.
Storage
At room temperature: Store leftover oil roti in an airtight container at room temperature for up to 2 days. Store them in the fridge for up to one week.
Freeze: For longer storage, freeze them for up to 3 months. If you decide to freeze them, wrap your roti individually with plastic wrap, then store in a zip top bag.
To reheat, thaw frozen roti by leaving it at room temperature for about 15 minutes. Then wrap the roti in a few sheets of damp paper towel. Microwave in 30 second increments until the roti is warm.
Frequently Asked Questions
Guyanese roti is traditionally made with all purpose flour, baking powder, salt and butter or oil.
Roti clapping is a Guyanese term used to describe the process of releasing the air pockets from the roti. It is typically done by tossing freshly cooked, hot roti in the air and between your palms. Then applying force in a clapping motion, to compress the roti and release the layers.
In Guyana we clap roti hot off the tawah to free up the air pockets and release the layers. This gives that flaky texture we know and love. In Trinidad, they use a dabla (long wooden spatula) to beat the roti on the tawah, at the end of the cooking process to create the same results. This also shreds the roti into pieces and locally is called buss up shut/shot by Trinidadians.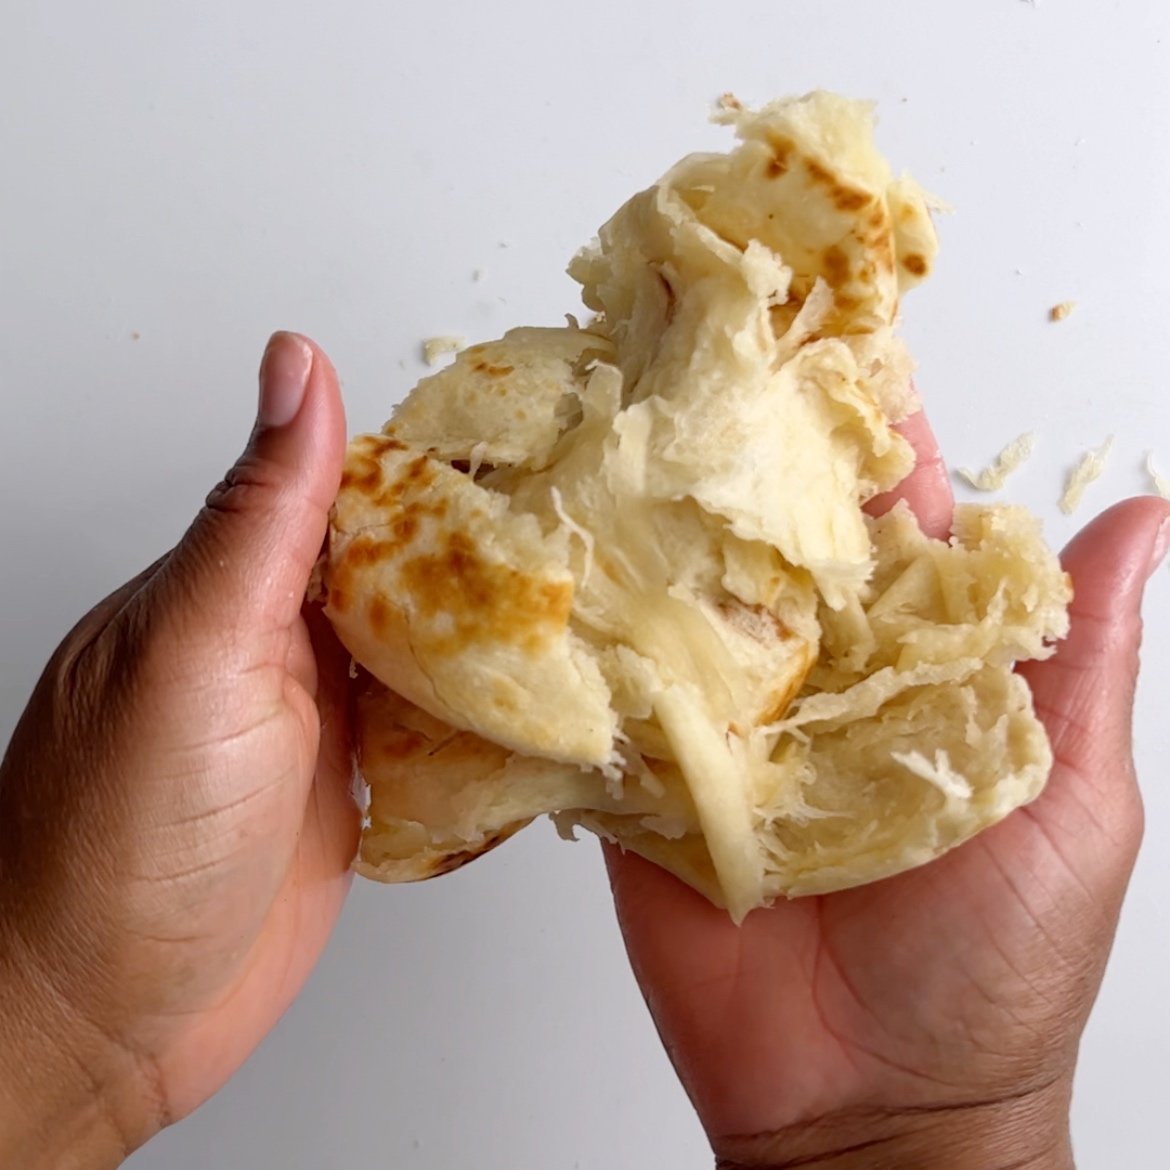
The 1/4 teaspoon of yeast to 3 cups of flour proportion is so small that you will not taste the yeast. I’ve made this recipe countless times with yeast and no one knew I used yeast unless I told them. These Guyanese oil roti with yeast taste exactly like the ones without the yeast.
I keep my tawah on middle heat and if it starts to get too hot, I reduce the heat to medium low. You will know that your tawah is too hot, when your roti becomes brown after a few seconds on the tawah. You want to give your roti time to cook and develop the brown spots. If your roti gets too brown too soon, it will become hard, crusty, and dry.

Easy Guyanese Oil Roti (Paratha)
Ingredients
- 3 cups All purpose flour plus 1 cup for dusting
- 1 teaspoon baking powder
- 1/4 teaspoon rapid rising yeast
- 1 1/4 cup warm water (about 110°F)
- 1/4 cup room temperature fat like vegan butter, ghee or oil
- 1/2 cup oil like sunflower, avocado or vegetable oil
- 1/2 teaspoon sugar (to activate the yeast)
- 1/4 teaspoon salt
Instructions
- In a large mixing bowl add the flour, baking powder, salt, sugar and rapid rising yeast, then whisk together until fully combined.
- Make a well in the center of the flour mixture and add the warm water. Then Use a spatula to mix the water and flour together to form a soft dough ball
- Then cover the dough and let rest for 20-30 minutes. After the dough has rested for at least 20 minutes, divide the dough into 5 equal pieces
- On a floured surface roll the dough out until it is a thin (about 1/8 inch) flat disk. Next, add about 1 tablespoon of fat to the rolled out dough, rub the fat over the entire surface of the rolled out dough
- Then roll dough into a log. Next, Swirl the dough log around your finger to form a circular dough ball that looks like a cinnamon roll. Then tuck the loose end of the log into the bottom of the rolled up dough. Repeat for other 4 pieces of dough.
- Cover and let sit for 5 to 10 minutes before moving to the next step.
- When ready to cook, preheat a large skillet / tawah (traditional cast iron skillet for roti) on medium heat. Roll out one of the buttered roti doughs (oiled off roti) into a large thin disk, about ⅛ inch thickness (like a large tortilla)
- Place roti on the warm skillet or tawah. Cook until tiny bubbles / air pockets appear on the top of the roti (for about 30 seconds to 1 minute). Flip and brush with cooking oil and cook for another 30 seconds (or for as long as it will take to apply the oil)
- Flip again and apply oil to the other side. Cook for an additional 30 seconds to 1 minute, then remove from heat
- Clap the roti by placing the cooked roti on a flat surface. Fold the roti in half then push the roti into itself with your palms. Similar to compressing an accordion. Or keep it simple and put the roti in a covered bowl and shake to separate the layers and release the air pockets
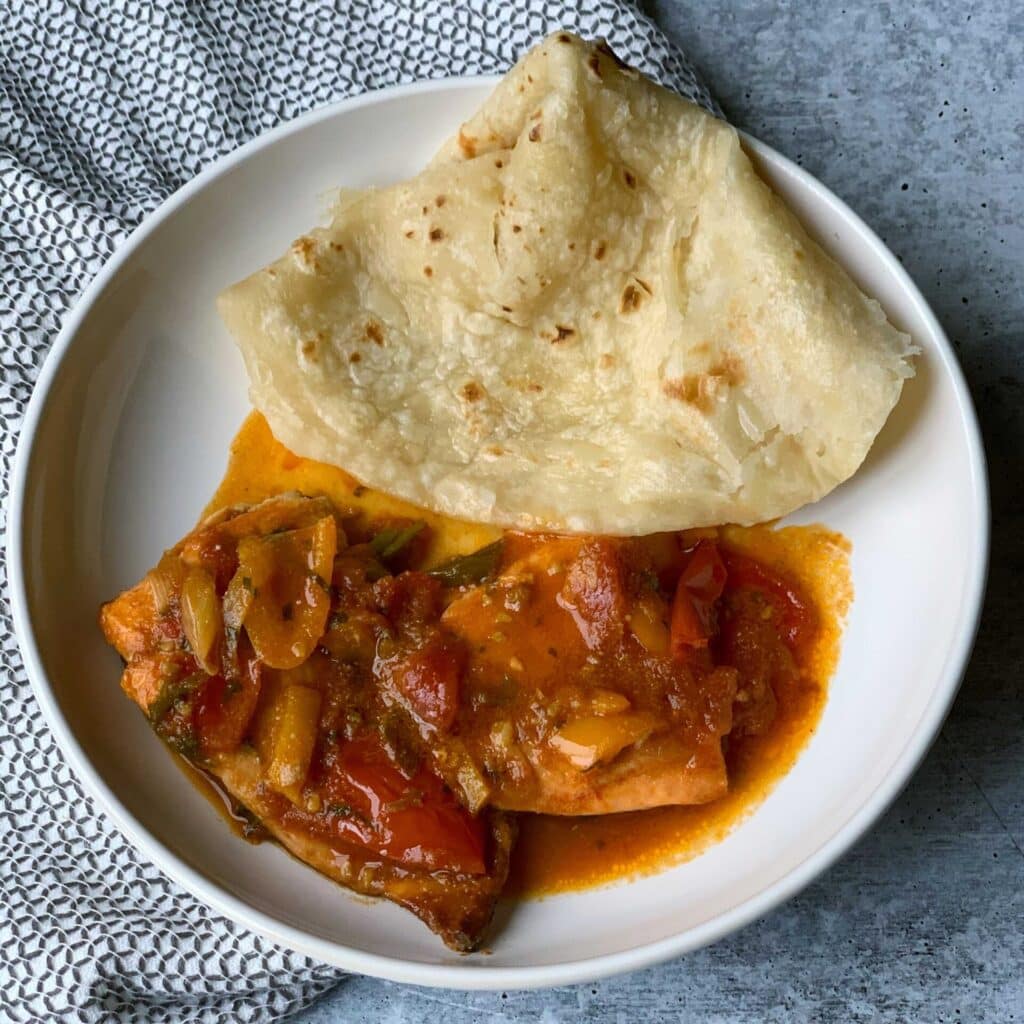
- Serve your roti warm and with your favorite curry
Video
Notes
- This is a non-traditional recipe that uses yeast.
- You can also make the loi into a square. Start by folding one end of your buttered and floured flatted roti dough up to the center. Then fold the other end over to meet the edge of previous fold. Next, the right edge over to meet and the center. Then fold the left edge to meet the right fold.
- Clapping roti may be daunting but it is a great step to conquer over time. Feel free to place the hot roti in a tea towel for easy clapping.
- See above for some easier options for rolling out the roti dough.
Nutrition
The information listed in the recipe card is an estimate provided by an online nutrition tool. The tool evaluates ingredient names and amounts then makes calculations based on the number of servings listed for the recipe. It is provided as a general guideline and not as a precise calculation. For precise nutrition information please feel free to add the ingredients to your preferred nutrition calculator or consult a doctor or licensed nutritionist.


 Guyanese Cheese Straws
 Creamy Farine (Cassava) Grits
 Spaghetti Squash Mac and Cheese (Paleo, Whole30, Keto)
 Gluten Free and Grain Free Guyanese Roti (Paleo)
Jahmelia Says
It was my first time trying this recipe and easy to follow step by step guide. It was a success, my roti came out really nice and pillowy soft. Thank you Althea for sharing your recipe!
Linda Says
I use this recipe a lot and you’re right if you let the dough set too long the roti comes out hard I never really read the instructions but I will follow it to the letters, thanks for sharing
Faudia Says
What an incredibly easy recipe!
I’m a proud Canadian Guyanese and haven’t made roti in approximately 30 years.
This recipe was so simple to follow and my roti came out soft and buttery.
Thanks Althea!
Sharon Says
Hello, am I able to use einkorn flour with this recipe?
Roxanne Says
I’ve tried making roti for years, but they’ve never turned out. I saw your video on Instagram and made your recipe today. They are PERFECT! They’re so flaky and flavorful!. I’m happy I tried these. I can’t wait to make them for company.
The only problem I had was with the timing. I thought I could roll the next roti out while one was on the pan. It wasn’t enough time. I think I should have rolled all of them out, then fried them. What would you suggest?
Merle Says
Thank you for the recipe. My roti came out great. I used a frying pan because I donot have a tawah.
Janaki Says
I have wanted to learn how to make roti for a long time. Growing up watching roti get made seemed like it required so much work and would be too difficult to learn. When I saw this recipe, I was skeptical at first but I am so happy I tried it. My roti came out perfect!!! sooo delicious, flaky, love it so much! Thank you for the recipe, it definitely is a keeper and my go to. Now to try Dhal Puri.
Kim O Says
I wanted some roti late one night and wasn’t able to go to the store so I had to make my own and this was the perfect recipe for me. It was easy to follow and my roti came out nice and flaky and buttery. Loved that there were photos of each step as well as a video so that I could make sure I was doing it correctly.
Sabrina Says
I will never use any other recipe but this one. Not even my family’s methods are as good as this one (love them but I said what I said). This is the softest and easiest roti I’ve ever made and Althea’s instructions are always easy to follow!
Kiana Tappin Says
Tried this recipe and it turned out perfect. Safe to say I’m the family roti maker now. Love it!
Bianca Says
I’ve used this recipe a few times and it’s comes out perfect every time!! I’m a Guyanese American and I grew up eating Guyanese food and never cooking it. I had it with some pumpkin and shrimp and it was so good! Thank you for the easy, quick recipe!
Althea Brown Says
Thank you for trying my recipe. Happy Cooking.
Dali Cruz Says
Mine haven’t come out very good