

Classic Paratha (oil) roti is a flaky flat bread with beautiful light layers. It is a staple in most Caribbean households. This simple flat bread made of all purpose flour, oil (or ghee or butter), baking powder and water is the definition of comfort food! Give it a try for all of your saucy curries and stews. If this is your first time making roti give my Beginner Roti Recipe a try first.

Roti in the Caribbean is a type of paratha. Commonly called roti skin, oil roti or buss up shut, its roots tie back to the Indian Indentured laborers who came to the Caribbean in the mid 1800s. They brought with them their food and culture that is still alive and vibrant through out the Caribbean.
In my family we eat roti with anything! Try it with curry: lamb, beef, chicken, shrimp. Or even with veggies: pumpkin, baigan (eggplant), bhaji (spinach), okra/o. Roti with whatever you like: I have been making roti for over a decade and have travelled around the world teaching in person roti classes. Check out this article about my class in Anitgua. And now you can make class paratha roti with all my tips!
- Variations of Roti throughout the Caribbean
- Why you’ll love this Paratha (Oil) Roti recipe
- Ingredients for Paratha Roti
- Step by Step Instructions for Paratha (oil) Roti dough
- Making roti lois/loyas
- Shaping into the Traditional Guyanese Roti Loi
- Step by Step for cooking Paratha (Oil) Roti
- How to Clap Guyanese Paratha (Oil) Roti
- Substitutions & Variations
- Storage
- Frequently Asked Questions
- Classic Paratha (oil) Roti
Variations of Roti throughout the Caribbean
- Guyanese Oil Roti: This is the most popular form of roti in Guyana. It is made with all purpose flour, baking powder, oil and water. Some home cooks add butter or ghee to the oil for a richer tasting roti.
- Trinidad Buss-up Shut: Name for the loose texture the paratha develops after it is beaten on the tawa with a dabla, this roti is commonly made by Trinidadians. Some variations of buss-up shut includes milk in the dough which gives it a heavier texture.
- Jamaican Roti Skin: Jamaican roti skin is stuffed with yellow split peas and is called dhal puri in Trinidad and Tobago and Guyana. This roti skin flatbread is stuffed with curry and served as a burrito like roti.
Why you’ll love this Paratha (Oil) Roti recipe
- Authentic: This is an authentic recipe with traditional ingredients and steps that I have perfected over my 20+ years of roti making.
- Step by Step Guide: Roti making can be daunting, but it doesn’t have to be. My step by step instructions and visual guide deliver amazing consistent results every time
- Simple ingredients: This recipe uses five simple pantry ingredients, all purpose flour, baking powder, salt, oil or butter and water.
- Delicious: This recipes creates delicious, flaky, butter Guyanese roti that is authentic in flavor and texture.
- Versatile: Flaky roti pairs well with any saucy curry or stew. Once you make a batch of roti, you’ll want to keep making it. It’s the perfect flat bread for breakfast, lunch or dinner.
Ingredients for Paratha Roti
Grab these simple ingredients from your pantry and let’s make some flaky Guyanese Roti
- All Purpose Flour: Reserve a cup of flour for sprinkling in between the roti layers and dusting your work surface.
- Baking Powder: Used as a leavening agent in roti
- Fat: Use Oil, butter or ghee in between the roti layers for a really soft and delicious roti.
- Warm Water: Warm water makes a softer, stretchy dough. I highly recommend.
- Salt: Give the roti a great flavor. Skip if you are using salted butter or salted ghee
See recipe card below for exact measurements.
Step by Step Instructions for Paratha (oil) Roti dough
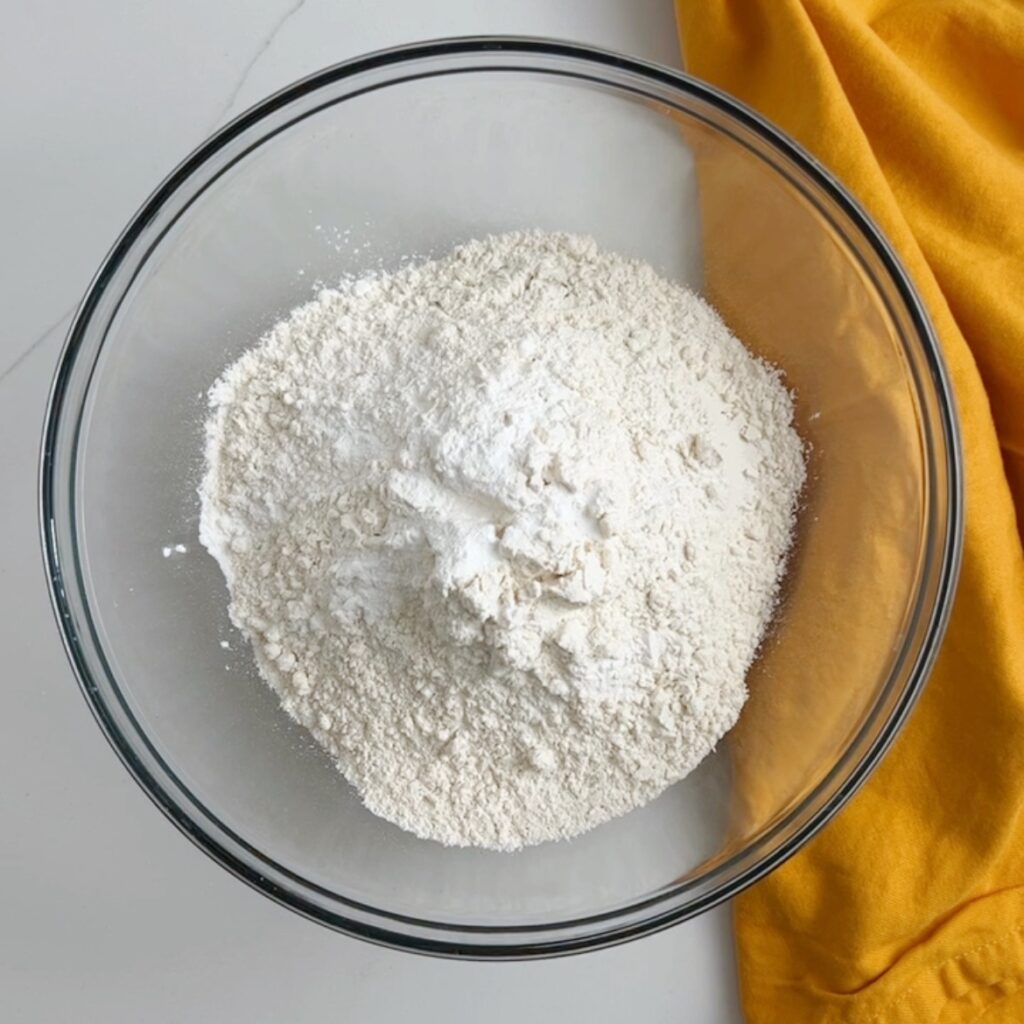
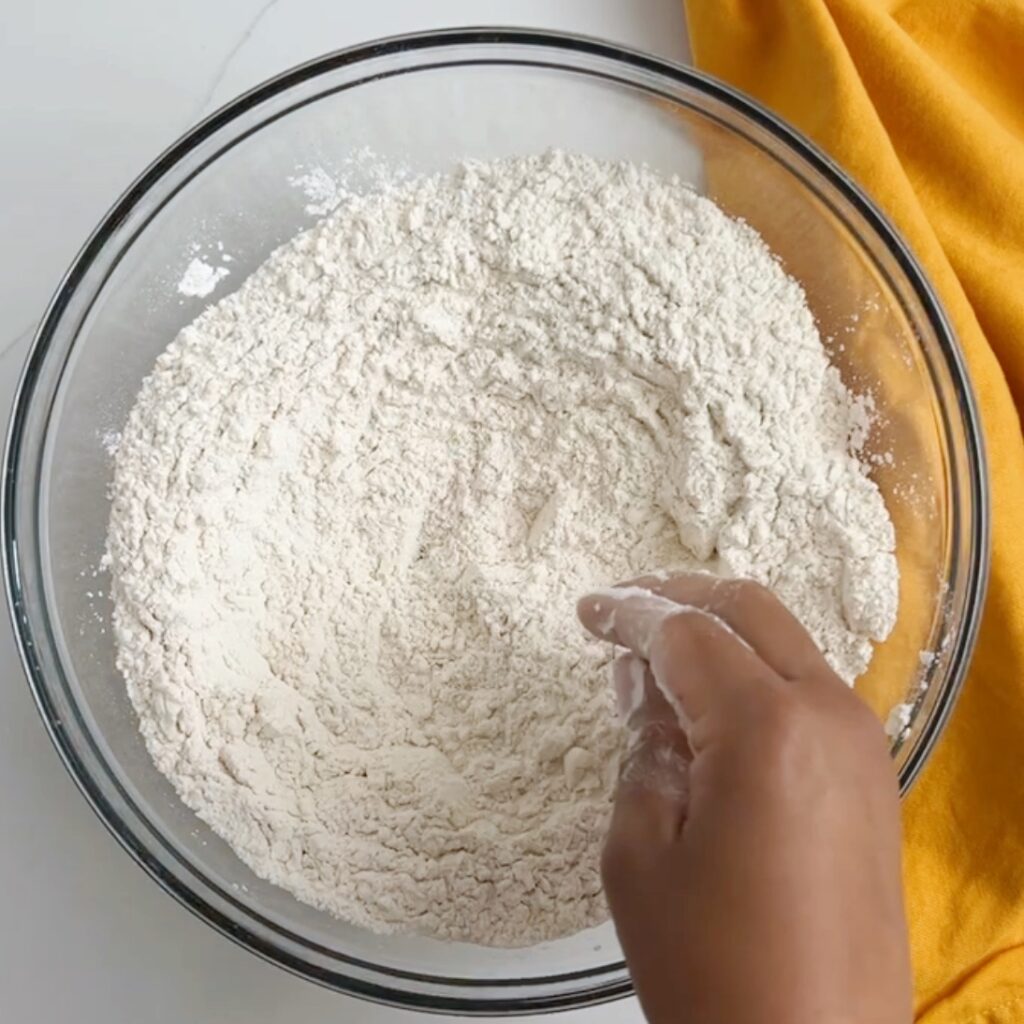
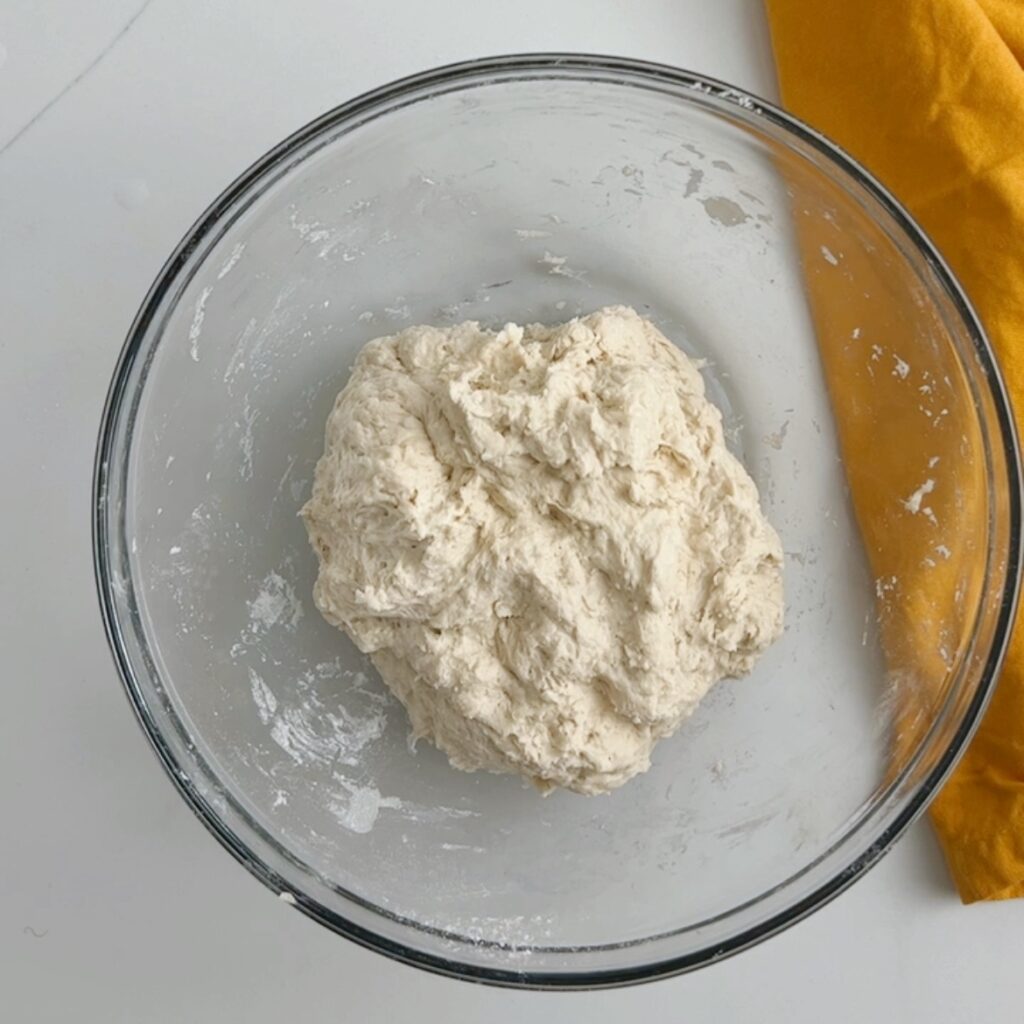
First combine the flour, baking powder and salt and mix together well using your finger tips or a whisk. Then mix a tablespoon of oil into the dry ingredients. This step is optional but I highly recommend it for a soft roti dough.
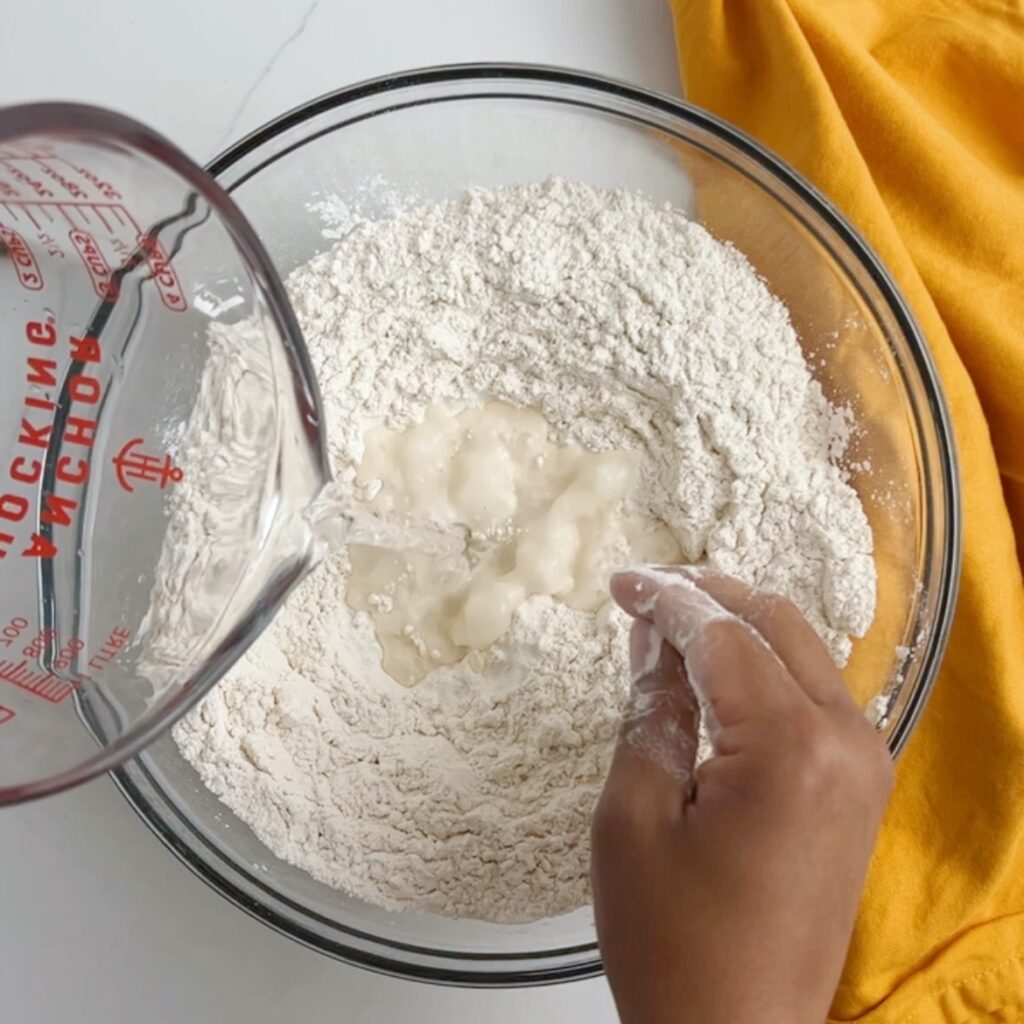
Then add small amounts of warm water to the flour mixture and pinch together to form a loose shaggy dough. Repeat until all of the water is combined with the flour. Then squeeze the bits of dough through your palm until it comes together to form a dough ball.
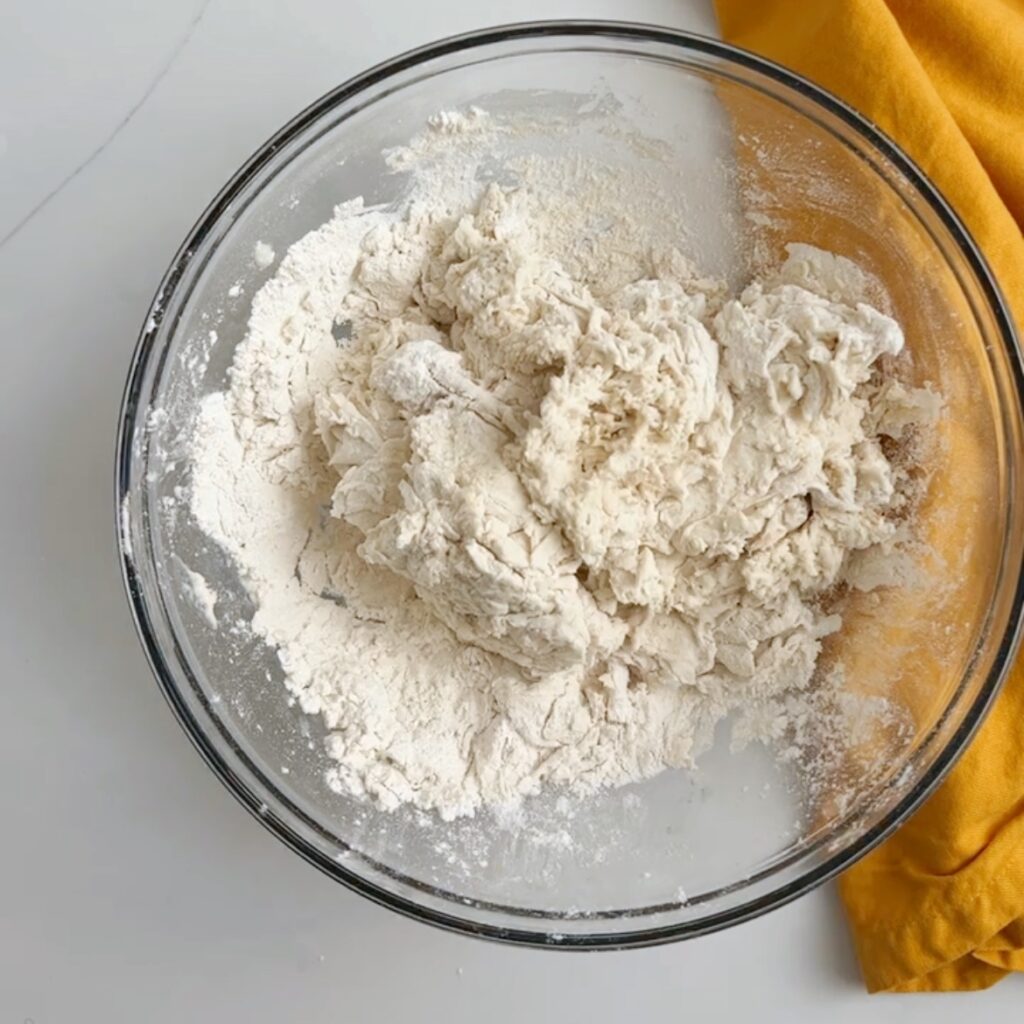
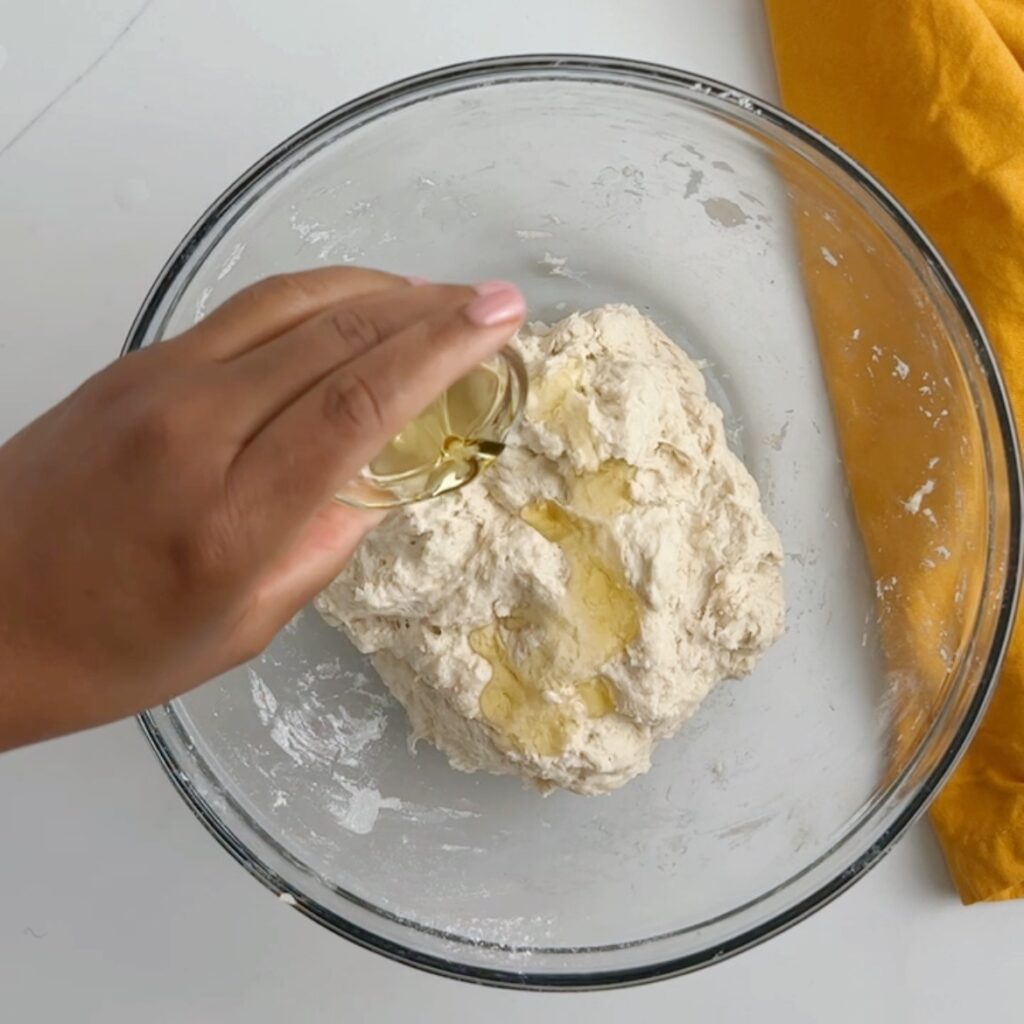
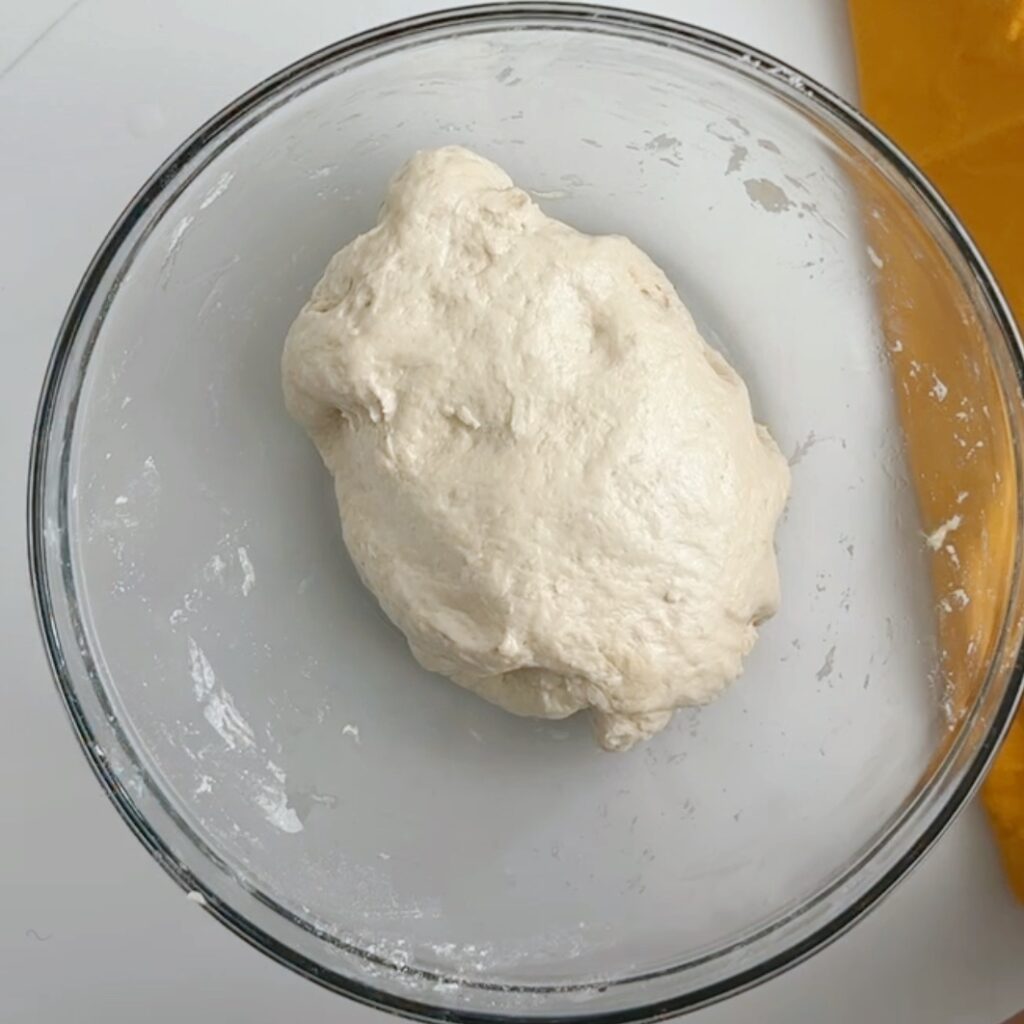
Continue to squeeze the dough ball in a kneading motion, but do not fold over and knead like bread. Press and squeeze for five minutes until there are no lumps. Then rub a tablespoon of oil over the dough, cover with a damp paper towel and let rest for at least 30 minutes.
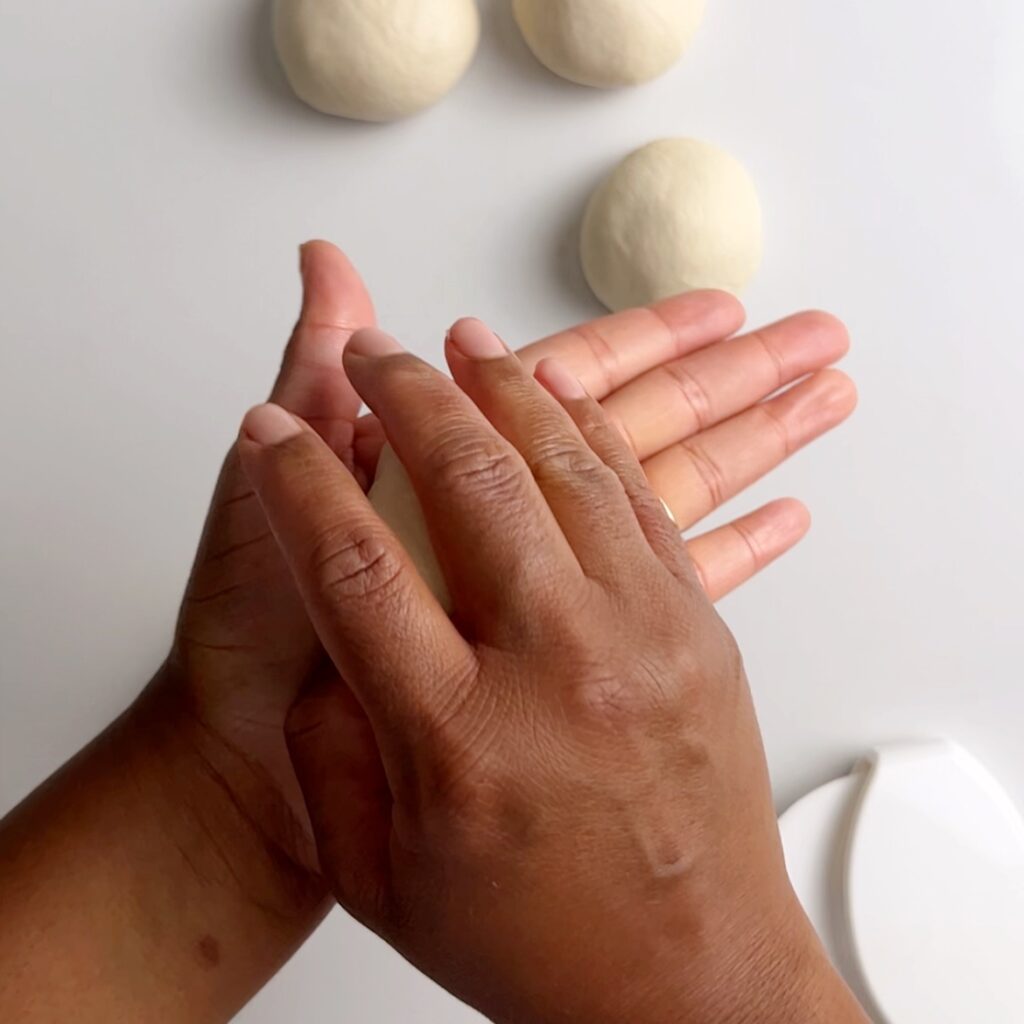
Making roti lois/loyas
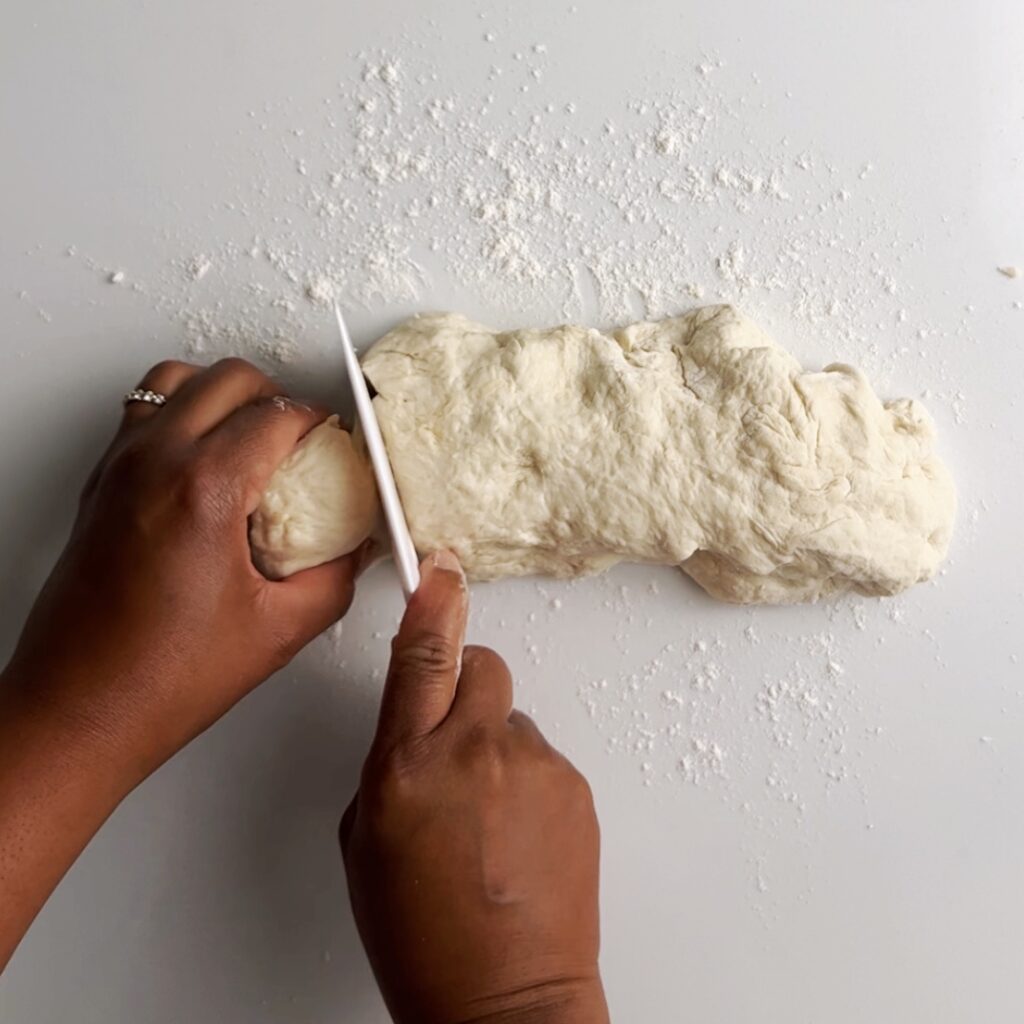
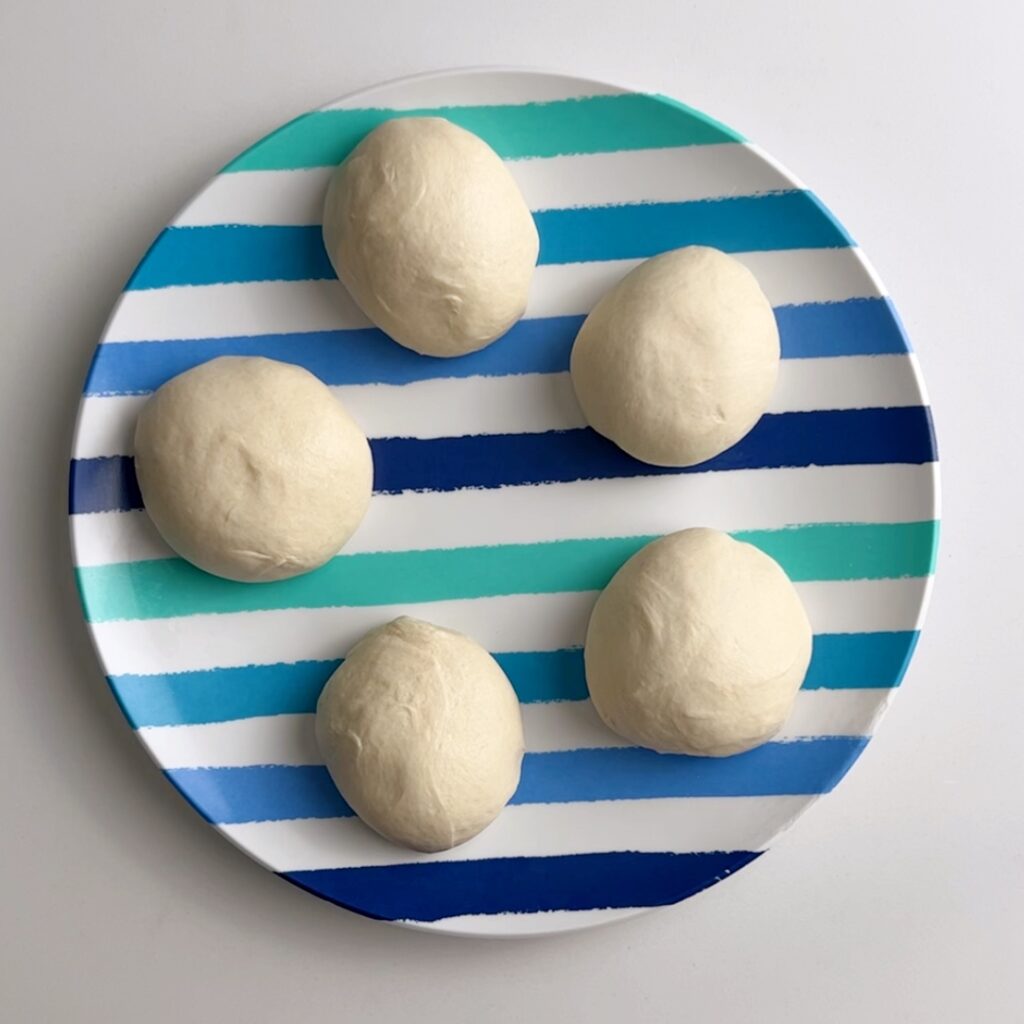
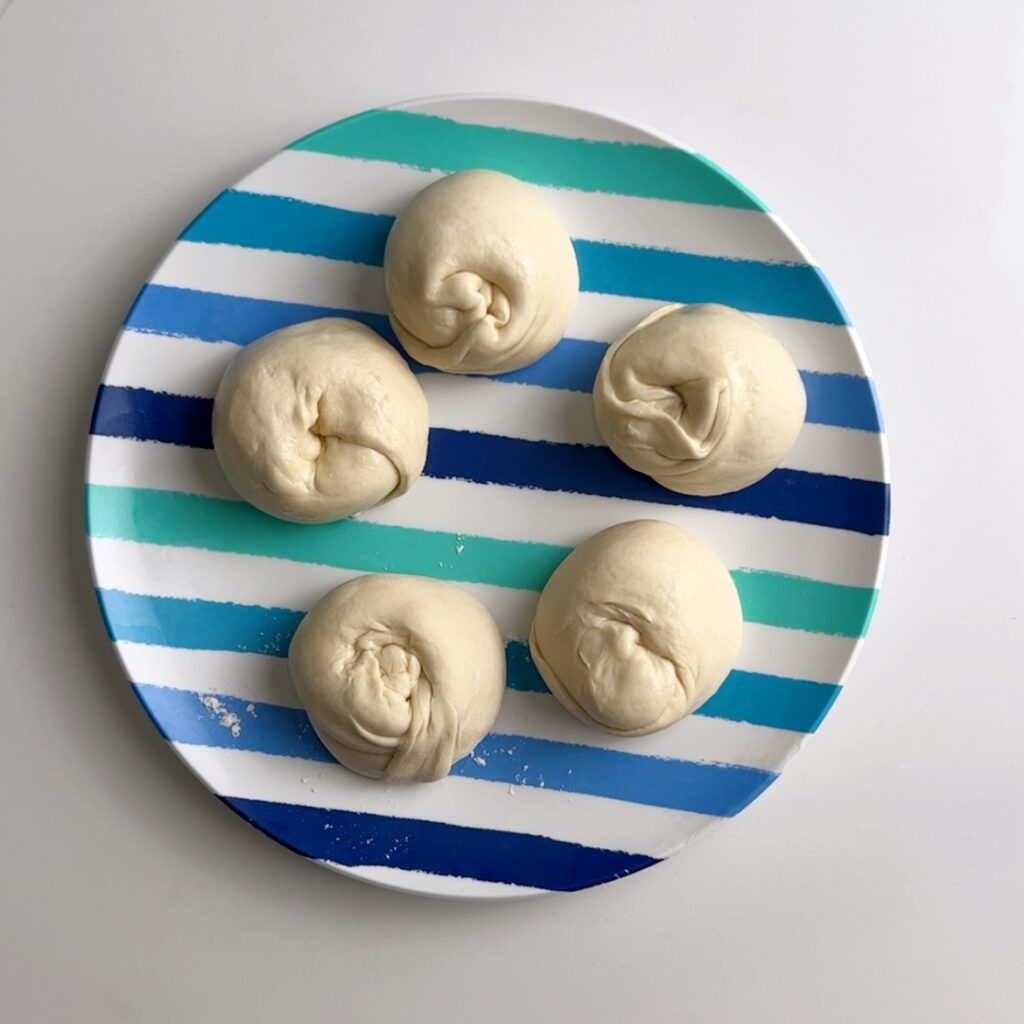
A roti loi or loya is a ball of prepped roti dough used for paratha or oil roti. It is filled with fat and rolled up into a ball. Start by stretching out the roti dough into a thick log shape. Then divide the dough into 5 even pieces. Roll each piece of dough between your palms to shape into smooth balls. This will help with rolling the dough out for the oiling process.
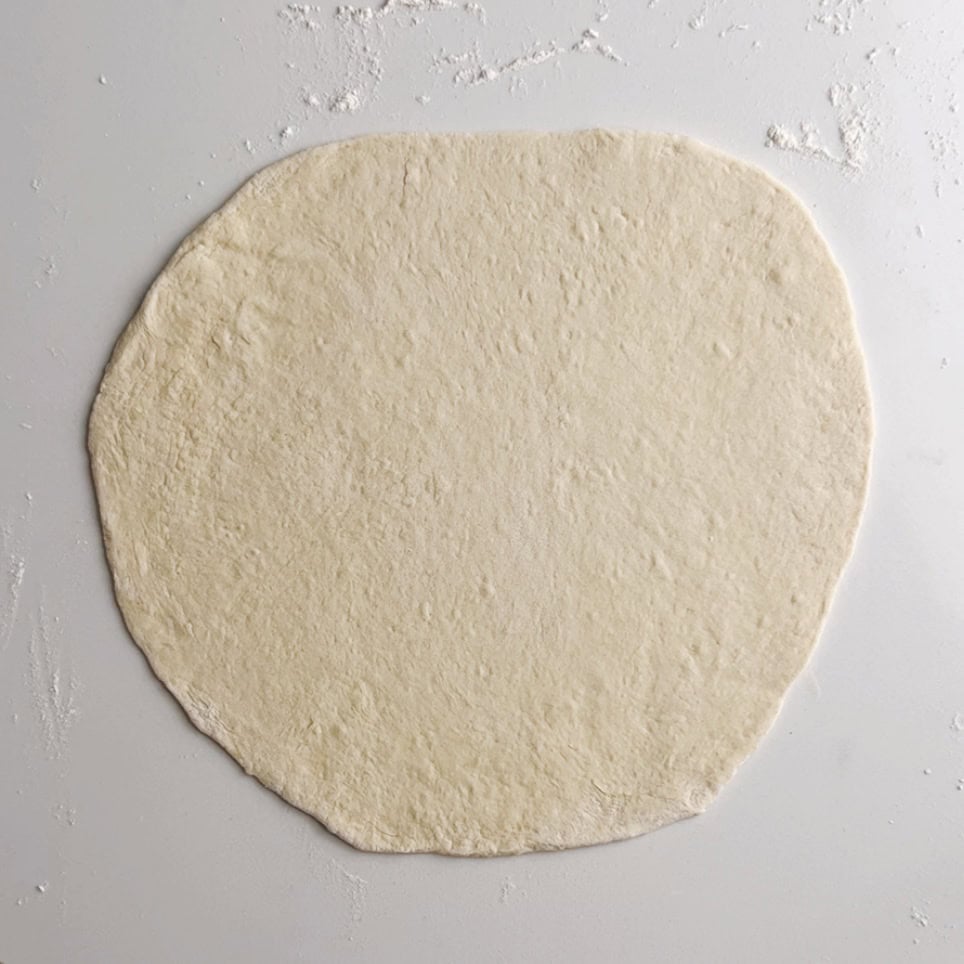
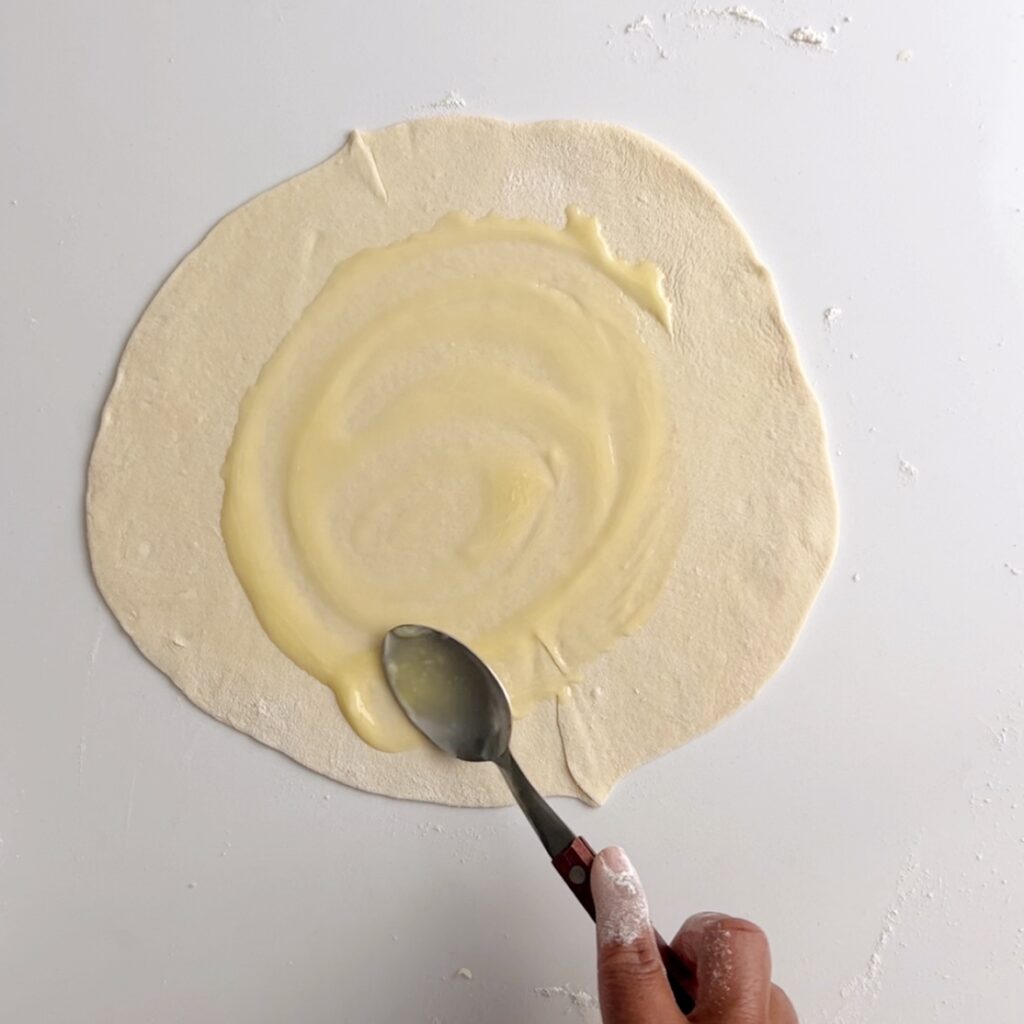
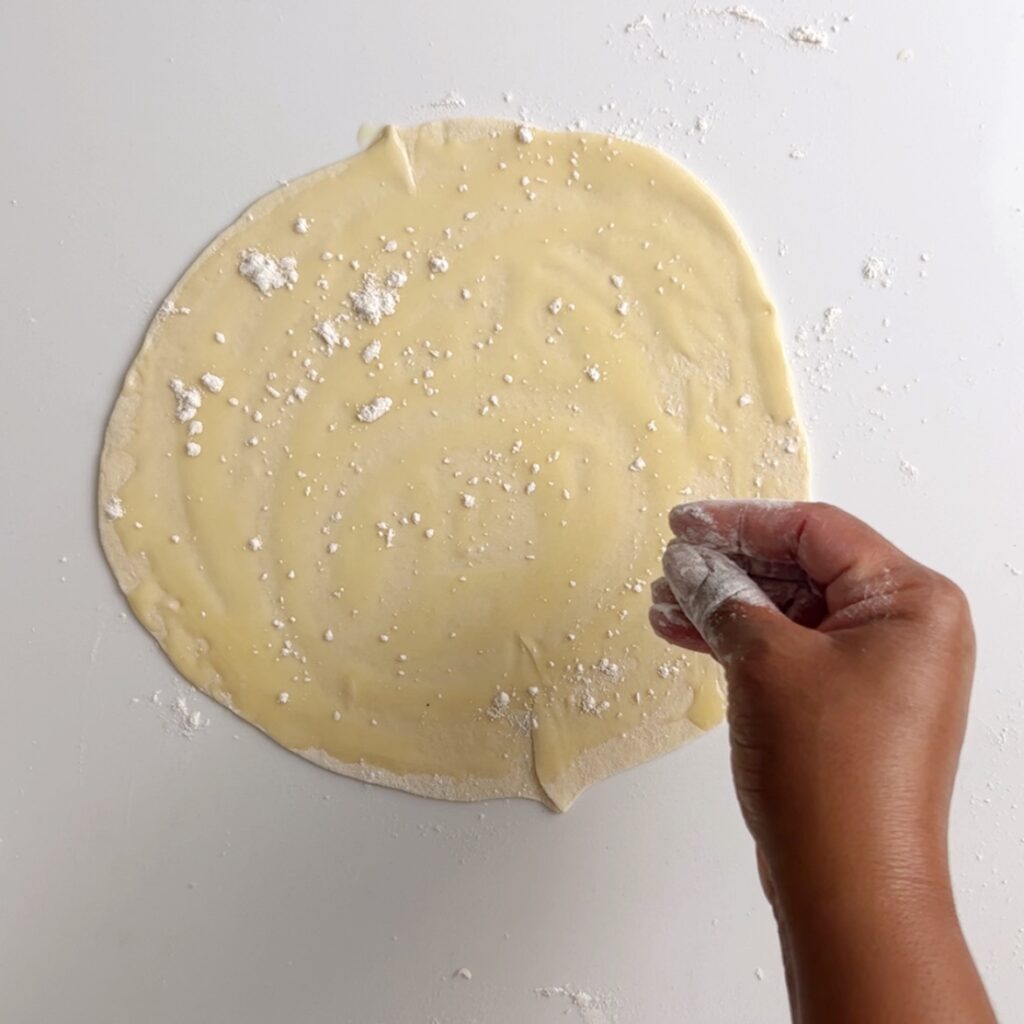
Working with one piece of dough at a time, place the dough balls on a floured surface, press with your finger tips to flatten and using a rolling pin, roll into a large thin disk about 1/8 inch thick (similar to a large tortilla). Then add about 1 tablespoon of oil or butter or a combination of both over the surface of the rolled out dough followed by a sprinkle of flour.
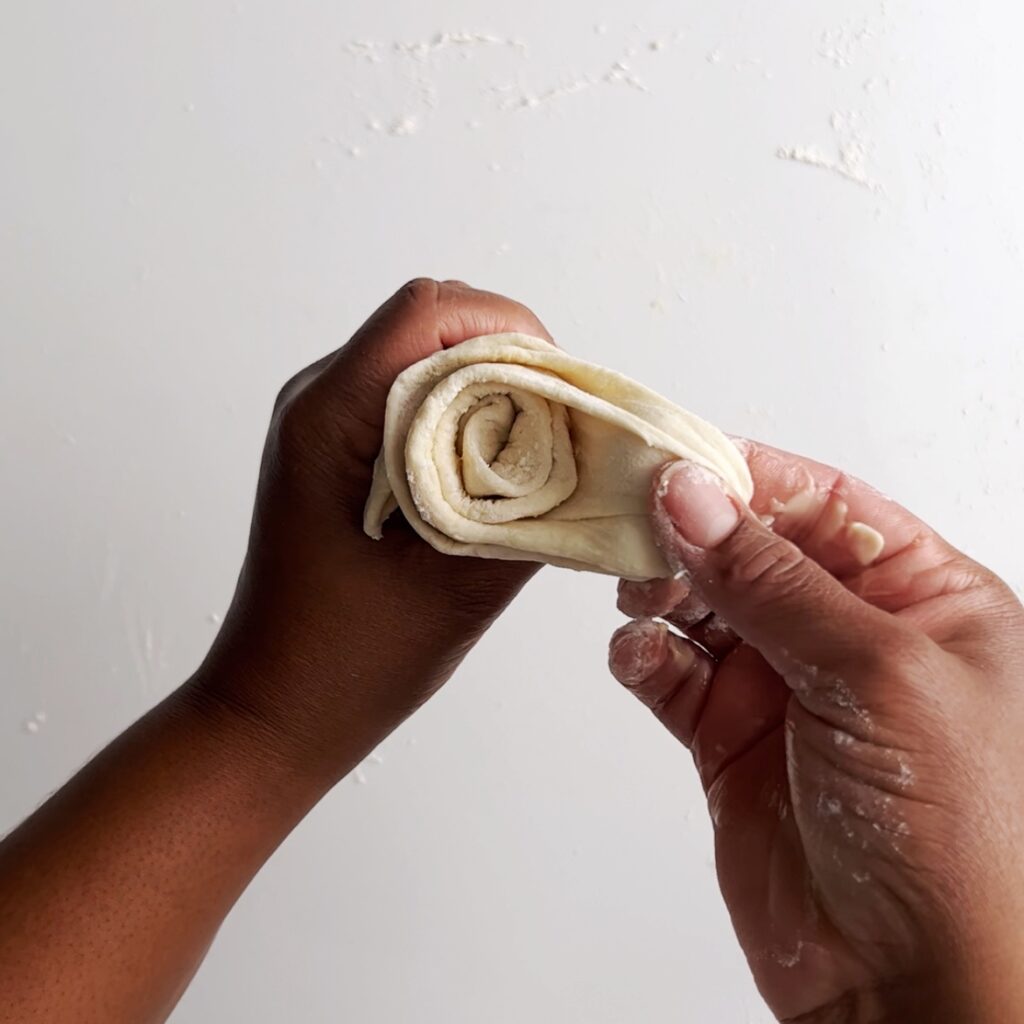
Shaping into the Traditional Guyanese Roti Loi
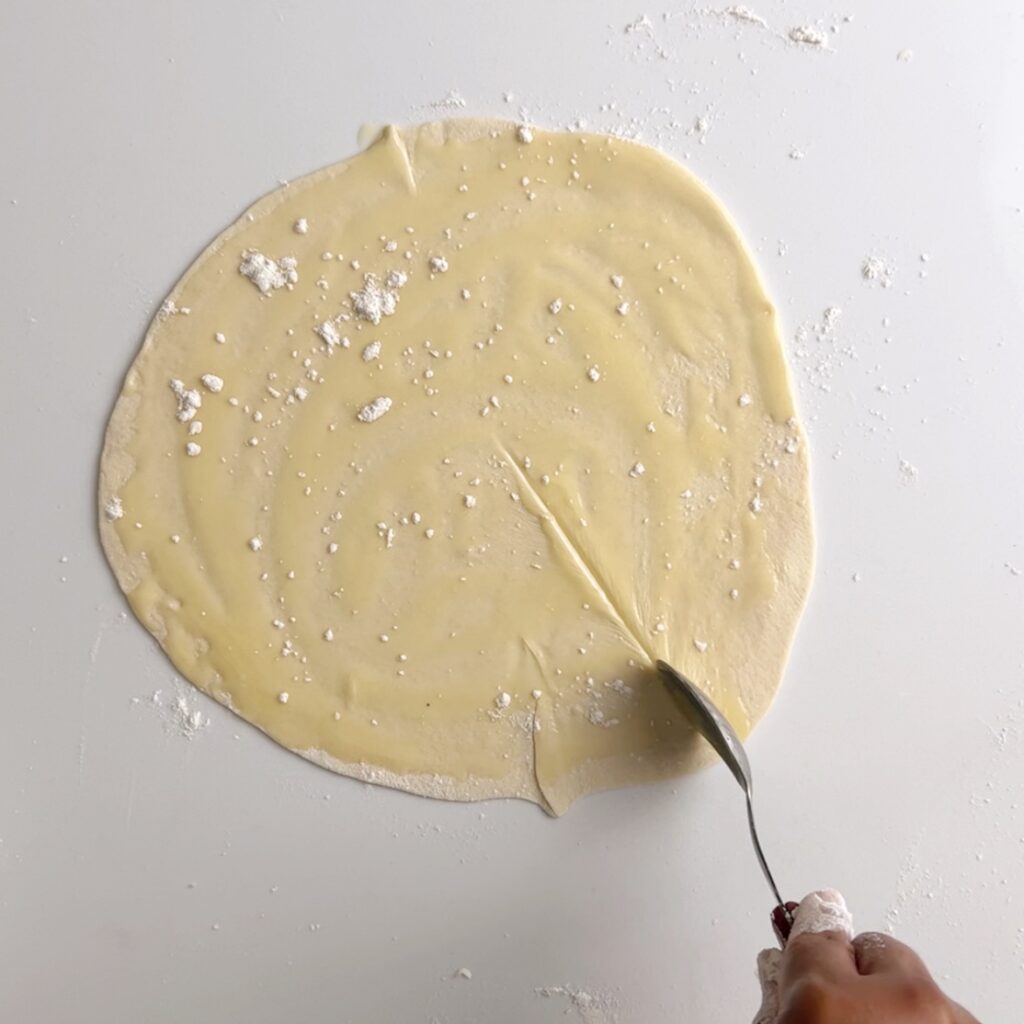
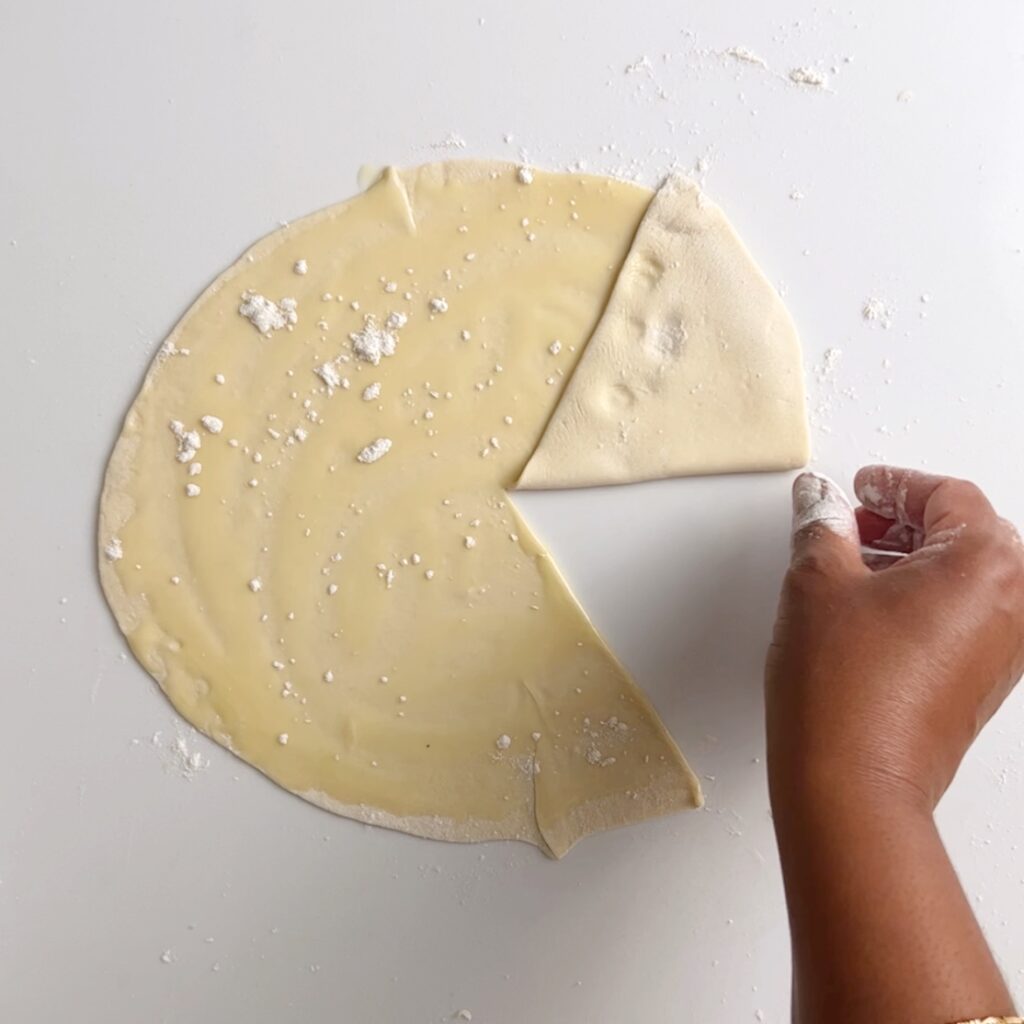
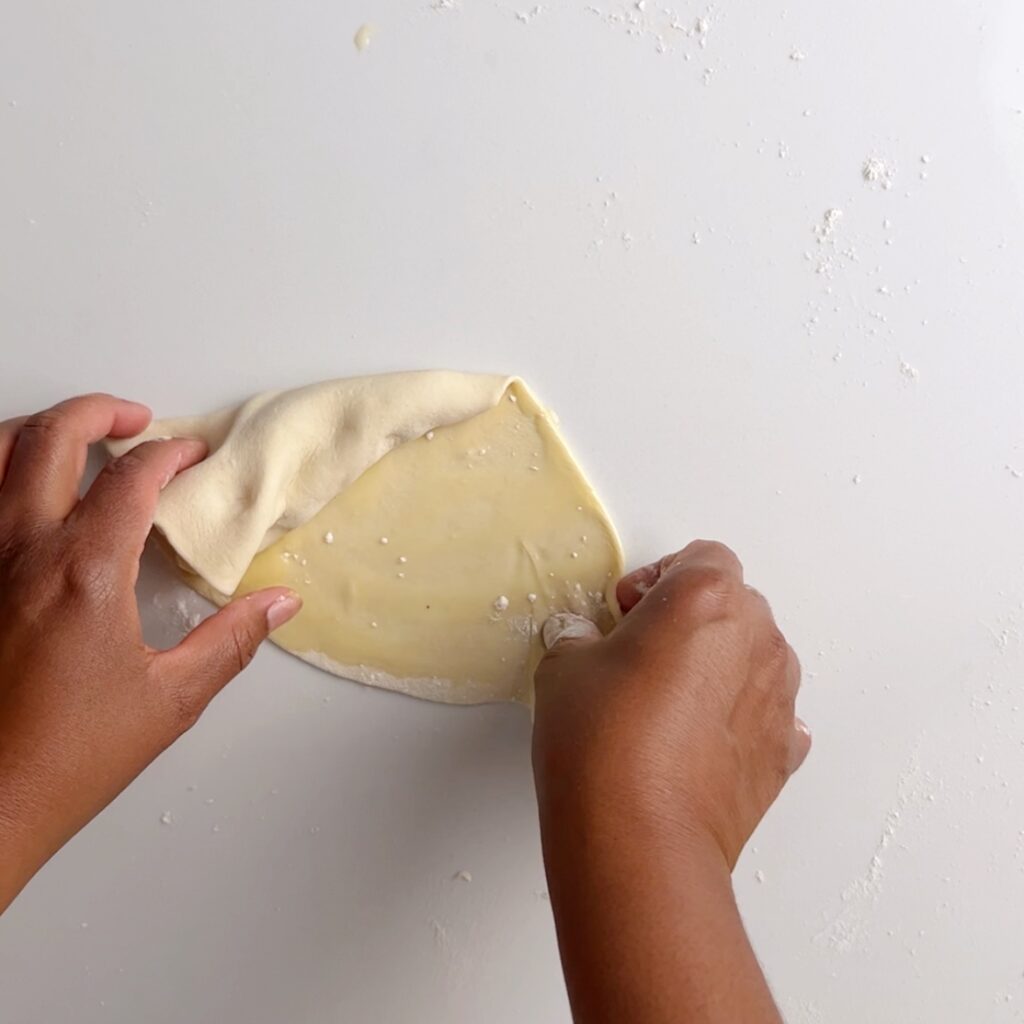
Then using a knife make an incision from the center to one end of the dough, and roll dough to form a cone. Tuck the ends into bottom of cone then flip oven the cone and push the tip into the base.
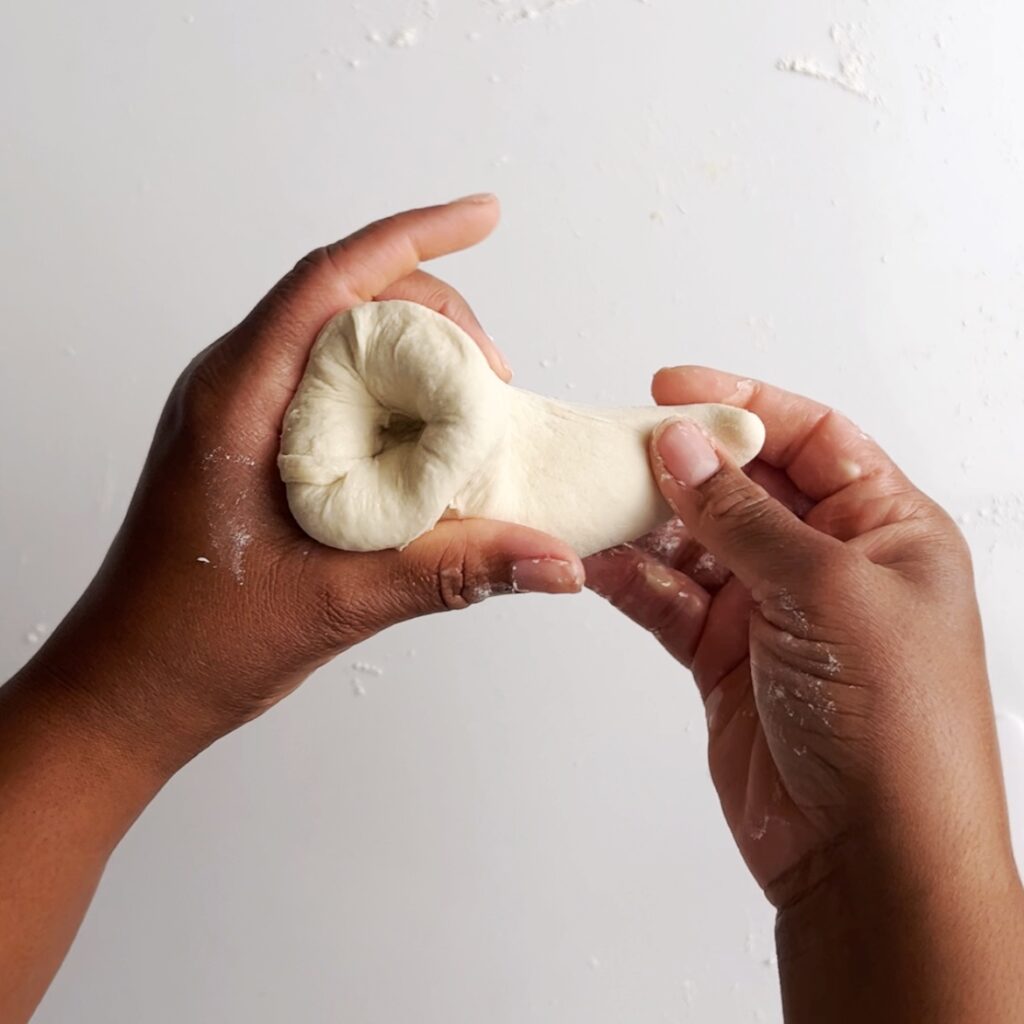
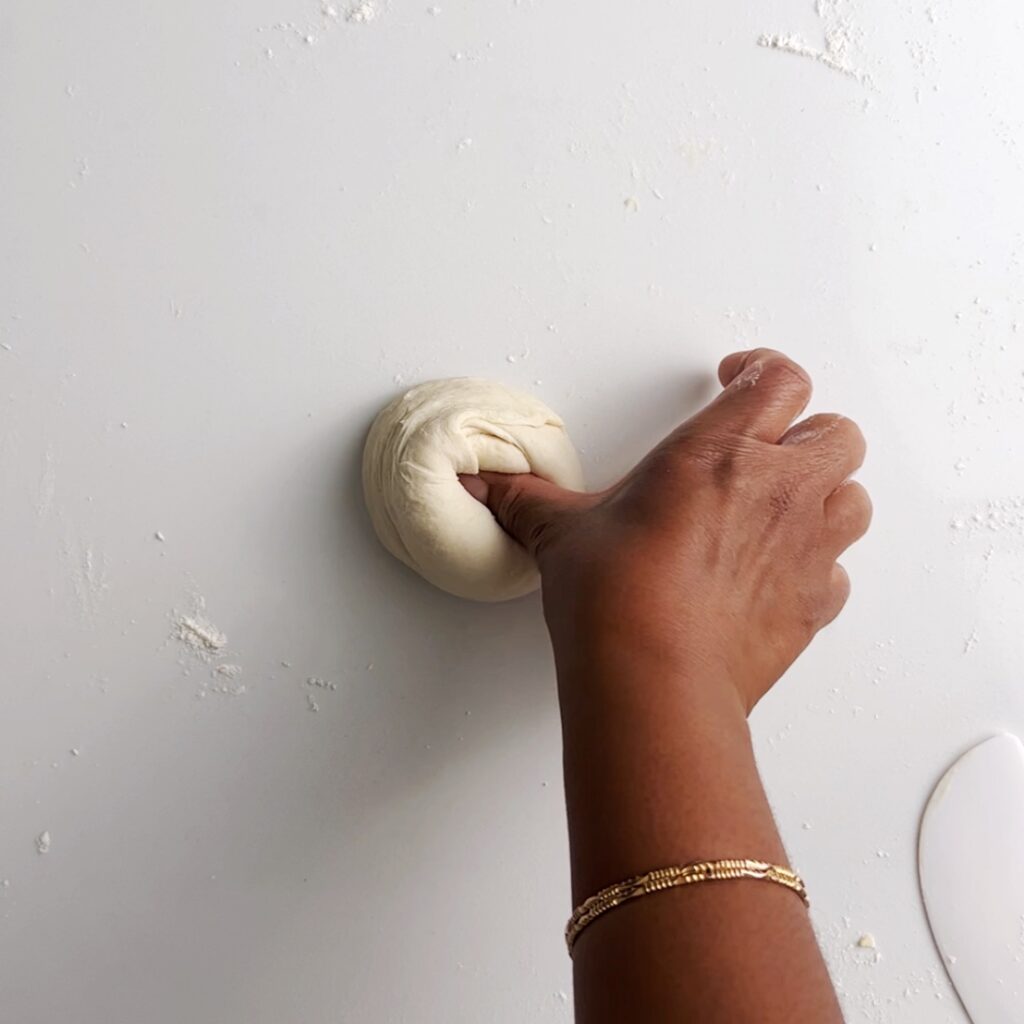
Repeat for the other four dough balls. Then rest for 30 minutes to an hour. Check out my Easy Guyanese Roti recipe for an easier way to add oil to the roti dough and shape the loi.
Step by Step for cooking Paratha (Oil) Roti
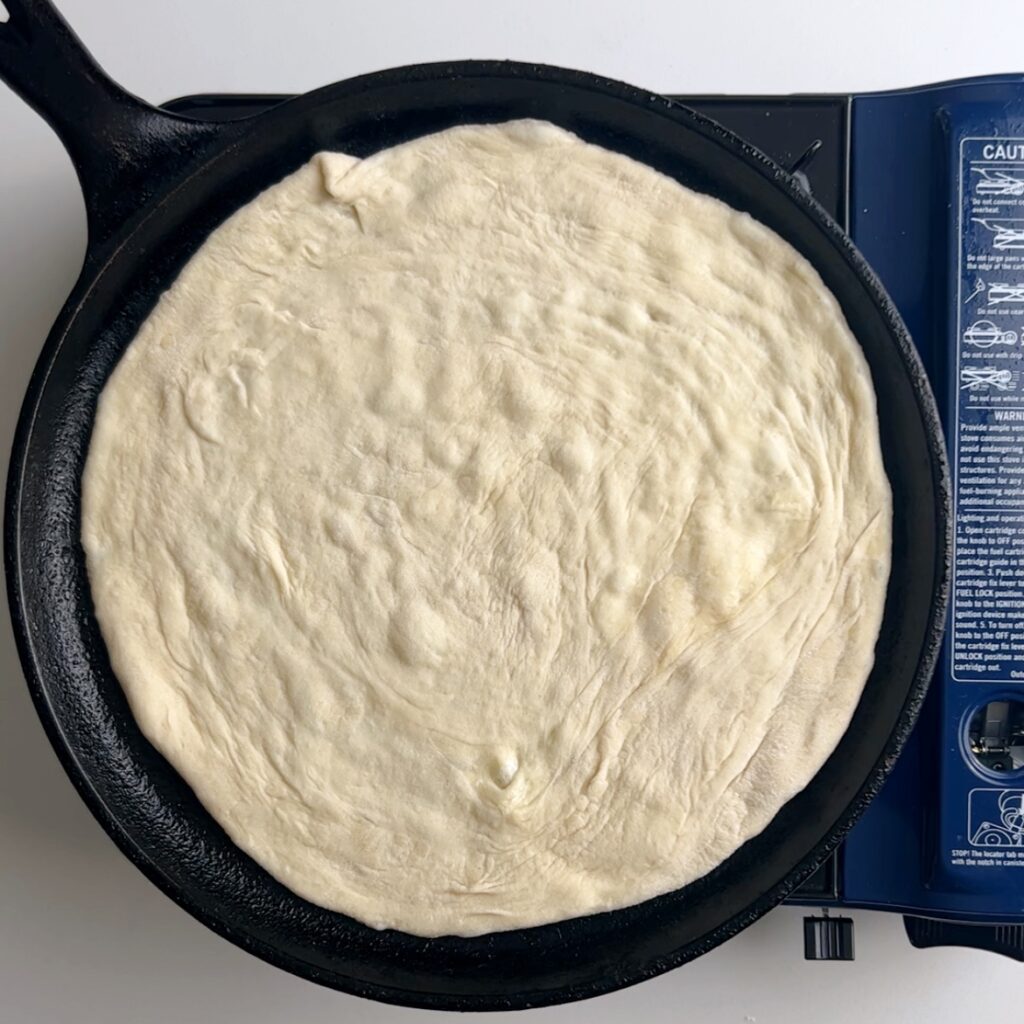
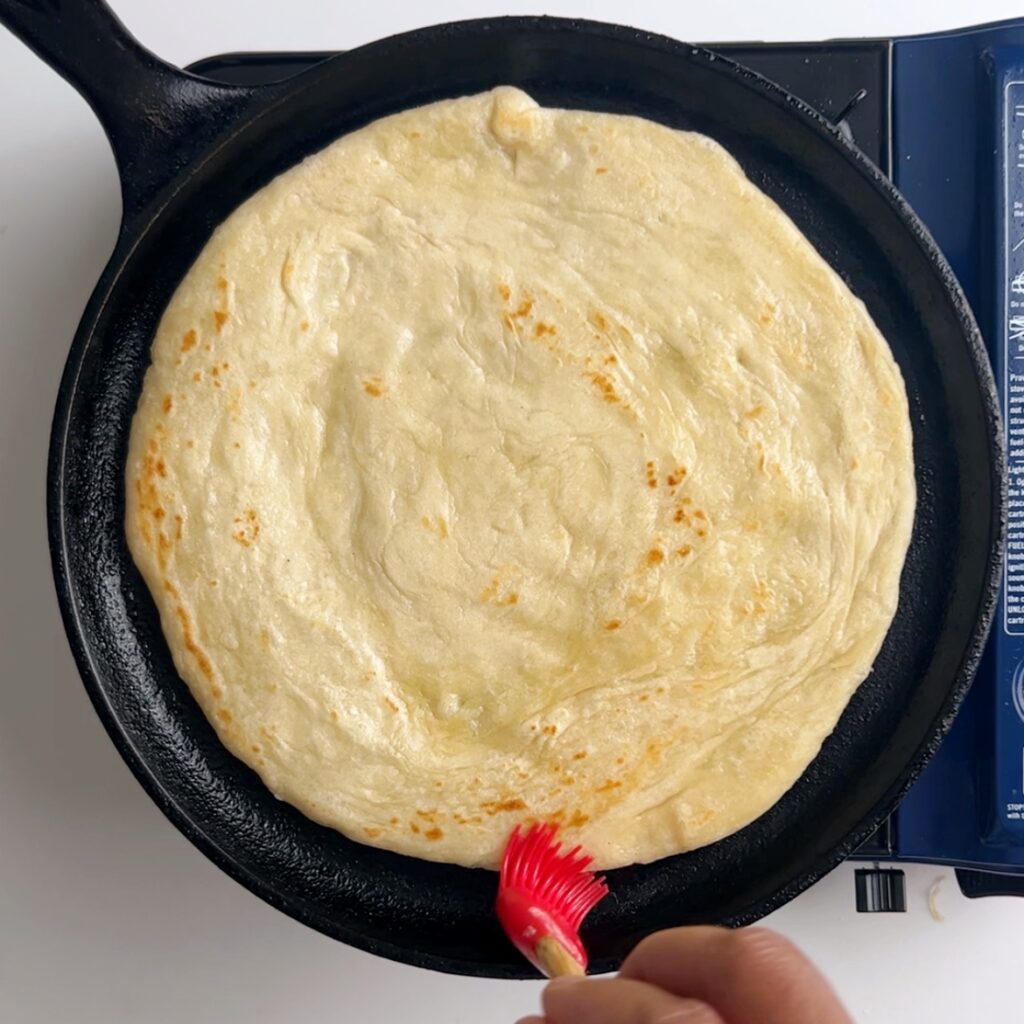
When ready to cook add tawah/skillet to medium heat. While the tawah is heating up roll the roti into a flat disk about 1/8th inch thick. Then add to the preheated tawah/skillet. When tiny bubbles form, flip the roti over and brush with oil. Continue to cook for about 30 seconds or for as long as it takes to brush the top with oil.
Flip again and repeat on the other side.Then flip a final time and let it cook for about 30 seconds. Then fold the roti in half and from the heat.
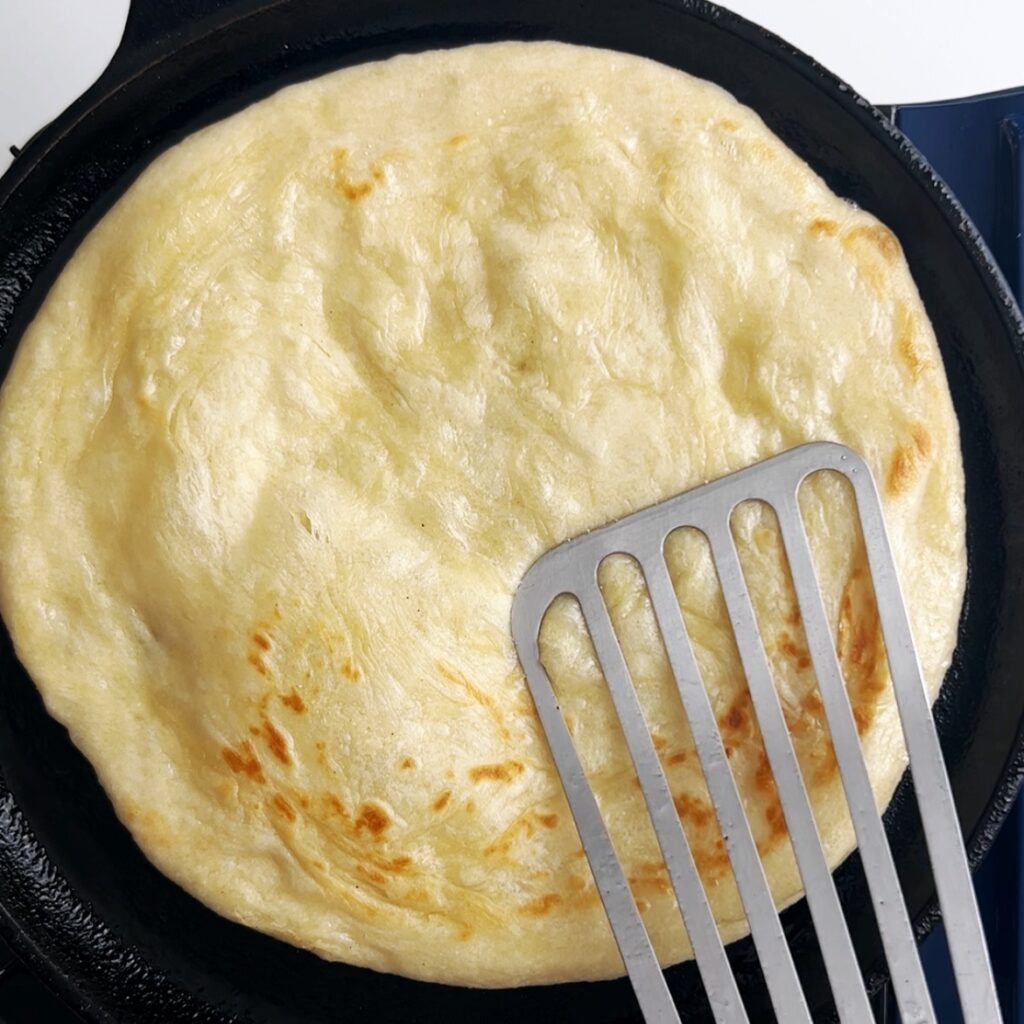
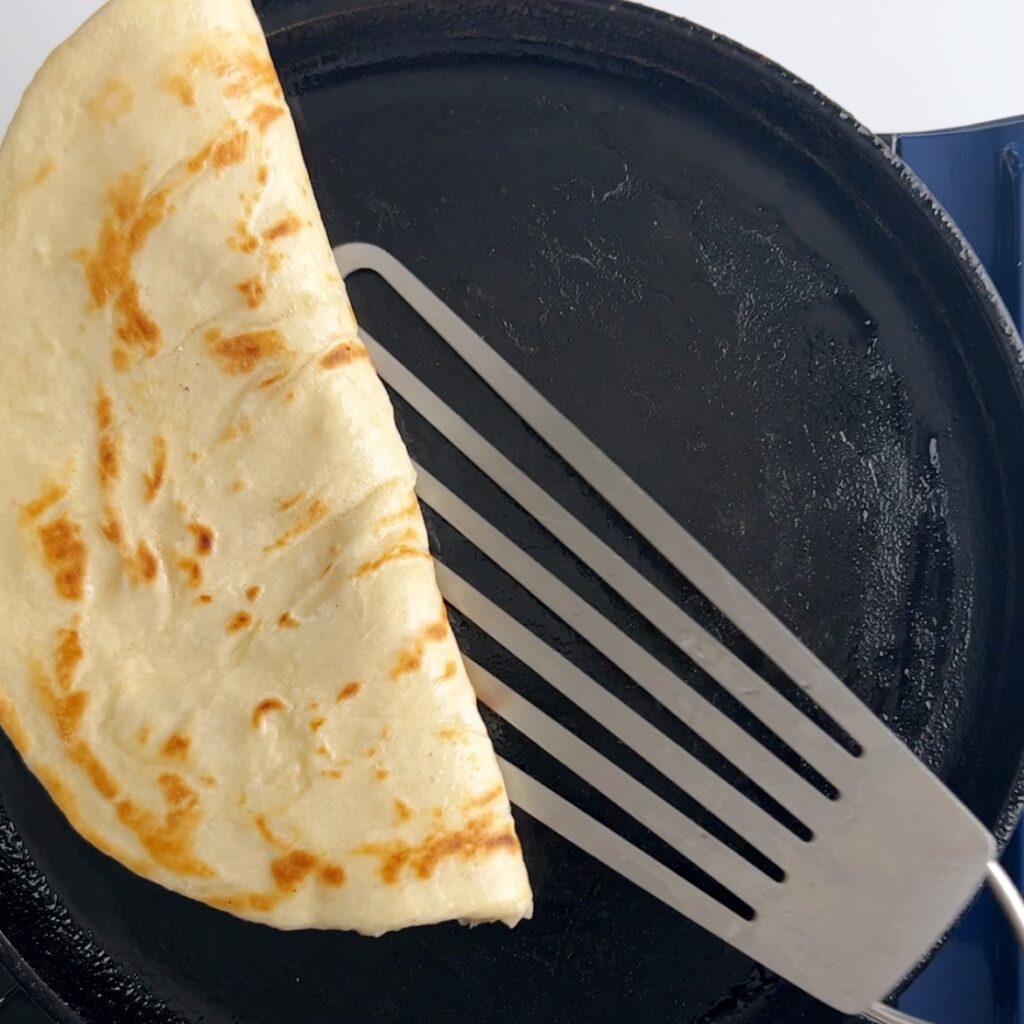
If you prefer a roti with less brown spots, keep your heat medium low and let the roti cook for just 30 seconds on each side without getting brown. I prefer my roti with little to no brown spots but most people prefer theirs with lots of crispy brown bits like the roti shown here.
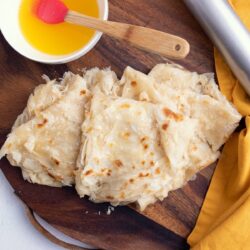
How to Clap Guyanese Paratha (Oil) Roti
Clapping the term used to method used to release the air pockets from the roti and create the beautiful flaky layers. To clap the roti fold immediately after you remove the folded roti from the tawah/skillet. Hold the ends with both hands and toss it into the air to about chin height. Very quickly bring your palms together in a clapping motion, compressing the roti to loosen the layers. Repeat this motion several times until the roti is fluffy and flaky. Do your roti clapping over an empty sink or over a bowl with a kitchen towel to collect roti flakes that may fall during clapping.
Substitutions & Variations
- Flour: You can also use whole wheat flour with this recipe. Use 2 cups of whole wheat flour and 1 cup of all purpose flour for a more nutrient dense roti with a bit of a nutty flavor.
- Yeast or No Yeast? Adding a pinch of instant yeast to the dough saves time and effort. Instead of waiting hours for the dough to rest. I’ve made roti in 15 minutes, because I added a pinch of instant yeast and a tiny bit of (sugar) to feed the yeast. Check out this post to see how.
- Gluten Free: Looking for a gluten free roti with authentic flavor? Then try my Grain Free / Gluten Free Roti recipe. I promise it won’t disappoint.
- Fat: You can use a variety of fats to your roti dough for varying results. I often only use oil in between the layers with creating the lois. My mom uses oil and melted butter mixed together. Others prefer just ghee and some use vegetable shortening. Whatever you choose do not use extra virgin olive oil. It is too heavy and you will end up with a stiff roti. Always opt for a light or light tasting oil with a high smoke point.
- Vegan: Make your roti vegan by using vegan butter or butter substitutes or just oil in this recipe
- Trinidadian Buss up shot: This recipe is perfect for Trinidadian Buss Up Shot roti. I recommend using the oil and butter combination for between the layers and basting the roti during cooking for really flaky fall apart buss up shot roti results.
Storage
At room temperature: Wrap cooked rotis in a kitchen towel in a kitchen towel to keep it warm and soft. Store leftover oil roti wrapped in a towel and in an airtight container at room temperature for up to 2 days. Then store them in the fridge for up to one week.
Freeze: For longer storage, freeze raw or cooked roti for up to 3 months. Individually wrap your roti with plastic wrap, then store in a zip top bag.
To reheat, thaw frozen roti by leaving it at room temperature for about 15 minutes. Then wrap the roti in a few sheets of damp paper towel. Microwave in 30 second increments until the roti is warm.
Frequently Asked Questions
Roti has five simple ingredients: flour, baking powder, salt, warm water, butter and oil.
You can make your roti vegan by using a vegan butter substitute instead of butter.
Yes, you can make gluten free by using a combination of gluten free flours. See above where I discuss gluten free roti in the variations section of this post.
Yes. Make your roti dough up to three days ahead and store in the refrigerator or freeze for up to 3 months. See below for freezing tips.
Yes, you can freeze roti for up to three months. You can also freeze roti dough by wrapping it individually in plastic wrap and storing in a zip-top bag. Rest at room temperature to completely defrost before cooking. 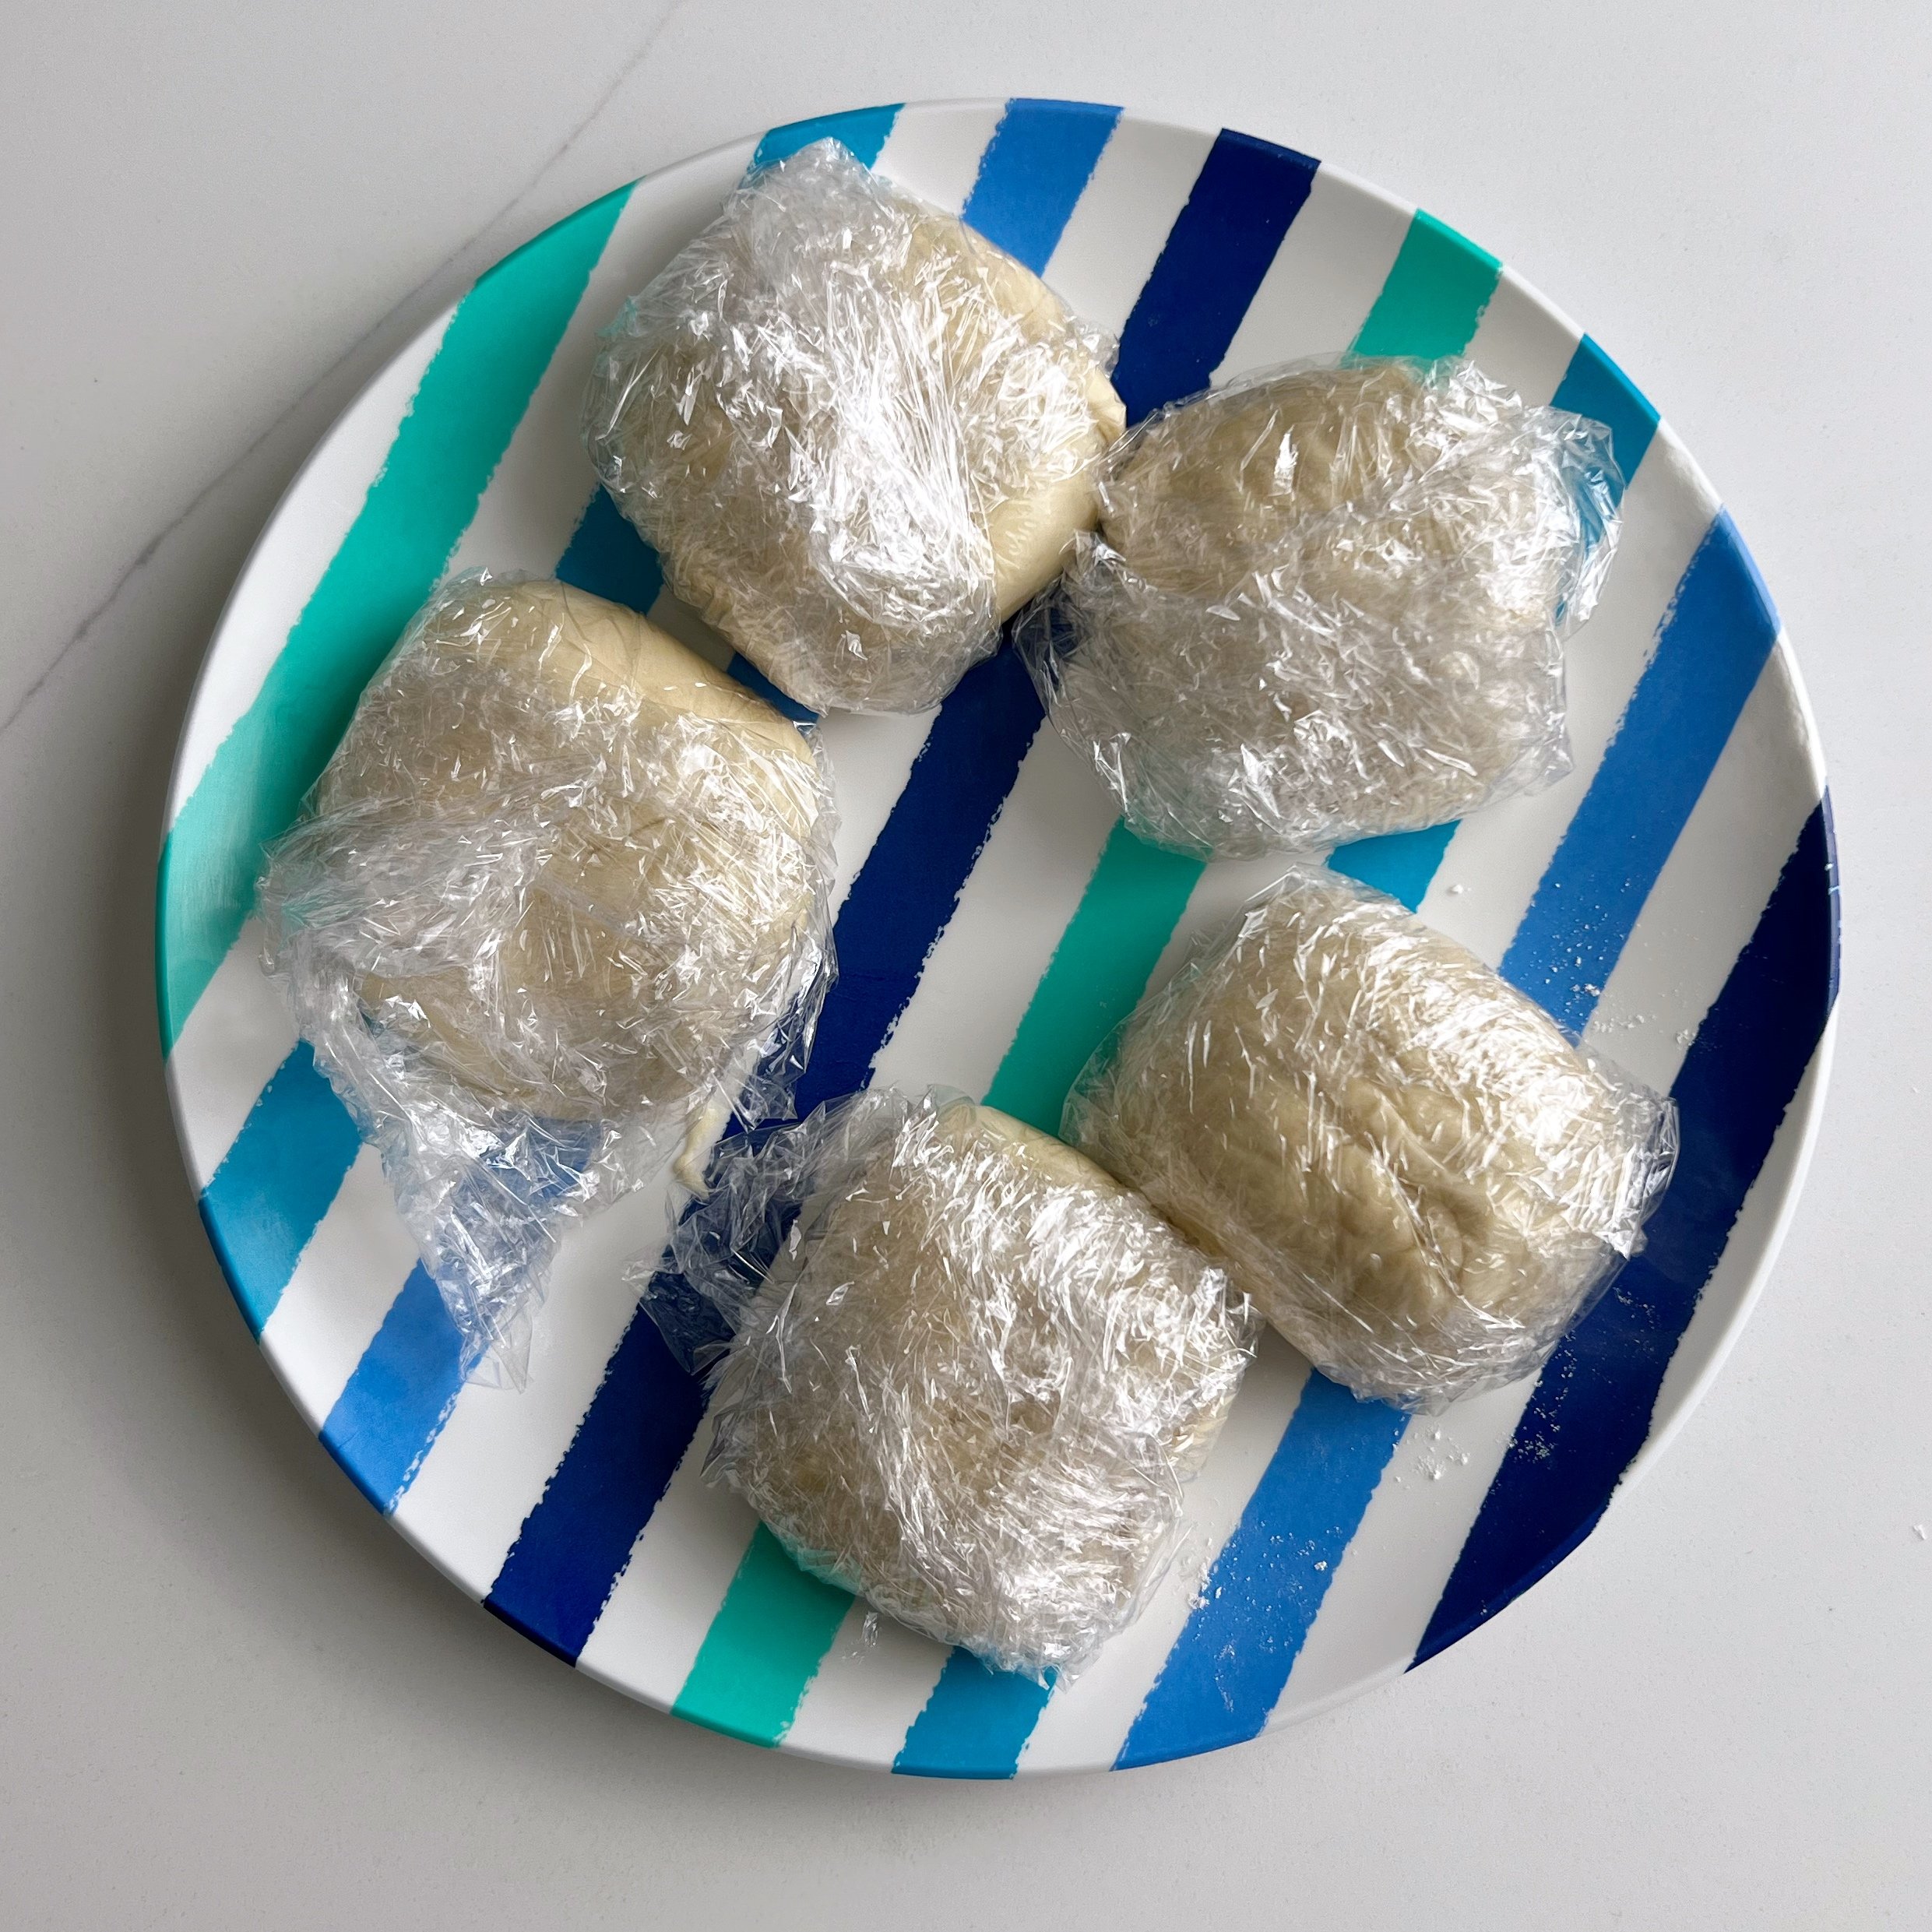
Classic Paratha (oil) Roti
Equipment
- Rolling Pin
- Tawa or flat skillet or griddle
Ingredients
For the Dough
- 3 1/2 cups All Purpose Flour (plus 1 cup for dusting)
- 1 teaspoon baking powder
- 1/4 teaspoon salt
- 1 tablespoon butter or ghee (may also use oil in this step)
- 1 1/4 cups warm water
- 1/2 Cup Oil (Use a light-tasting, high smoke point oil, such as avocado, extra light tasting olive oil or sunflower oil)
Instructions
- Combine flour, baking powder, salt in a large bowl and mix together well. Then add 1 tablespoon of butter or ghee (may also use oil) and blend into the flour mixture with your finger tips.
- Form a well in the center of the ingredients and add water a little at a time, pinching together with the flour mixture to form a shaggy (loose) dough.
- Squeeze shaggy dough together to form a soft and sticky dough. Continue to squeeze the dough in a slight kneading motion for about 5 minutes. Do not fold over and knead like bread dough. Just squeeze and massage the dough in the palm of your hands and bring it together into a ball.
- Rub a tablespoon of oil over the dough, cover dough with a damp paper towel to prevent the top from crusting and let rest for at least 30 minutes but up to an hour
Shaping the roti (adding the layers)
- Divide the dough into 5 pieces, then working with one piece of dough at a time, place the dough on a floured surface, press with your finger tips to flatten. Using a rolling pin, roll into a large thin disk about 1/8 inch thick (similar to a large tortilla).
- Add about 1 tablespoon of oil over the surface of the rolled out dough followed by a sprinkle of flour. Then using a knife make an incision from the center to one end of the dough, and roll dough to form a cone. Tuck the ends into bottom of cone, flip over and push the cone tip into the base.
- Repeat for the remaining 4 pieces of dough. Then cover with a damp paper towel and let rest for 15 minutes before cooking.
Cooking the roti
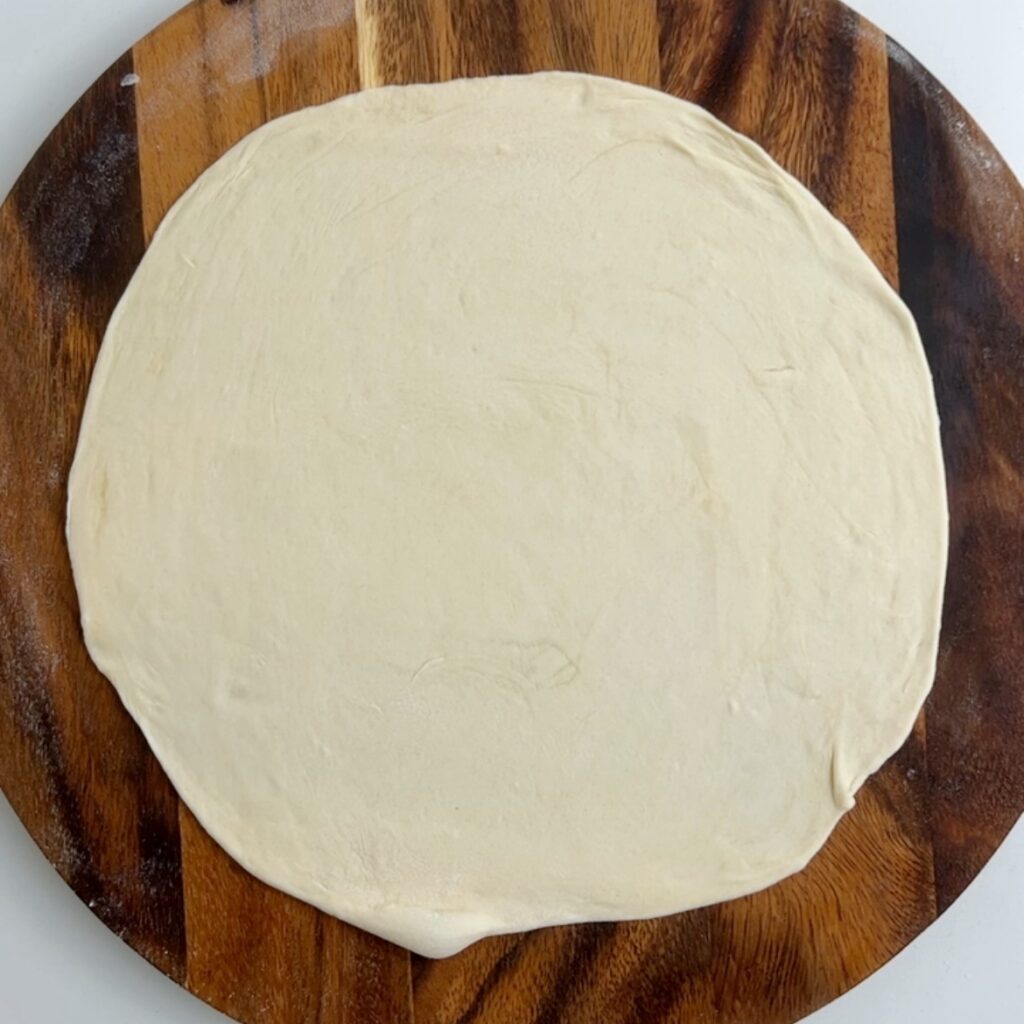
- When ready to cook, preheat a tawah or large cast iron skillet on medium heat. While the tawah is heating up, roll out your roti (loi/loya) on a floured surface and press to flatten. Then using a rolling pin, roll into a large round disk about ⅛ inch thick
- Place the roti on the preheated tawa and cook until tiny bubbles / air pockets appear on the top of the roti then flip and brush with oil. Once the roti the surfce is completely covered with oil, flip and brush the other side with oil. Then flip again and let cook for 15-20 seconds.
- Fold the roti in half, then remove the roti from the heat and clap immediately to release the flaky layers and prevent your roti from getting stiff. Serve your roti with your favorite saucy side dishes.
Notes
- Making Guyanese roti the traditional way takes time and practice. For best results, allow the dough to rest so that the gluten activates and the dough becomes stretchy. A stretchy dough is easy to work with and will result in a silky and flaky roti.
- You can also use a combination of butter and oil between the layers of dough when making your lois/loyas. But do not use butter to cook your roti as it will burn and the roti will be crispy. You can use ghee to cook the roti if you like or just oil like I did here.
- Don’t let dough sit for more than 1 hour in the first stage or it will get dry and crusty. If you need to rest it for longer than 1 hours, please place the dough in the refrigerator.
- You can substitute 2 cup of all purpose flour for 2 cups whole wheat flour in this recipe.
- Traditionally roti is cooked on a tawah. If you don’t have a tawah a flat cast iron skillet or heavy bottom frying pan works really well.
Nutrition
The information listed in the recipe card is an estimate provided by an online nutrition tool. The tool evaluates ingredient names and amounts then makes calculations based on the number of servings listed for the recipe. It is provided as a general guideline and not as a precise calculation. For precise nutrition information please feel free to add the ingredients to your preferred nutrition calculator or consult a doctor or licensed nutritionist.
 Sardines and Crackers
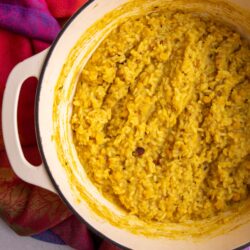 Guyanese Kitchri
 Guyanese Milk Peera
 5 Must Try Guyanese Foods
Thea Says
Made for the first time and it turned out great! Thank you for the easy to follow recipe and pictures!
Natalia Says
This recipe is so easy and so good. Very clear steps . I can not wait to do it again. Thank you!
Lynsiejag Says
This is the best, easiest roti to make! Step by step instructions with the photos and video are so helpful. So yummy!
Eric N Doris Jr Says
I need to order roti and dahl puri. I can be reached at (909) 429-4000. Thank you.
Agustina Says
The instructions are a bit confusing. The dough is very dense. Is it 2 1/2 cups of flour for the dough and 1 cup for dusting or 3 1/2 cups for the dough plus 1 cup for dusting?
Rachel Parry Says
If you don’t clap the roti would the texture be quite dense? Would it still be ok?
Althea Brown Says
It won’t be flaky. You can clap it between a kitchen towel or shape it in a bowl if you like but there needs to be some friction to loosen up the layers.
shellon stuart Says
I’ve been trying to learn how to make these from my grandmother for years and between migrating and just life the lesson never seemed complete and now she’s 90 years old and unable to teach me like she used to but I am intent on getting us good as she is. It’s easy to come here and follow these clear instructions even though I don’t think mine are living up to her standards yet with your recipes I can get in enough practice to get there one day
Althea Brown Says
Thank you for trying my recipe. Roti certainly takes practice and these recipes give you a good start. I can’t wait to see what you will be doing as you continue to make roti at home!
Mala Says
Thank you Althea for this simple roti recipe. It’s my go to roti recipe, turns out amazing every time!
Ps Happy Burdayyyy Beautiful!!
xx
Mala