
This gluten-free and dairy-free Guyanese parsad has all of the flavors of the original, traditional recipe. If you are gluten-free like me, and also avoiding dairy and refined cane sugar, then this recipe is for you!
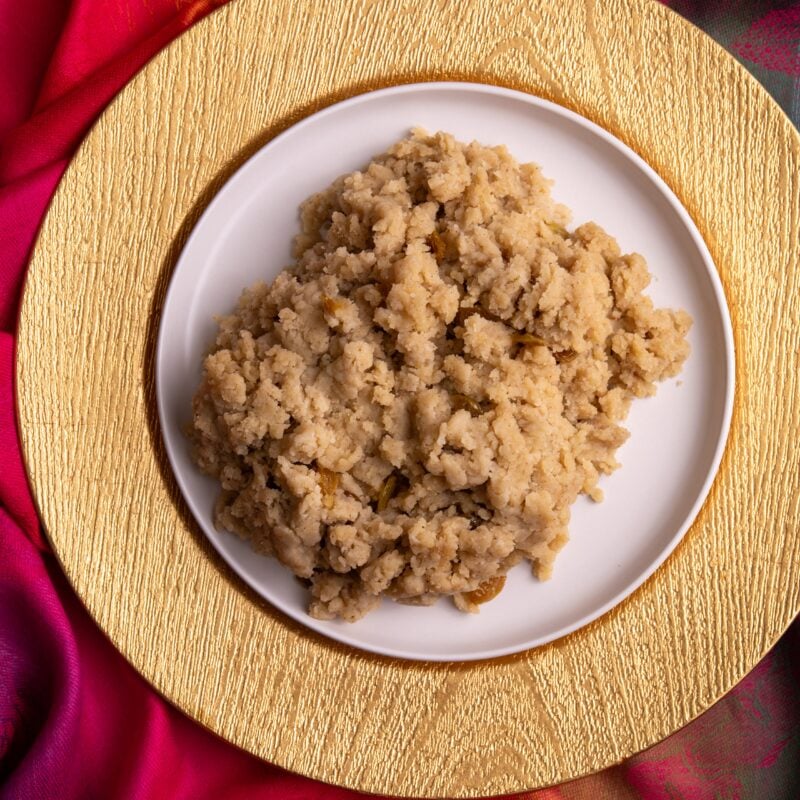
Gluten Free Guyanese Parsad
Parsad is popular around Hindu religious holidays, like Phagwah and Diwali. I miss Guyana terribly around this time so I like to cook dishes that are connected to these holidays. Since I am now completely gluten free it is hard to enjoy most of these dishes unless I make my own gluten free recipe. So, here’s my gluten free parsad recipe.
This recipe was inspired by my traditional Guyanese parsad recipe. The traditional recipe uses ghee and a very traditional method of parching the flour.
Why You’ll Love This Gluten Free Parsad Recipe
- Easy to Make: This beloved treat is ready in about 30 minutes and requires just a few simple steps.
- Perfect for Celebrations: As a child, I enjoyed this during every Hindu holiday but you can enjoy it any time the craving strikes!
- Absolutely Delicious: This is a snacker’s delight! It’s sweet (but not too sweet), rich, spiced, and fluffy. It’s so satisfying to grab a mound of parsad and let it melt in your mouth.
Ingredients for Gluten Free Guyanese Parsad
It takes just a few simple ingredients to make silky smooth gluten free parsad.

- Dairy Free Butter: I love this one.
- All Purspose Gluten Free Flour: Any brand will work.
- Coconut Milk: I love the one from Thai Kitchen since they don’t have any gums added. Use a dairy free milk with no gums for best results.
- Brown Sugar: You can use any sweetener of your choice. I’ve also used coconut sugar and maple syrup to keep it refined sugar free.
- Ground Cinnamon: You may use cinnamon sticks as an alternative.
- Vanilla Extract: Gives the dish a rich, dessert like flavor.
- Raisins: I prefer golden raisins but any type of dried fruits work. Some people also add nuts.
See recipe card for quantities.
How to Make Gluten Free Parsad
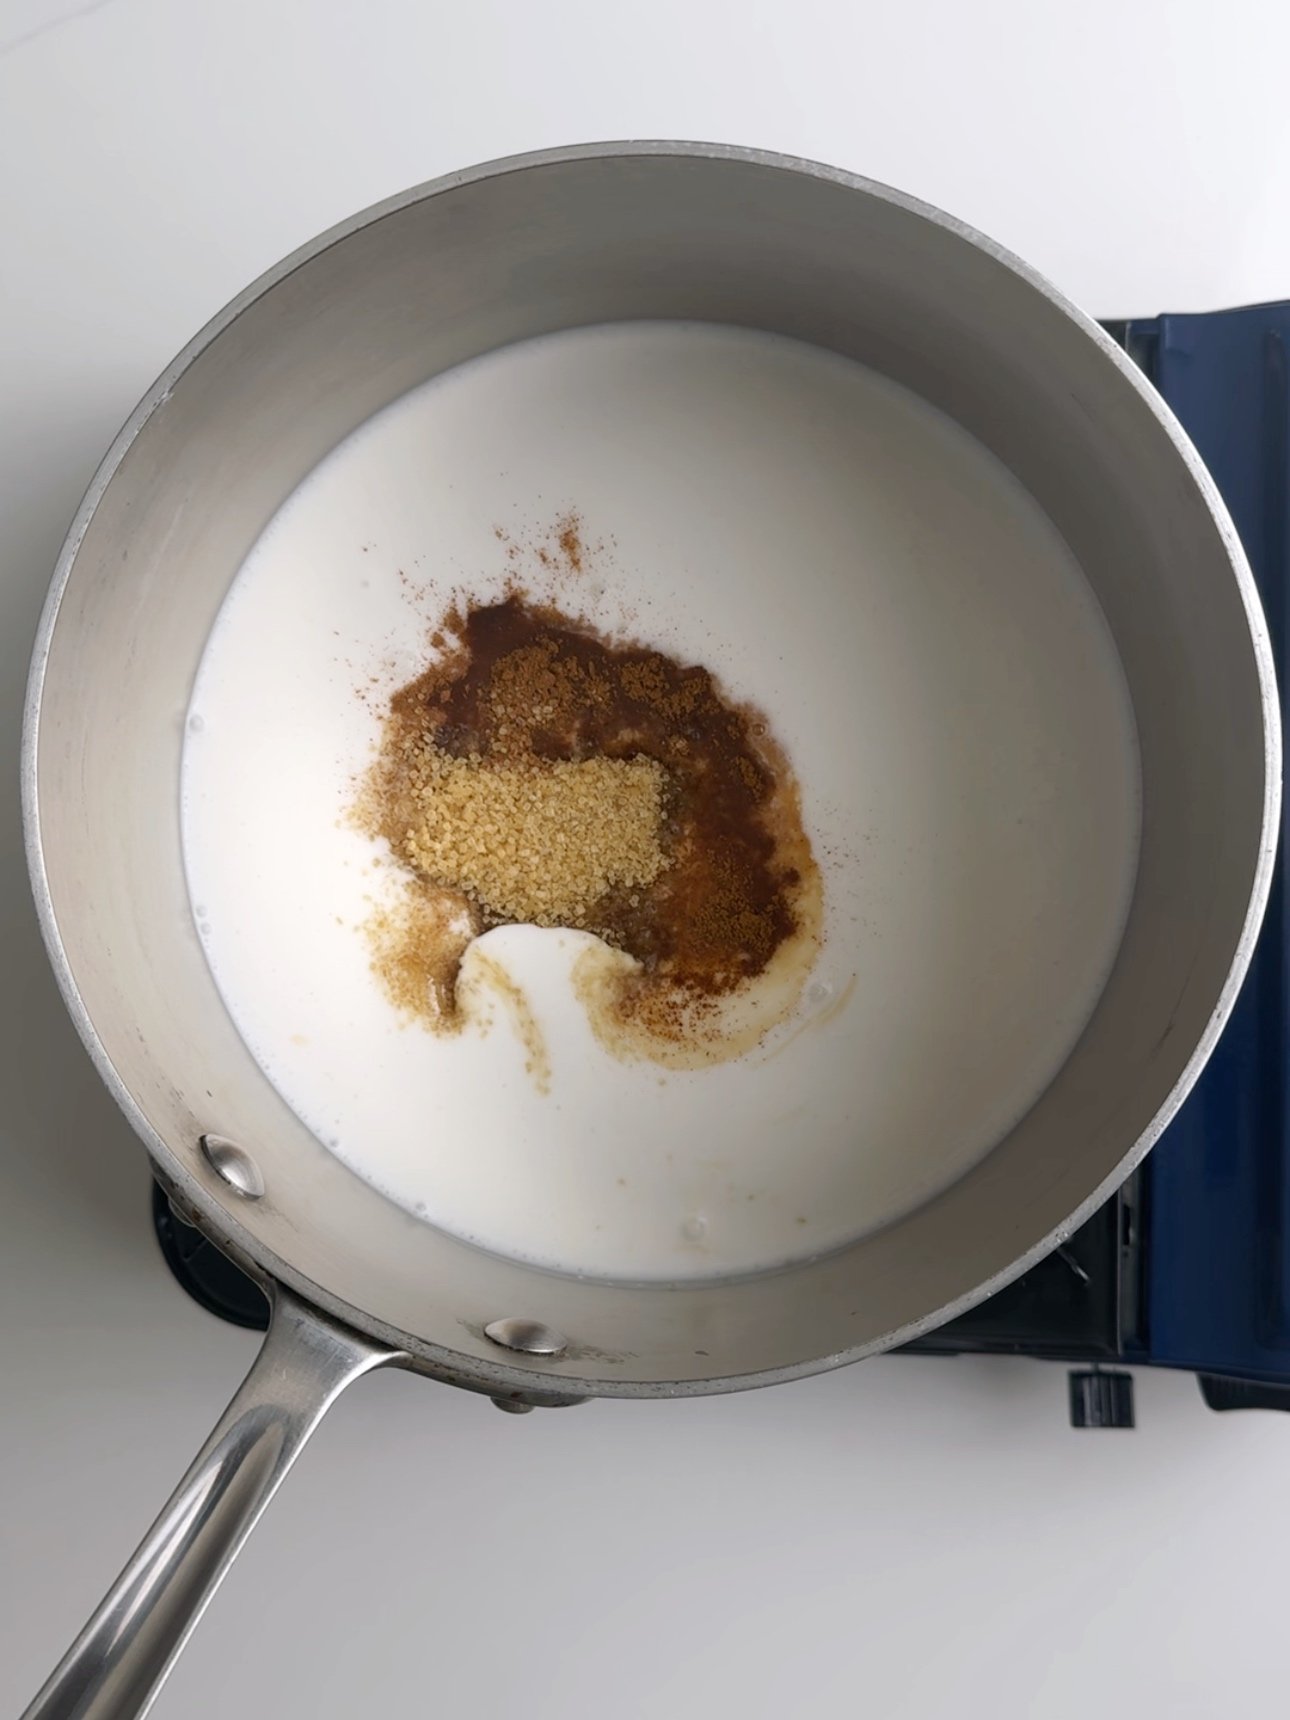
Make Milk Mixture
Combine milk, sugar, ground cinnamon, vanilla extract and raisins in a small sauce pan. Mix to dissolve the sugar, then to medium heat and bring to a boil. Once it starts to boil, reduce the heat to low and let it simmer.
Dry Parching the flour
Traditionally for parsad, you toast the flour with ghee, but when I first started making parsad this is how my mom told me to do it. Dry parch the flour and then add in the butter. This method works really well for gluten free flour because it prevents it from becoming gummy.

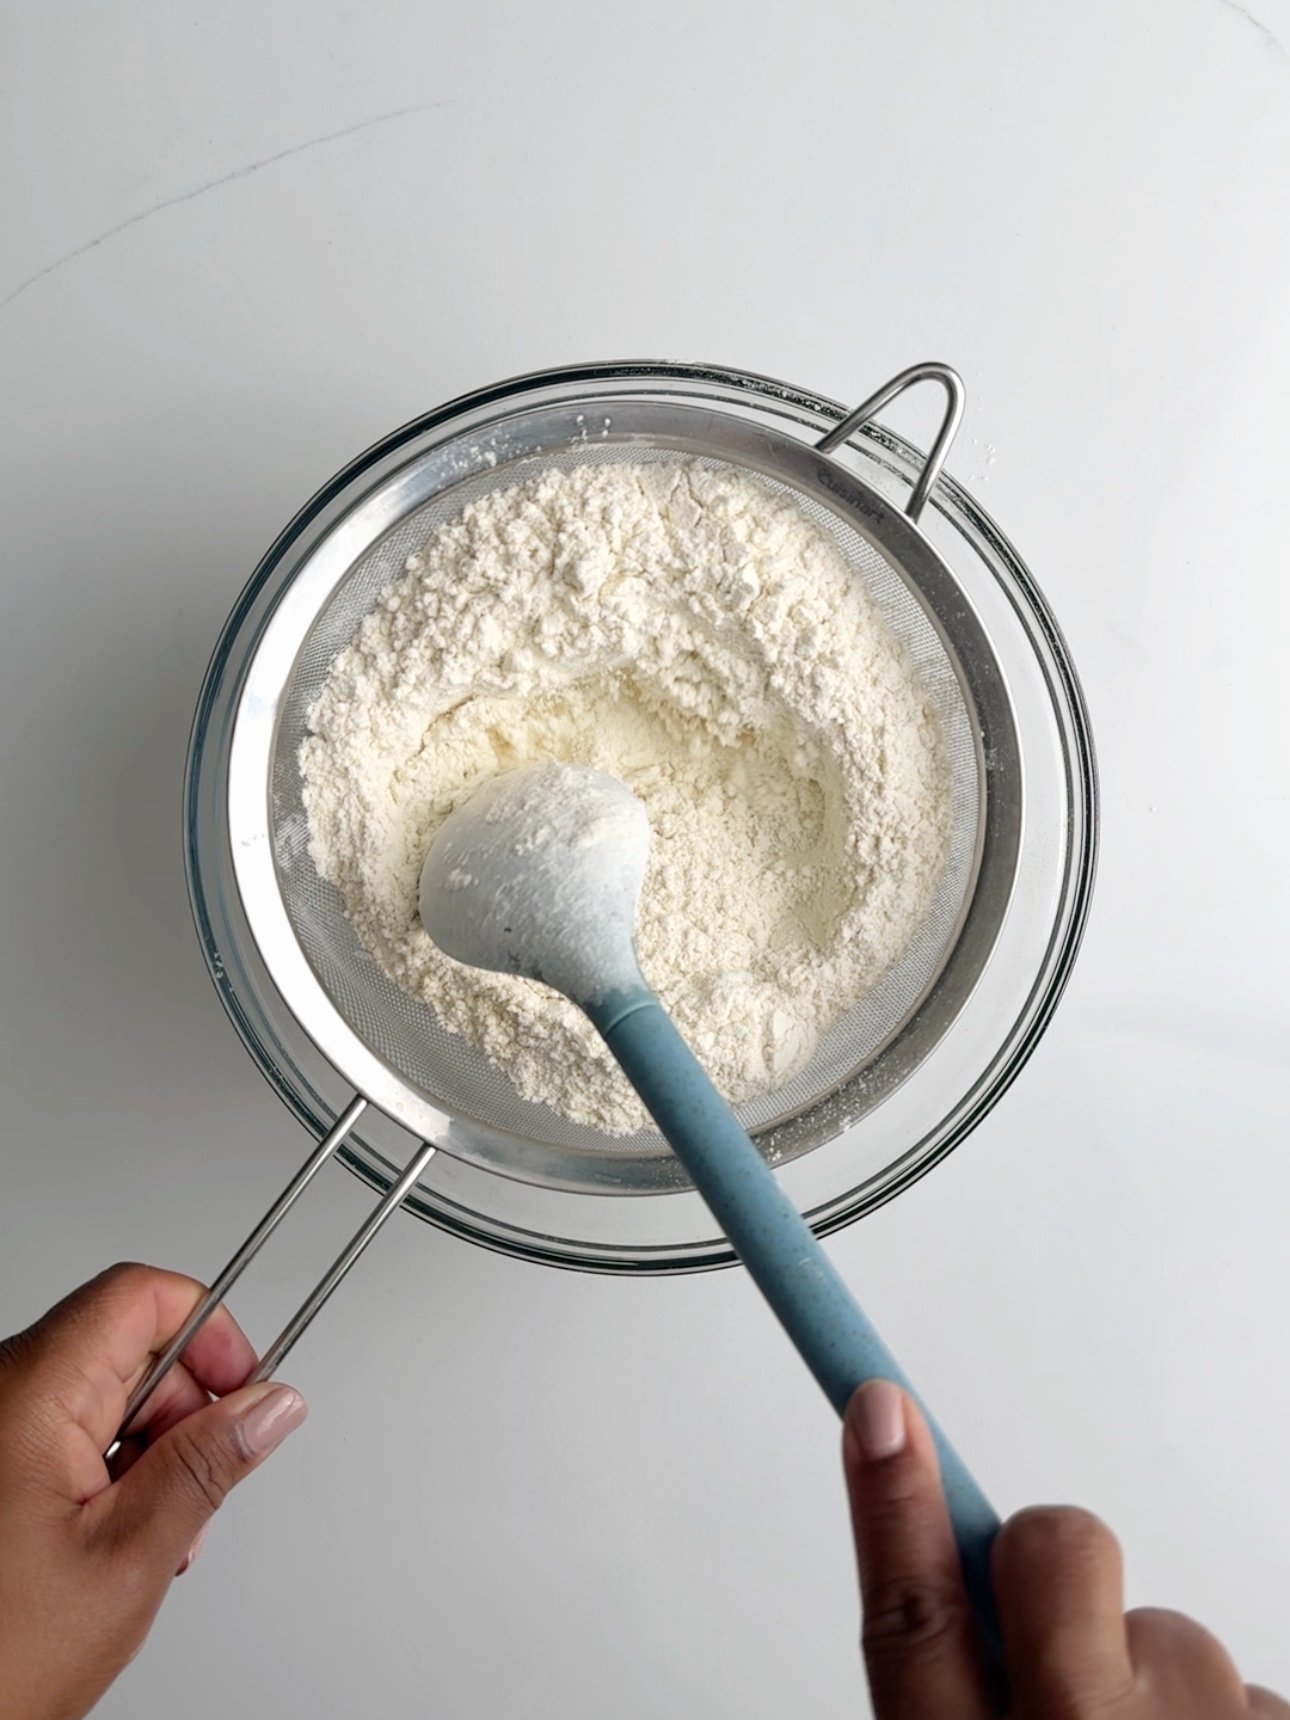
Add the all purpose gluten free flour to a skillet over medium heat and toast until it gets slightly brown. Stir often to prevent burning. Once it reaches your desired color (it may not get as dark as traditional wheat flour), sift with a fine mesh sieve, then return to the pan over low heat.
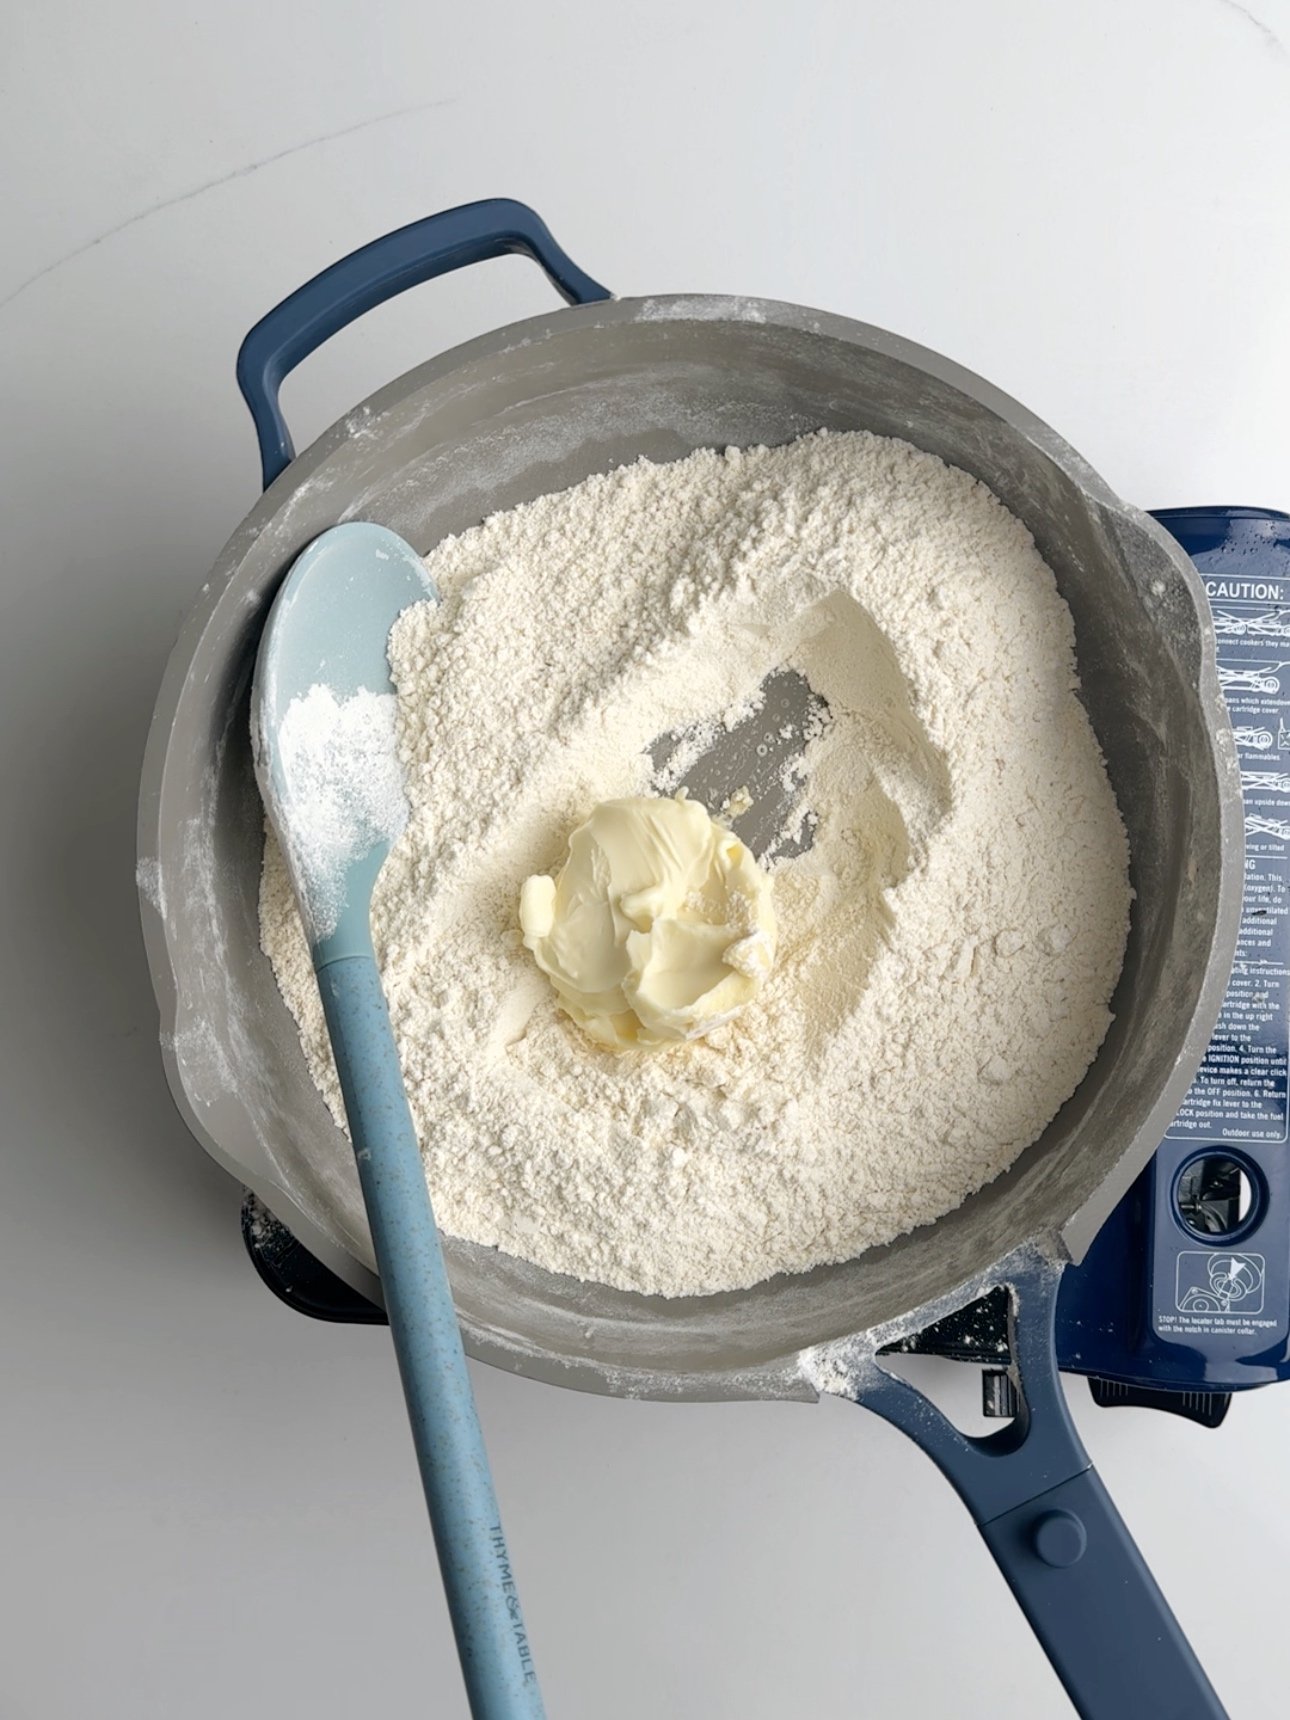
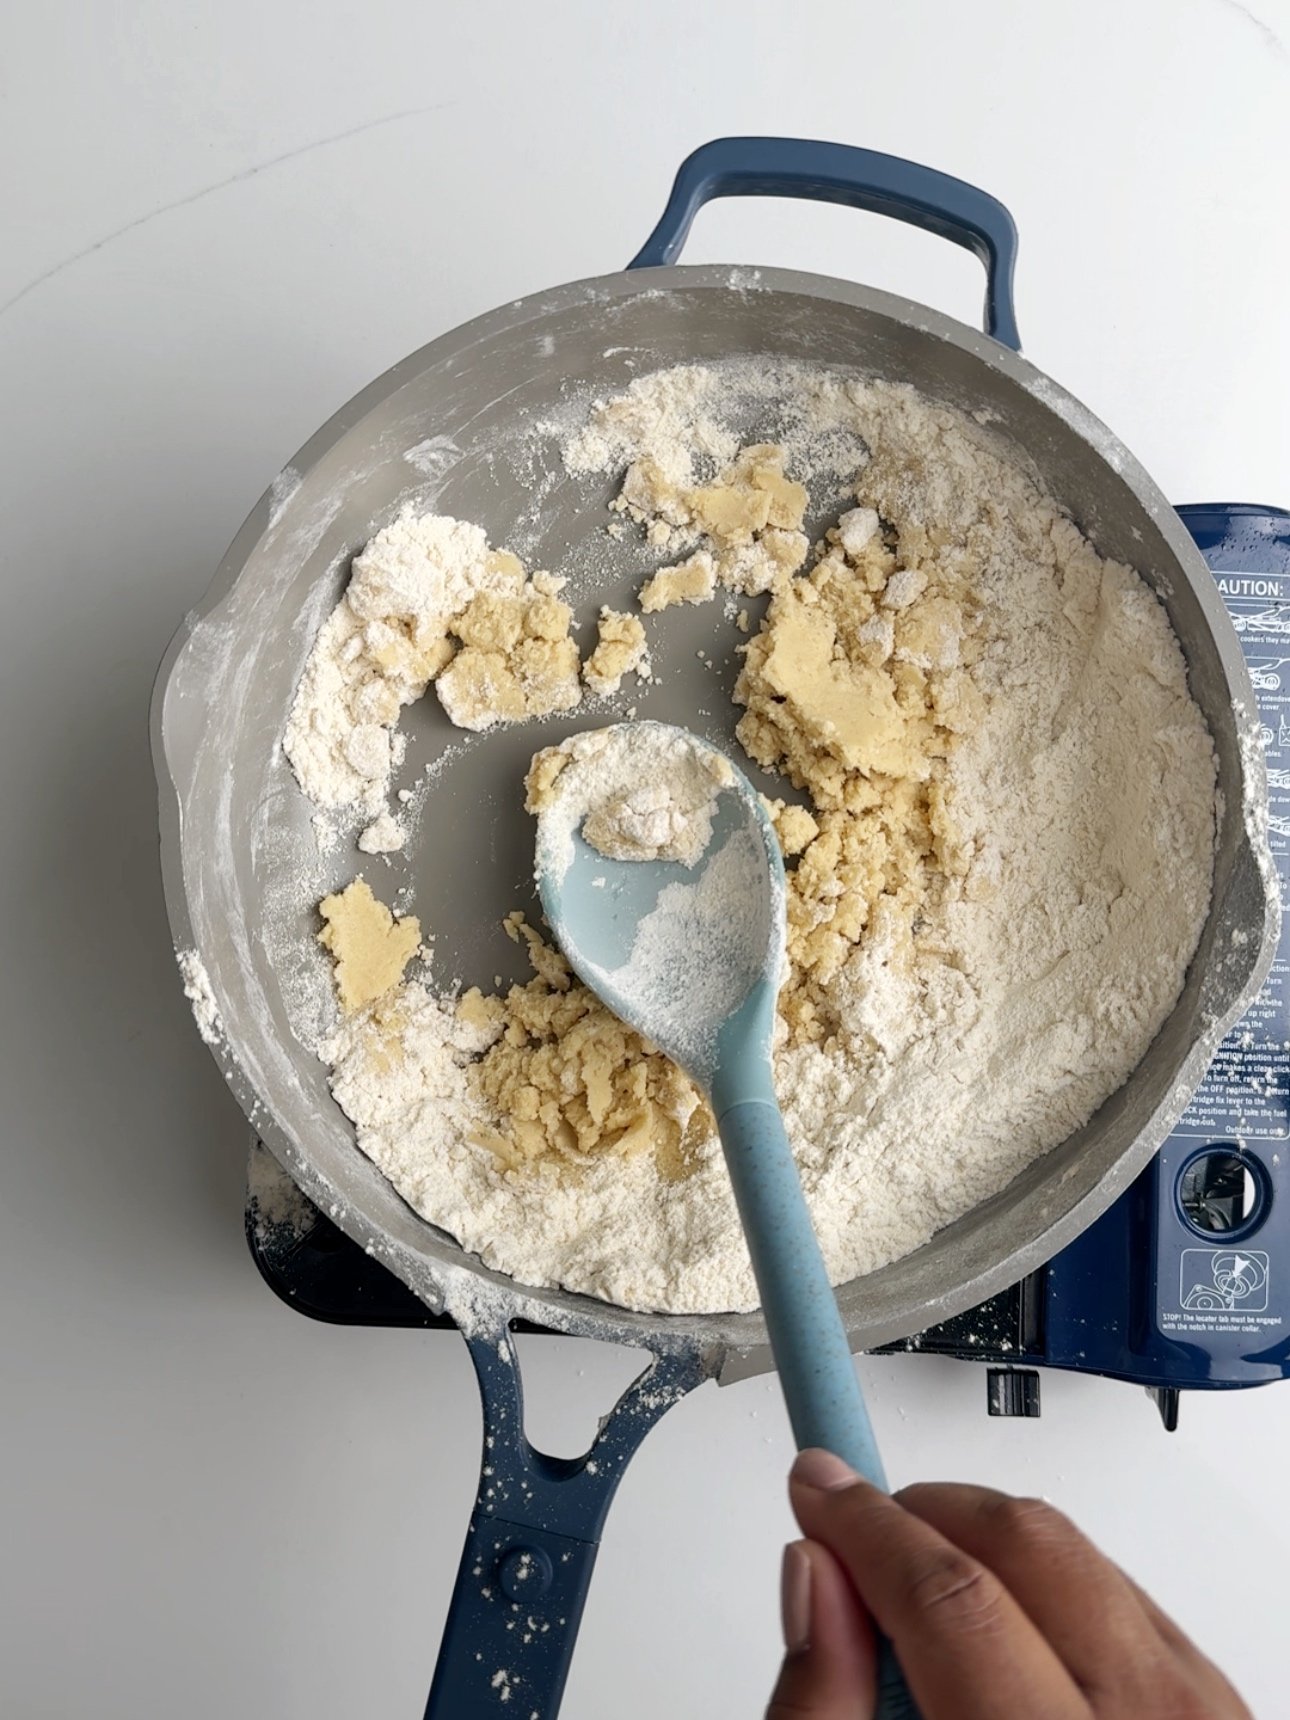
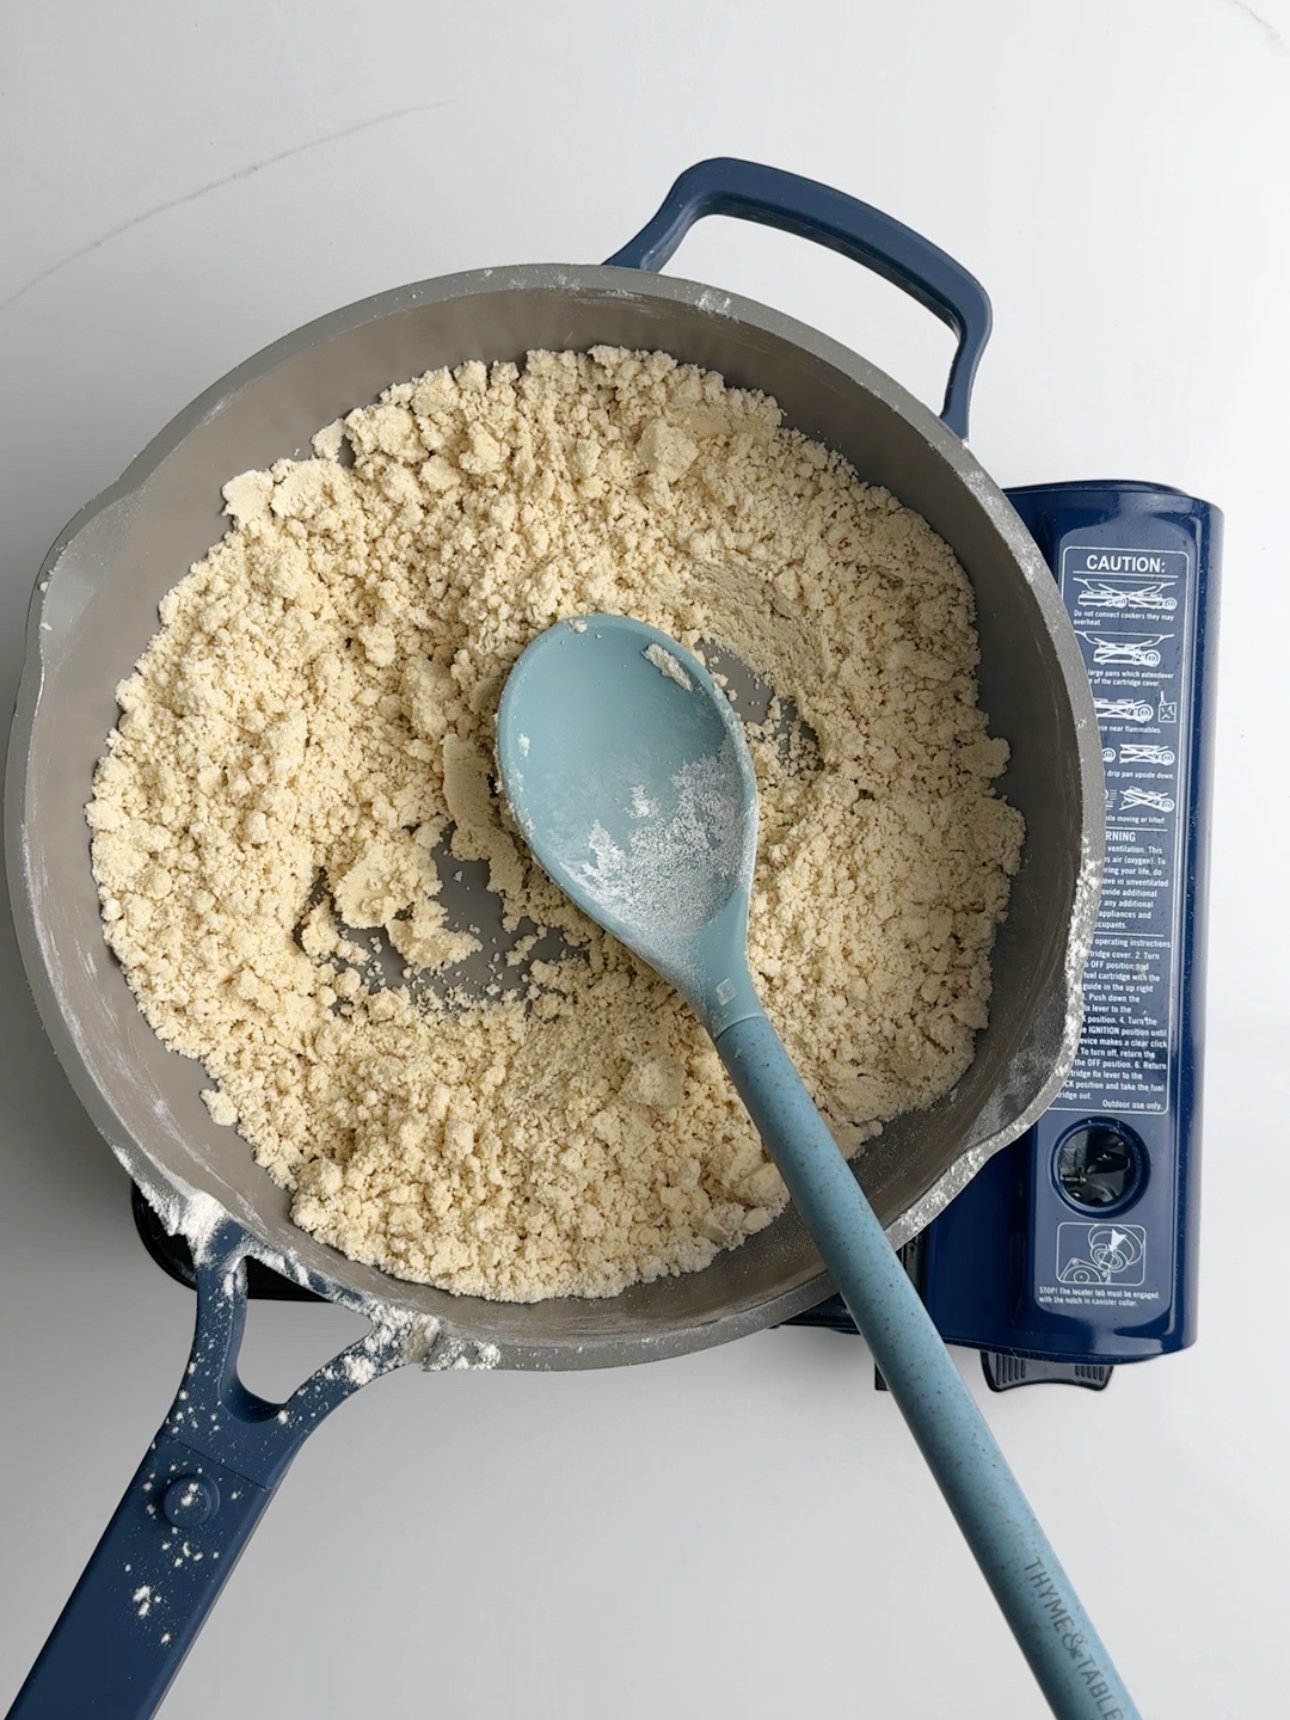
Then spot a hole in the center of the flour so that the bottom of the bottom is exposed. Add the butter to the skillet, as it melts combine it with the flour until there is a crumbly texture.
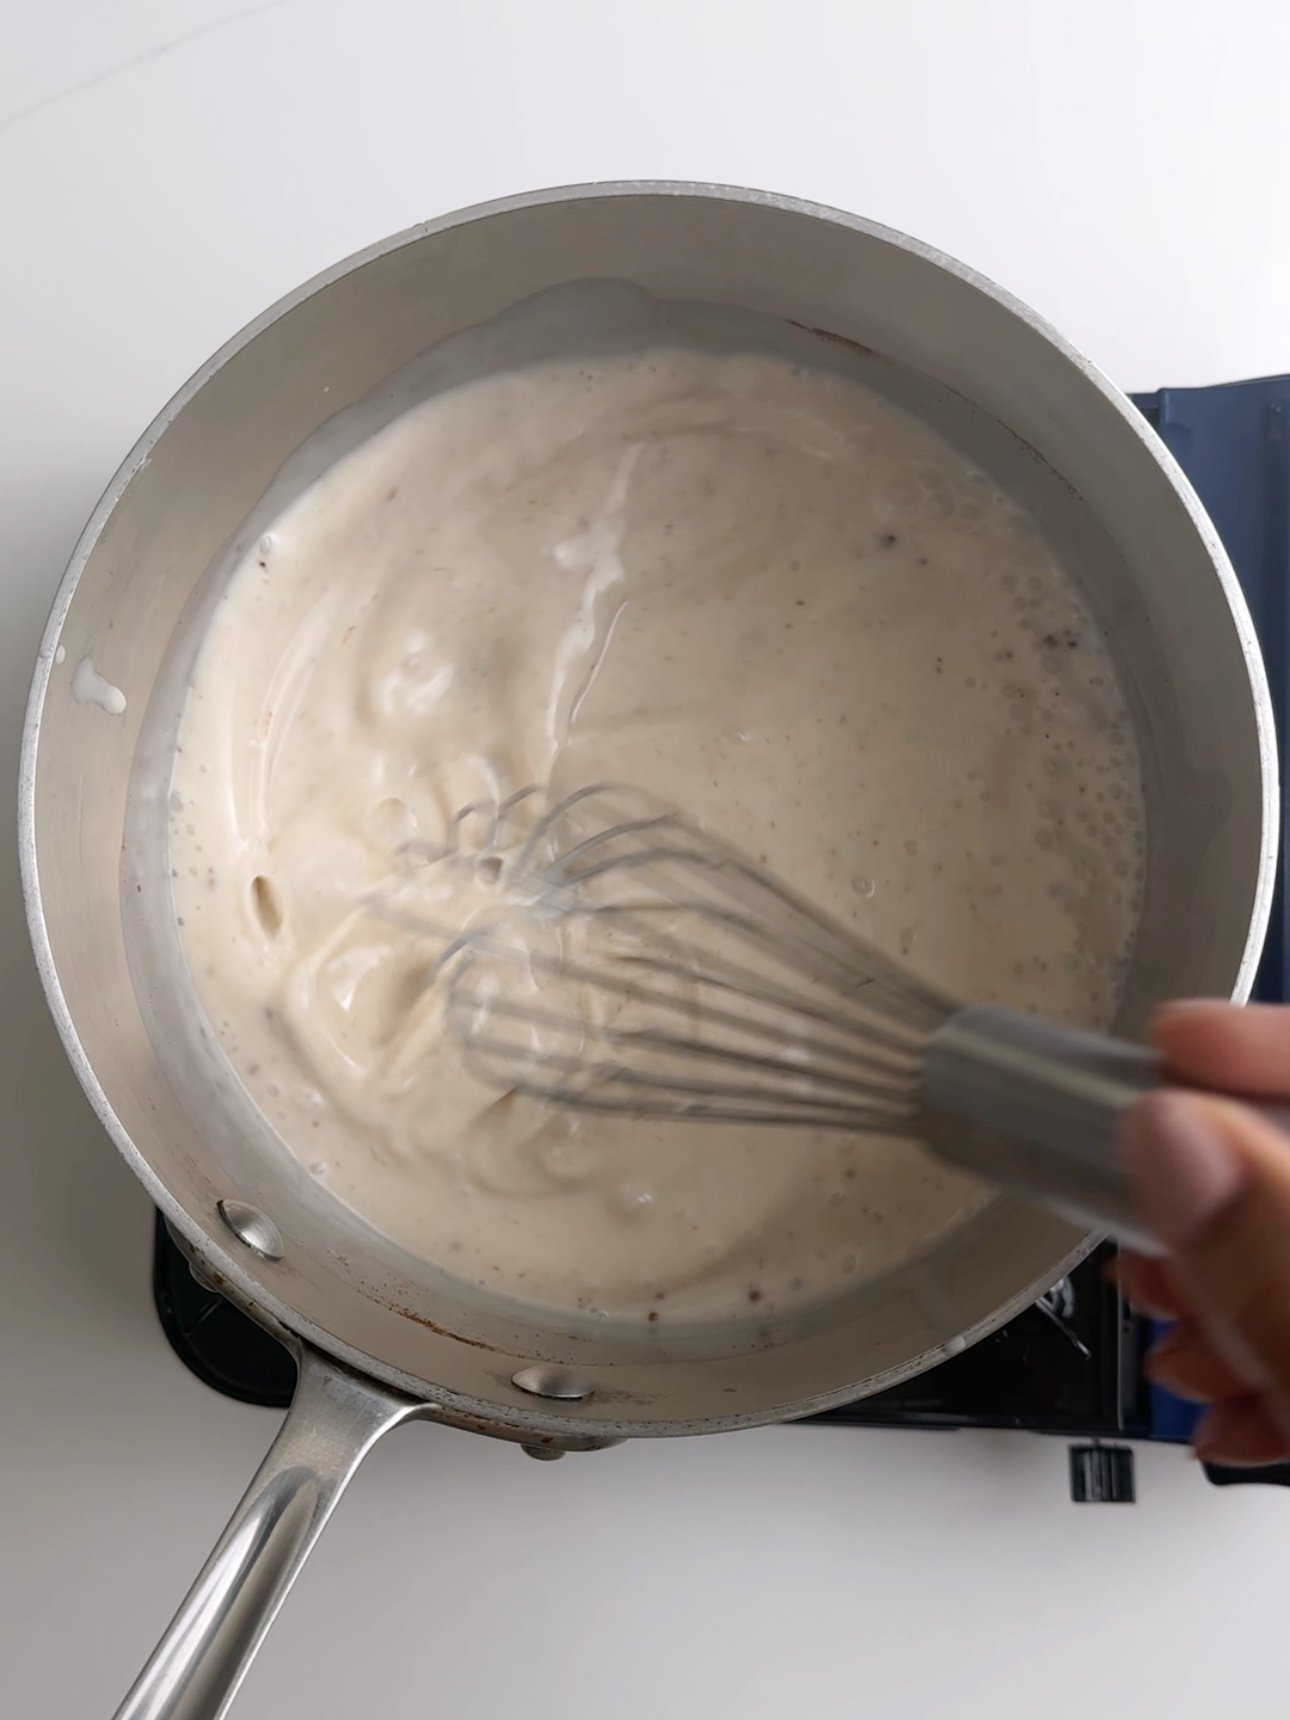
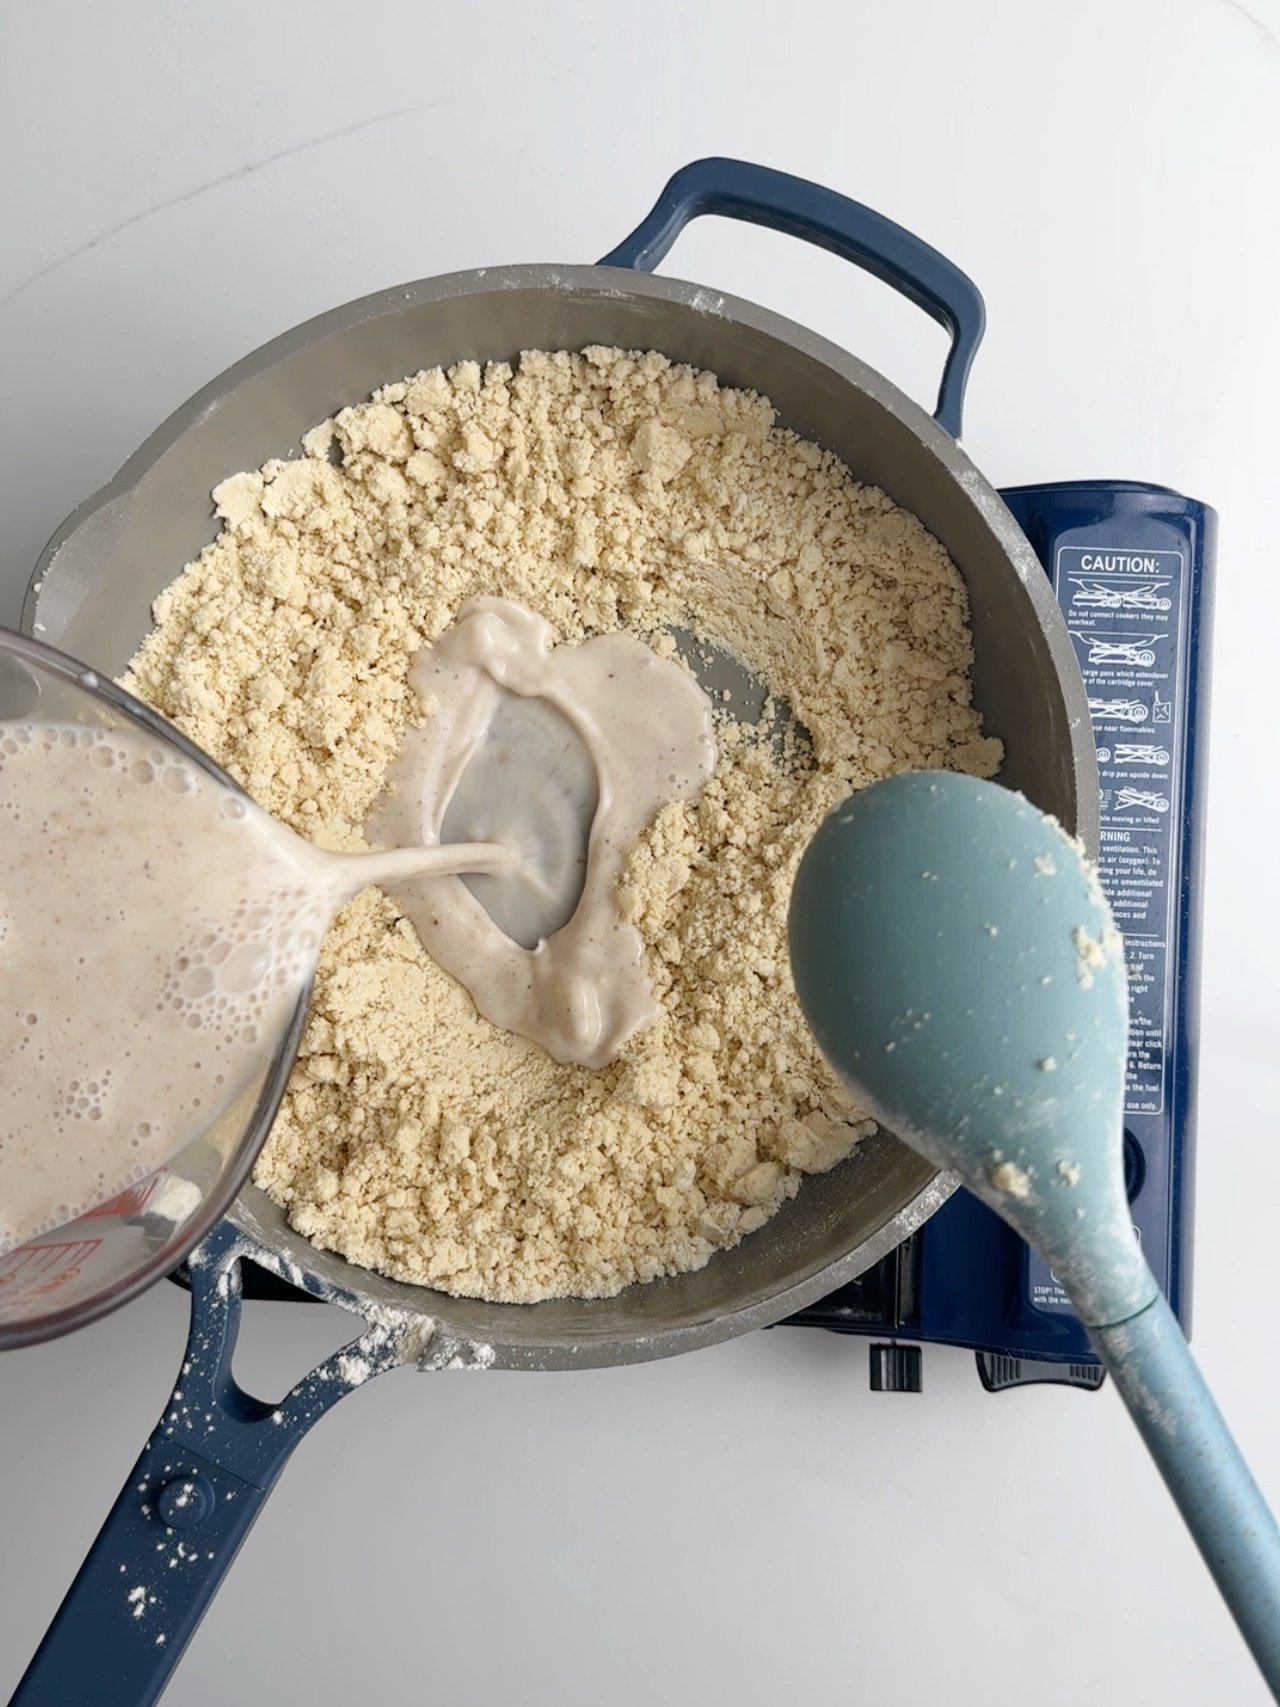
Mix
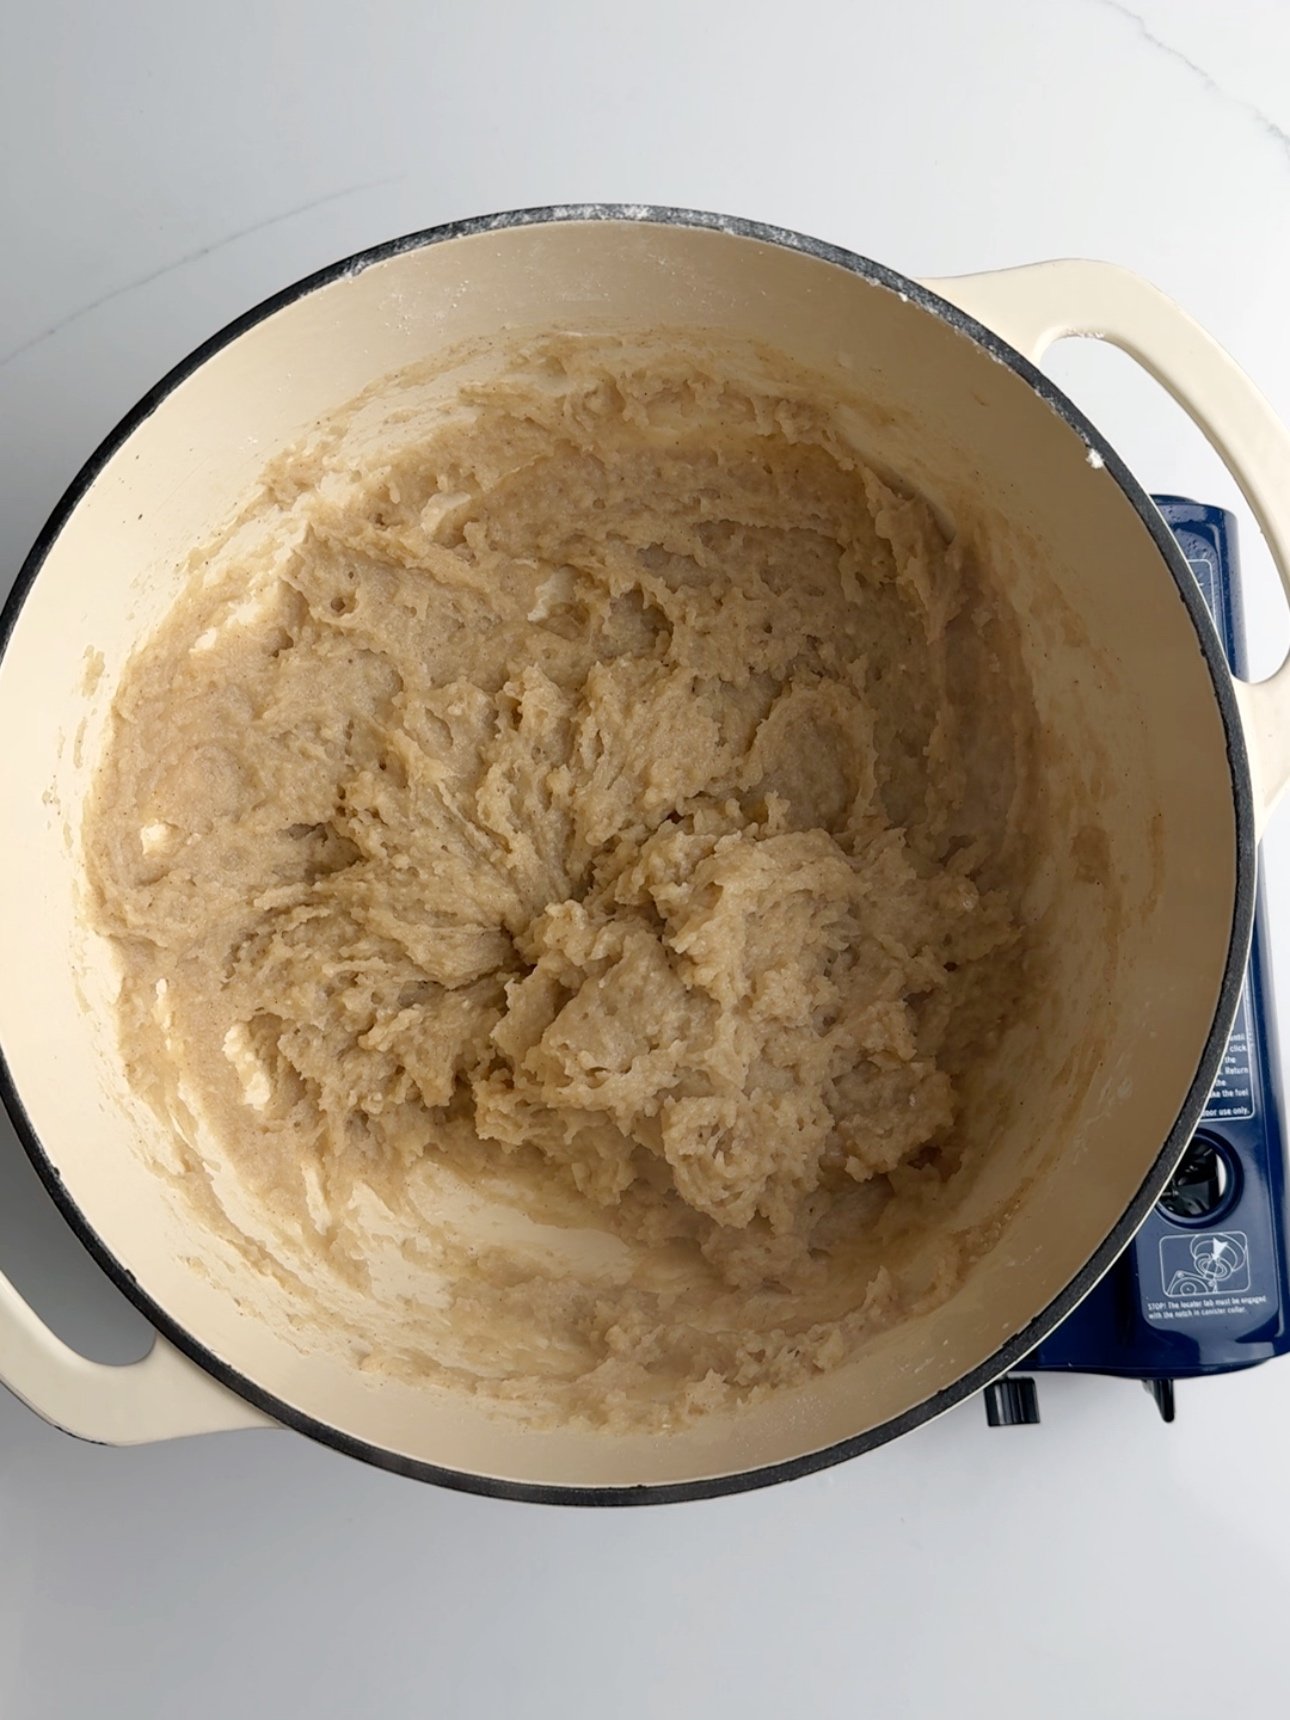
Then add the milk and raisins mixture (a little at a time) to the crumbly parched flour and mix until completely combined. Reduce the heat to low and continue stirring the mixture until it is smooth. Remove it from heat and allow to cool before serving.

Storage
Parsad tends to dry out and get a bit crusty, so store cooled parsad in an air-tight container, or a ziptop storage bag. As a last resort, store it in a bowl covered with plastic cling wrap. Leftover gluten free parsad should be stored in the refrigerator. I like to microwave leftovers for about 30 seconds to warm up and add some moisture back into them.
Top Tip For the Best Gluten Free Parsad
- Use a deep pot: Use a deep enough pot to help avoid some of the mess that happens when working with gluten-free flour.
- Avoid dairy-free milk with gums: While updating the photos in this recipe, I made three batches of gluten-free parsad. To my shock two batched failed. I couldn’t figure out why until I realized the milk I was using contained guar gum and xanthum gum. Combined with the xanthum gum in the gluten-free flour, this created a gummy mess.
Substitutions
Here are some substitutions that work well with this recipe
- Flour: I’ve tried a few gluten free all purpose flour blends and they all gave similar results.
- Milk: Canned coconut milk, evaporated coconut milk, as well other nut milks are great in this recipe. Just avoid milks that have gums listed in the ingredients.
- Sugar: Use coconut sugar, maple syrup, honey, or other sweeteners with this recipe.
- Spices: I like the immediate flavor payoff of the ground cinnamon but you can also use whole spices for a milder flavor. Add some cardamom for a richer flavor.
Variations
Many Guyanese make their parsad with maraschino cherries. I really don’t like adding these cherries to dishes, so I skip them but feel free to add 1/4 cup of chopped maraschino cherries at the end and mix into your gluten free parsad. Be sure to rinse them well, if you are using the cherries that come in syrup or your parsad will turn red.
- Nuts: Add toasted cashew or pistachio for an extra bit of richness.
- Dried fruit: Switch it up by adding different combinations of dried fruit. Currants, dried cherries and even dried cranberries work for a bit of flavor contrast.
Frequently Asked Questions
It’s important to parch or toast the flour separately before adding it to the other ingredients. This removes any bitter flour taste. Parching the flour without butter or ghee also ensures the mixture stays lump-free and doesn’t get gummy.
You can eat parsad straight from the fridge. It’s just a matter of preference.
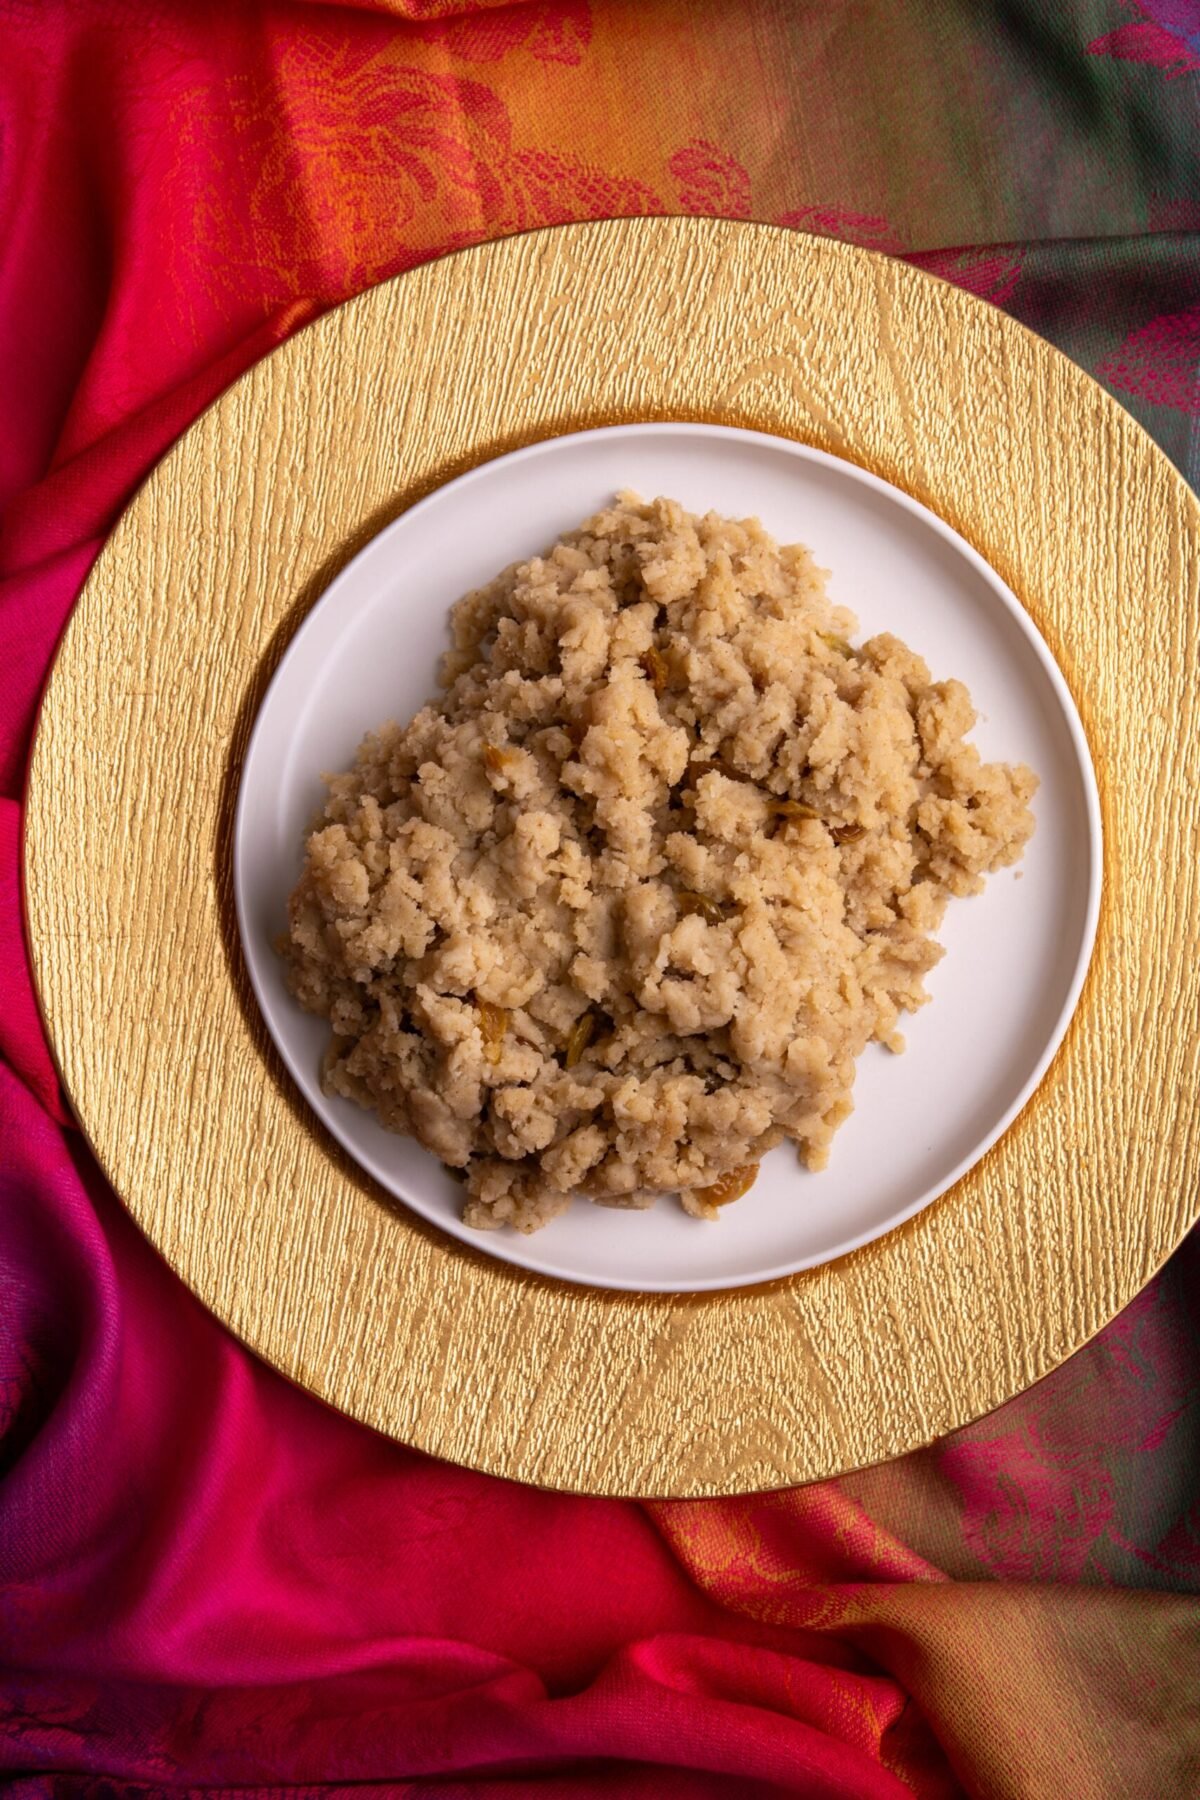
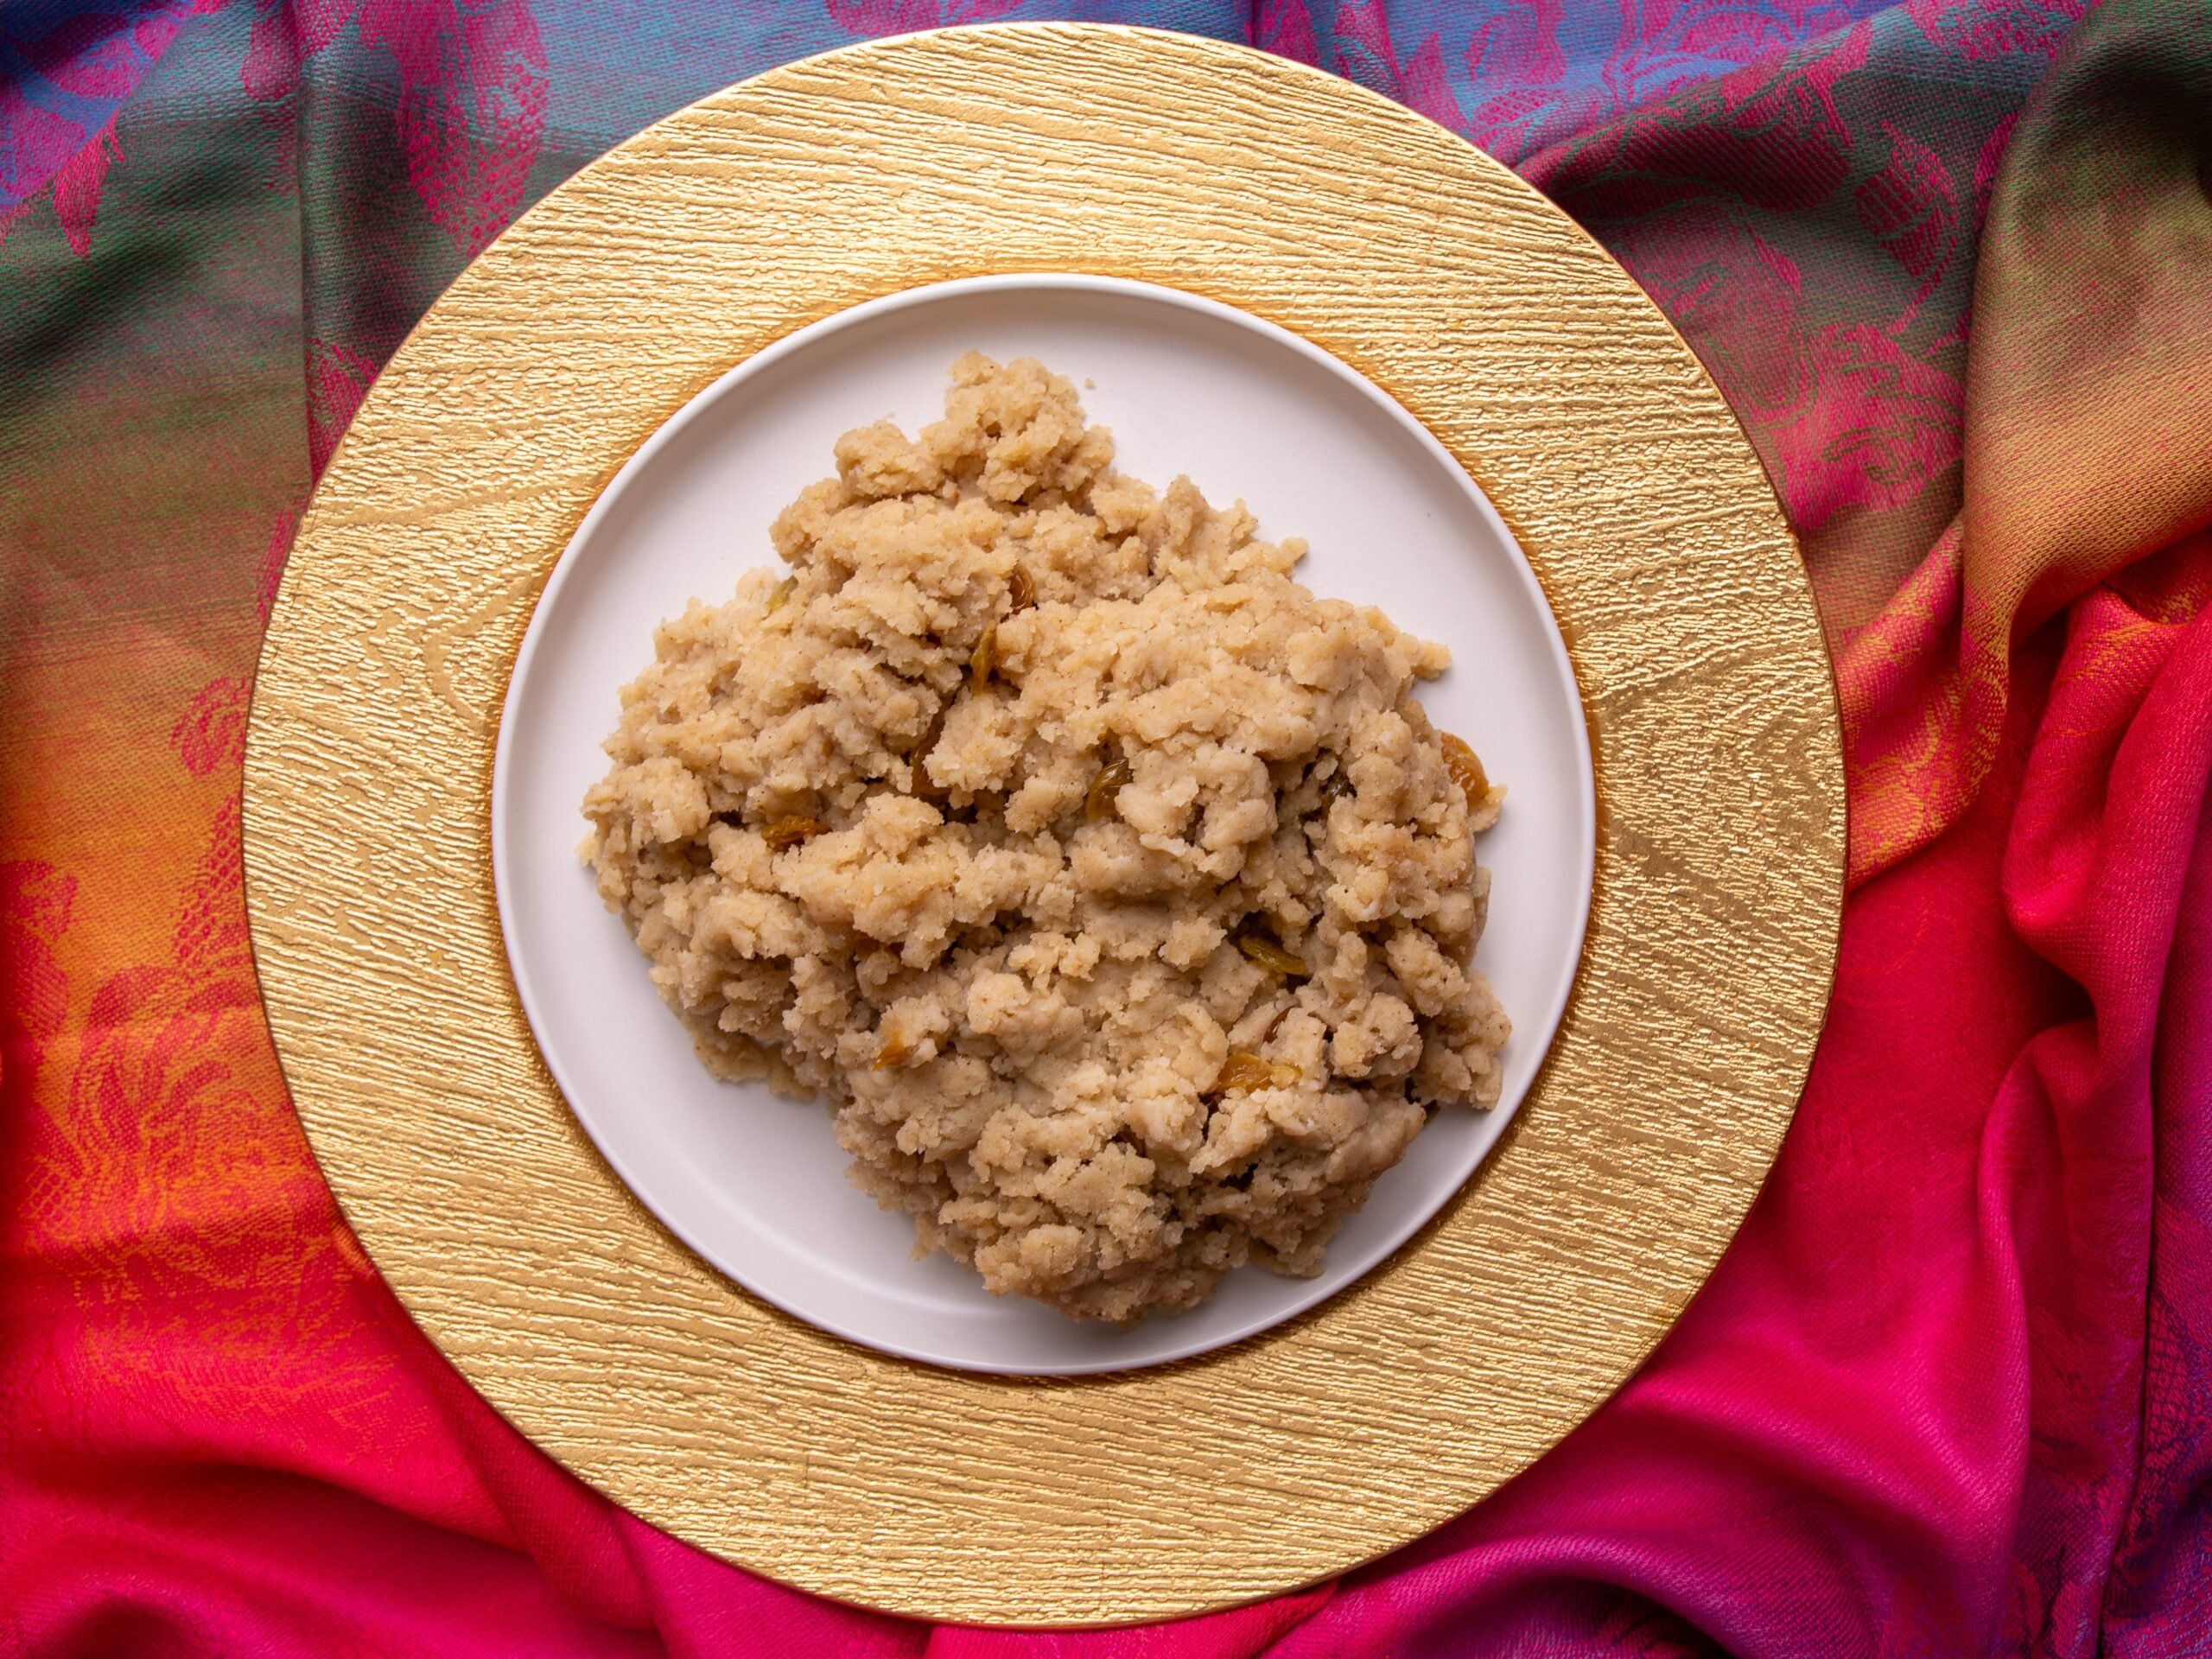
Gluten Free Parsad

Equipment
- Sauce Pan
- Pan
Ingredients
- 2 1/2 cups coconut milk or other non dairy milk
- 1/2 cup brown sugar or other alternative sweeteners
- ½ teaspoon ground cinnamon
- 1/2 teaspoon vanilla extract
- ¼ cup raisins rinsed
- 2 cups All Purpose Gluten Free Flour
- ½ cup Dairy-free butter
Instructions
- Combine milk, sugar, ground cinnamon, vanilla extract and raisins in a small sauce pan. Mix to dissolve the sugar, then add to medium heat and bring to a boil. While milk mixture comes up to a boil, reduce the heat to low and simmer until ready to use.
- Next, add a pan to medium heat. Then add the gluten-free all purpose flour. Toast/parch (continuously stirring to avoid burning) until flour is light brown in color (5-8 minutes) It may not get as dark as wheat flour, but you will notice a change in the color.
- Then remove from the heat and sift, over a fine mesh sieve to remove any lumps. Return the sifted flour to the pan and return to medium-low heat.
- Create a space in the center of the flour so that you can see the bottom of the pan. Then add the butter. Ass the butter melts, mix in the flour until the mixture is crumbly.
- Then add the milk that is simmer on low heat, a little at a time to the crumbly flour and butter mixture flour and mix in. Continue to cook on low, continually stirring. Until you have a smooth consistency. Then remove from the heat and allow to cool before serving.
Nutrition
The information listed in the recipe card is an estimate provided by an online nutrition tool. The tool evaluates ingredient names and amounts then makes calculations based on the number of servings listed for the recipe. It is provided as a general guideline and not as a precise calculation. For precise nutrition information please feel free to add the ingredients to your preferred nutrition calculator or consult a doctor or licensed nutritionist.
 Gluten Free Doubles
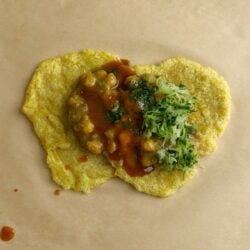
 Gluten Free Guyanese Pholourie
 Ground Beef Chow Mein (Whole30, Paleo)
 Gluten Free Guyanese Bakes
Leave a Rating and a Comment