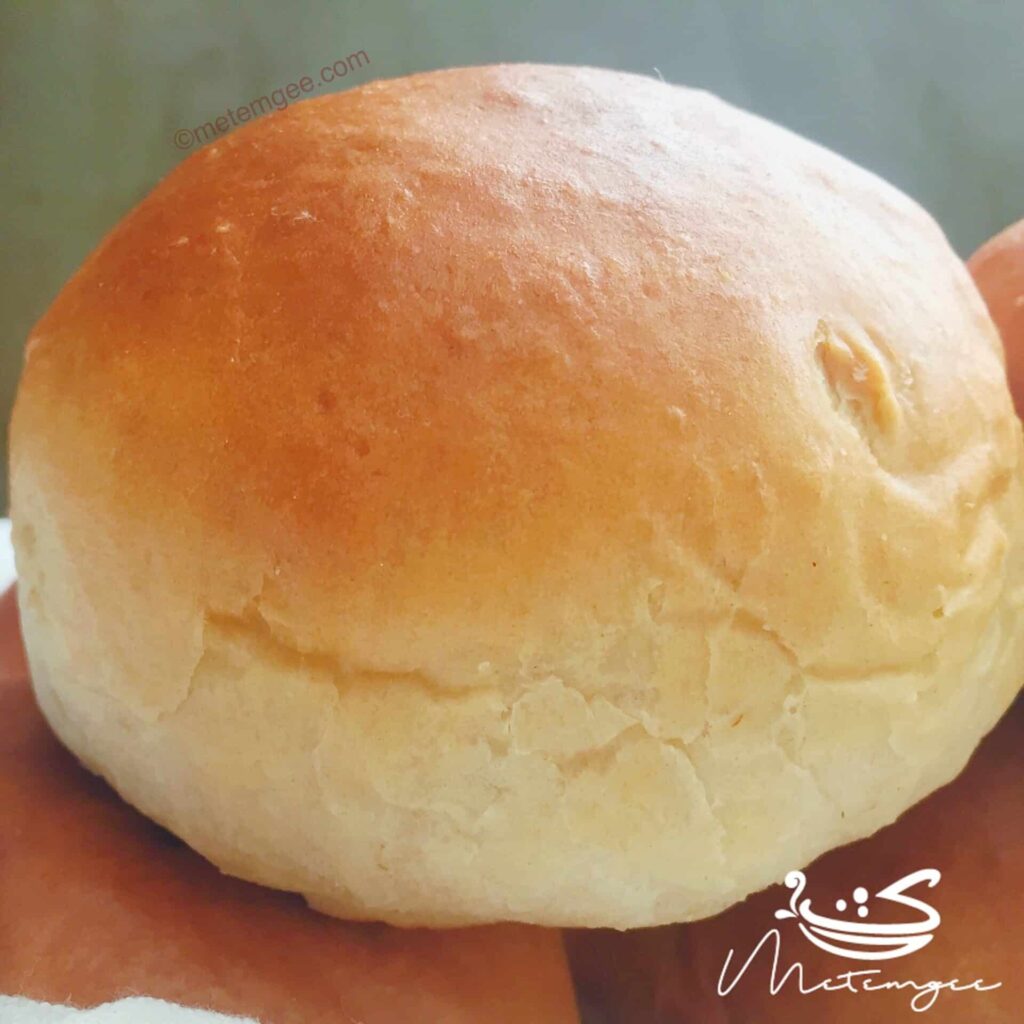
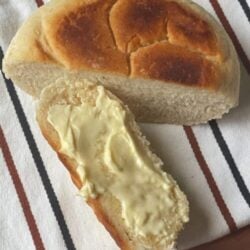
Guyanese tennis rolls are soft, sweet dinner rolls that are round and dense with tender crumbs at the center. Baked until they are a delicious golden brown, these fluffy mounds of bread are great as a snack or side dish.
Guyanese Tennis Rolls
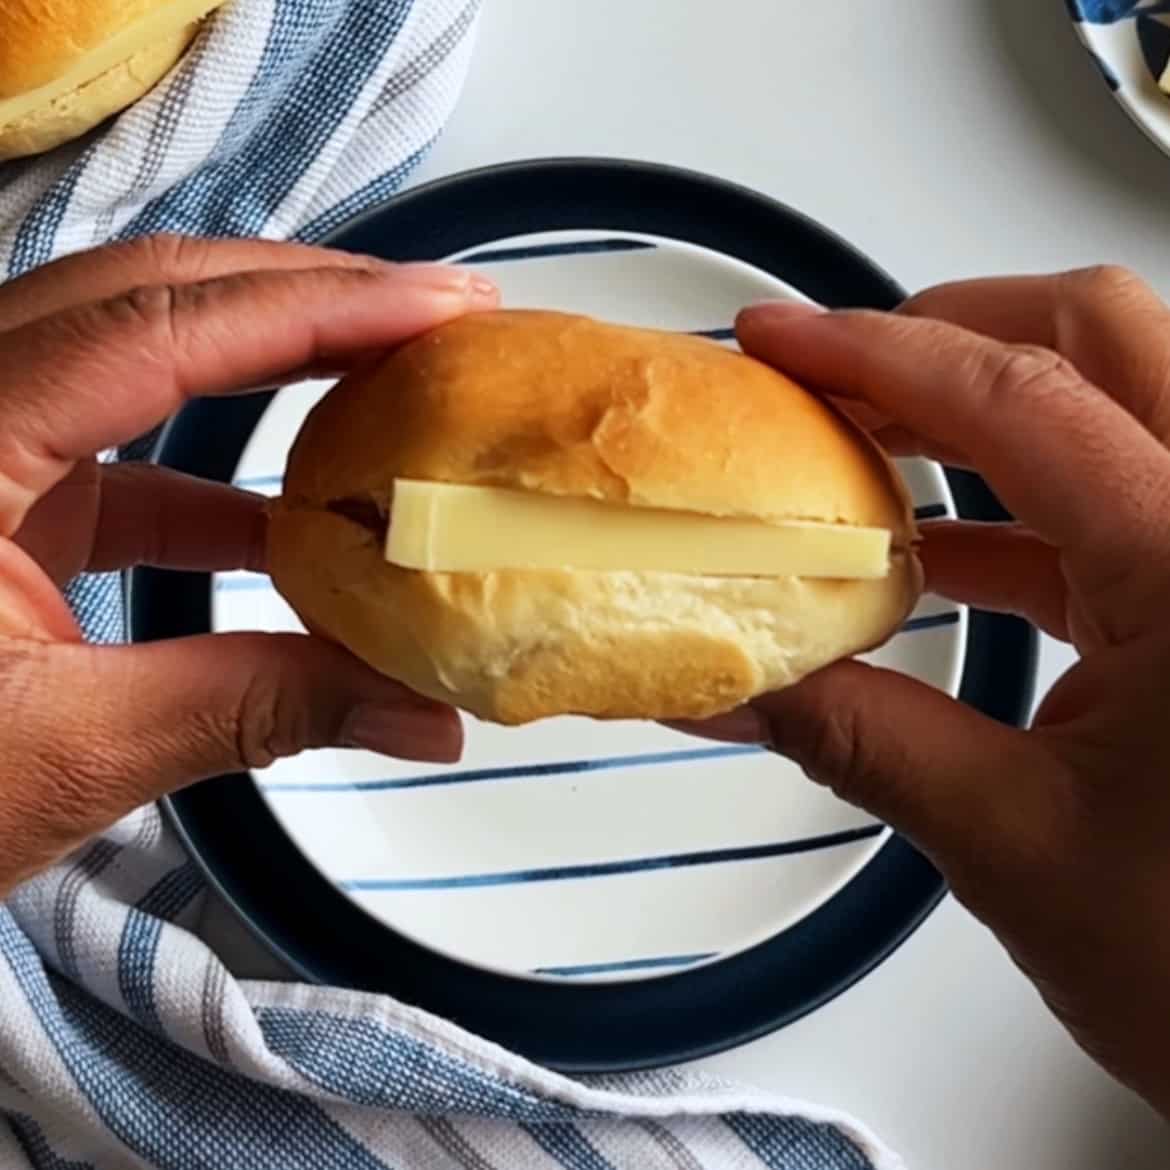
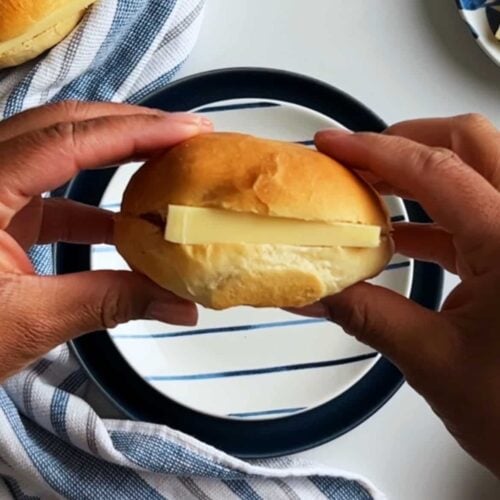
Tennis rolls are a staple in Guyanese cuisine. They are very similar to Hawaiian rolls but are eaten mostly as a snack or for breakfast or lunch. They are typically paired with a thick slice of extra sharp or aged cheddar cheese. However, I’ve eaten them with butter, peanut butter, jam, eggs, and mouth (plain).
These rolls are very similar to Portuguese sweet rolls but the addition of lemon zest gives provides a signature sweet and citrus flavor. Bake these in the oven and the heavenly scent of sweet bread will fill your home.
Why You’ll Love This Tennis Rolls Recipe
- An Anytime Snack: Whether it’s a weekday morning or the Easter holiday, it’s always a good time to indulge.
- Simple to Make: With a handful of simple ingredients and some patience you’ll have bread made from scratch in just a few hours.
- Super Tasty: Served hot, fluffy, and slightly sweet, this is perfect for snacking.
Ingredients for Tennis Rolls
Guyanese tennis rolls are soft and sweet due to ingredients like evaporated milk, sugar, lemon, and vanilla.
- Warm water: The warmer temperature helps the dough rise faster.
- Brown sugar: Use this to create a sugar water solution.
- Dry active yeast: Once added to the sugar water, allow it to ferment.
- Butter: You will need melted butter for the dough and an extra tablespoon of butter for after you’re done baking.
- Milk: Use evaporated milk for the best texture but regular milk will work in a pinch.
- Flour: Add sifted flour to the dough. You will need more for dusting.
- Salt: This enhances the other flavors so the taste isn’t flat.
- Lemon: Use lemon zest and lemon extract for citrus flavor.
- Vanilla: Use either vanilla essence or extract.
Egg Wash
A mixture of egg white and water provides a golden brown crust.
See recipe card for quantities.
How to Make Tennis Rolls
Over time I’ve found that the best way to make the dough is in your stand mixer if you have one. But if you don’t have a stand mixer you can still make tennis rolls using your hands and a trusty kitchen tool––the whisk.
Use a whisk for the beginning part of the dough when doing it by hand. I add the liquids to a bowl, just like I would with my stand mixer, and whisk in the flour, a little bit at a time until I get a pancake batter-like consistency.
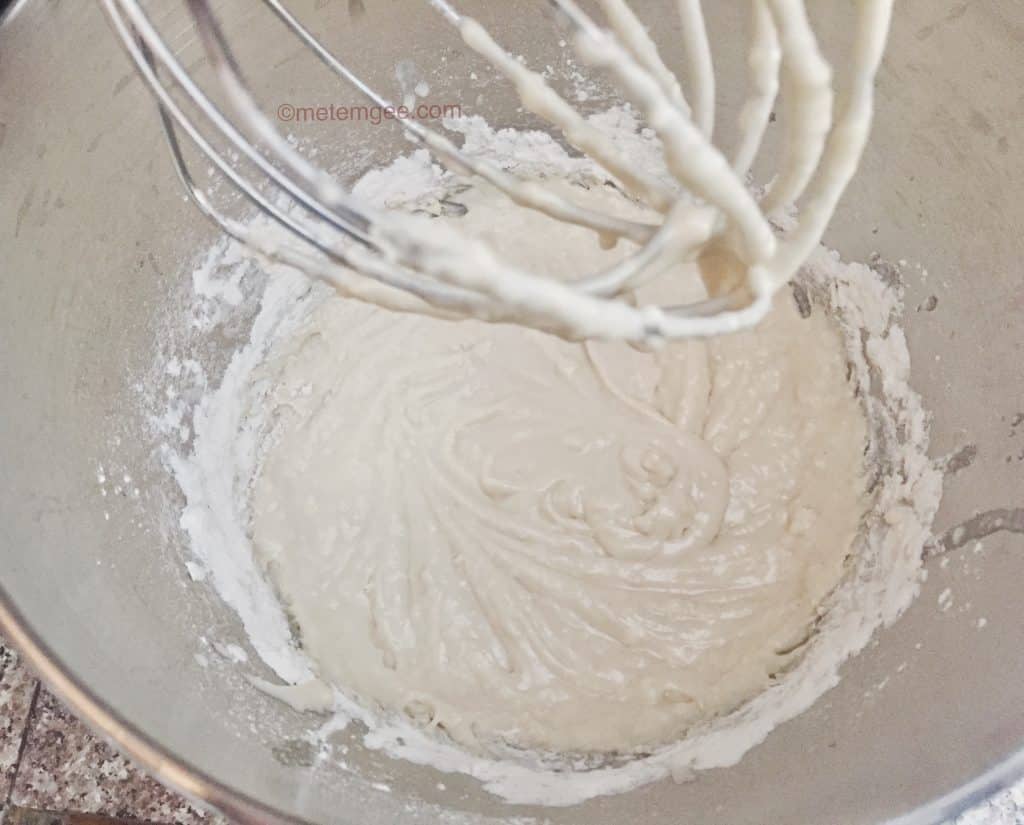
I then follow up with handfuls of flour until the dough is smooth. Next, I turn the dough unto a floured surface and knead it into a smooth dough ball. It takes some time (about 10 minutes) to knead the dough by hand, but it is so worth it.
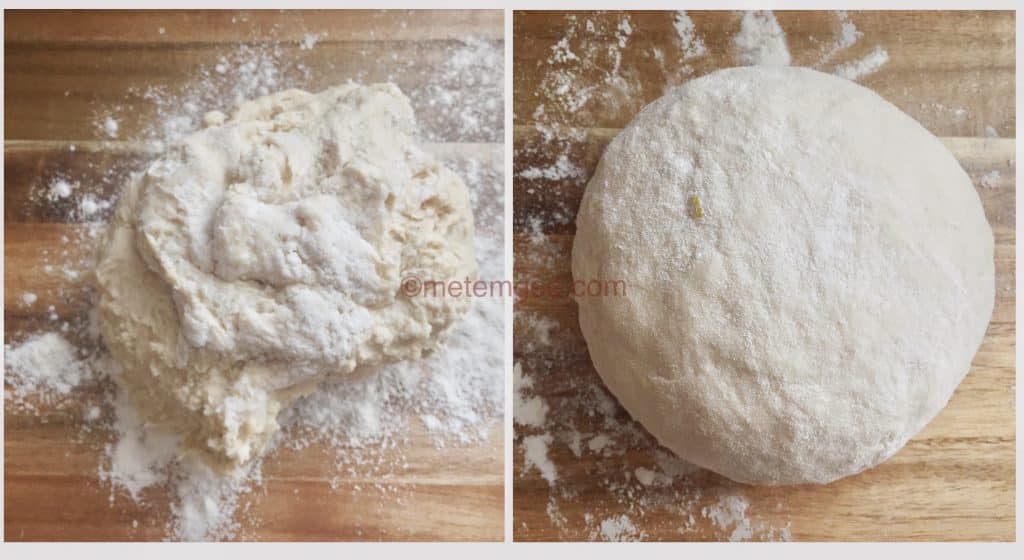
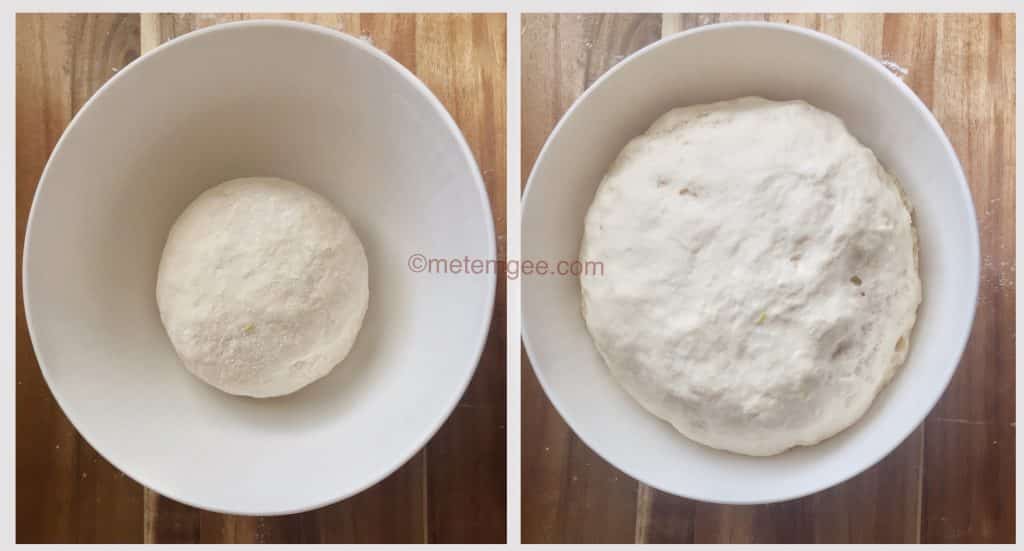
This dough ball should be smooth but also soft and bounce back when touched. If the ball is too stiff the tennis rolls will be hard. When I am done kneading the dough into a smooth ball, I place it into a greased bowl, cover it and let it rise.
Shaping the Tennis Rolls
Once the dough doubles punch it down, then knead it back into a smooth ball.
Then divide the dough into 8 to 12 pieces. Do 8 if you like large tennis rolls (like the Bakewell ones from Guyana). I knead each piece of tennis roll dough into a smooth tight ball. Then I cover it and let it proof for 45 minutes.
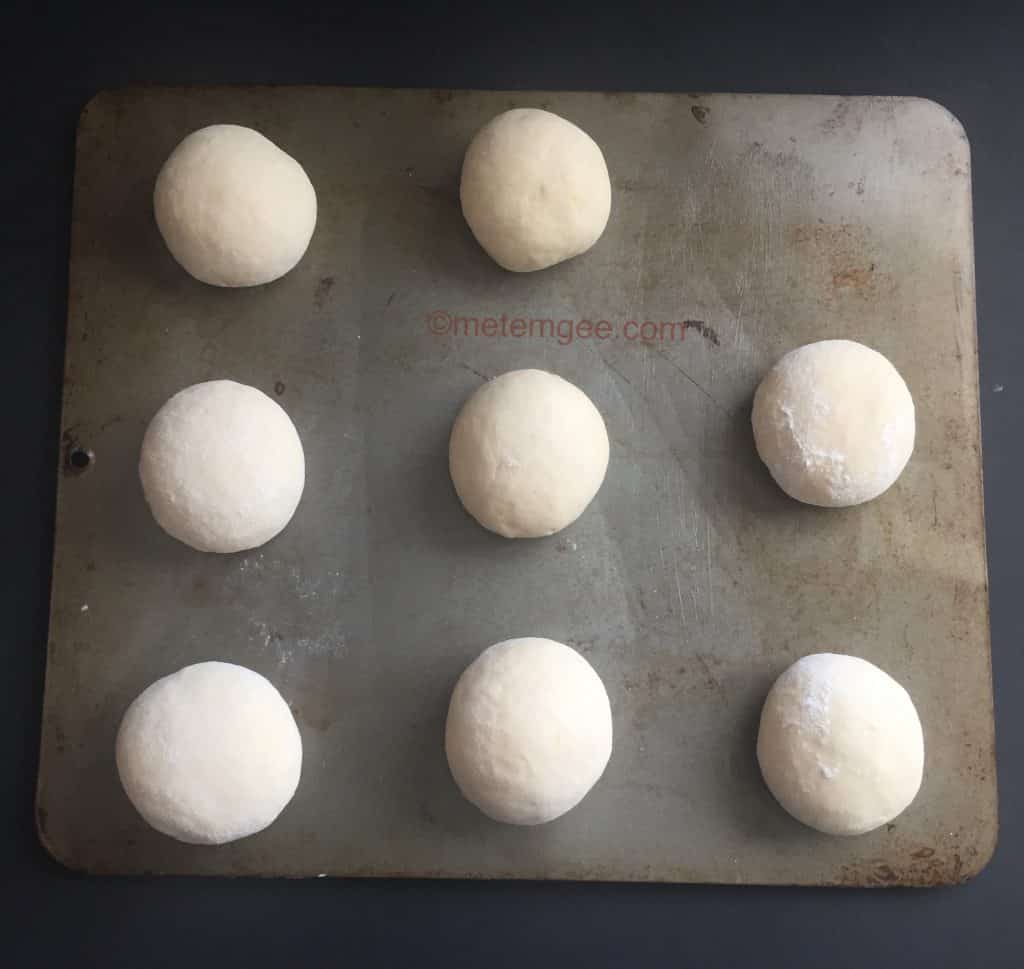
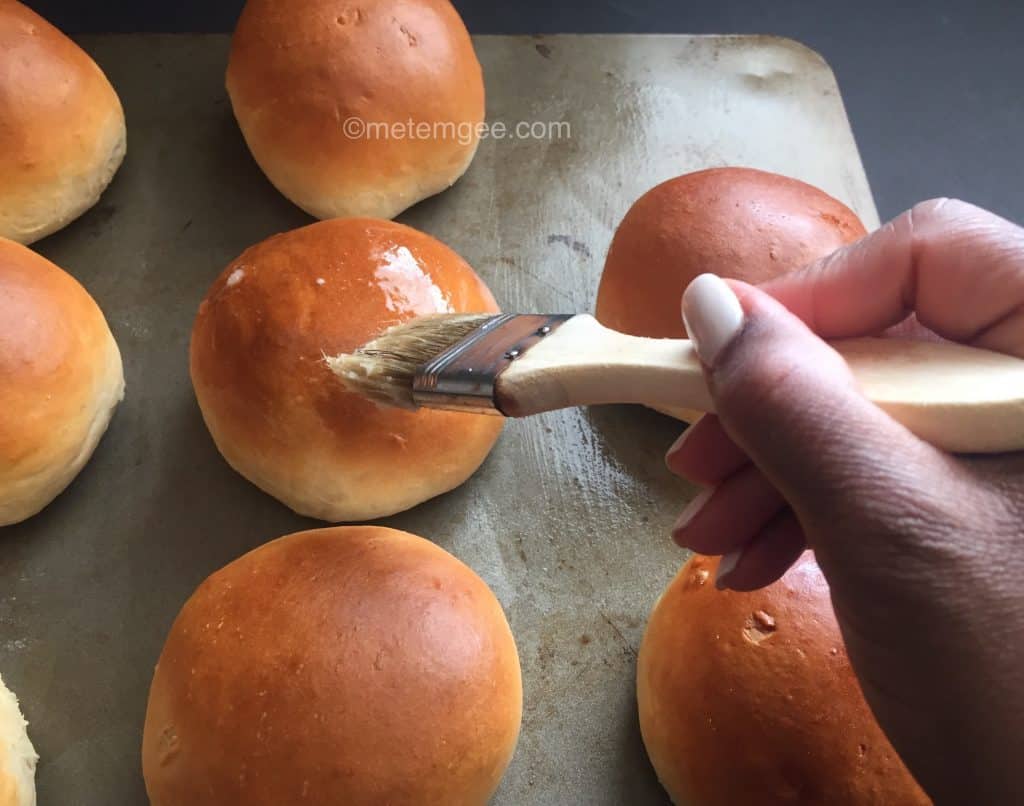
Then bake them up to golden brown tennis rolls. Immediately after baking, remove the tennis rolls from the oven, brush them with butter and cover them with a kitchen towel to let them cool. Alternatively, when they’ve cooled off a bit, I sometimes put the tennis rolls in a large ziplock or bread bag, which helps to keep the tennis rolls nice and soft (since it is extremely dry where I live in Denver, CO).
Full Step by Step Video Tutorial
Substitutions & Variations
- Mix-Ins. Add raisins or cinnamon for an even sweeter treat.
- Savory. If you prefer a less sweet roll, simply scale back on the sugar and skip the extracts. Savory rolls would be perfect for dinner or hamburger buns.
- Eggless. If you want to make tennis rolls without eggs, brush the unbaked rolls with melted butter instead.
- Vegan. For dairy-free bread, follow my Cross Buns recipe but add the lemon zest and essence.
Equipment
- Small Bowls: To contain the sugar water and yeast and butter/milk.
- Stand Mixer/Large Mixing Bowl: To combine the yeast and butter and milk mixture.
- Whisk (optional): This is necessary if not using a stand mixer.

Storage
When stored in an airtight container, they xlast at room temperature for 2 days. For longer storage, freeze in a ziplock bag for up to one month. To thaw, defrost overnight in the fridge or let it sit out at room temperature.
Tips for the Best Tennis Rolls
- Although the dough can be kneaded by hand (like the method used for this plait bread recipe), a dough hook will make perfectly smooth dough in half the time.
- Ensure the rolls are evenly spaced on a greased cookie sheet so they have room to expand.
- For added moisture, brush butter on freshly baked tennis rolls. Then, place the buttered rolls in a zip lock bag but do not close it. The bread will remain soft as they cool down, without getting soggy.
- Be patient. The bread needs to proof twice for the best results so ensure you have the time to devote to this process.
- In order to save time, make the dough a day ahead and chill it overnight in the fridge.
Frequently Asked Questions
Tennis rolls have a nearly perfect round shape, hence their name. Some also say it is because the rolls are about the size of tennis balls.
The key to fluffy tennis rolls is fresh yeast, the perfect amount of mixing (not overmixing), and not overbaking the bread.
I prefer slightly bigger tennis rolls so these rolls are 329 calories per serving.

Tennis Rolls
Equipment
- Small Bowls
- Stand Mixer/Large Mixing Bowl
- Whisk optional
Ingredients
- 1/2 cup warm water
- 1/4 cup brown sugar
- 1 tablespoon dry active yeast
- 1/4 cup butter melted + 1 tablespoon of butter for after you’re done baking
- 1 cup evaporated milk or regular milk
- 4 cups of sifted flour plus more for dusting
- 1/4 tsp salt
- 1 tsp lemon zest about 1 lemon
- 1 tsp lemon extract
- 1 tsp vanilla essence/extract
Egg Wash
- 1 egg white
- 1 tbsp water
Instructions
- Add the warm water to a small bowl, then dissolve the brown sugar in the water
- Next add the dry active yeast and mix together well, then cover and set aside in a cool warm place to allow the yeast to activate
- In another bowl, combine the butter and milk and set aside
- When the yeast has activated and is nice and frothy combine the yeast and the butter and milk mixture. You can do this in your stand mixer or in a large mixing bowl
- Then add the lemon zest, lemon extract and vanilla extract and mix together
- Start to make the dough by adding 1/2 cup of flour to the liquid mixture and using a whisk or the whisk attachment of your mixer mix together to form a smooth pancake like batter
- Continue to add small amounts of flour until the batter becomes too thick to whisk
- If using your stand mixer switch to the dough hook and add the remaining flour
- Then mix on low speed until a smooth dough forms
- If mixing with your hands continue to add the flour 1/2 a cup at a time until all of the flour is mixed in to form a smooth dough
- Turn the dough unto a floured surface and knead it into a smooth tight ball
- Place the dough ball into a greased bowl, cover with a kitchen towel and let proof until it doubles in size
- Once the dough has doubled in size, punch down and knead the dough again. At this point you can allow the dough to proof again or you can cut the dough into 8 pieces and begin to work on your tennis rolls
- Knead each piece of tennis roll dough into tight smooth balls
- Place the dough balls on a greased baking sheet and cover with a kitchen towel
- Set dough balls aside and let them proof for 30 to 45 minutes until they doubles in size
- Preheat your oven to 350 °F
- Finally, make an egg wash using an egg white and 2 tablespoons of water
- Brush the egg wash over the top of the tennis rolls
- Bake tennis rolls for 25 minutes
- Remove the tennis rolls from the oven and brush with butter then cover with a kitchen towel and let cool
- After the tennis rolls cool down a bit, place them in a large ziplock or bread back to help keep the tennis roll from becoming stiff
- Enjoy with a nice slice of extra sharp cheddar cheese
Nutrition
The information listed in the recipe card is an estimate provided by an online nutrition tool. The tool evaluates ingredient names and amounts then makes calculations based on the number of servings listed for the recipe. It is provided as a general guideline and not as a precise calculation. For precise nutrition information please feel free to add the ingredients to your preferred nutrition calculator or consult a doctor or licensed nutritionist.



 Non-alcoholic Guyanese Black Cake
 Pumpkin Flan
 Almond Flour Black Cake
 Gluten Free Pot Bread
Alison Bisnauth Says
Hi Althea, are you supposed to knead the rolls until they become smooth? Mine aren’t. They’re baking now so I don’t know what they taste like but not smooth.
Shanta Hendrickson Says
When I was growing up in Guyana, I don’t remember tennis roll having taste of lemons. Is the lemon necessary? Thanks.
Althea Brown Says
It is.Lemon plus the vanilla combine to give it it’s signature taste.
Melissa Manohar Says
Made these for my family and is now another household staple
Cheryl Says
Made it, family loved it. Used a mixture of white and wholewheat flour. Had no eggs but it was fine without the eggwash. Thank you so much for sharing.
Patrice Says
I tried this recipe several times, especially around the holidays. It goes well with pepperpot and of course a big piece of cheese. It’s satisfying especially since I cannot get tennis roll near me.
Shondra Says
Will try today
Dana Says
Hi !
If I want to make these a day in advance am I chilling after the first or second proof ?
Althea Brown Says
After the first proof. Then bring to room temperature, and proof before baking.