
This vanilla fudge recipe uses condensed milk and five simple ingredients to create a rich, creamy fudge that sets just right. It’s an easy Guyanese-style version made on the stovetop with the same method I’ve been using for years.
The Best Vanilla Fudge Recipe
When it comes to vanilla fudge recipes, this one comes out on top. I learned to make fudge from my dear Aunty Carol, a former Carnegie School of Home Economics teacher in Guyana. She made it so often she always knew when it was ready without checking a thermometer, and she would tell stories about making batches to sell, even putting failed fudge in the oven to help it set.
You do not have to be Guyanese to enjoy this recipe. It follows the same traditional stovetop method as classic vanilla fudge, with a few Guyanese touches that make the flavor even richer.
- The Best Vanilla Fudge Recipe
- What Makes This Vanilla Fudge Guyanese?
- Why You’ll Love This Vanilla Fudge Recipe
- What ingredients are in vanilla fudge?
- How to Make Vanilla Fudge
- Final Steps in Fudge Making
- Using a Stand Mixer to beat the fudge!
- Setting the Vanilla Fudge
- Vanilla Fudge Recipe Substitutions & Variations
- Equipment
- How to Store & Freeze Homemade Fudge
- Tips for Perfect Vanilla Fudge
- How to tell when Guyanese Vanilla Fudge is ready?
- Frequently Asked Question
- Guyanese Vanilla Fudge Recipe
Fudge making is a science, but I will walk you through it step by step with simple instructions. You may not have my aunt’s level of experience, but you can absolutely make vanilla fudge too.

What Makes This Vanilla Fudge Guyanese?
This vanilla fudge is made the traditional way I learned in Guyana, cooked on the stovetop and beaten until it thickens and sets. The method and ingredient combination create a firmer texture and richer flavor than most vanilla fudge recipes.
Vanilla fudge is a staple in Guyana. Street vendors sell fudge along with other street food and snacks like Chicken Foot and Mithai. You can also find creamy brown sugar vanilla fudge like this one, at Guyanese bakeries through out the diaspora. In some families, this fudge is shaped into small rounds similar to peera, also known as milk pedas, which are often made for Hindu religious ceremonies and holidays. While the two are made differently, they share that same rich, milk-based flavor that shows up in so many Guyanese sweets.
Why You’ll Love This Vanilla Fudge Recipe
- Simple. This vanilla fudge recipe uses condensed milk and a few simple ingredients, and I walk you through each step so you can get it right the first time.
- Traditional. This is the stovetop method I learned growing up, cooked to the right stage and beaten until it sets. No shortcuts here, just real vanilla fudge made the proper way.
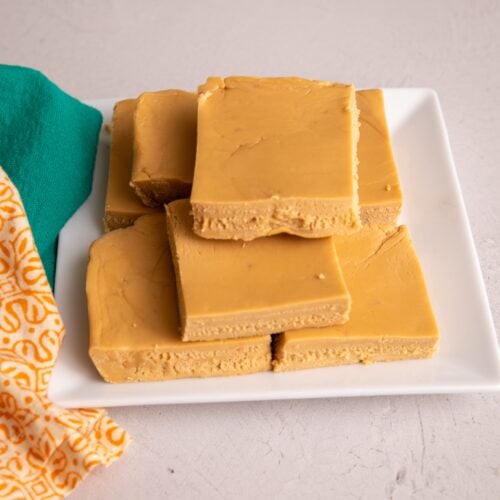
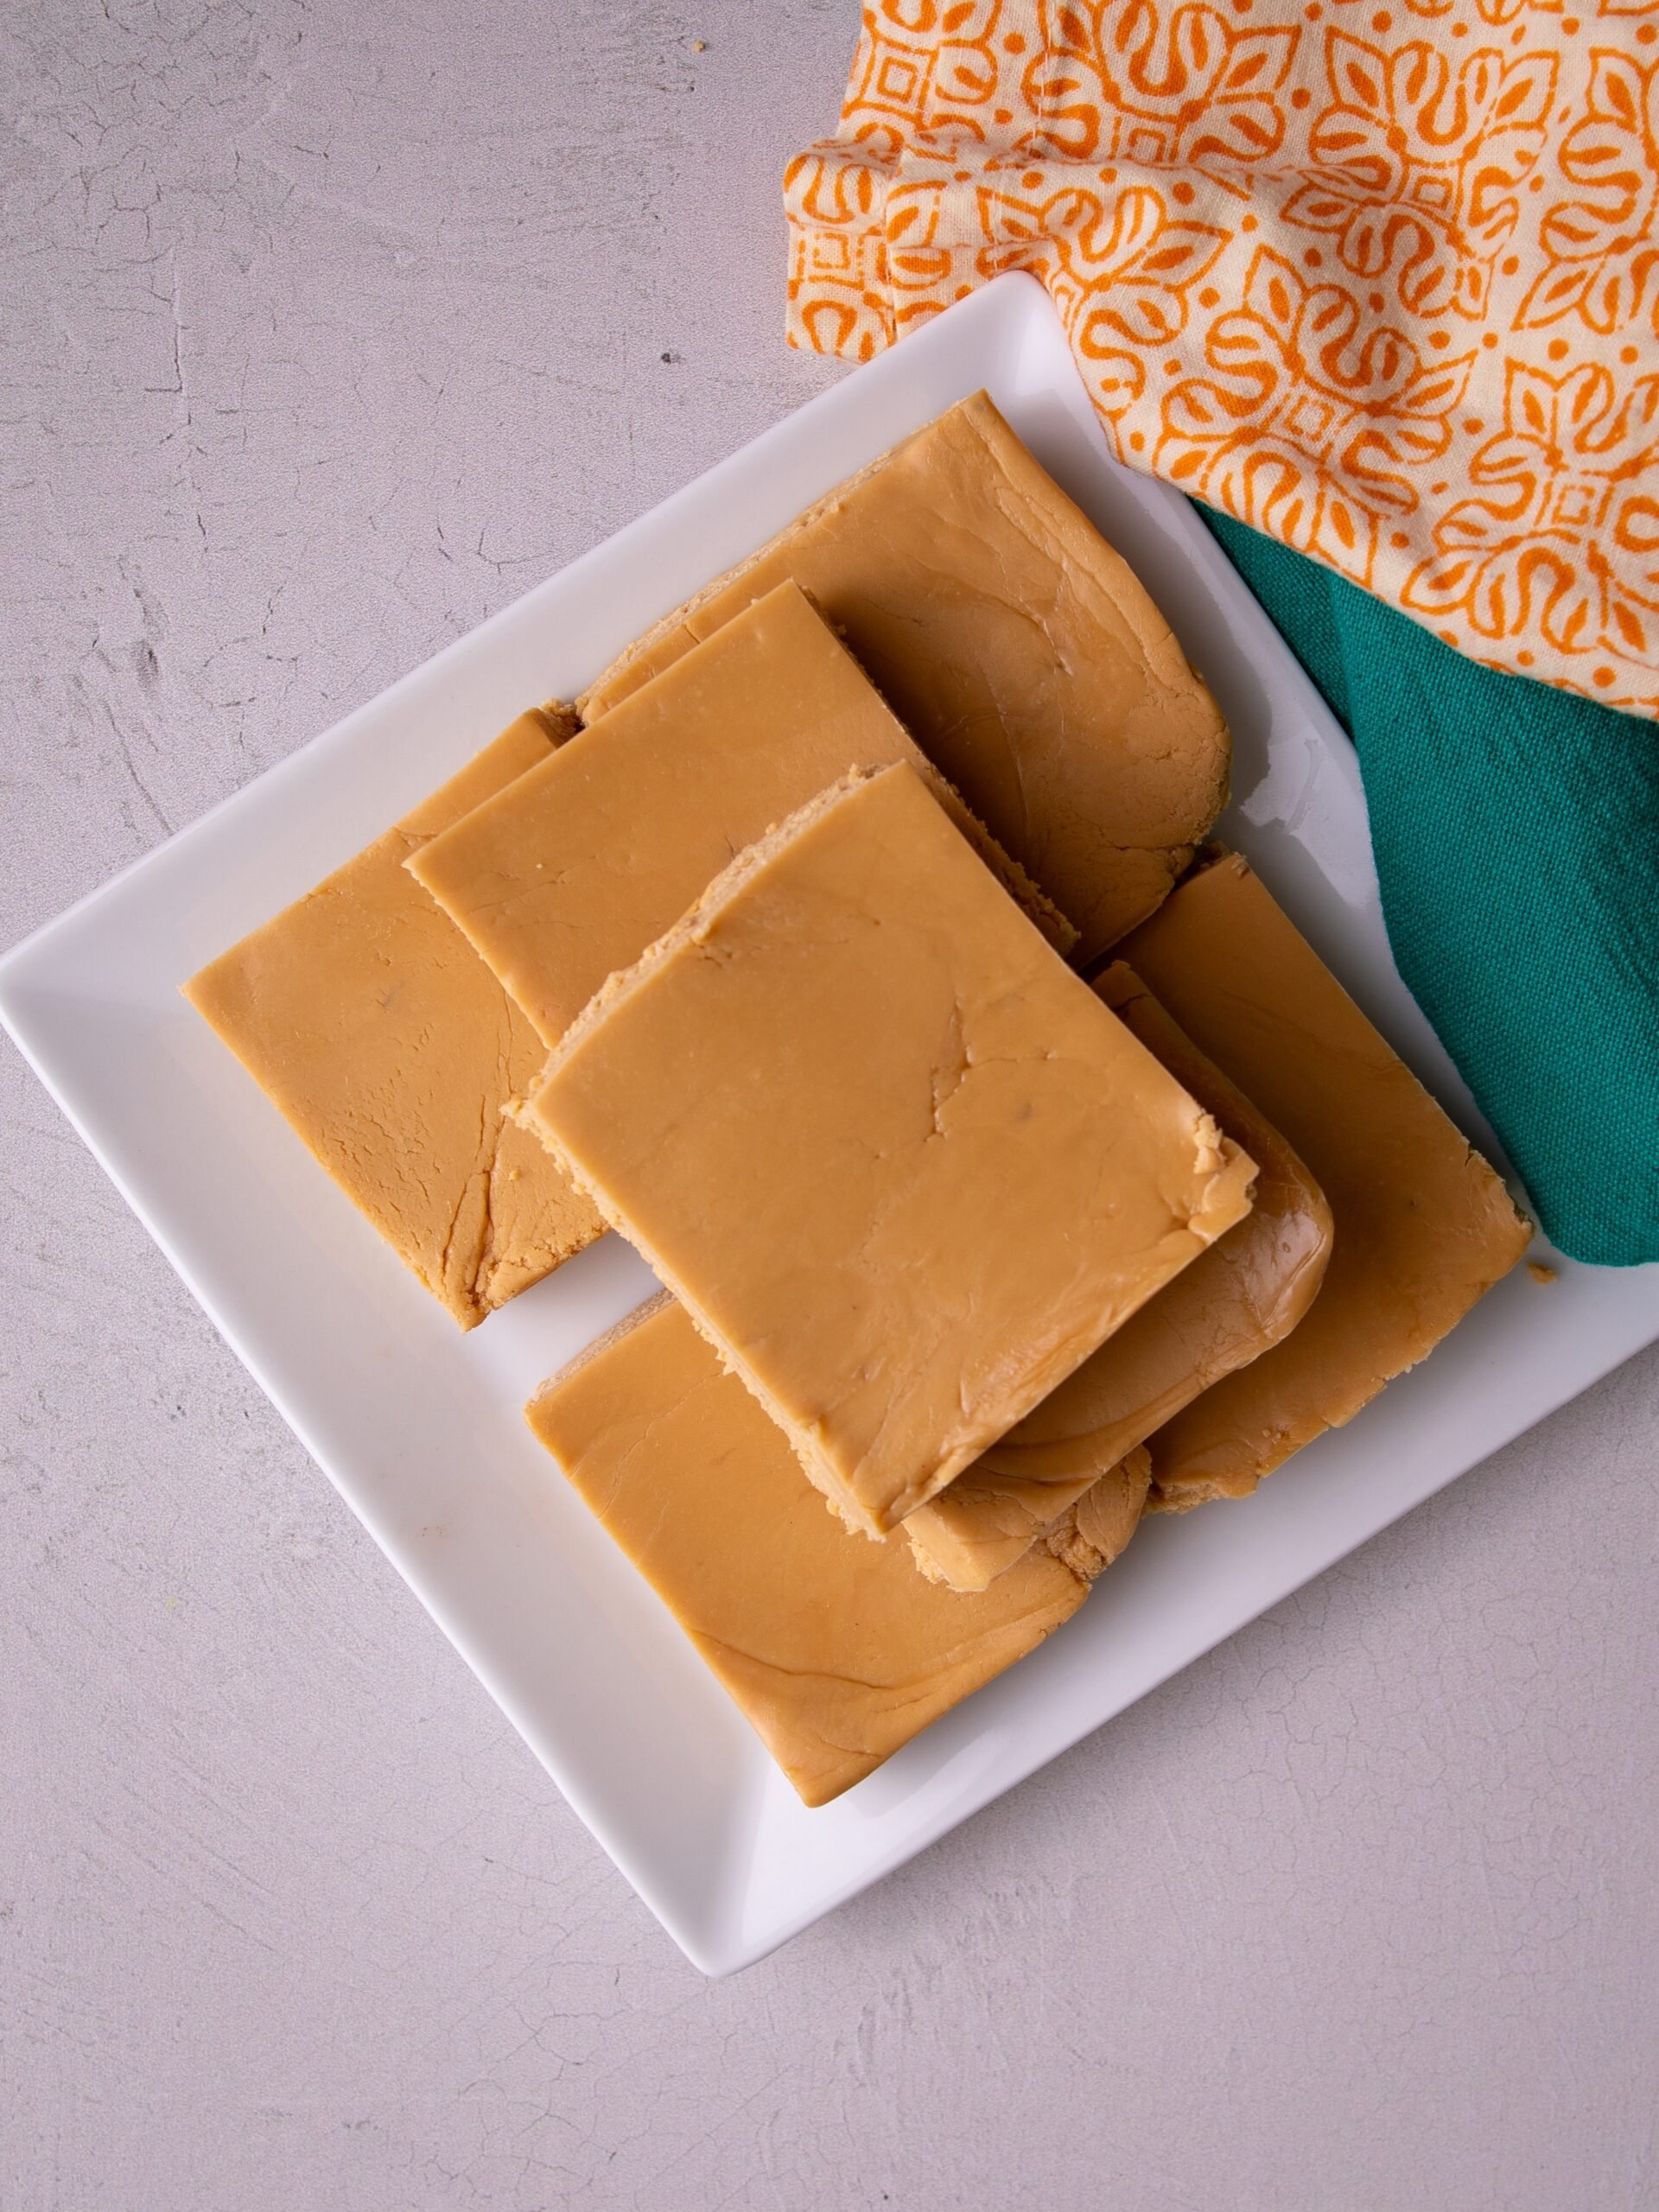
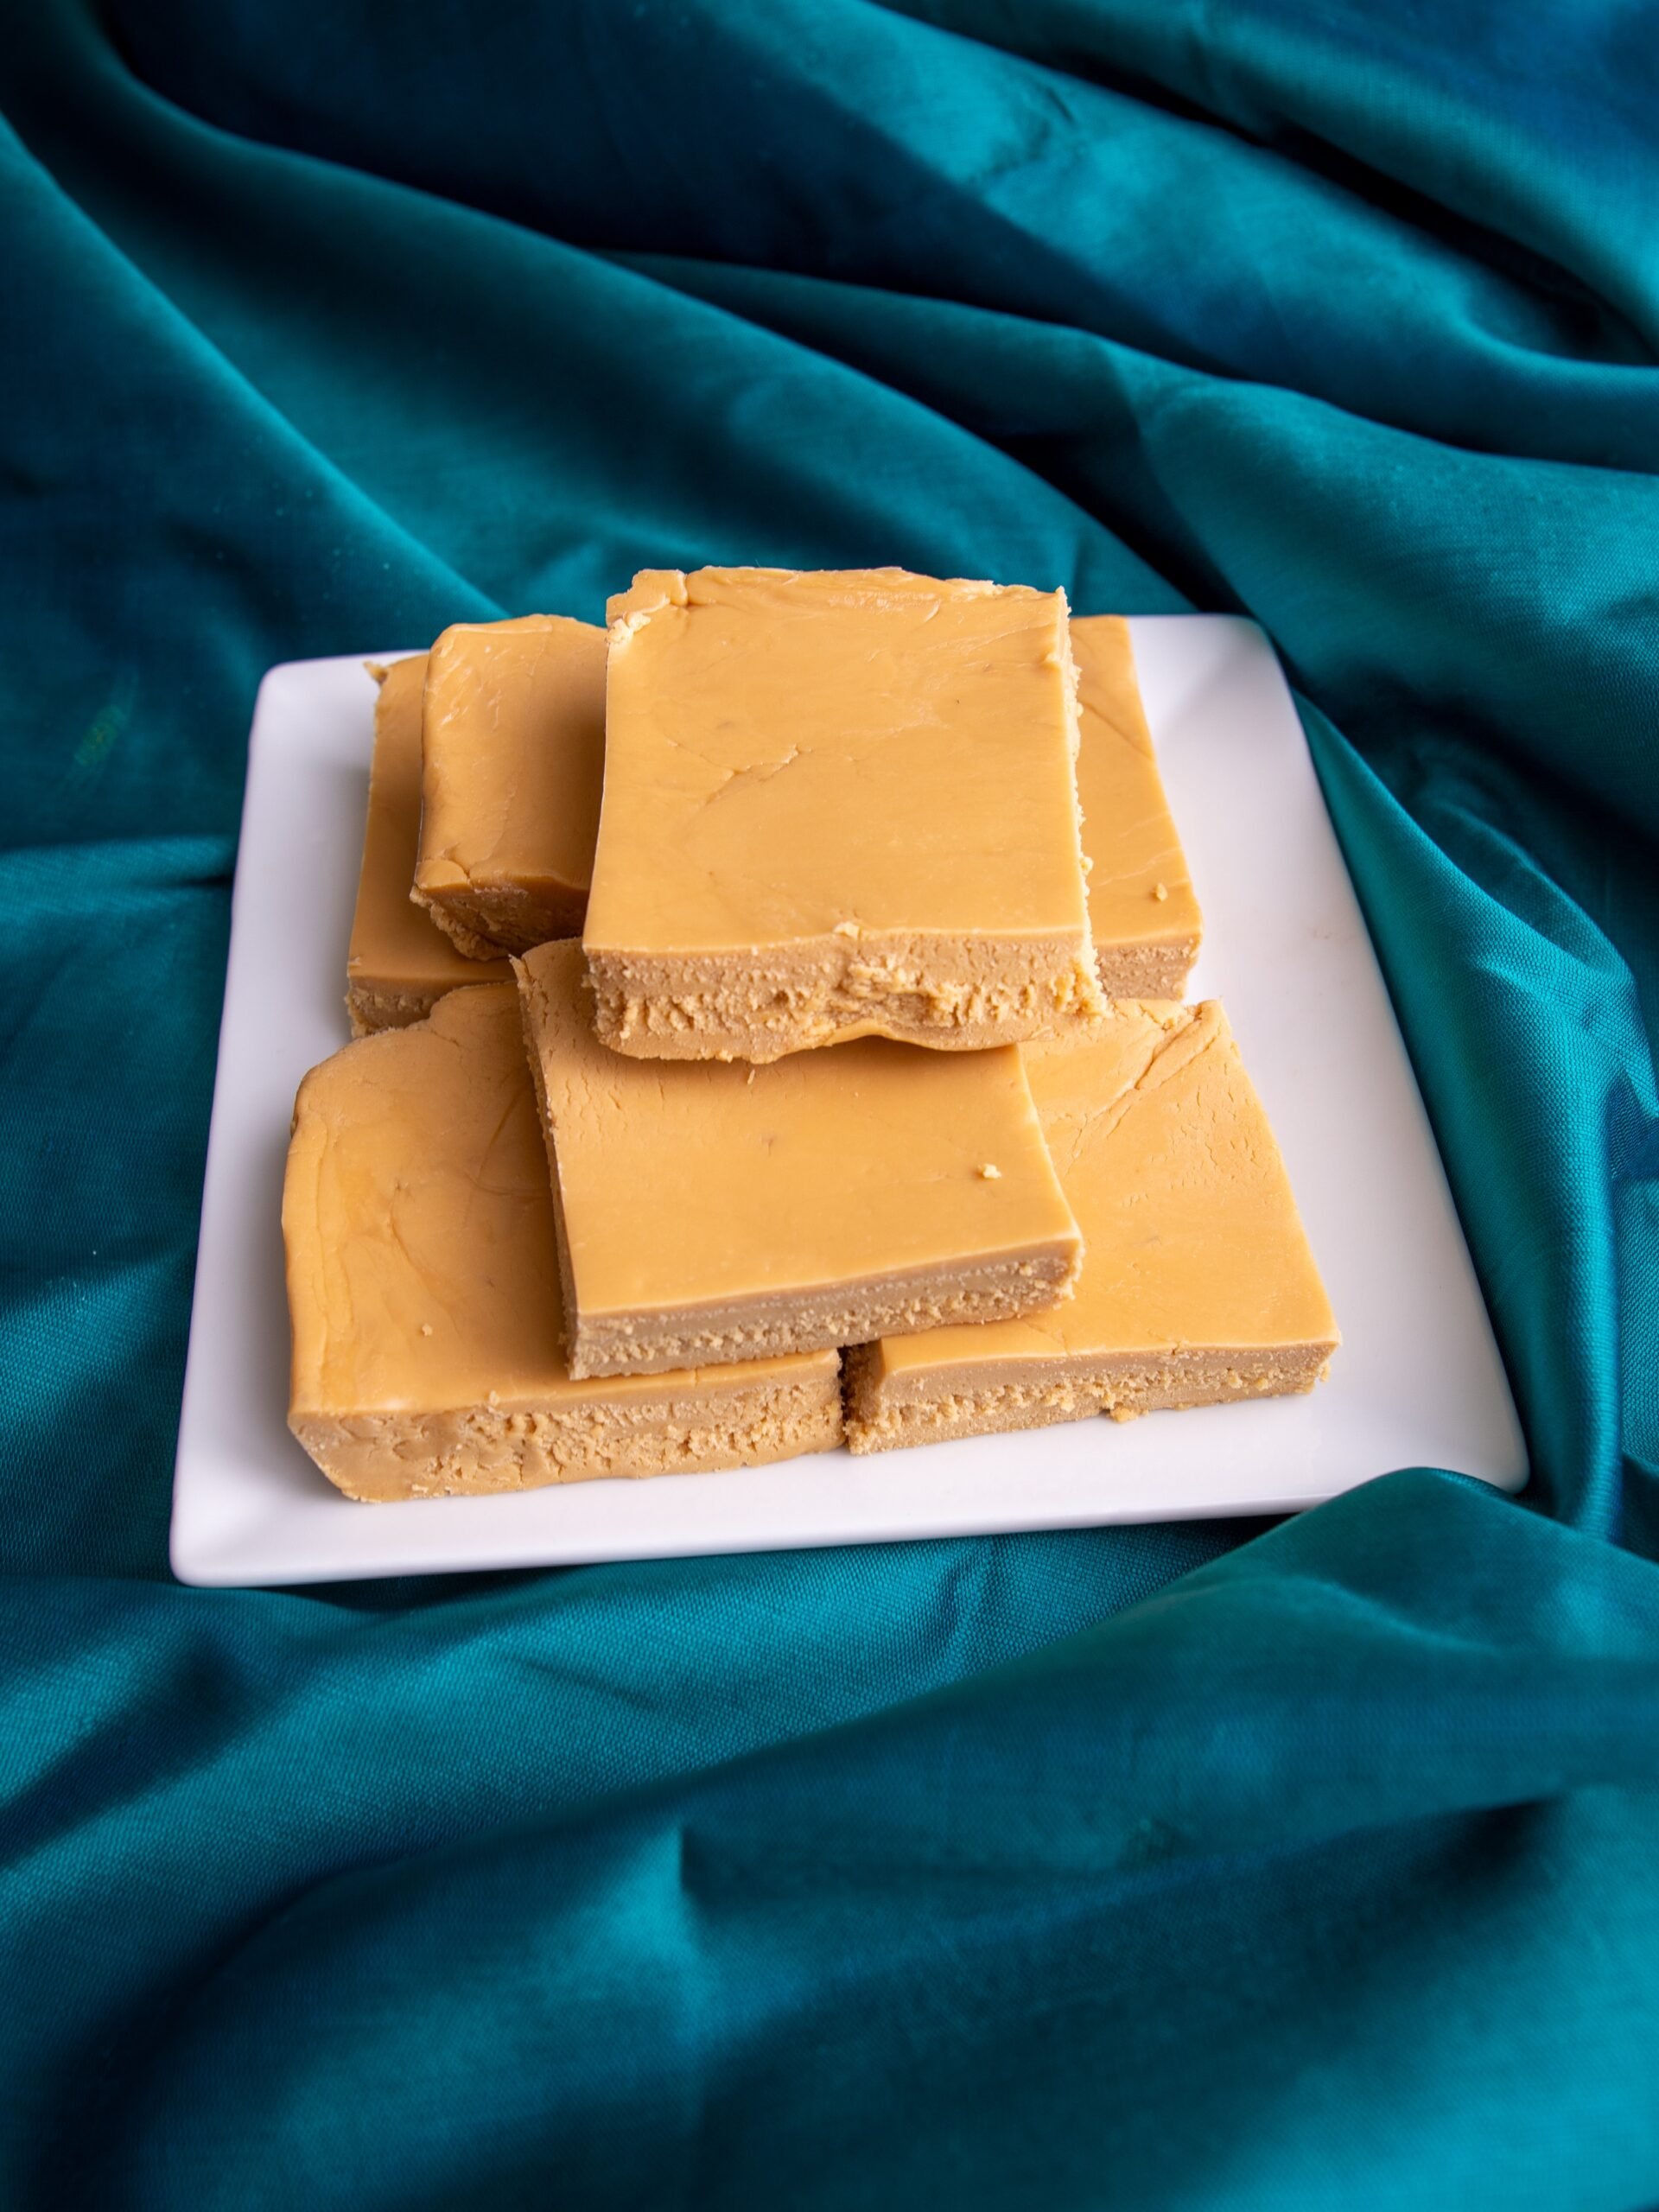
- Rich and satisfying. This fudge sets into a firm, sliceable texture with a deep, caramel-like flavor from the brown sugar. It’s a nice change from chocolate fudge and something a little different to share.
What ingredients are in vanilla fudge?
A classic vanilla fudge recipe includes sugar, milk, butter, and vanilla, cooked together until the mixture thickens and sets. In this recipe, condensed milk and a few simple ingredients create a richer texture while keeping the process straightforward.
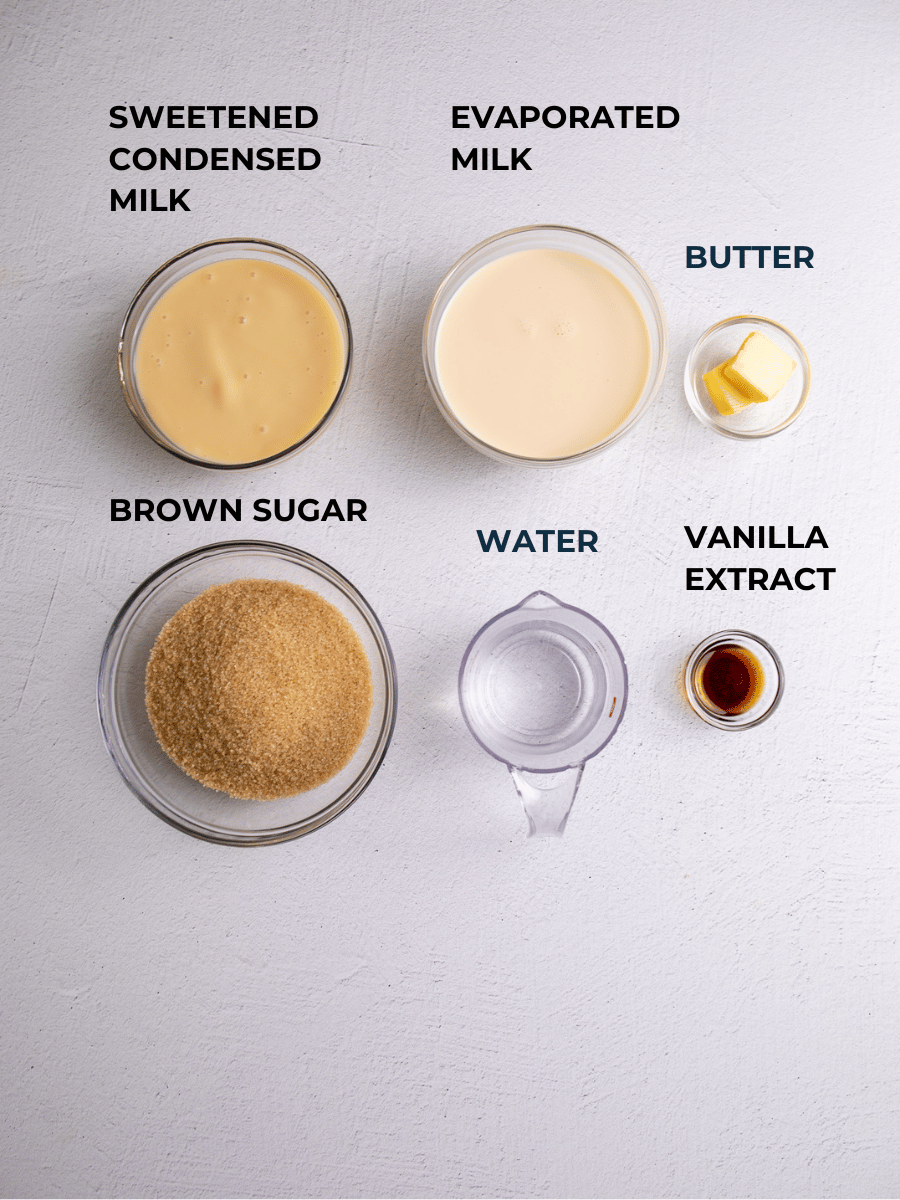
- Evaporated milk: Evaporated milk has less water than regular milk and makes a creamy fudge.
- Sweetened Condensed milk: This thick and creamy milk adds to the richness of the fudge
- Brown sugar: This sweetens the fudge. If you live outside of Guyana, I highly recommend Demerara sugar, turbinado sugar or light brown sugar as a last resort. Did you know that regular American brown sugar is just granulated sugar with molasses added to it? Click here to learn more.
- Water: This is used to thin out the fudge mixture. My aunt typically rinsed out the tin from the evaporated milk and adds it to the pot. I measured that water the last time we made fudge together. Ha!
- Butter: Use salted room temperature butter.
- Vanilla extract: This enhances the overall taste with a warm vanilla flavor.
See recipe card for quantities.
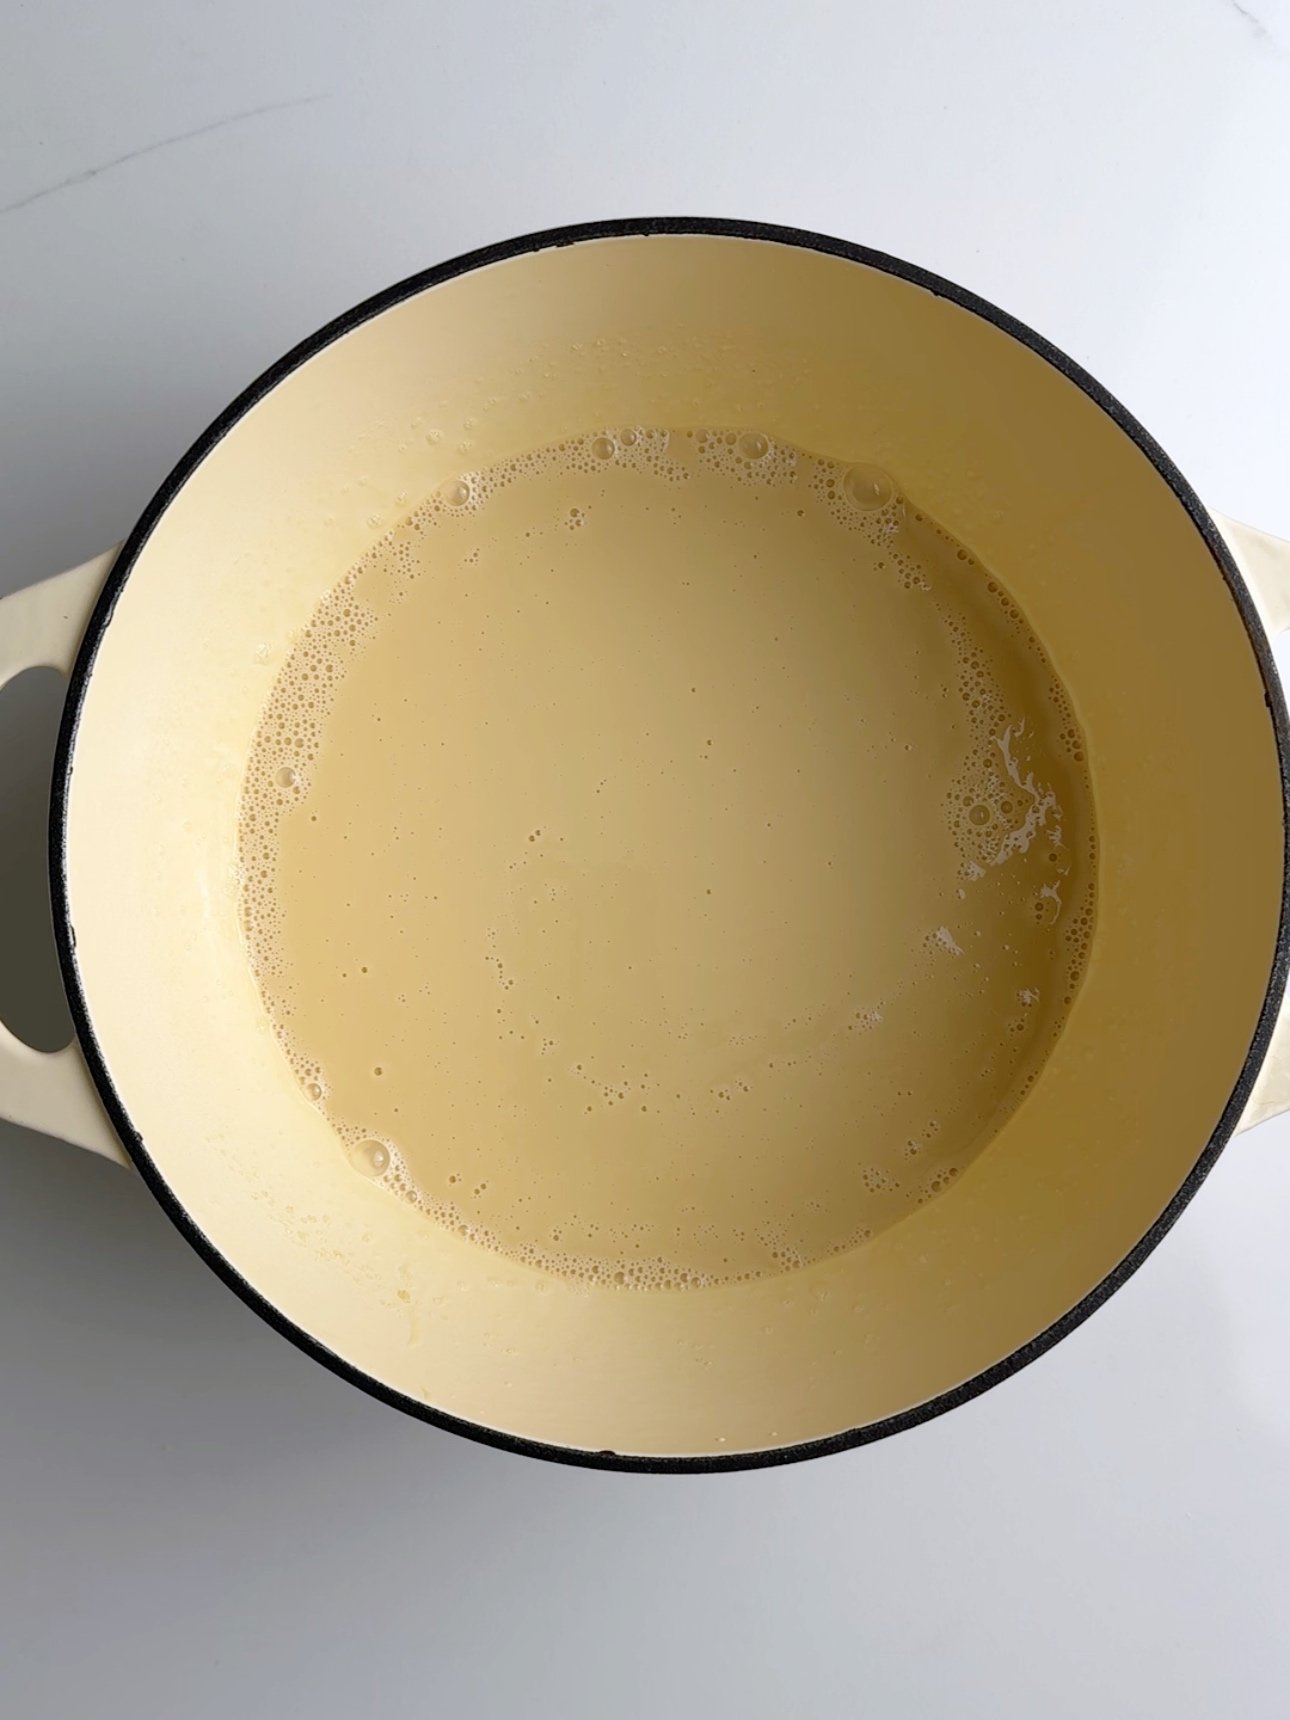
How to Make Vanilla Fudge
Combine the evaporated milk, condensed milk, brown sugar, and water in a large saucepan and mix until all the sugar dissolves. Then add the saucepan to medium heat and bring to a boil. Do not stir before the mixture boils.
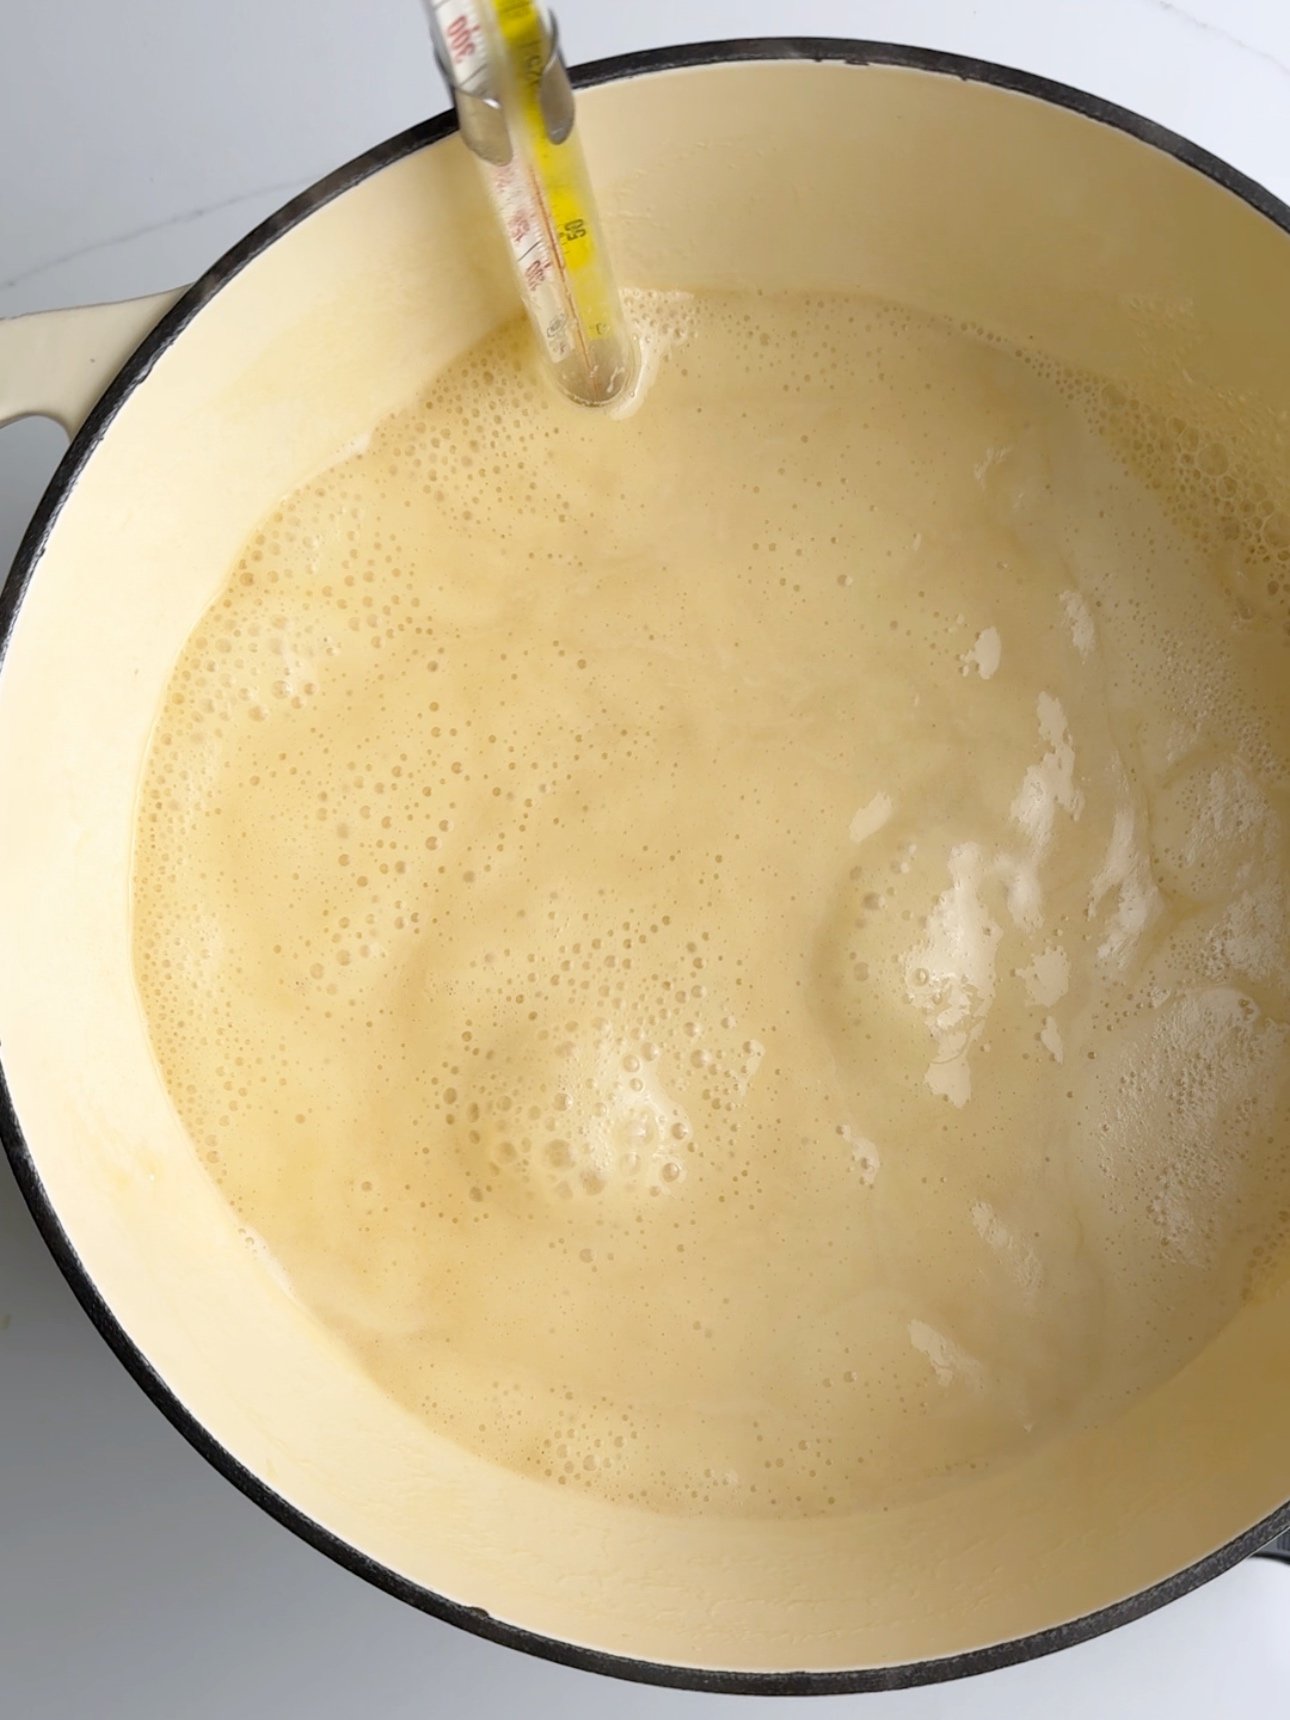
Continue to boil until the mixture thickens, stirring occasionally to prevent boiling. When I first started making this vanilla fudge recipe, I would stir it constantly from the beginning, but over time I learned that at the right temperature I only needed to stir it occasionally.

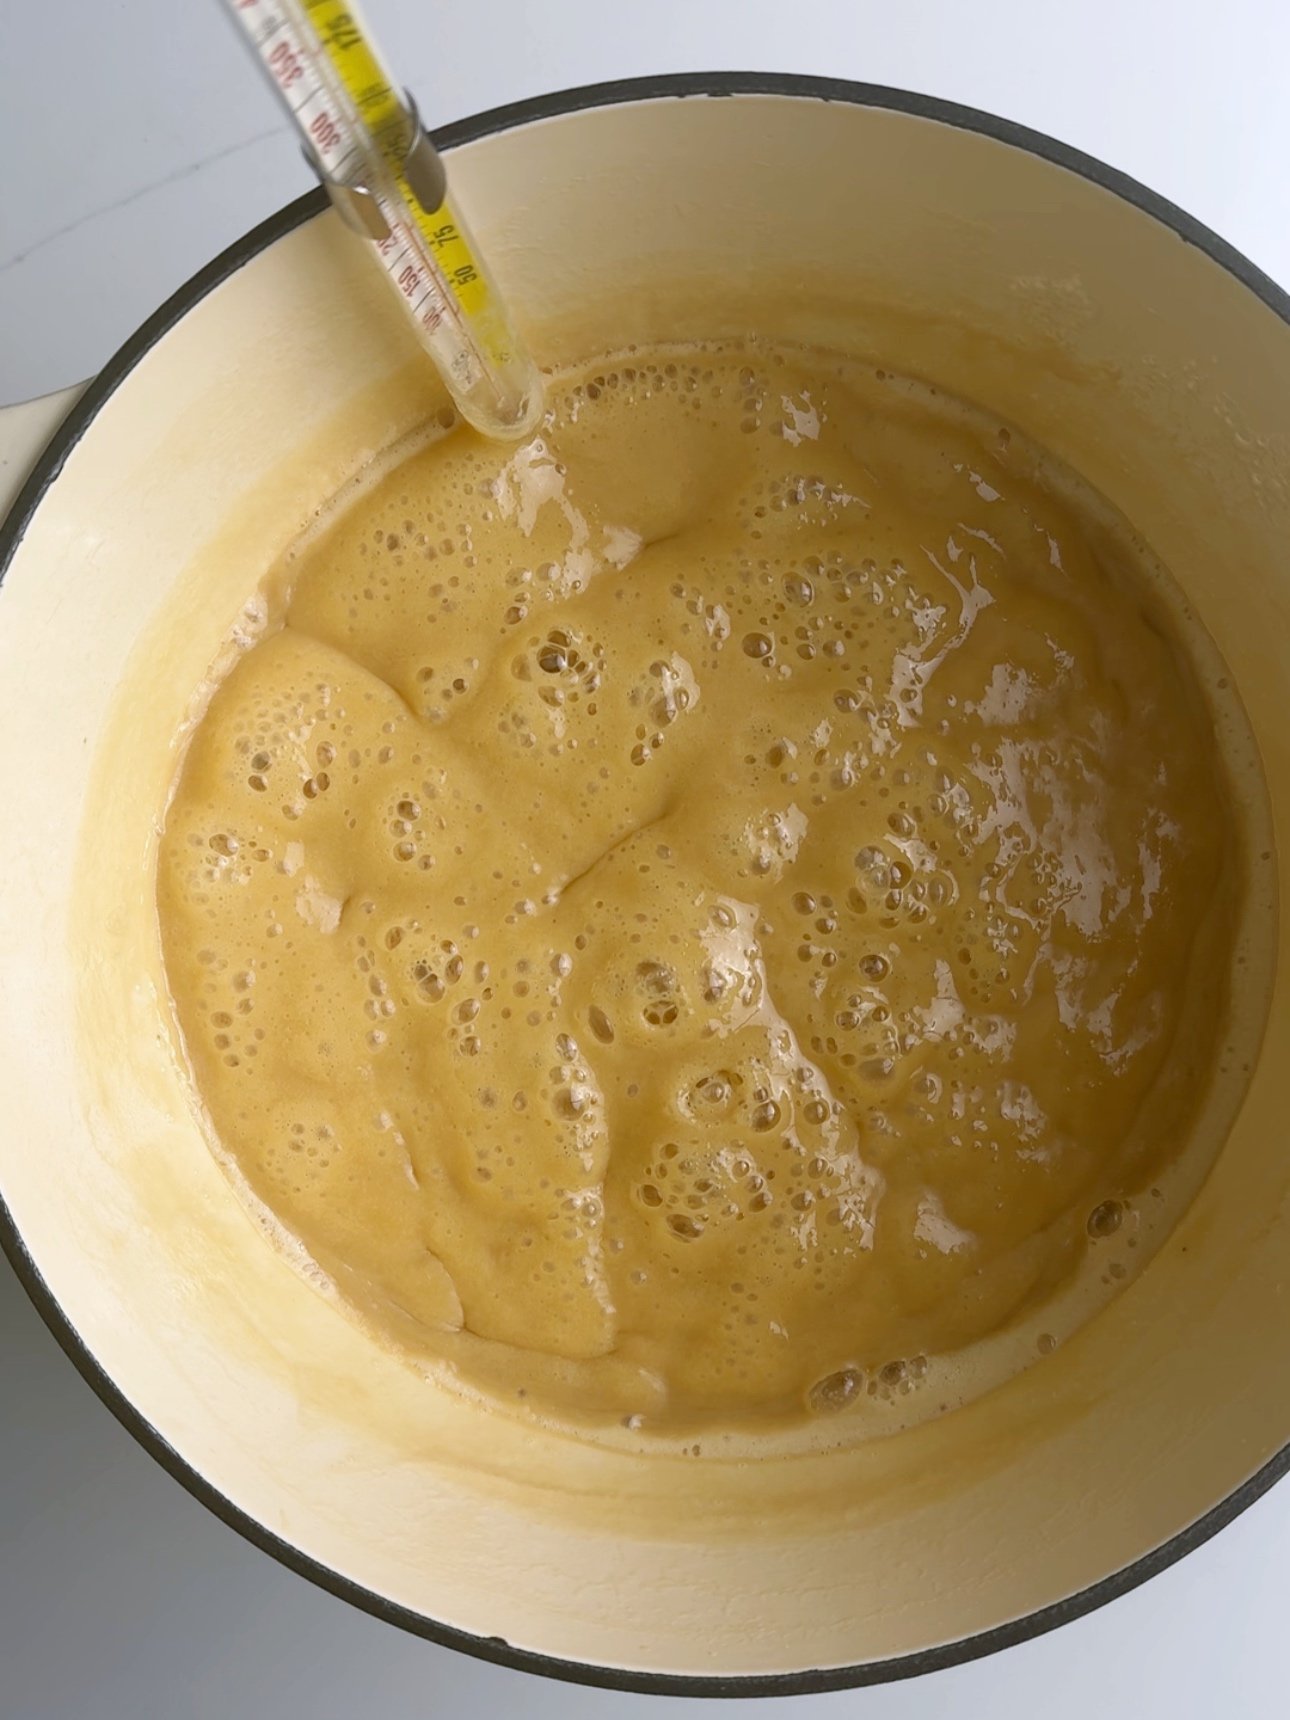
Once the mixture thickens and reaches about 200°F, I stir constantly stir it to prevent burning, cleaning down the sides and scraping the bottom so that none of the fudge sticks.
Final Steps in Fudge Making
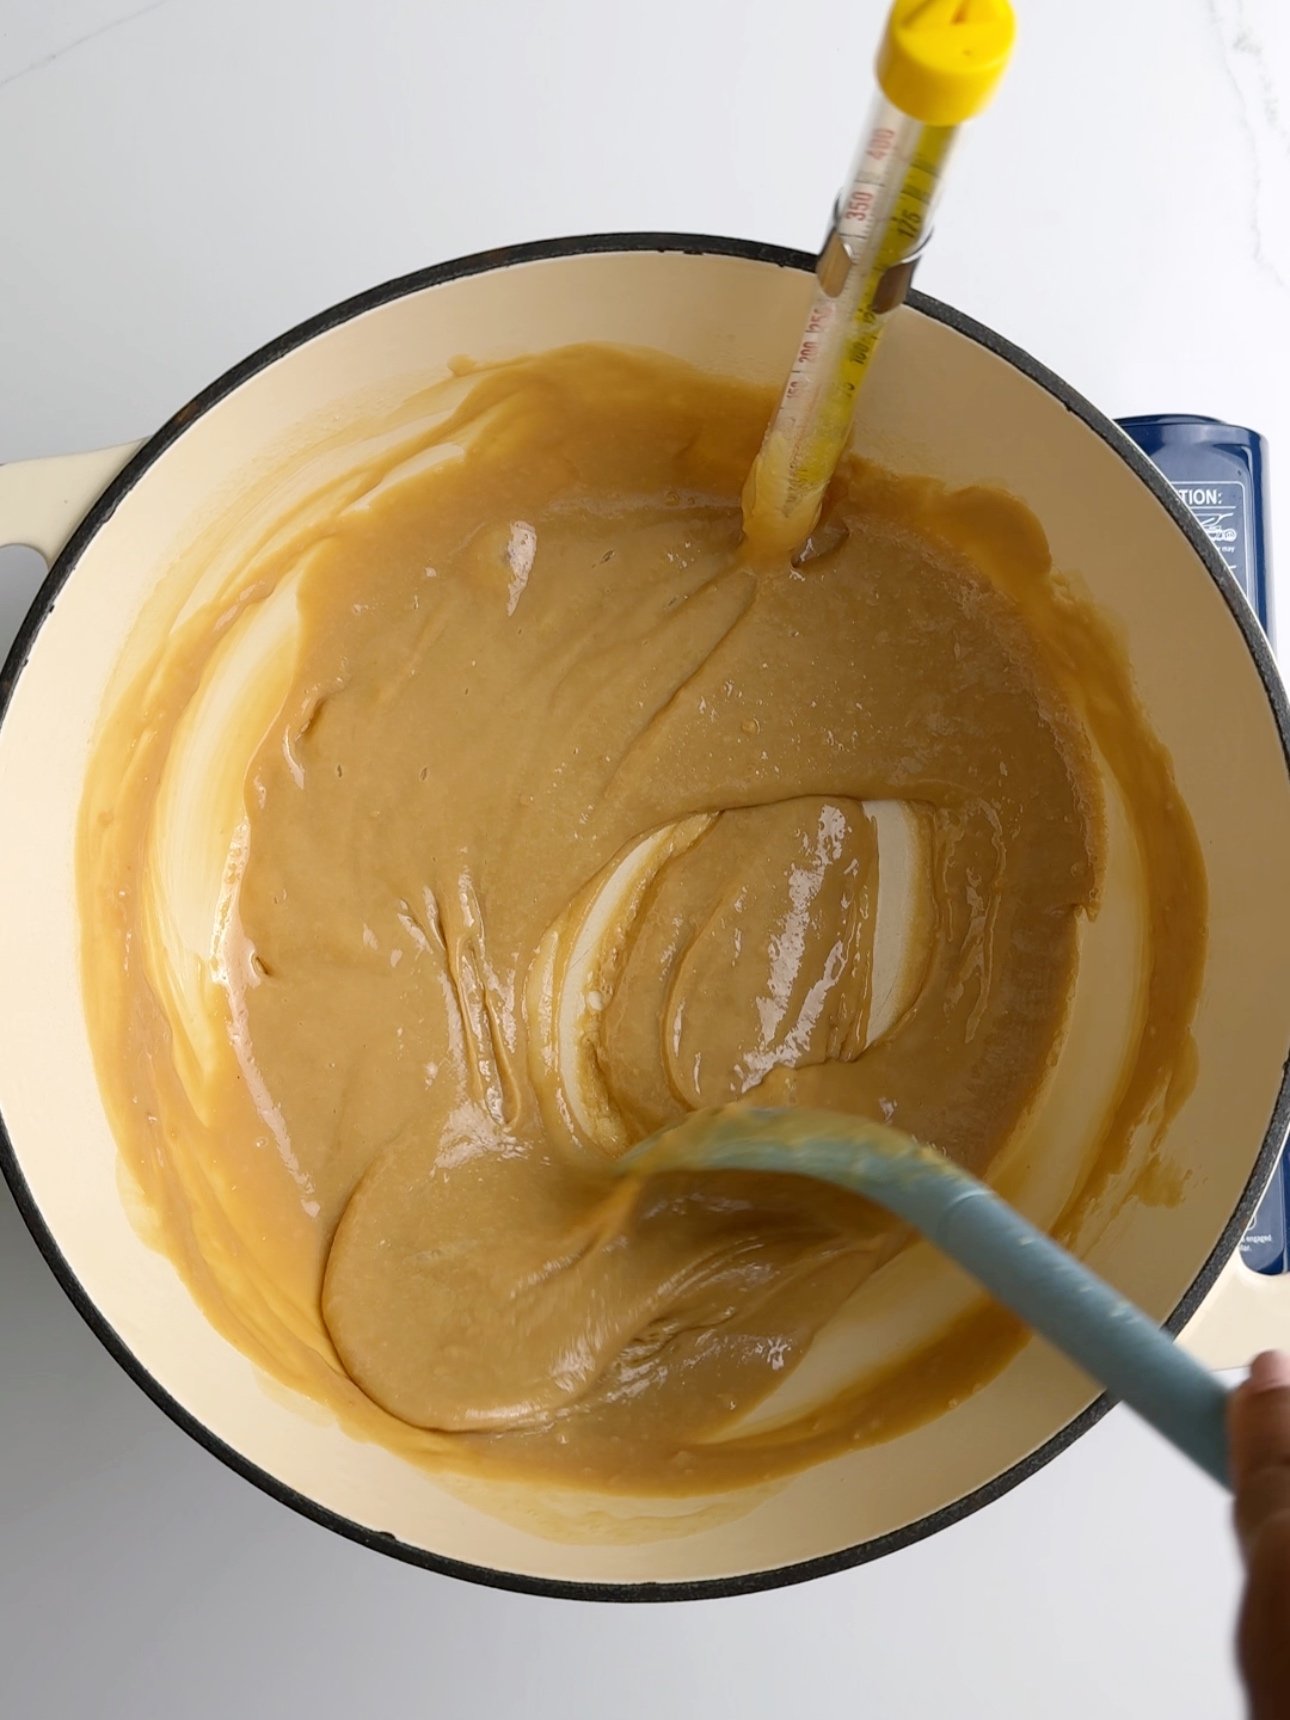
The fudge is ready when it reduces down to a thick caramel looking mixture and is at the soft ball stage. If you taste the fudge at this stage it will taste a lot like toffee, but have no fear it is the beating that crystallizes the sugar and gives the fudge its signature texture.
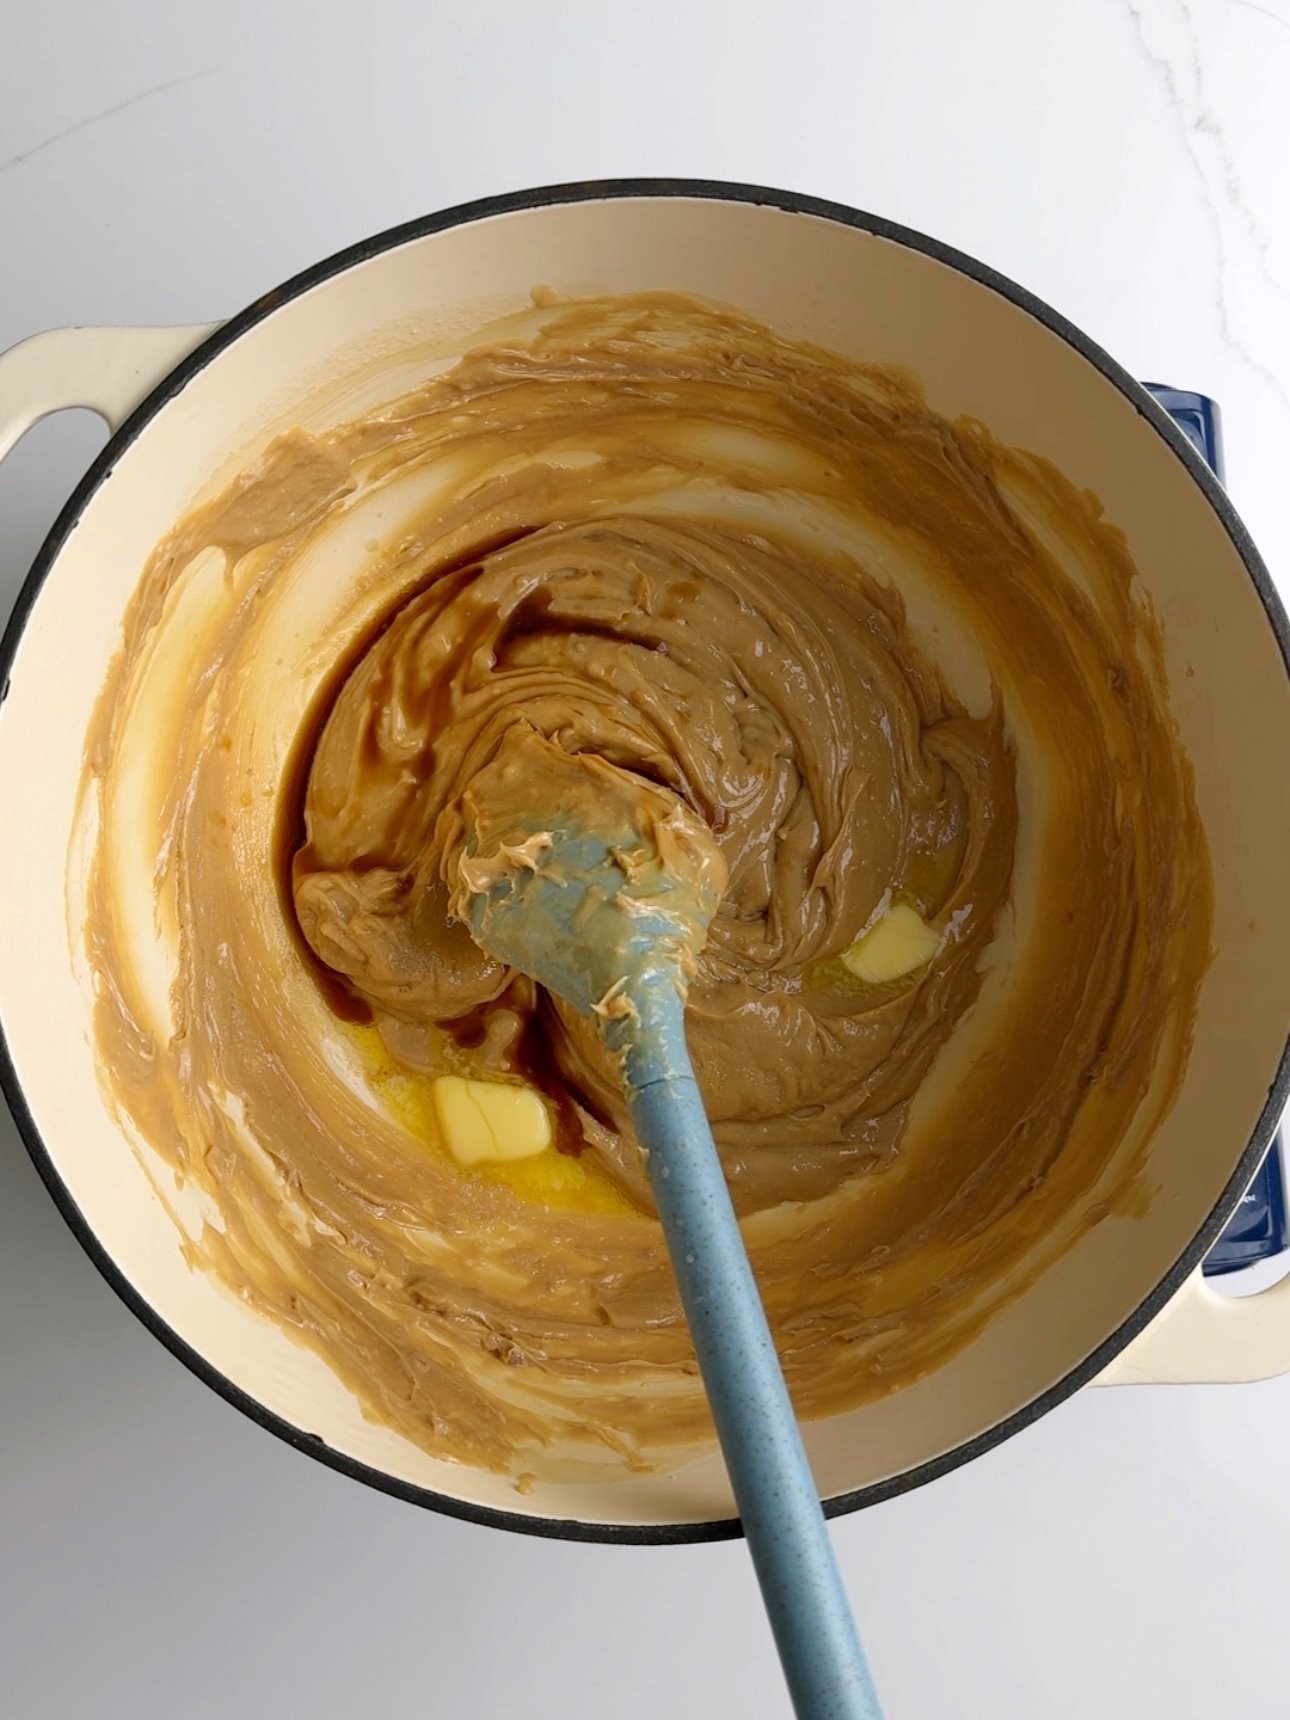
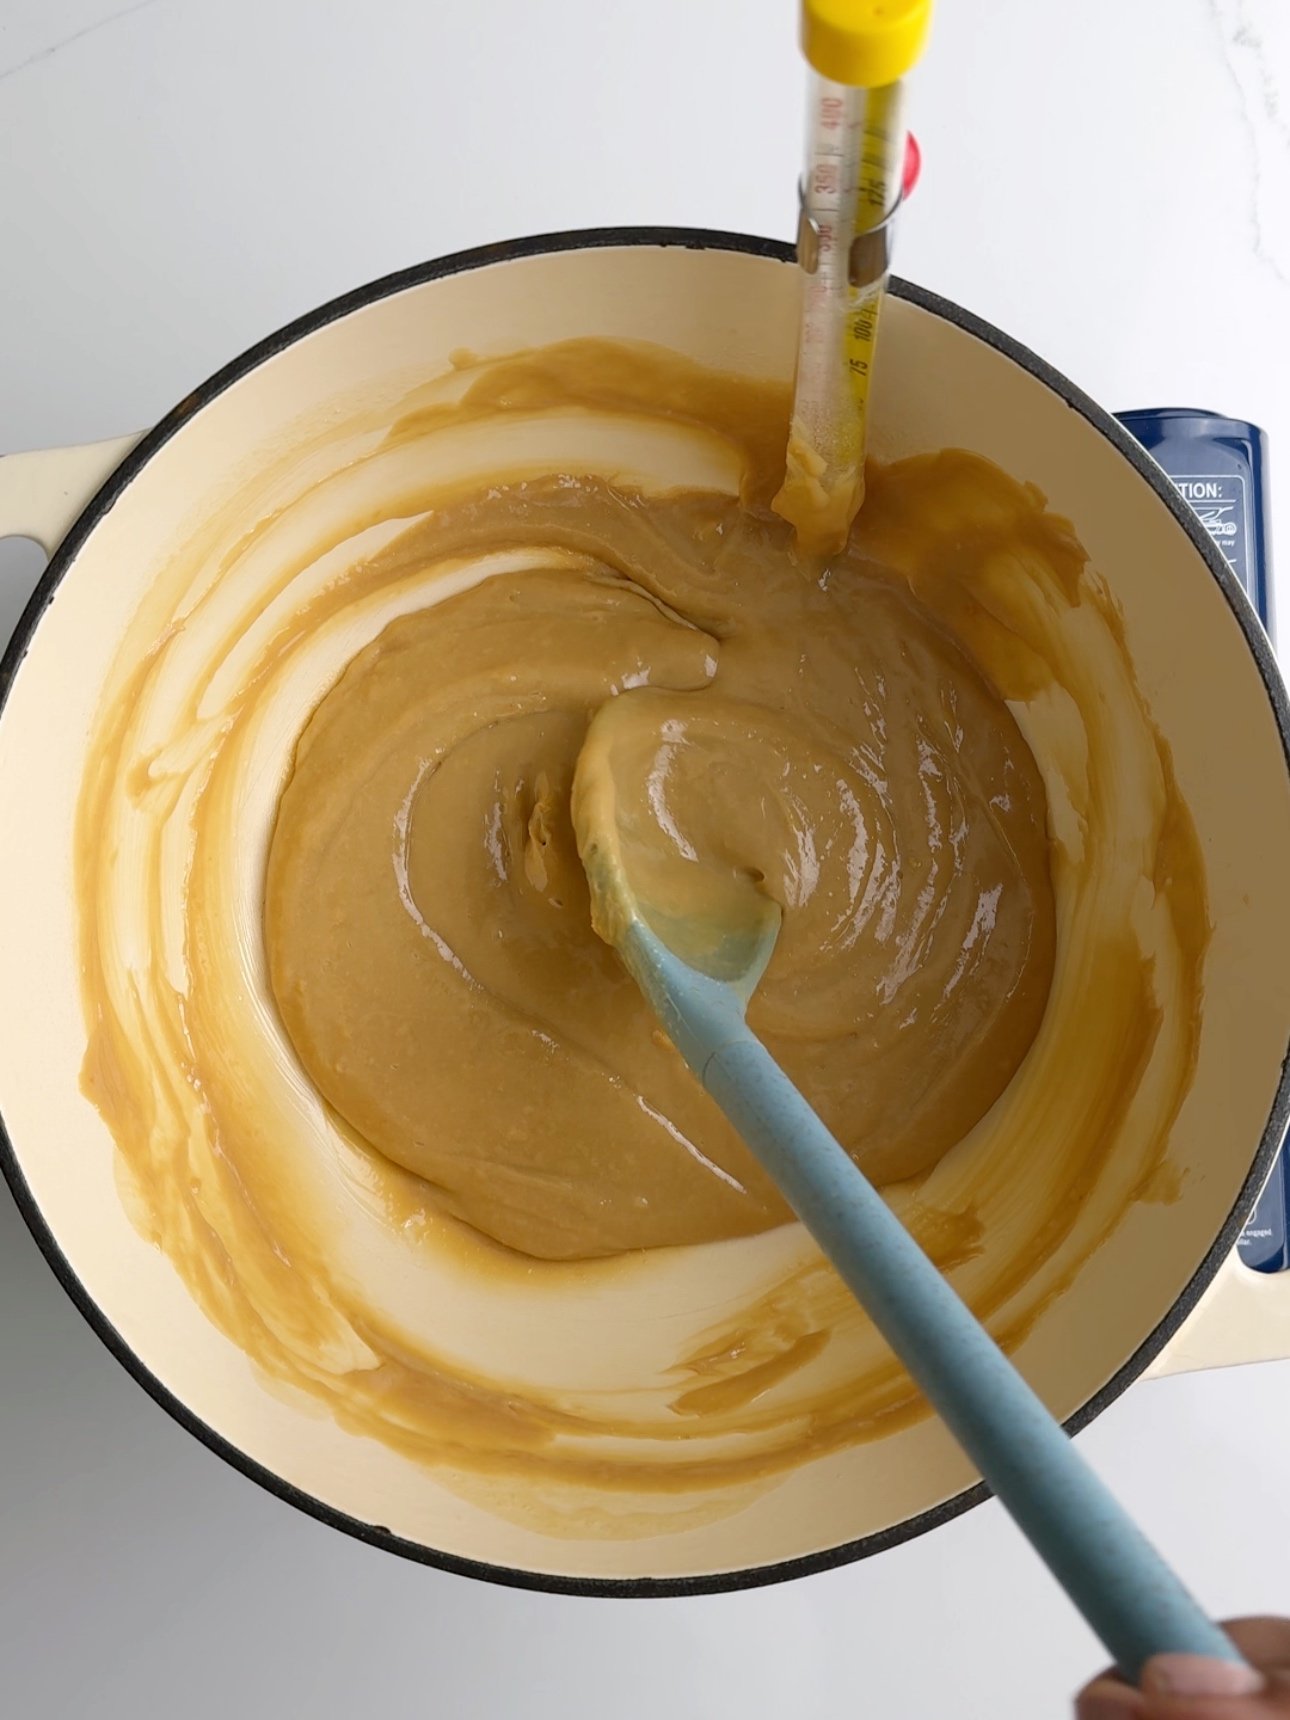
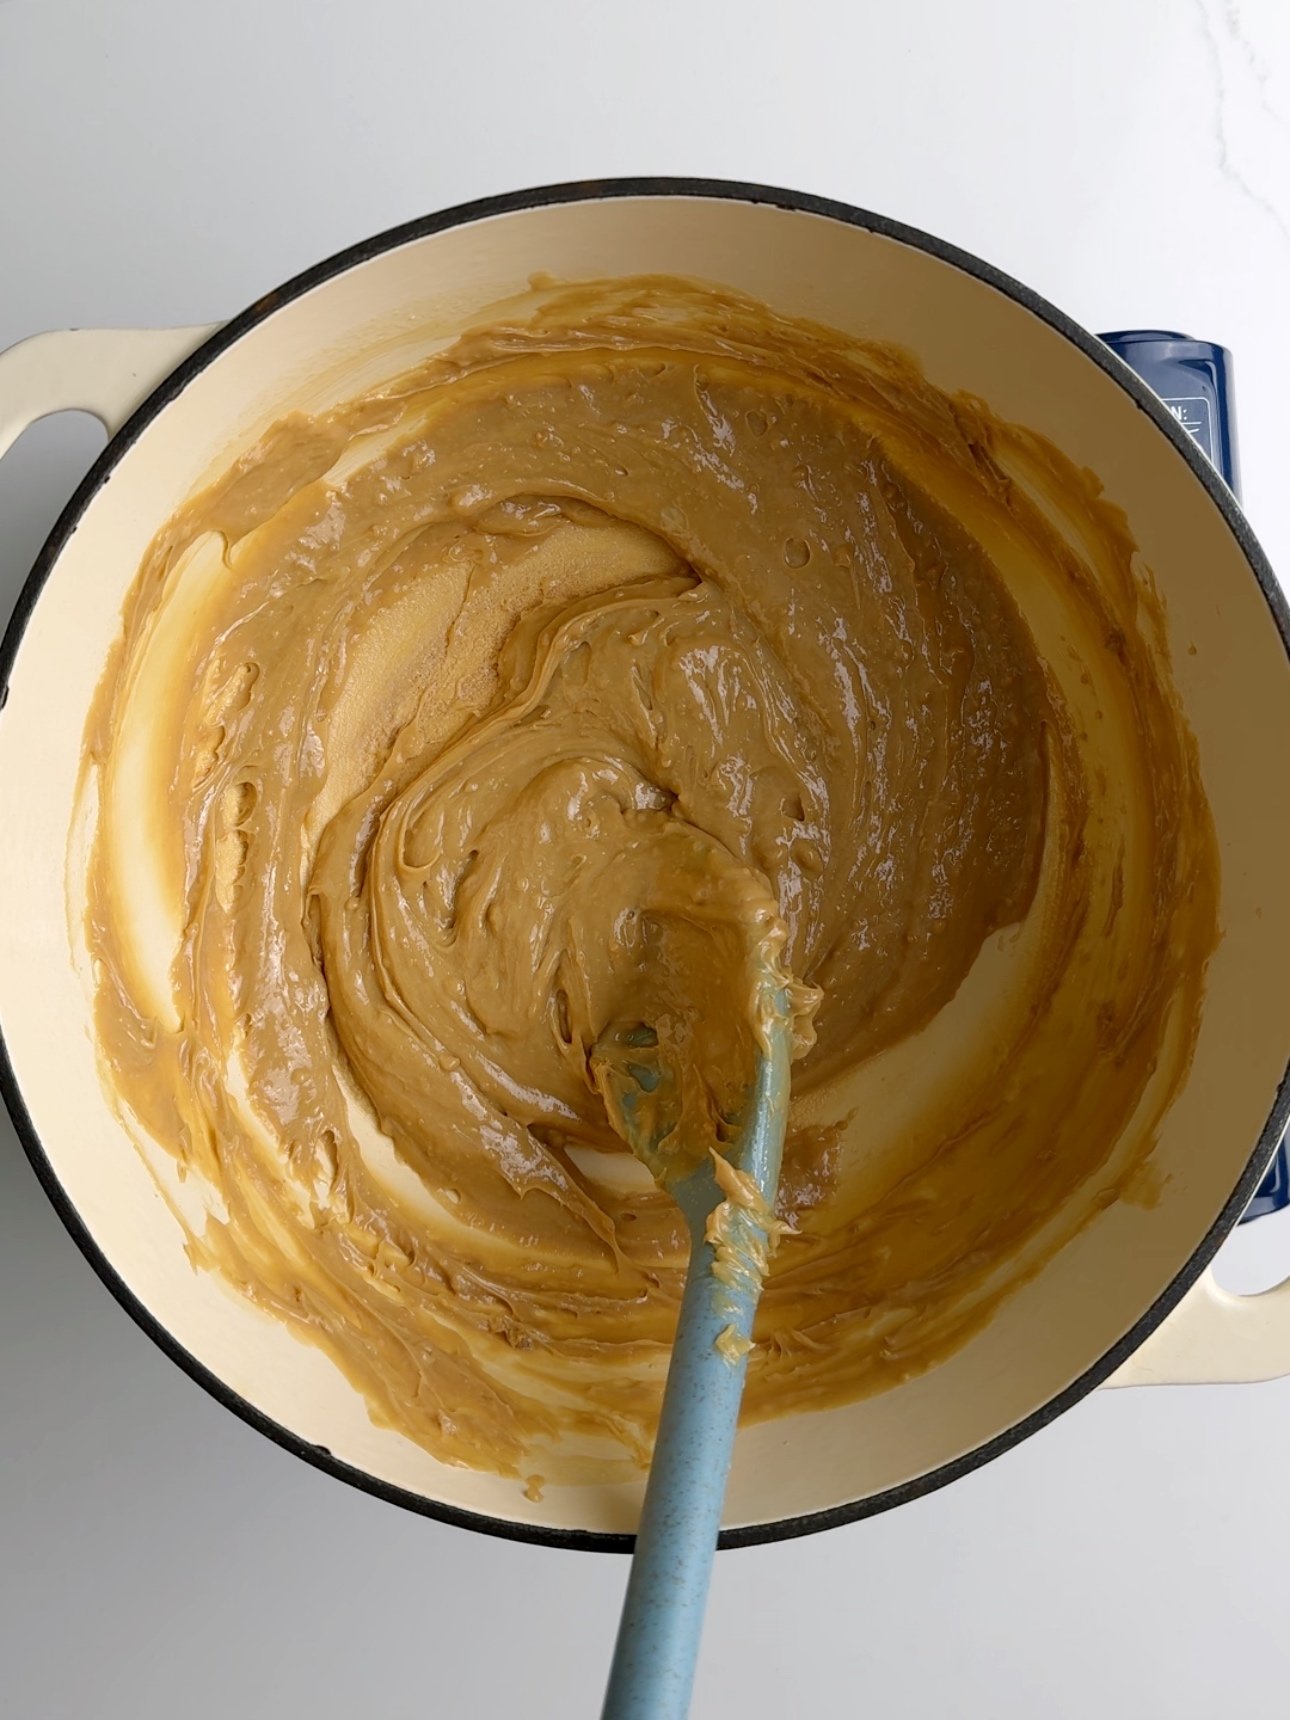
At this stage I typically add two tablespoons of butter and mix it into the fudge until it completely melts. Then I allow the fudge to cool for about 5 minutes, then start to beat (constantly mix) the fudge with a wooden spoon. This will take anywhere from 10 to 15 minutes, of constant stirring to crystalize the sugar and get that fudge consistency.
Using a Stand Mixer to beat the fudge!
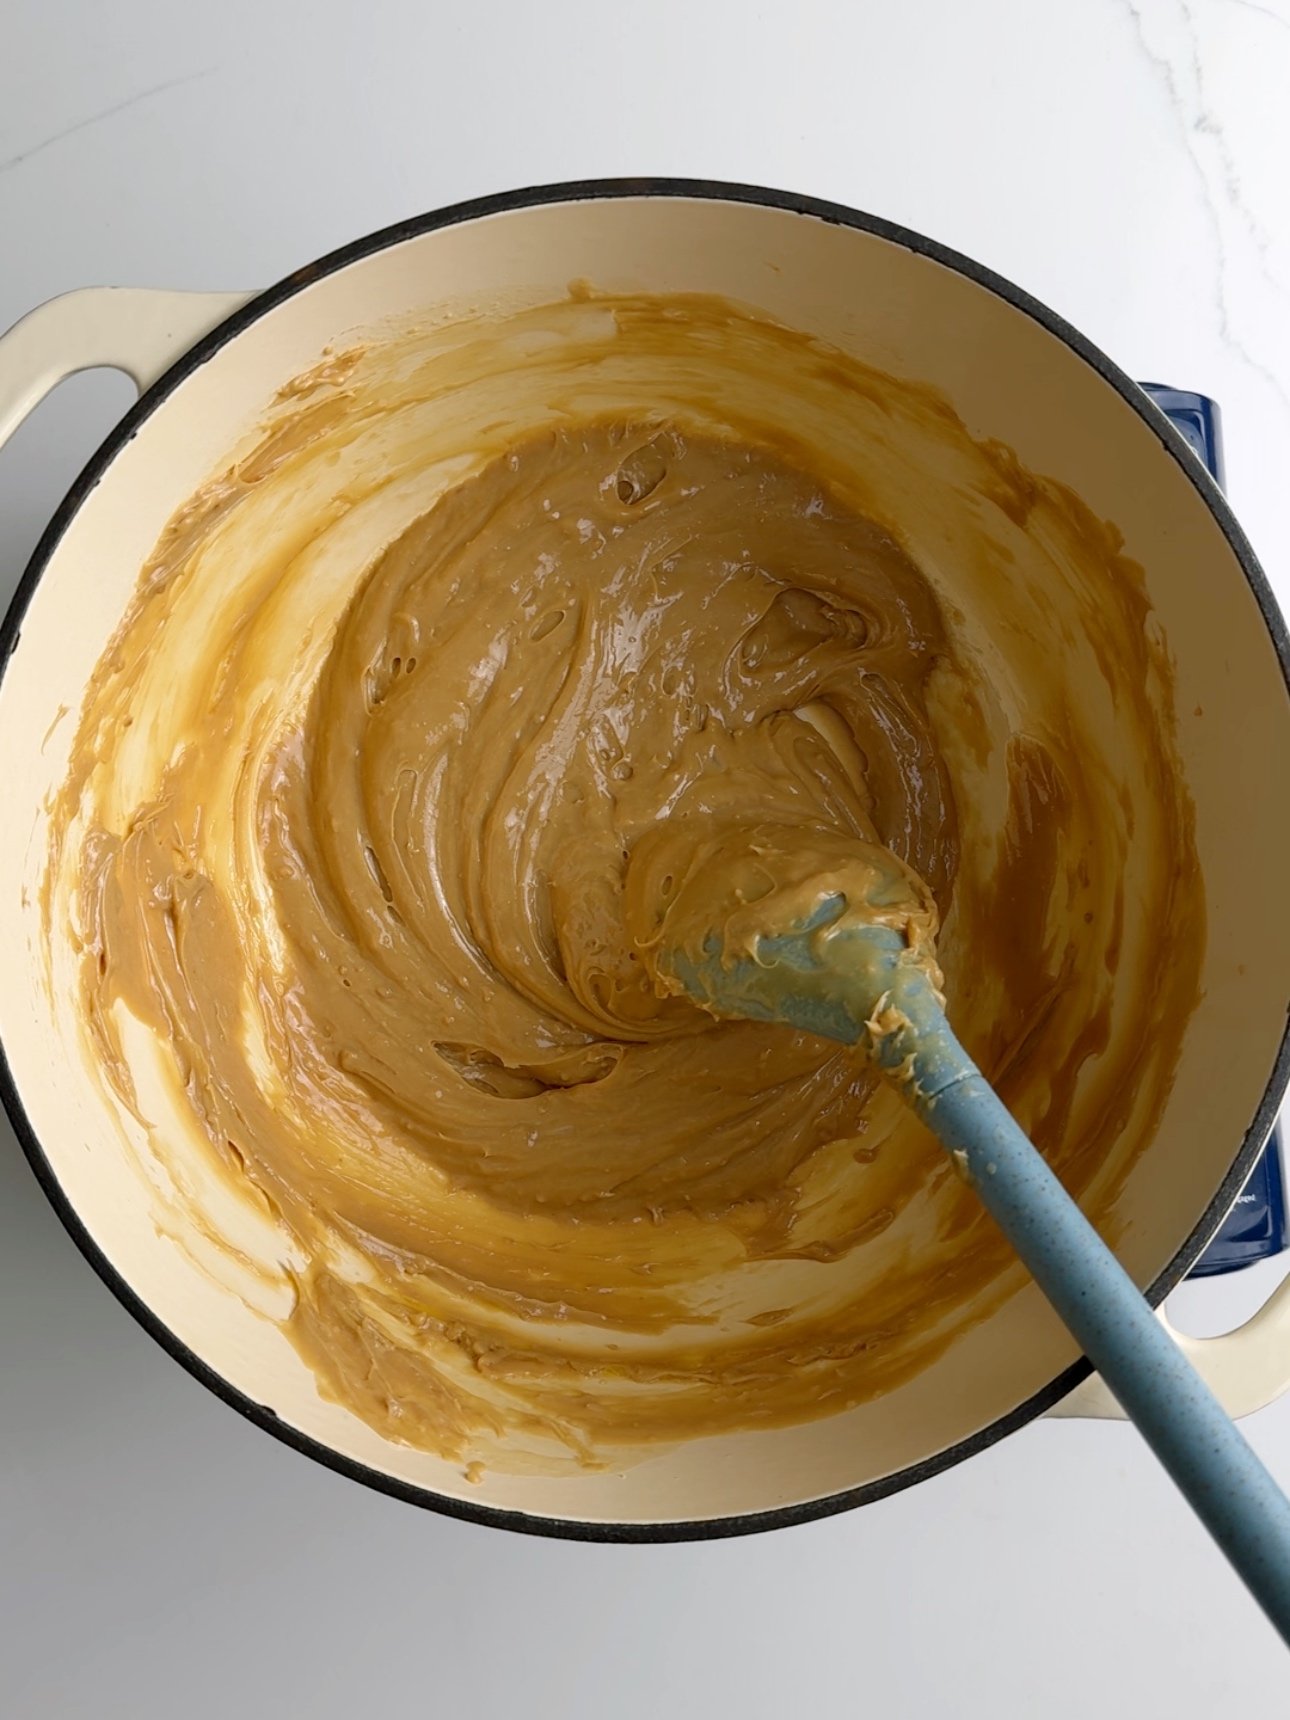
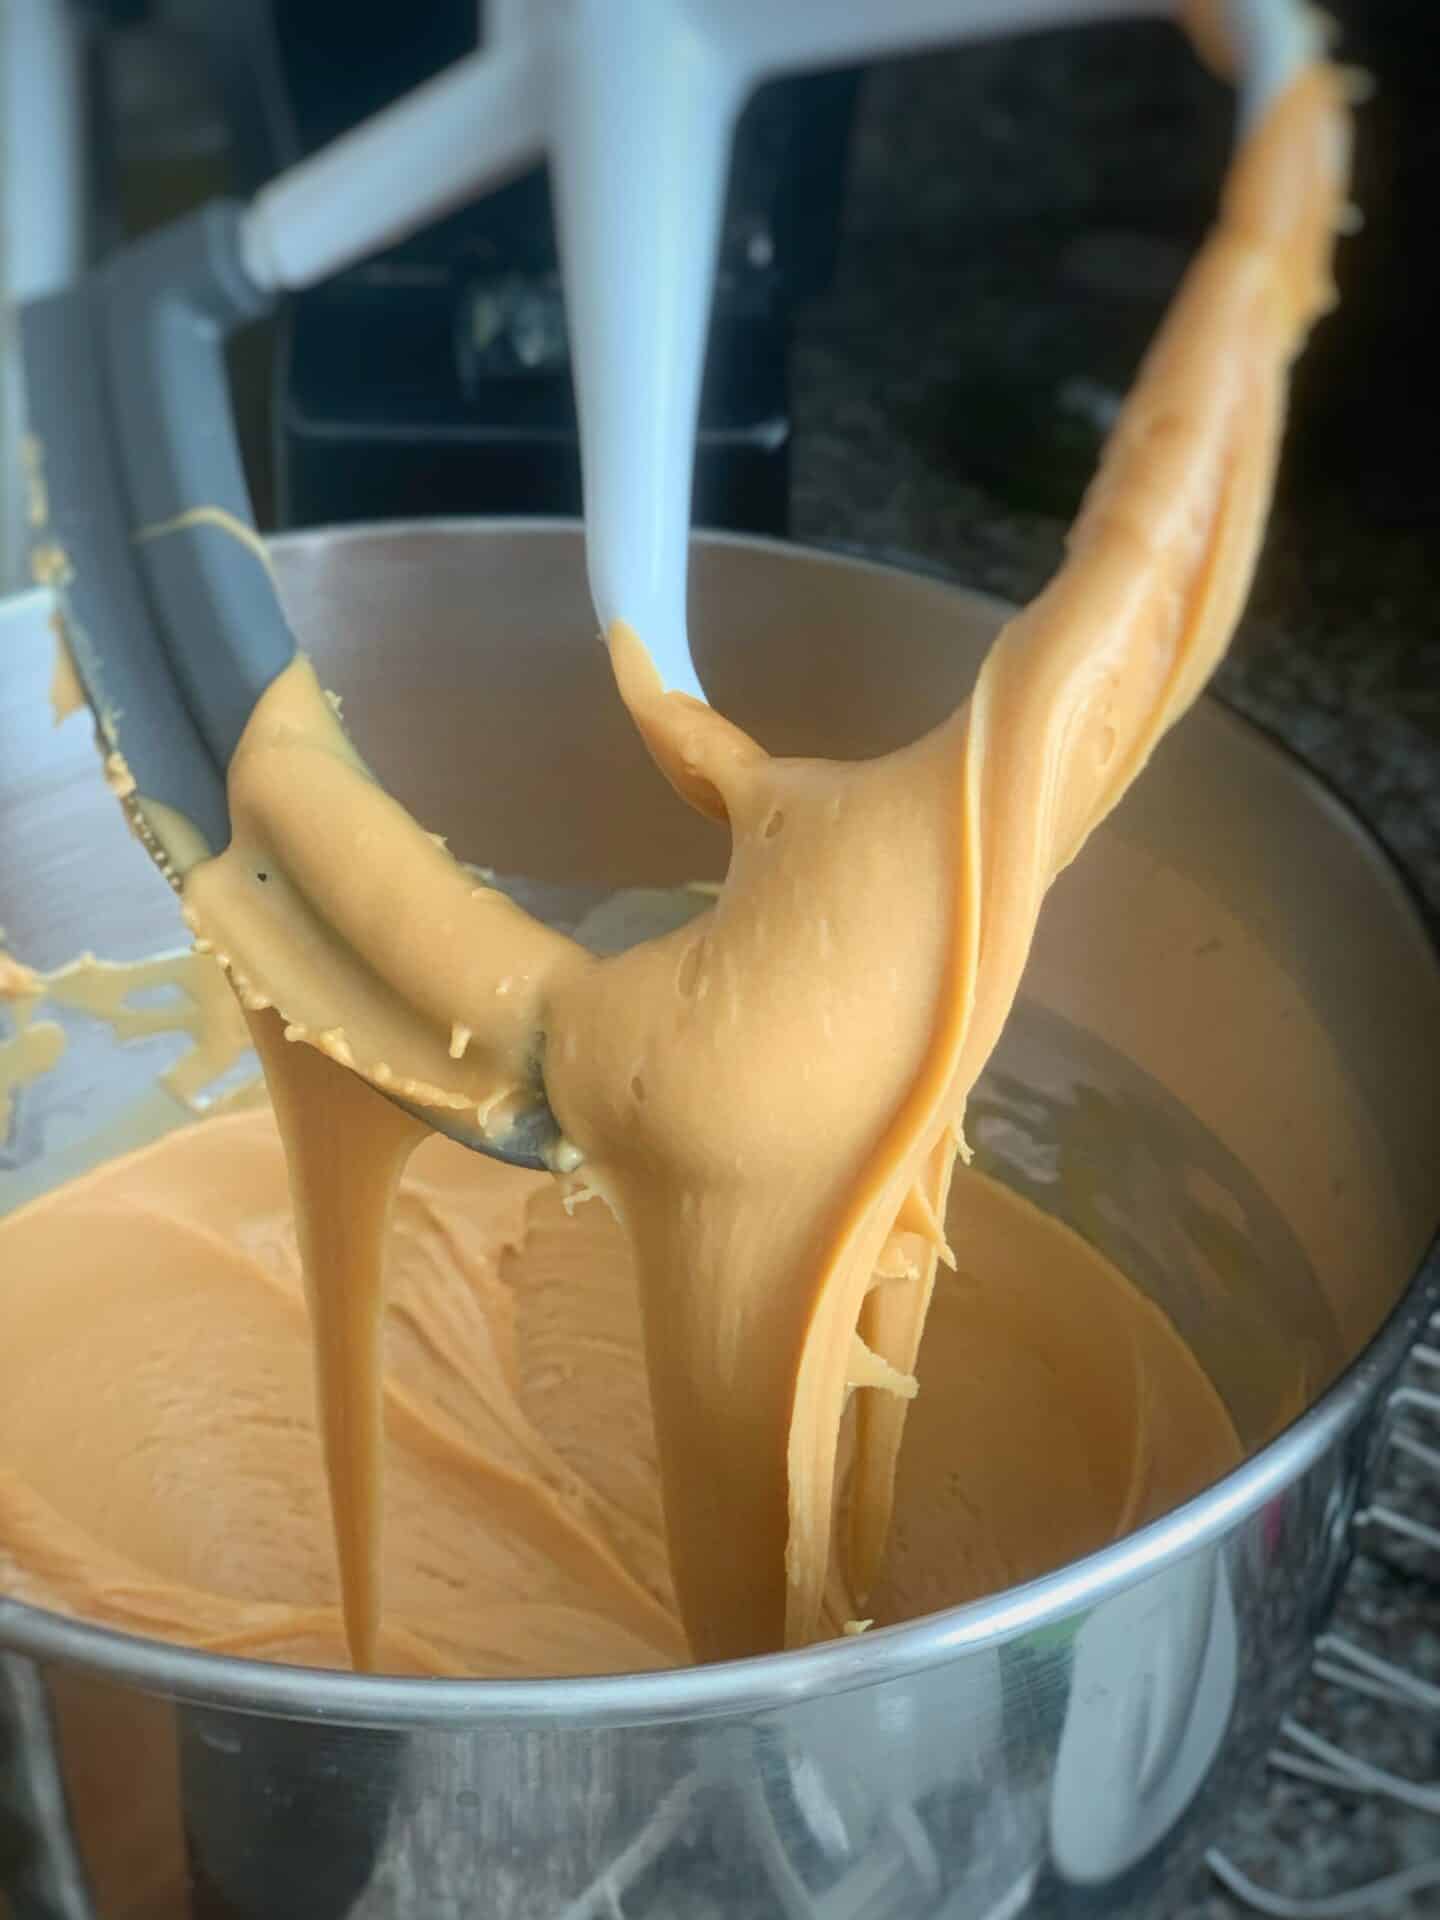
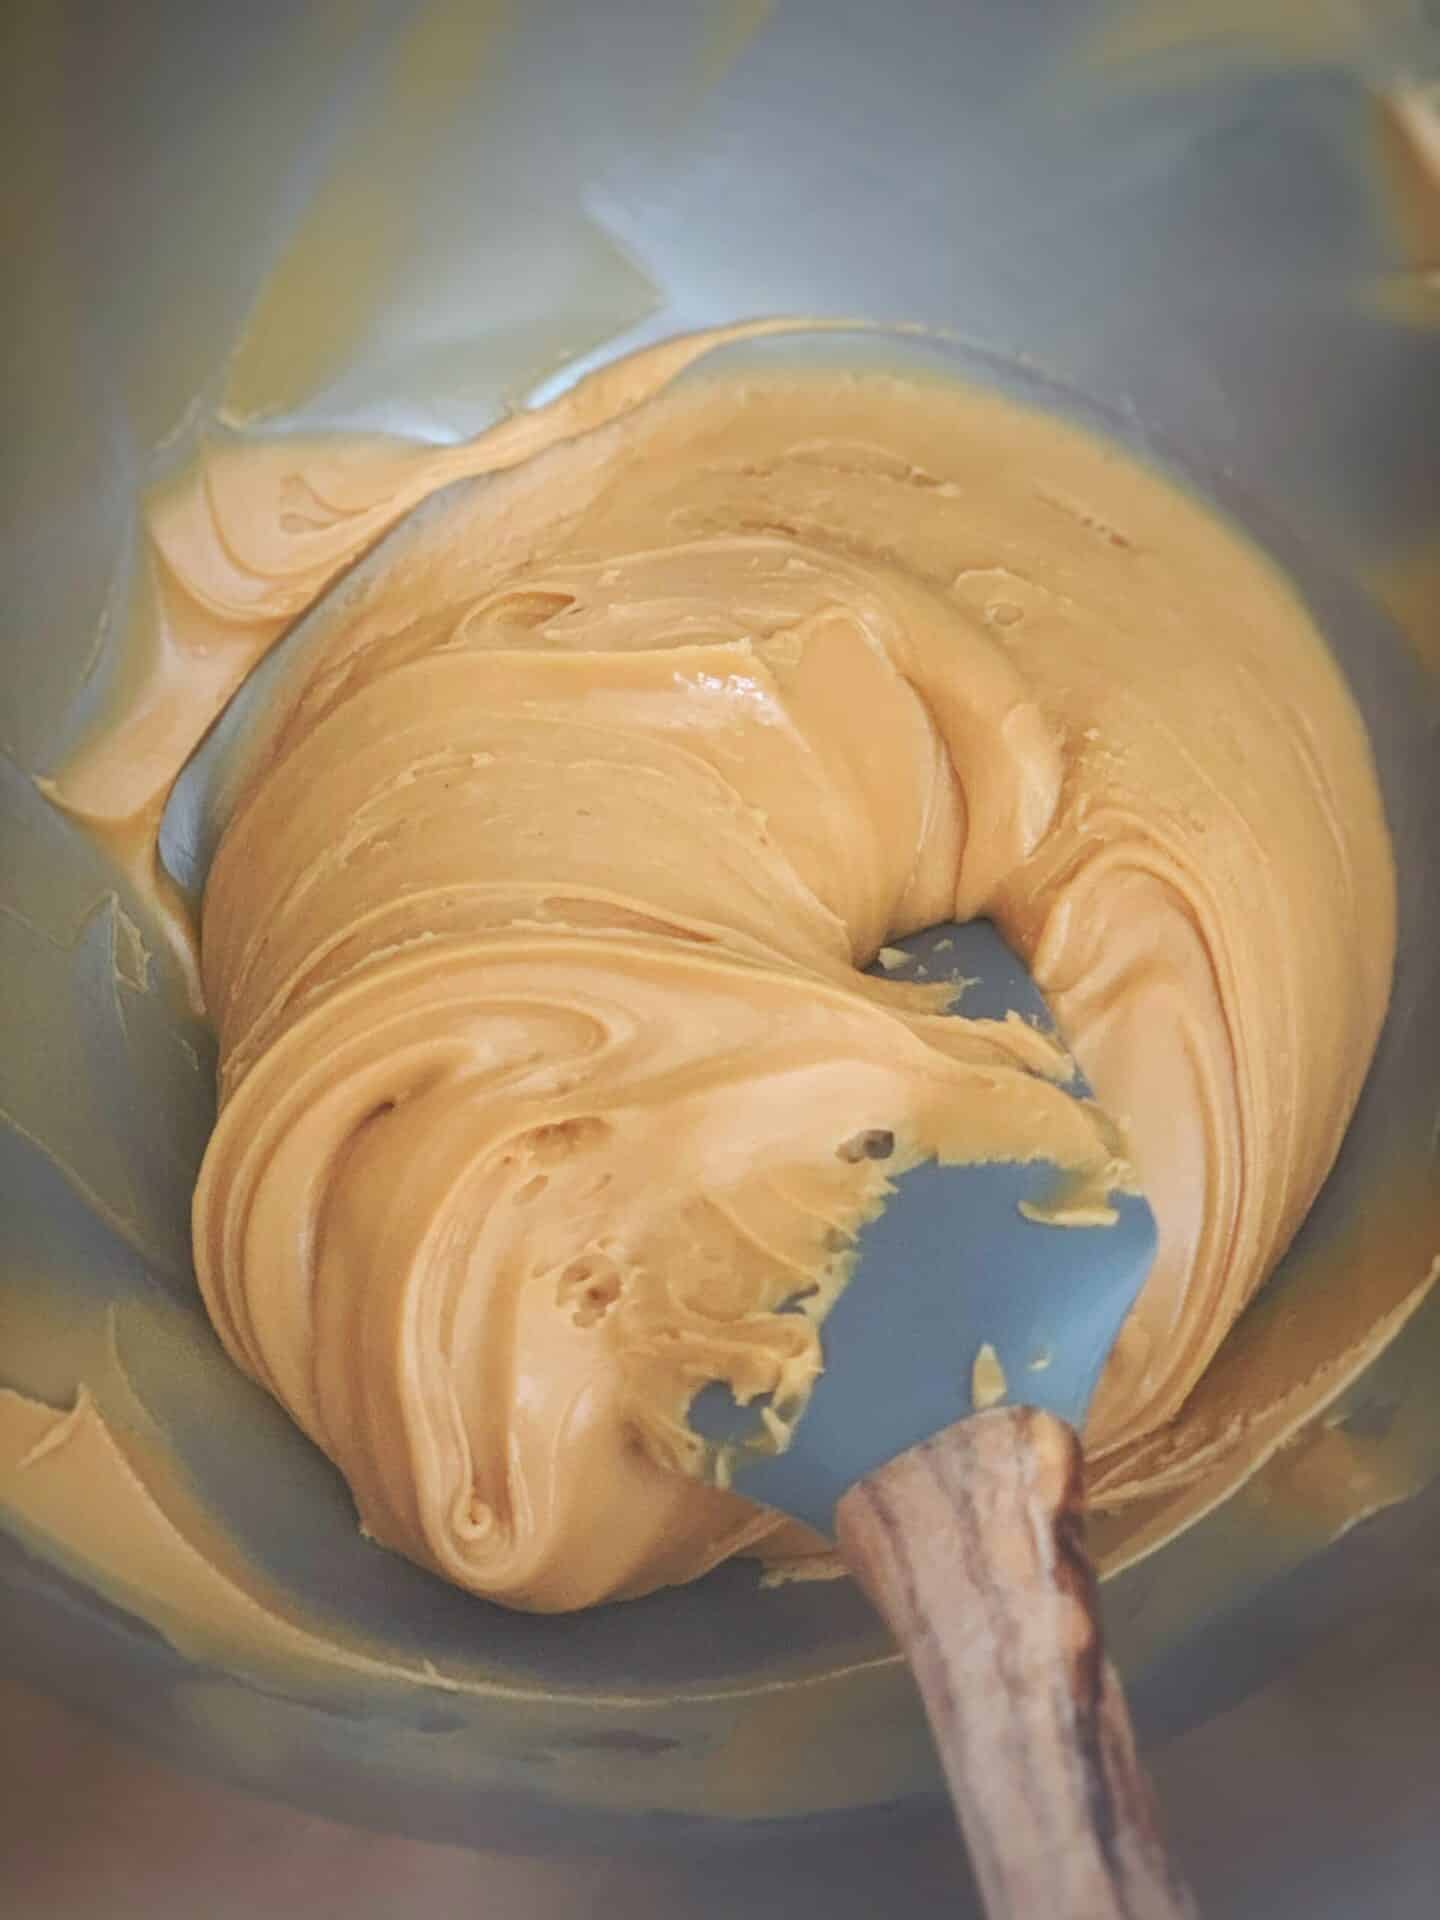
If you’ve ever beaten fudge with a wooden spoon then you know the task can be quite daunting and tiresome. Now I beat my fudge in my stand mixer. Simply pour all the hot fudge into the bowl of your stand mixer and beat for 5 minutes on Speed 2. Stopping halfway to scrape down the sides of the bowl with a rubber spatula. Just look at that gorgeous texture!
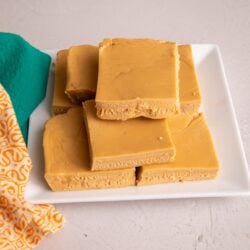
Setting the Vanilla Fudge
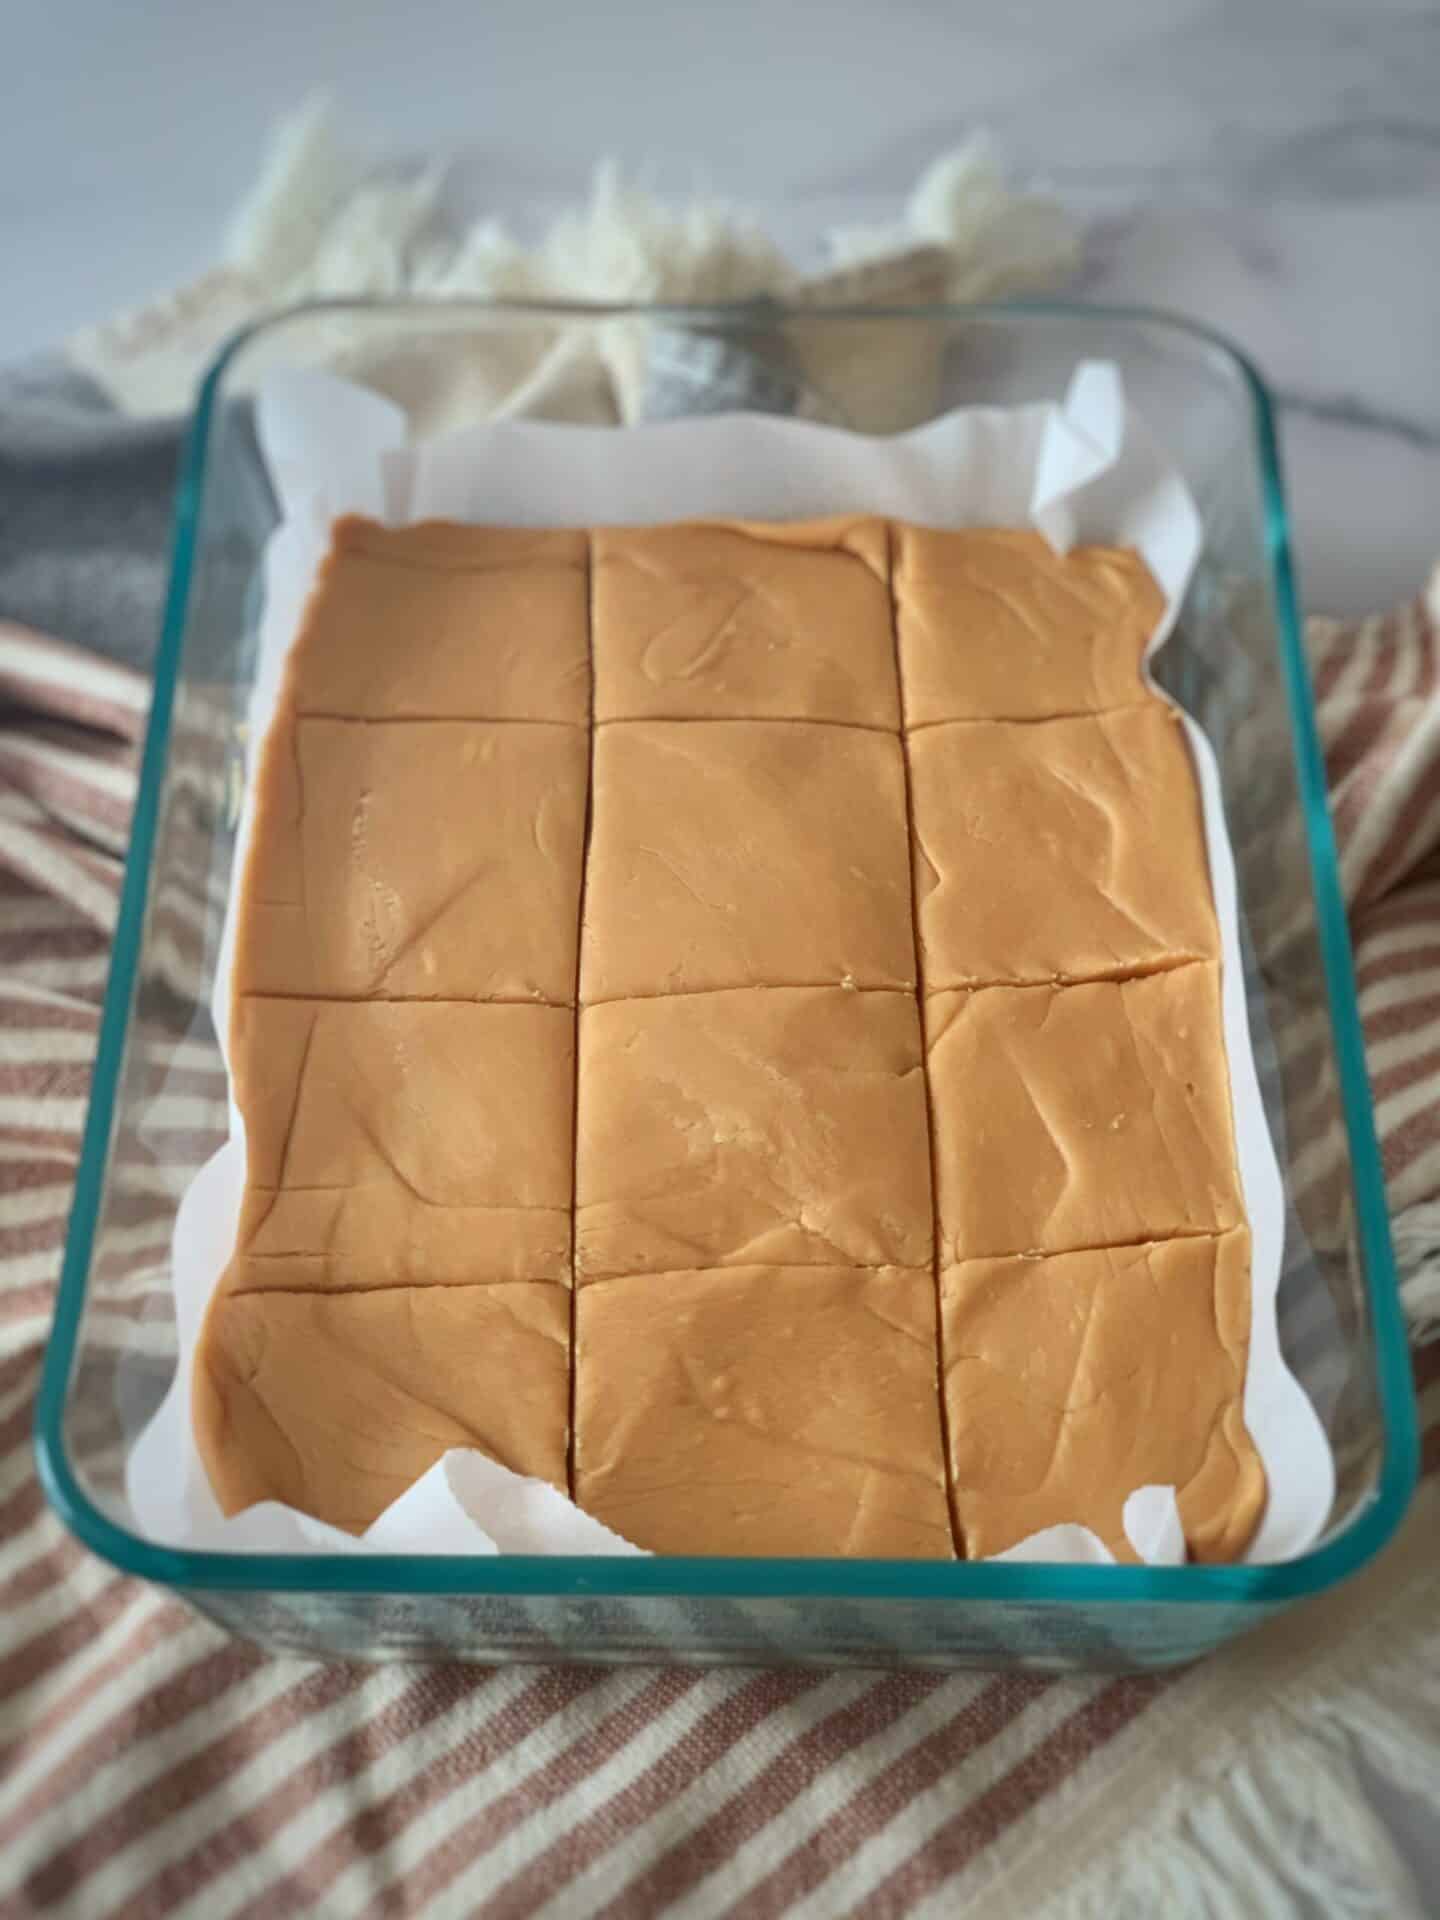
Once you’ve achieved the desired texture while beating the fudge, pour it into a baking dish lined with parchment paper. Here I am using a loaf pan and below I am using a 3 quart pyrex baking dish. Use a rubber spatula dipped into water or the back of a spoon to smooth the fudge out.
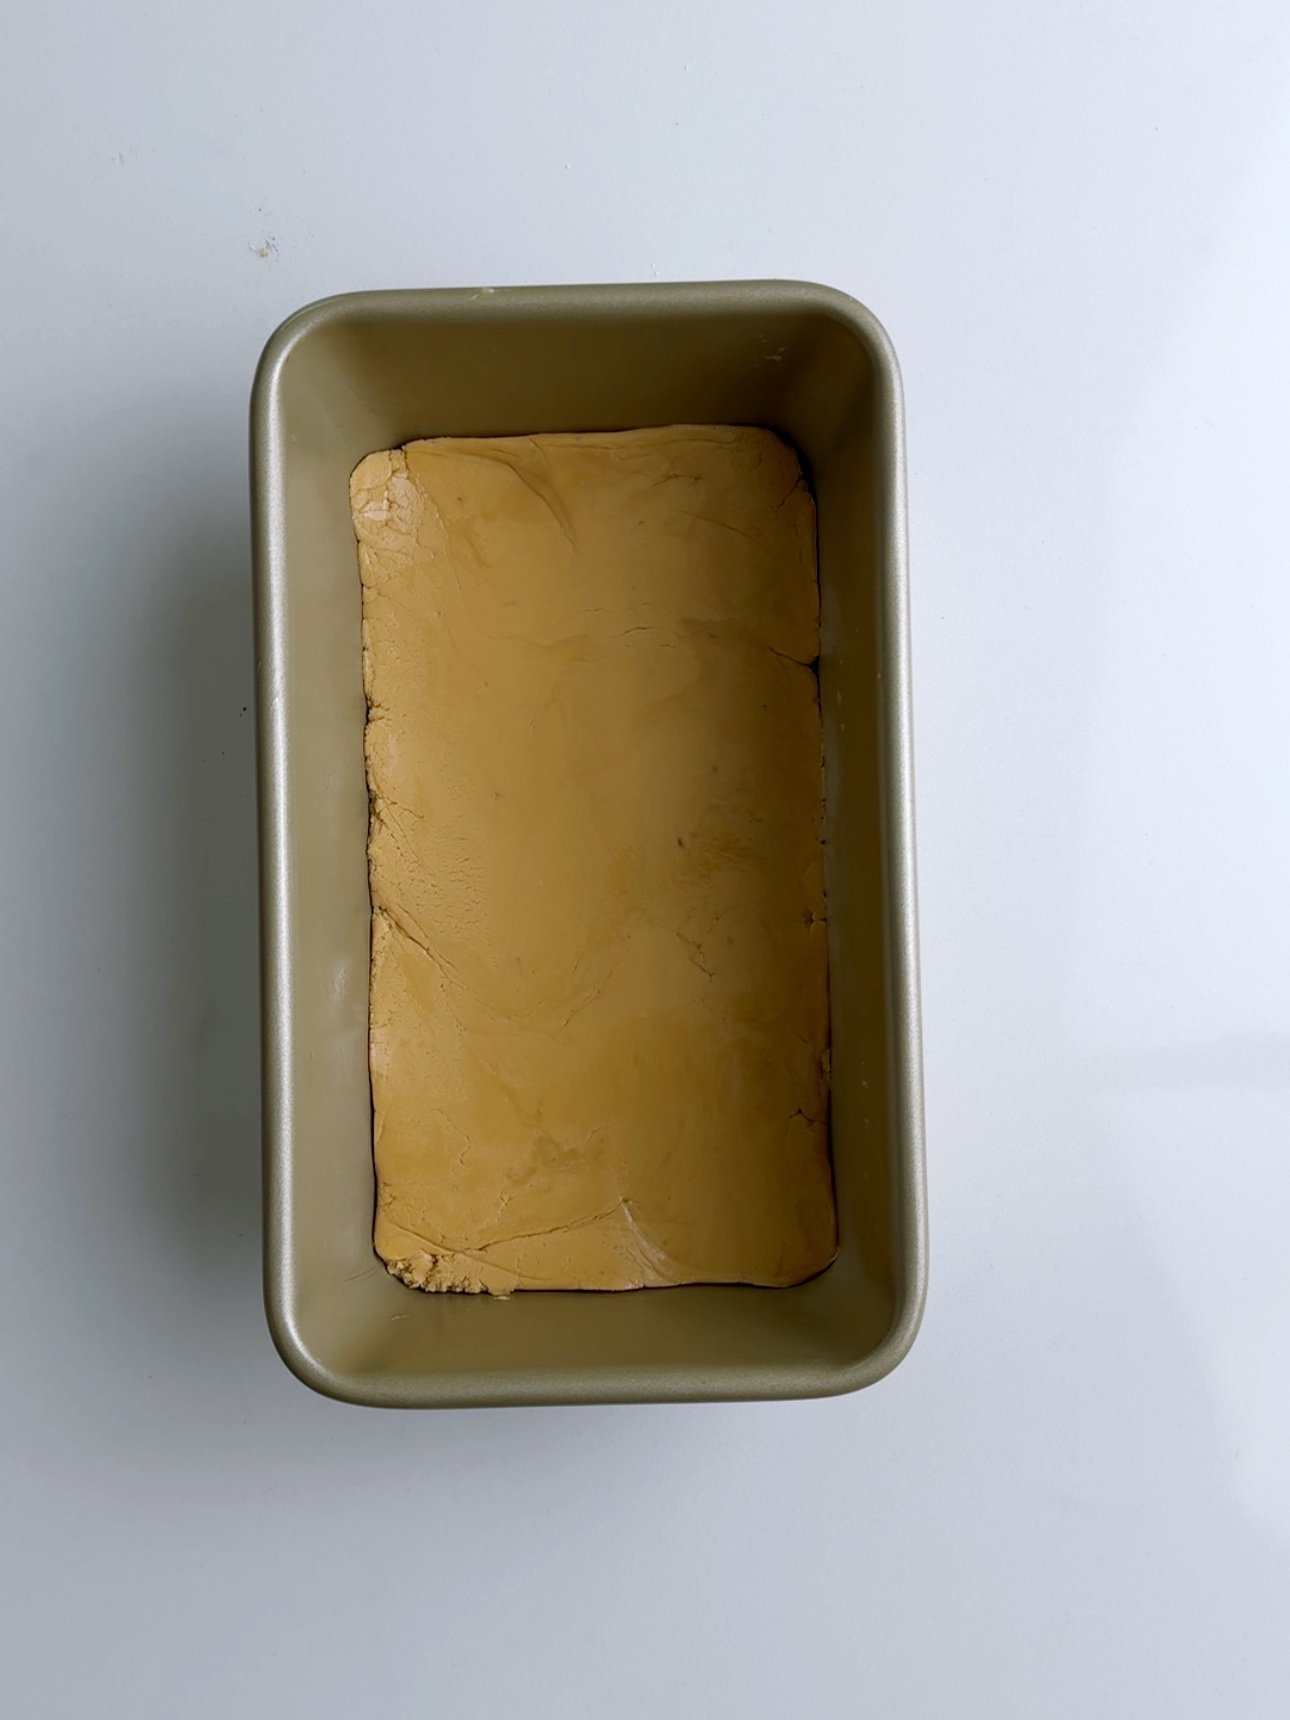
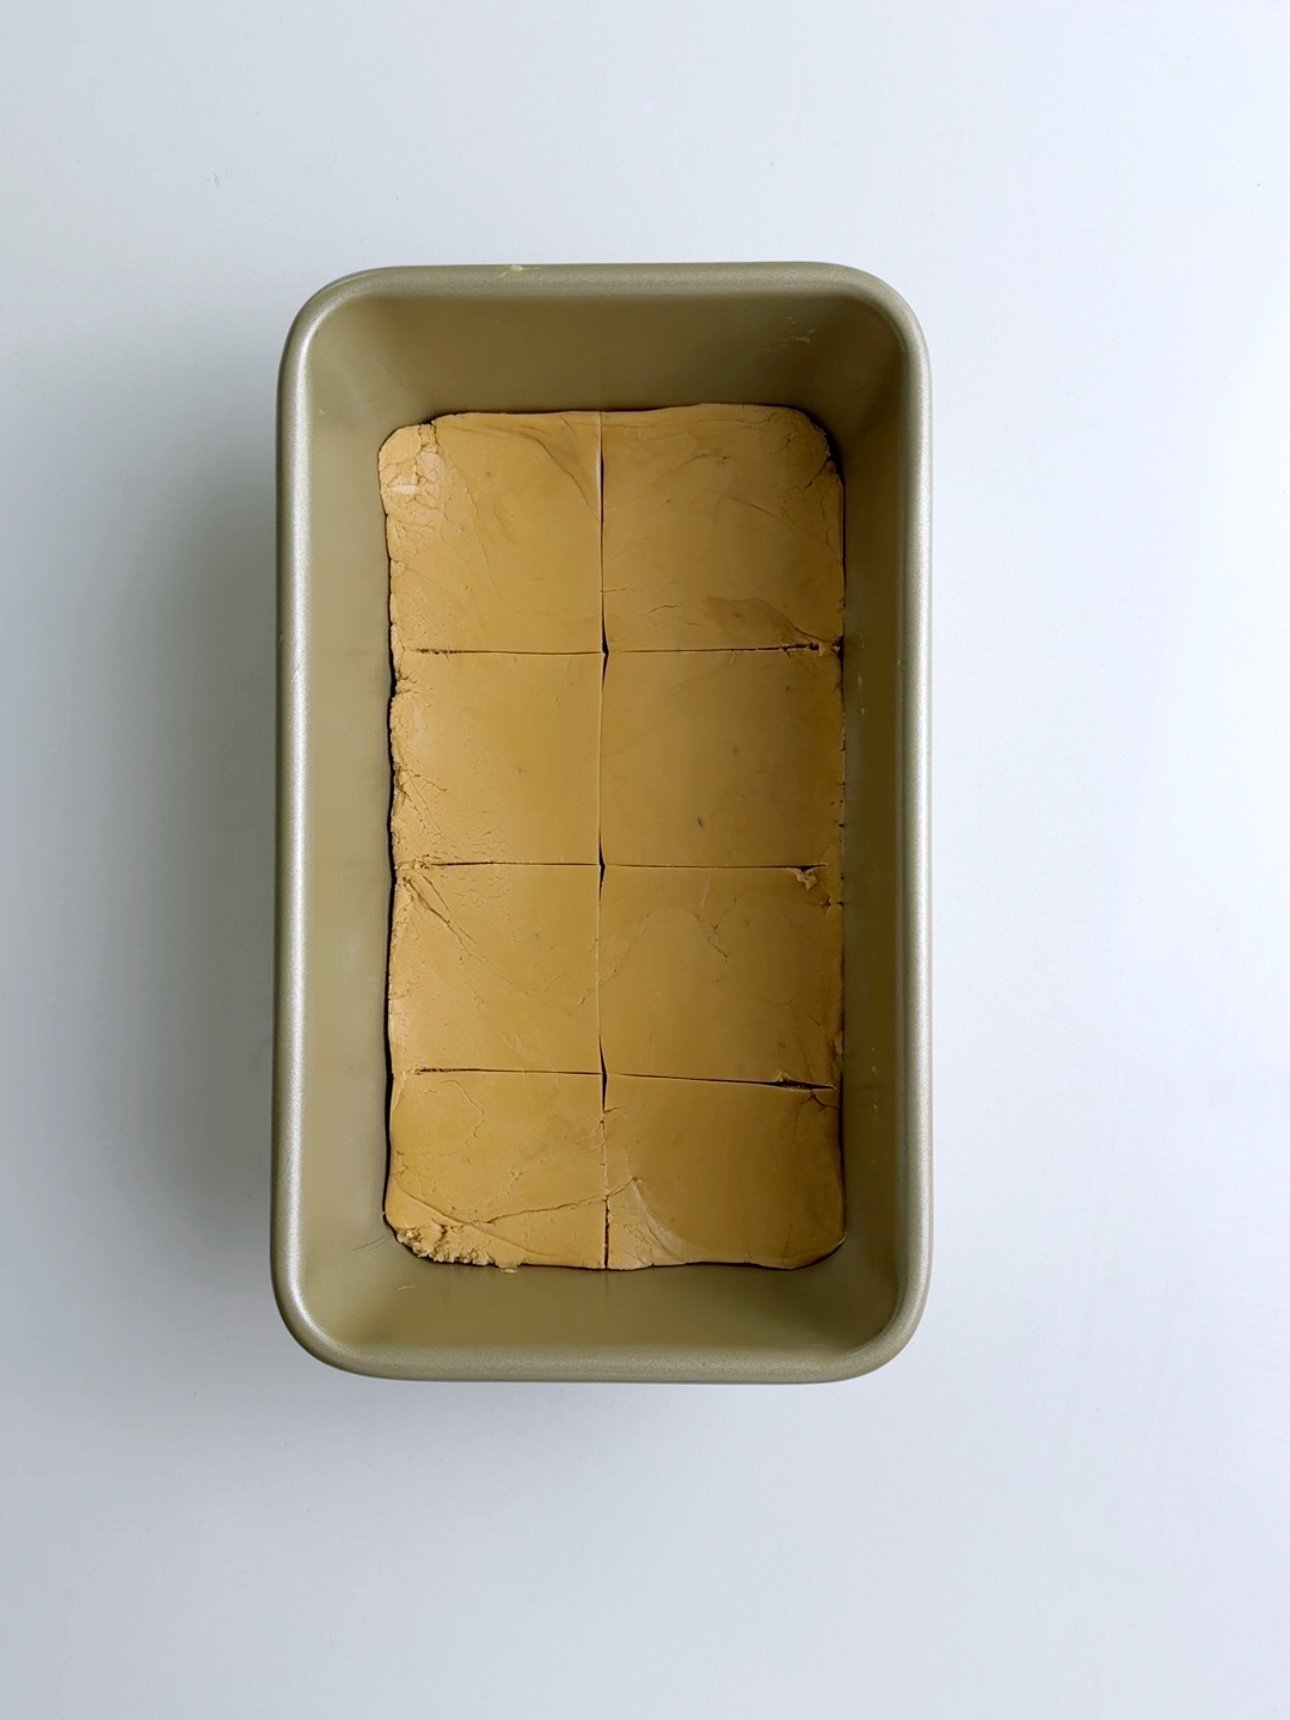
After the fudge has cooled for about 15 minutes, cut it into your desired pieces then allow the fudge to cool completely before removing from the pan and separating. You can also pour your fudge into a tray lined with parchment paper.
Vanilla Fudge Recipe Substitutions & Variations
- Fun Add-Ins. After pouring the fudge, consider adding walnuts, pecans, cherries, marshmallows, sprinkles, or swirls of caramel for additional flavor. Some Guyanese people add peanuts but I don’t prefer them.
- Flavor. Instead of vanilla extract, you can use lemon extract or almond extract.
- Vanilla Fudge Without Condensed Milk. Use light corn syrup and heavy cream as an alternative to condensed and evaporated milk.
Equipment
- Large Saucepan: Use one large enough that when the fudge starts boiling, it won’t spill out or over!
- Wooden spoon or a silicone spoon: To mix the fudge.
- Candy thermometer: I get it. Your grandmother didn’t use a candy thermometer but even the most skilled candy makers use thermometers. Eye balling it as a beginner, you are bound to make mistakes. These are cheap and worth the investment.
- Rubber spatula: This is used to smooth the fudge out.
How to Store & Freeze Homemade Fudge
This vanilla fudge recipe makes about 16 pieces. Wrap leftovers in wax paper then store it in an airtight container in the fridge for up to 2 weeks. For longer storage, freeze it for up to 3 months.
Tips for Perfect Vanilla Fudge
- Do not stir before the mixture boils. Stirring too early can cause unwanted crystallization, which affects the final texture.
- Use a candy thermometer if you can. Reaching the soft ball stage at 235°F is what helps the fudge set properly.
- Watch for visual cues. As the mixture thickens, you should see it reducing and pulling slightly from the sides of the pan.
- Stir consistently once it thickens. This prevents the fudge from sticking or burning, especially as it gets heavier.
- Reduce the heat if needed. If the mixture starts to burn before reaching temperature, lower the heat and continue cooking.
- Beat the fudge after cooking. This step is what gives the fudge its structure and helps it firm up as it cools.
- Do not rush the cooling process. Let the fudge rest before beating and fully set before cutting to get clean slices.
How to tell when Guyanese Vanilla Fudge is ready?
Knowing when the fudge is ready will make the difference in making fudge or making toffee. Typically, you will know you are getting close when the fudge mixture reduces to half of the amount.
Do you know how to test the soft ball stage? You have reached soft ball stage when the hot fudge mixture is dropped into cold water and looks a lot like toffee (it is soft and holds together in the water without making the water milky or cloudy). For more specific information on testing for soft ball check out this post.
The best way to determine if vanilla fudge is done is to use a candy thermometer. I know, I know you want to be like your grandmother and aunties who could eyeball fudge and know when it is ready. So do I.
But until then I use my trusty candy thermometer. And when it hits that sweet spot of 235-238°F I know I will have perfect fudge. Click here to buy a candy thermometer, you won’t regret it!

Frequently Asked Question
The secret to making good fudge is cooking the mixture to the right temperature and then beating it at the right time so it sets properly. Paying attention to both temperature and texture, rather than rushing the process, is what gives fudge its smooth, firm consistency.
This vanilla fudge recipe is made with milk, sugar, butter, and vanilla extract.
Yes, but you will need to rely on visual cues like thickness and how the mixture behaves as it cooks. The fudge should reduce, thicken, and start pulling slightly from the sides of the pan before you remove it from the heat.
Common mistakes include not cooking the mixture long enough, which prevents it from setting, or overheating it, which can cause burning and a bitter taste. Stirring at the wrong stages or skipping the beating step can also affect the final texture, leaving the fudge too soft or uneven.
If the fudge is too hard, it may have been overcooked or over-stirred. You may be able to fix it by melting the fudge back down over low heat and adding water.

Guyanese Vanilla Fudge Recipe
Equipment
- Large Saucepan
- Wooden Spoon or a Silicone Spoon
- Candy Thermometer
- Rubber Spatula
Ingredients
- 12 oz Evaporated Milk
- 14 oz Sweetened Condensed Milk
- 1 1/2 cups Brown Sugar
- ¾ cup Water
- 2 tbsp Butter
- 1 tsp Vanilla Extract
Instructions
- Combine the evaporated milk, the sweetened condensed milk, brown sugar and water in a large and deep saucepan and mix until all of the sugar dissolves. Then add the saucepan to medium heat and bring to a slow boil. Do not stir before the mixture boils.
- When the mixture begins to boil, continue cooking stirring occasionally to avoid burning. Once the mixture thickens and reduces by half (after about 15 minutes of boiling), stir continuously in a figure 8 going around the sides and down the middle to ensure the fudge is not sticking to the bottom and the sides.
- Continue to boil until the fudge comes to the soft ball stage (235 °F) this will take about 30 minutes. hen remove the fudge from heat, add the butter and vanilla extract and mix in.
- Let the cool for 5 minutes then beat until the mixture becomes thick (about 10 mintues of mixing). You can do this with a wooden spoon, or transfer the fudge to your stand mixer and beat it on speed 2 with the paddle attachment until it thickens (about 3 minutes). If using a stand mixer let the fudge cool for 10 minutes before beating.
- Spread the fudge out in a greased square baking dish and let cool. When it is almost cool, cut into squares or shape as needed.
- Enjoy when completely cooled.
Notes
Nutrition
The information listed in the recipe card is an estimate provided by an online nutrition tool. The tool evaluates ingredient names and amounts then makes calculations based on the number of servings listed for the recipe. It is provided as a general guideline and not as a precise calculation. For precise nutrition information please feel free to add the ingredients to your preferred nutrition calculator or consult a doctor or licensed nutritionist.
 Paynoose
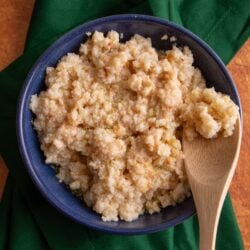
 Guyanese Soft Mithai
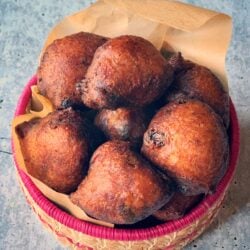 Gluten Free Guyanese Gulgula
 Guyanese Portuguese Style Pancakes – Malasadas
Maya Says
I have tried many many fudge recipes over the years and have failed miserably until this very recipe! At the end I thought I had failed yet again, but it was an absolute success and so delicious! Thank you!!!!!
Valencia DE wet Says
I Love fudge. My grandma allso give me her Receipe. I ‘ll try your’s. Thank you
VALENCIA
Vimla Says
Why is mine so soft? I beat in the stand mixer. It took a long time to change consistency. I did cut a cup of sugar off the recipe. I am a diabetic.
Althea Brown Says
You changed the recipe. Also you may have needed to cook it longer. Sorry this happened. I’ve only ever made it using these exact measurements.
Denise Says
Hi Althea,
Thanks for this fudge recipe at first l wasn’t sure about adding water and l find when adding the condensed milk it comes out more silkier without it. This is my 5th time making Guyanese style fudge came out pretty good other than my first try. Lol
Thanks for the recipes from home.
My kids they are grown and now keeps asking me to make almost all of these traditional foods for themselves and friends. ????
Althea Brown Says
Thanks for trying my recipe. It was handed down from my aunt and this is how she makes it. I haven’t tried it without the water but will give it a try next time!
Denise Says
Thank you for your reply. Lol I meant I did add water along with the condensed milk, when I made it without water and the condensed milk it was hard. Adding the condensed milk along with the beating makes it silky melt in your mouth way.
So, thanks, this is my favorite way of making fudge now, a big shoutout to your aunt for her recipe.
Denise
Kathy Says
I know you said it may take several tries to get it right, but mine came our grainy. Can you give me some advice as to what I may have don’t wrong? Thanks.
Farrah Says
Oh, I just had to come on here and tell you THANK YOU! After years of unsuccessful fudge with non dairy substitutes,I have made my first ever successful batch of vegan fudge using your perfect recipe! You are the QUEEN of Guyanese cuisine! THANK YOU THANK YOU THANK YOU!!!
Althea Brown Says
Yay! So glad it worked
Dolly Says
mine came out very sticky
Sonia singh Says
this is the best fudge recipe ever. I made it last week and had to toss it. it came out hard as a rock. I could have killed someone with it. it was not edible. This recipe when followed, from the time I mixed everything in the bowl and the sugar melted I knew it would work as it should. Thank you so much I wish I could post a pic but its on my fb page
Angela Jennings Says
Ok thAnks,
Would tHat thEn be 2 cans if evaPorated milk?
Do you by chance have a RECIPE for CHOCOLATE fudge ?
On another note your cheeSe rolls are amazing.
Thank you for helping me rekindle my childhood
Angela Says
Good evening,
thank you so much for this RECIPE. My dad was from guyana and we made fudge as children. This brought back alot of memories.
Two questions:
It was somewhat sweeter than i would like . Would i adjust the sugar or the condensed milk?
If i wanted chocolate fudge how much coco would i add?
Althea Brown Says
Hi there you can swap the condensed milk for a can of evaporated milk for less sugar. I’m not sure how much cocoa you should add as I haven’t used this recipe to make chocolate fudge
Terica Says
Wow ????
I Tried Making It And It Came Out Just Perfect ????????
Thank You For The Recipe ????
It’s Actually My First Time Cooking ????
Althea Brown Says
Yea! Glad it worked.