

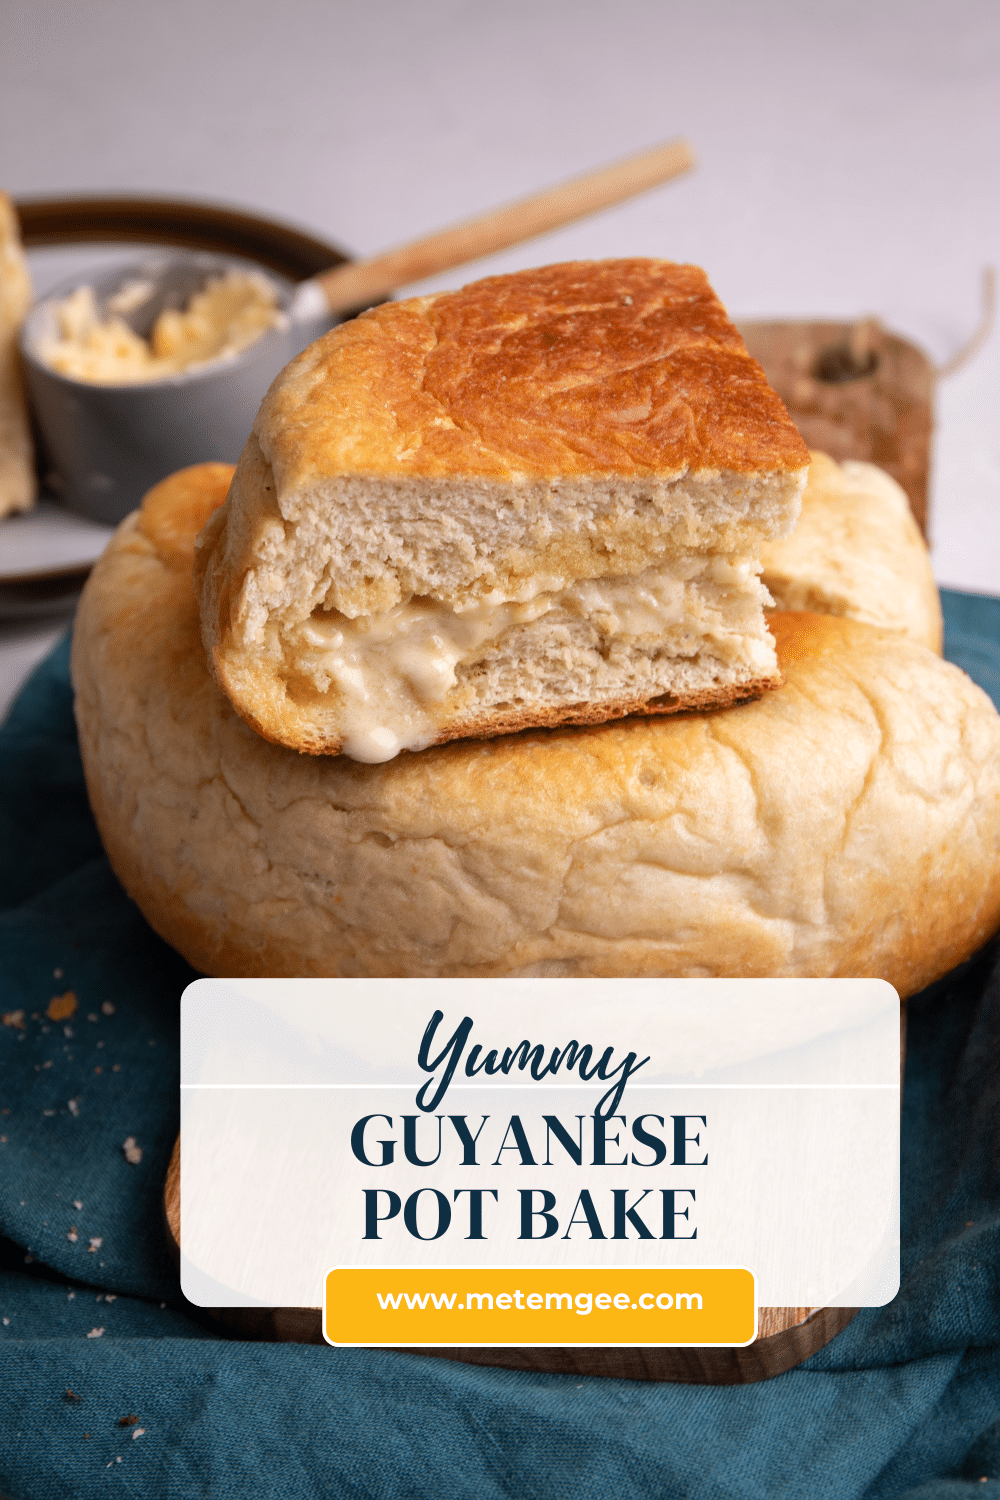
Guyanese Pot bake takes time. It is not the kind of recipe you can just whip up. The dough has to rest. Twice! Then slow cook in a heavy pot. So please attempt this recipe on a chill day when you just want a bit of nostalgia and some bread making craft. I promise you, it will be worth it.
Bread in a Pot
Although this is called pot bake, it truly is like making bread, but in a pot on the stove. Why would anyone want to cook bread on the stovetop? This is a tradition passed on from when Guyanese home cooks and bakers made bread in a dutch oven over a coal pot. During my childhood, people in my community continued to make pot bake by cooking it on the stove top, but the only change was that the coal pot was replaced by a kerosene oil stove.
Why this recipe is important to me.
Pot bake has been part of my family’s traditions for as long as I can remember. My dad was a pork-knocker for most of my childhood. Pork-knockers are independent prospectors who mine for gold and diamond in Guyana’s interiors. He always made pot bake when he returned home. He said that this was the only way to make bread while in “the bush” as Guyana’s interiors are commonly called, and told us stories of his adventures. Sometimes my dad called his pot bake, pot bread and so I use those names interchangeably.
What You Need to Know about Making Pot Bake
- It Takes Time: This recipe is not quick. It takes over 2 hours! So please plan accordingly and don’t rush it. You can also make the dough ahead and refrigerate after the first proof. Then when you are ready to make your pot bake, proof it again.
- You need a heavy pot: I cooked my pot bake in a cast iron dutch oven. You will need a really heavy bottom pot for this recipe and the dutch oven was perfect, because it creates oven like conditions in the pot which allows the bread to cook evenly.My dad used to make his in an old cast iron pressure cooker without the seal and weight (whistle).
- It is Easy: This pot bake recipe is easy to pull together with simple ingredients. It is even easier if you have a stand mixer with a dough hook! There is just a lot of waiting around for the dough to proof. Did I tell you it takes a long time!
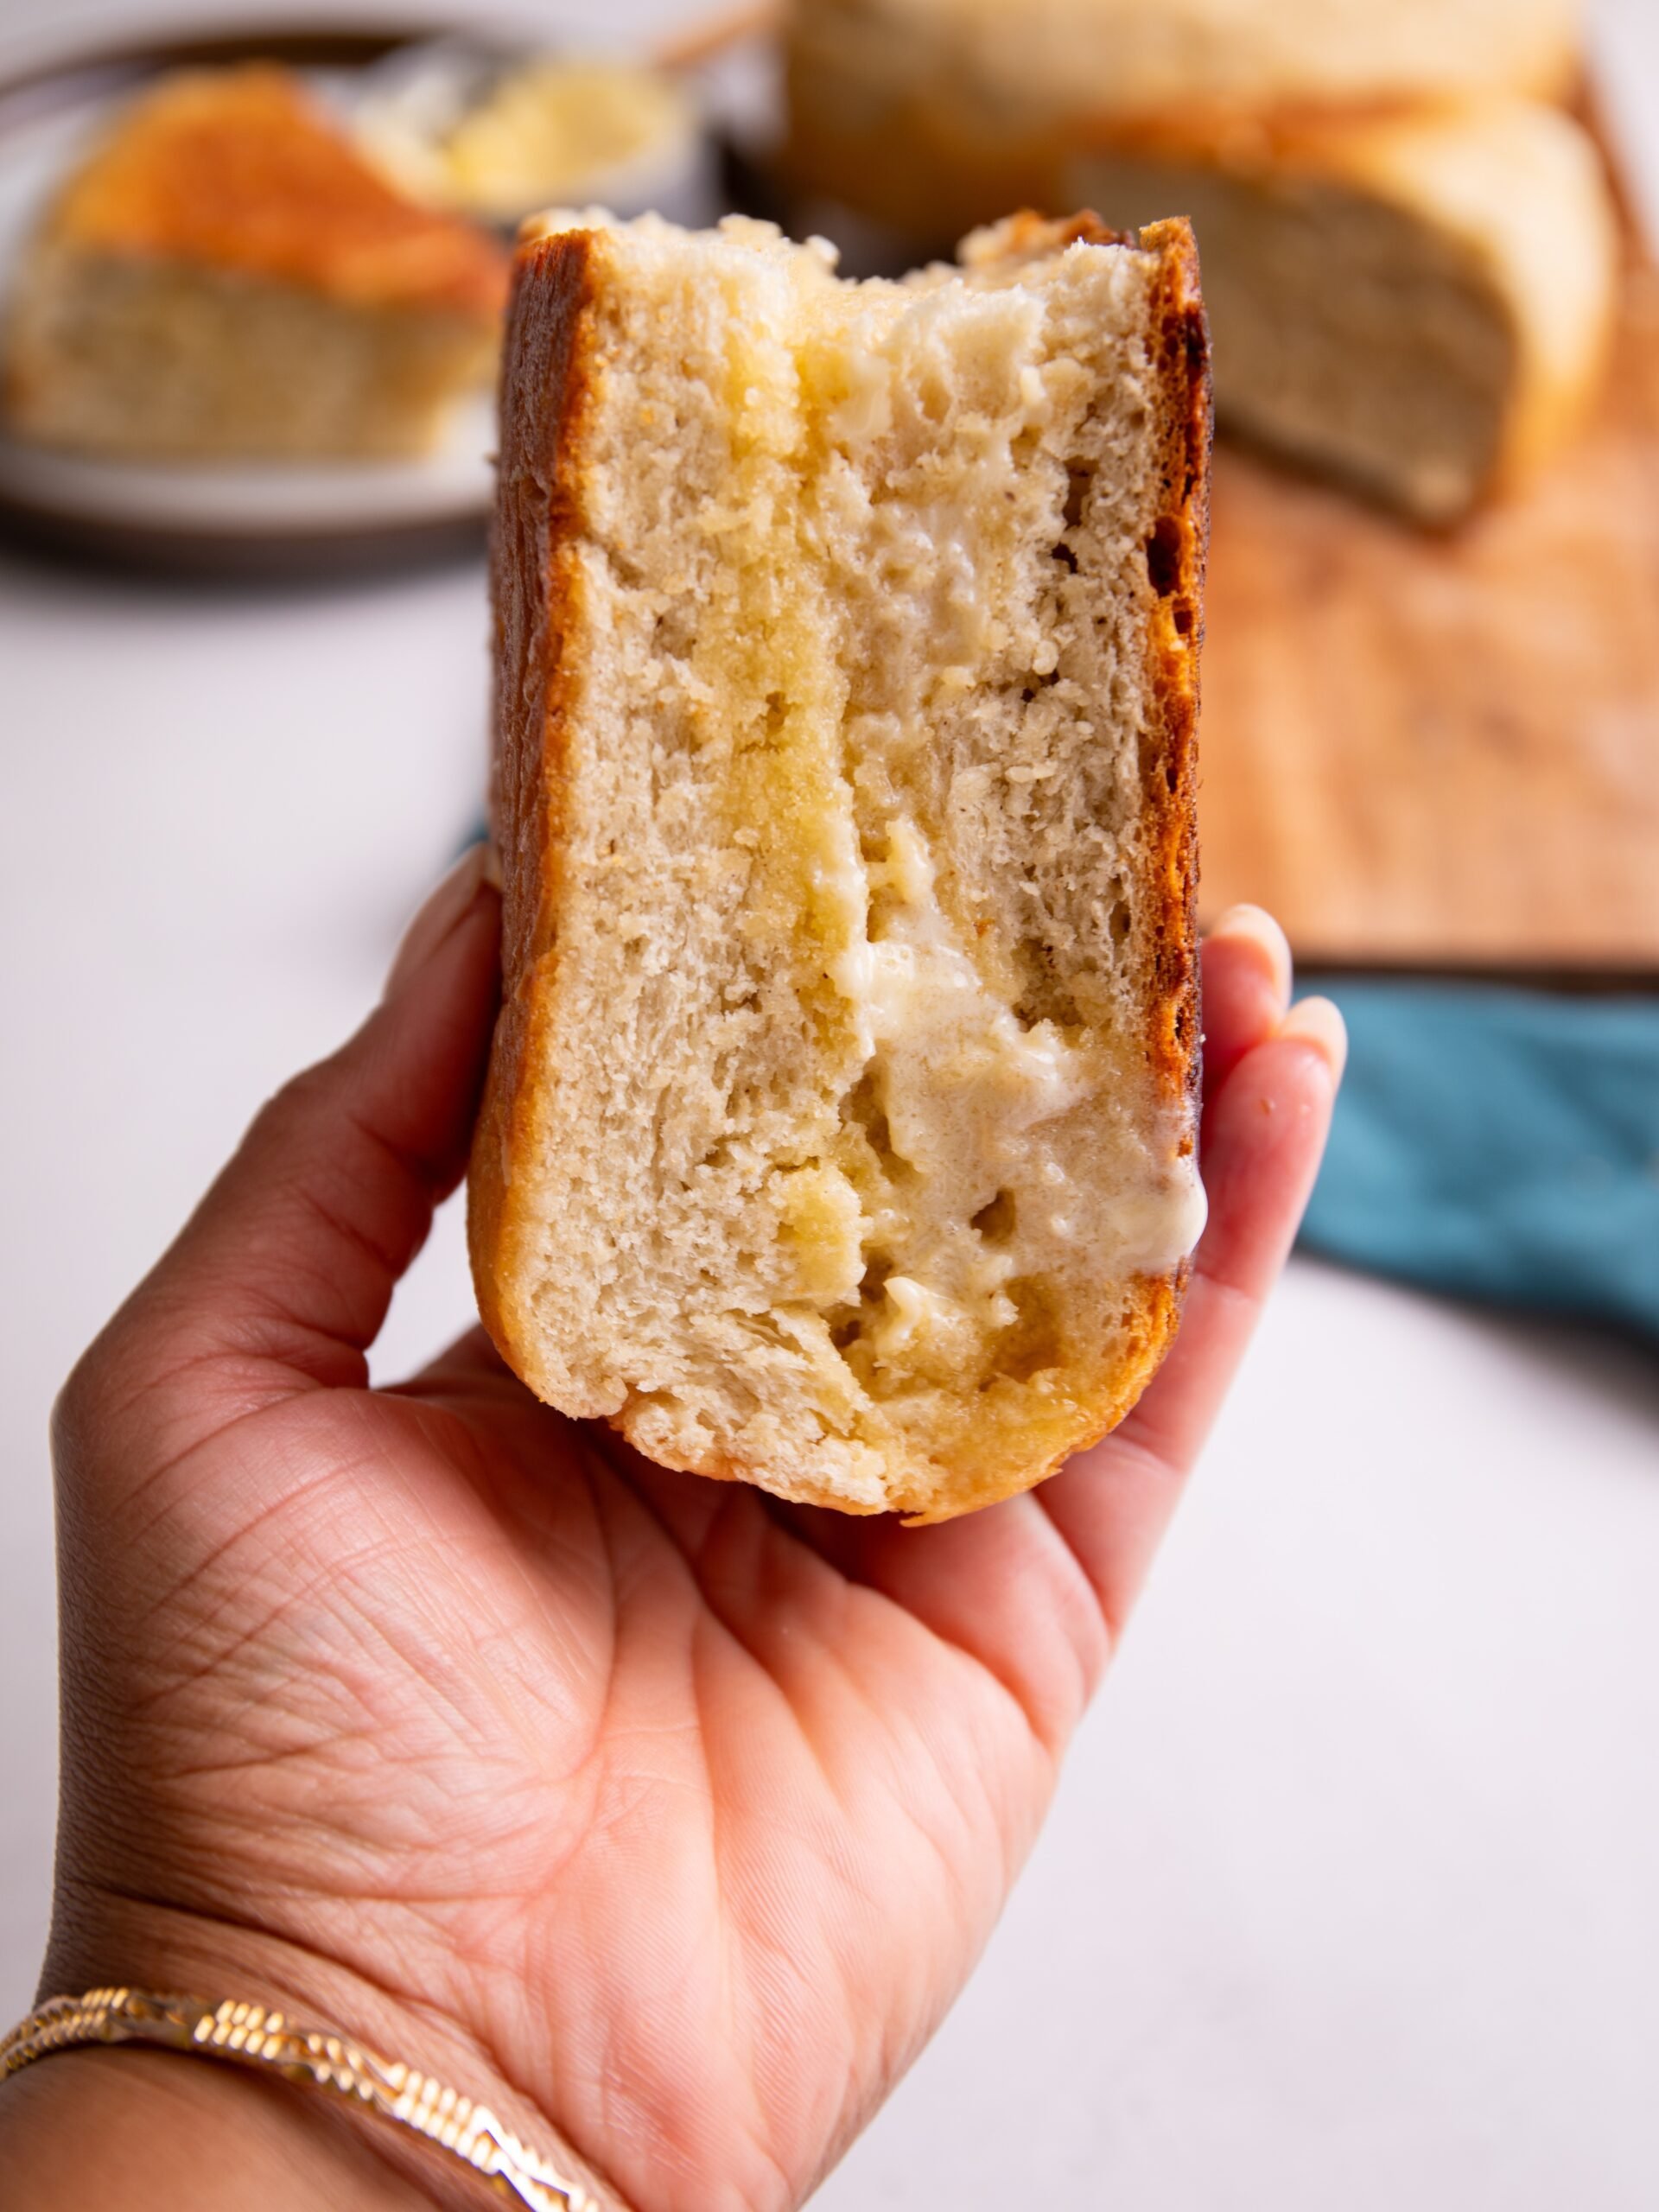
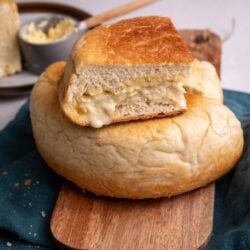
- Pot bake is really Versatile: Pot bake is usually enjoyed hot with some butter or sharp cheddar cheese, but it can also be served as a side for stews. Like delicious Guyanese Chicken Stew.
Ingredients for Guyanese Pot Bake
You only need 5 ingredients for this one pot bread recipe (not including the water).
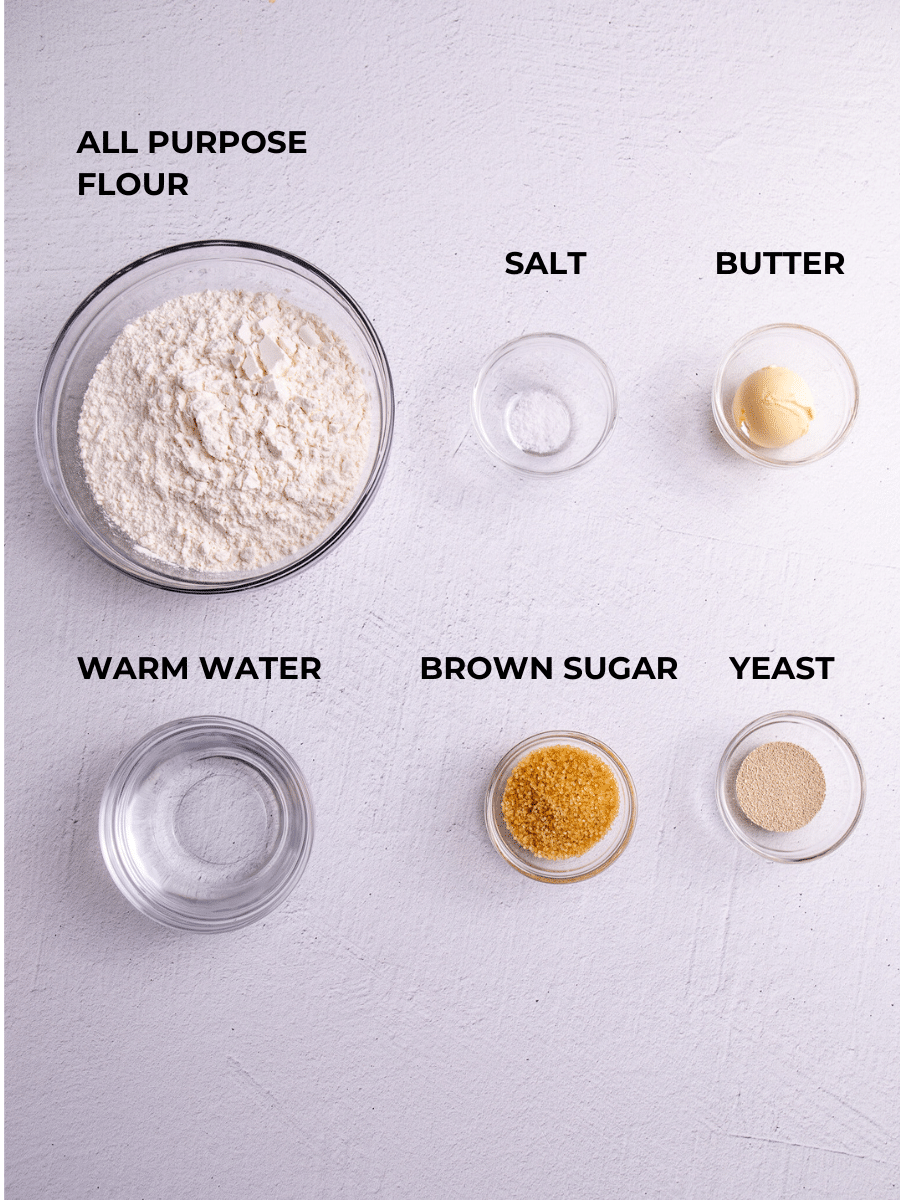
- All Purpose flour: I love how all purpose flour works in this recipe. I also tried it with bread flour and it was a bit dense.
- Instant/Rapid rising yeast: Using instant yeast instead of dry-active yeast, makes this pot bake recipe a little easier to pull together.
- Brown sugar: This activates the yeast and adds a little bit of sweetness to the recipe. I’ve also substituted brown sugar for other non-refined sugar like maple syrup or coconut sugar. If using maple syrup reduce the amount of water by 1/4 cup and dilute the 1/4 cup of maple syrup in the warm water.
- Salt: Just a pinch for balance and taste.
- Fat: You can use butter, non-dairy butter, coconut oil, or shortening.
- Warm water: About 110°F.
- Oil: To grease the pot so that the bake does not stick
See recipe card for quantities.
How to Make Guyanese Pot Bake
Pot bake dough is made similar to other bake dough, except I will be using yeast in this recipe, while for bakes I use baking powder. This recipe is also very similar to making Guyanese plait bread and is also why I often call it pot bread.
Make the dough
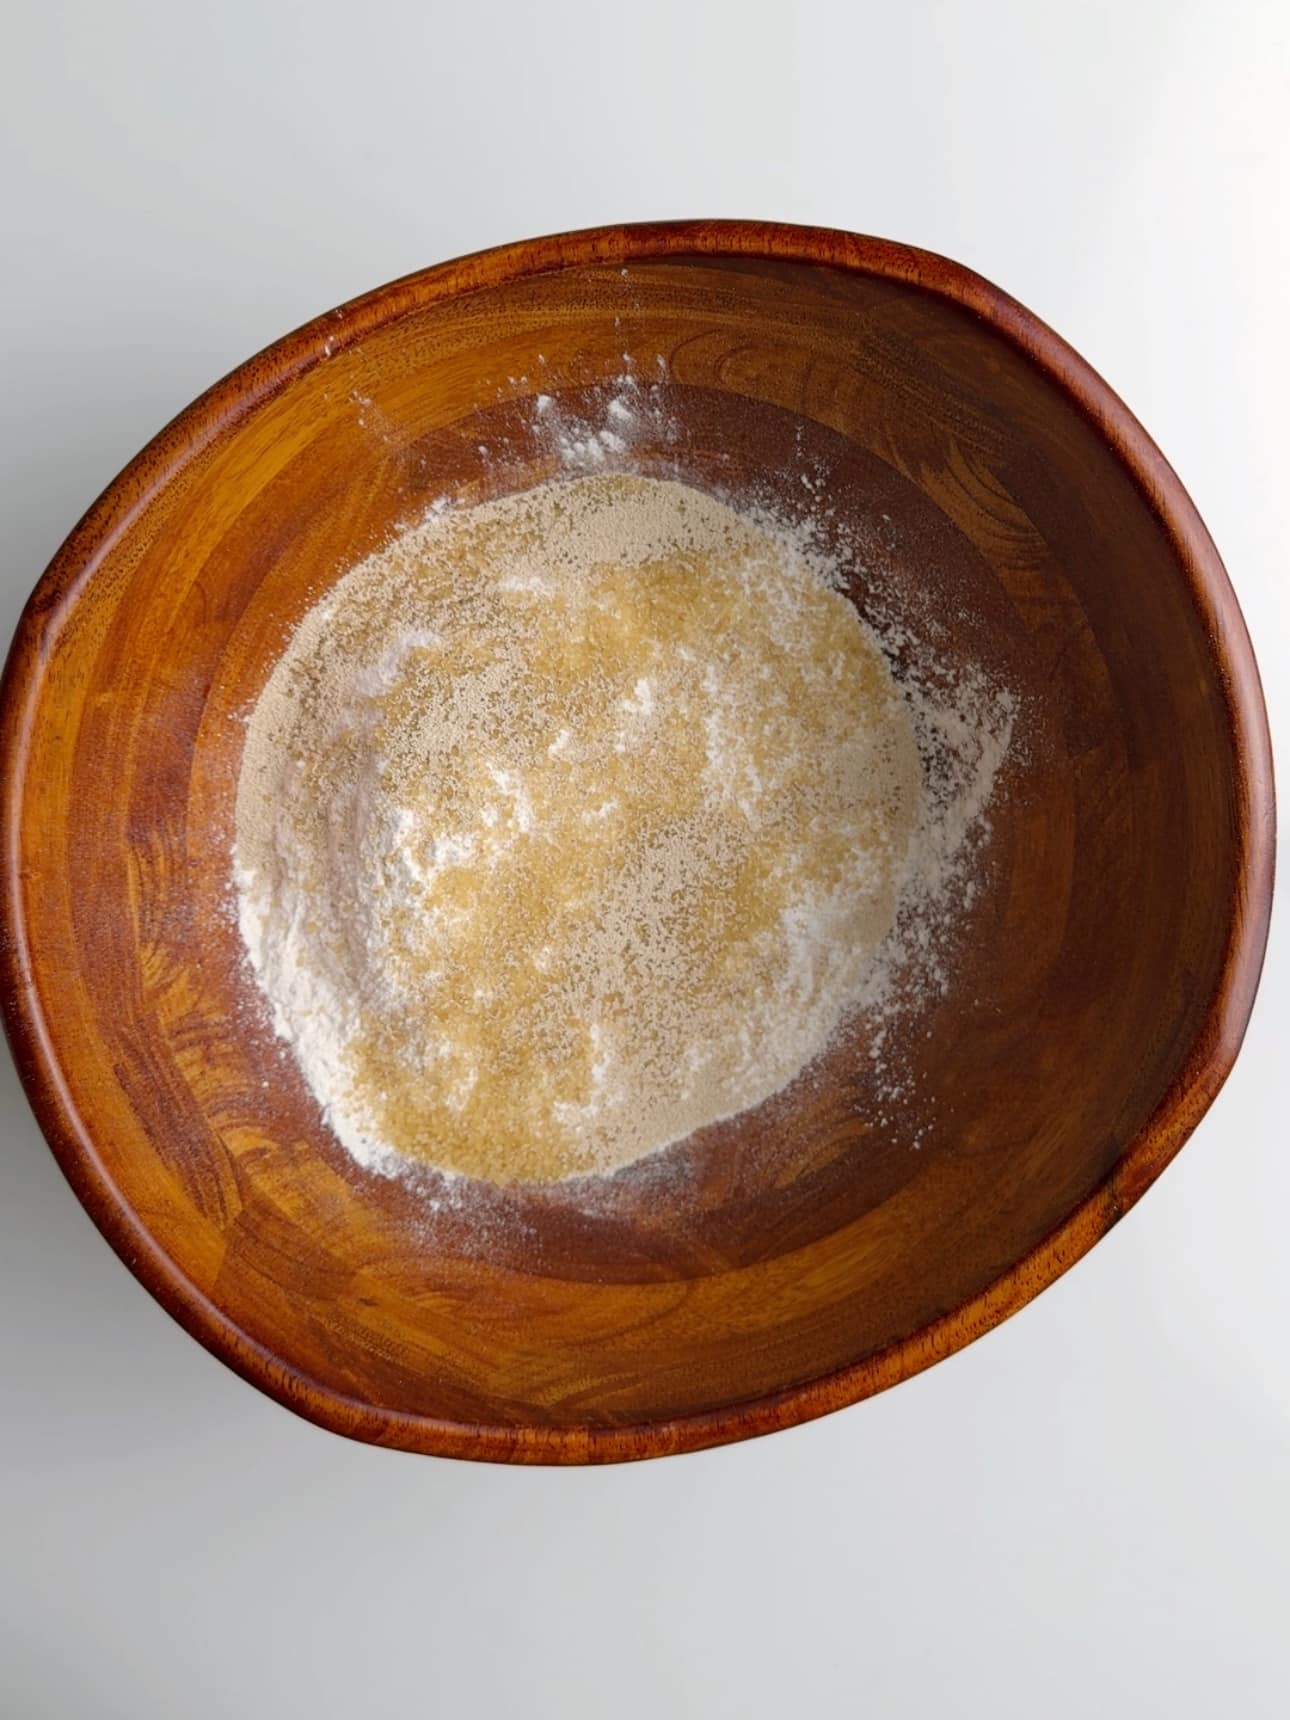
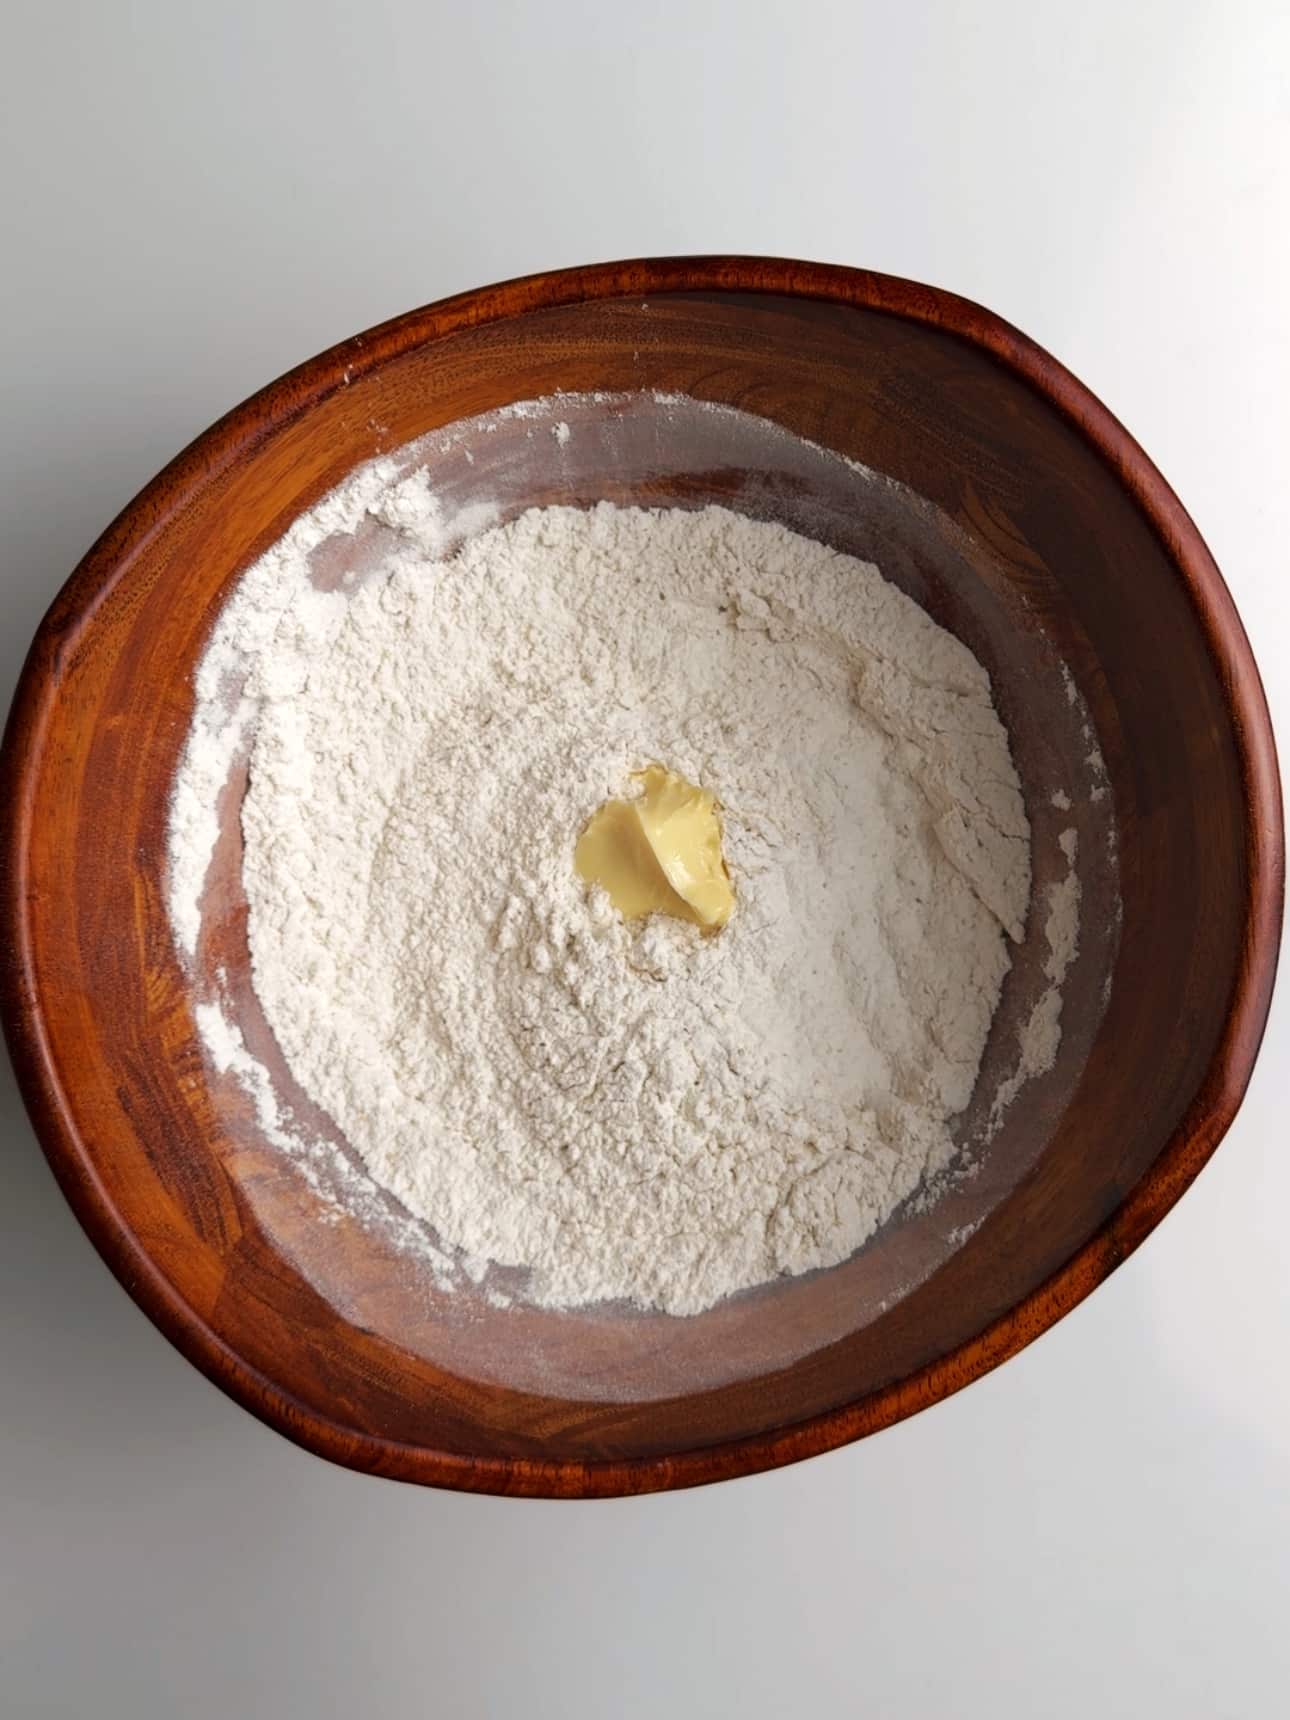
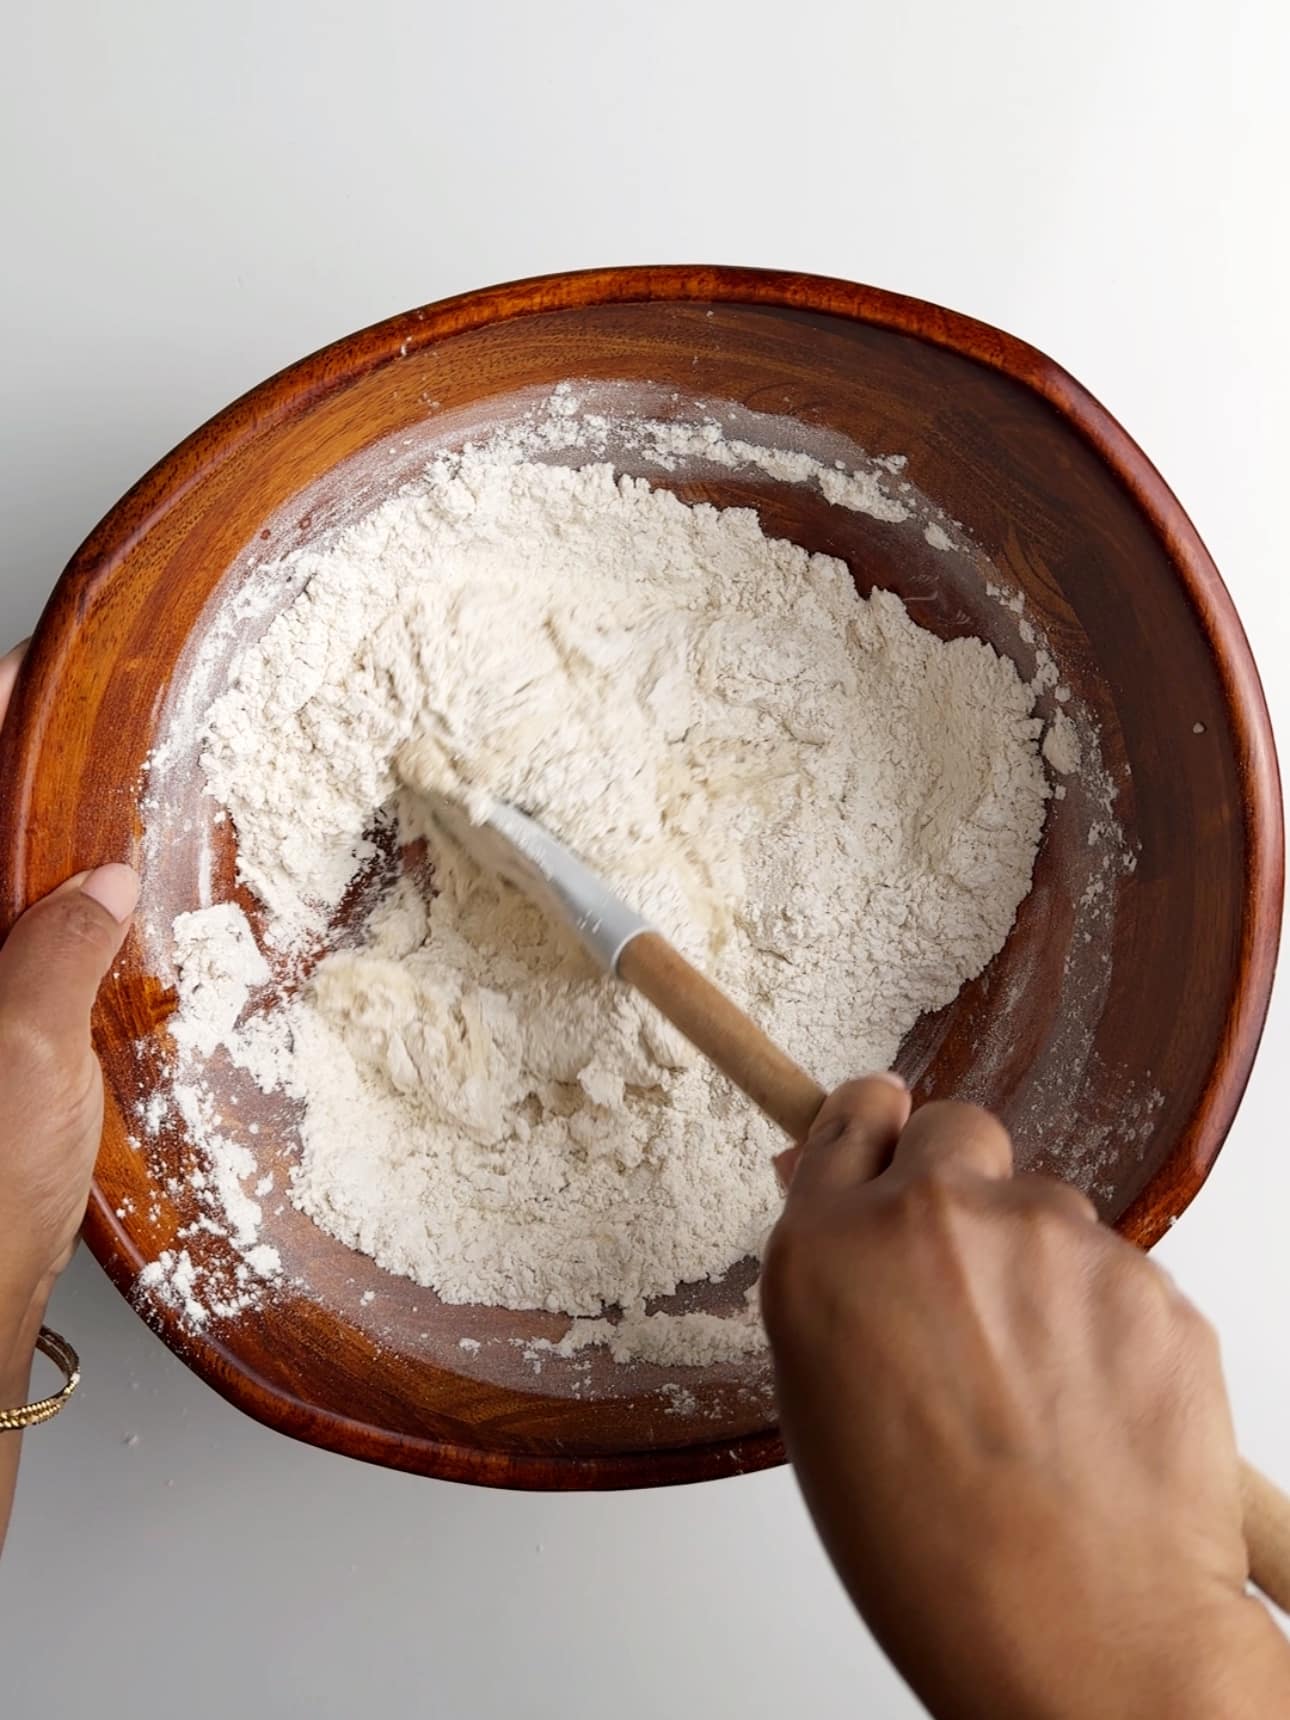
To make the pot bake dough combine the flour, salt, sugar and yeast in a large mixing bowl and mix well. Then rub in the fat. You can do this with your finger tips or with a fork.
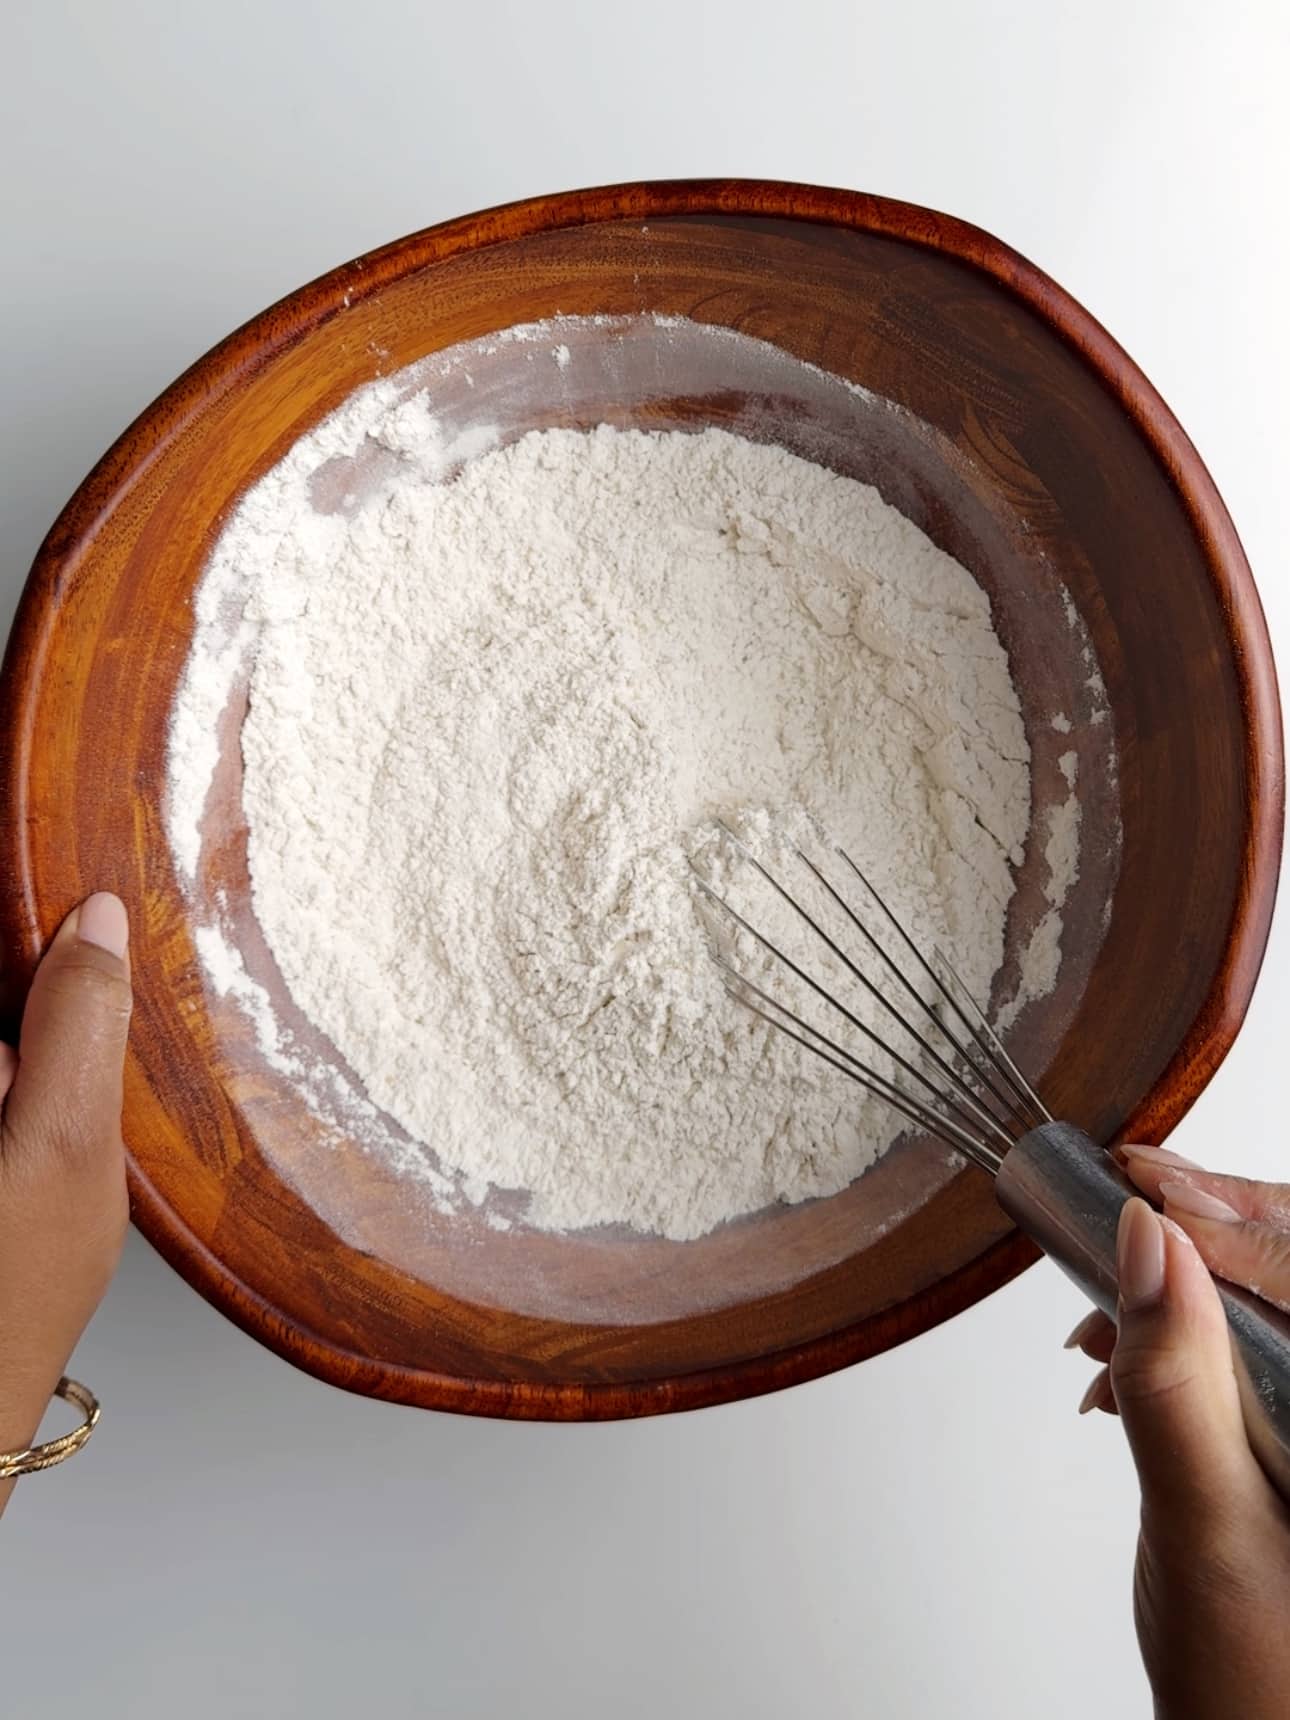
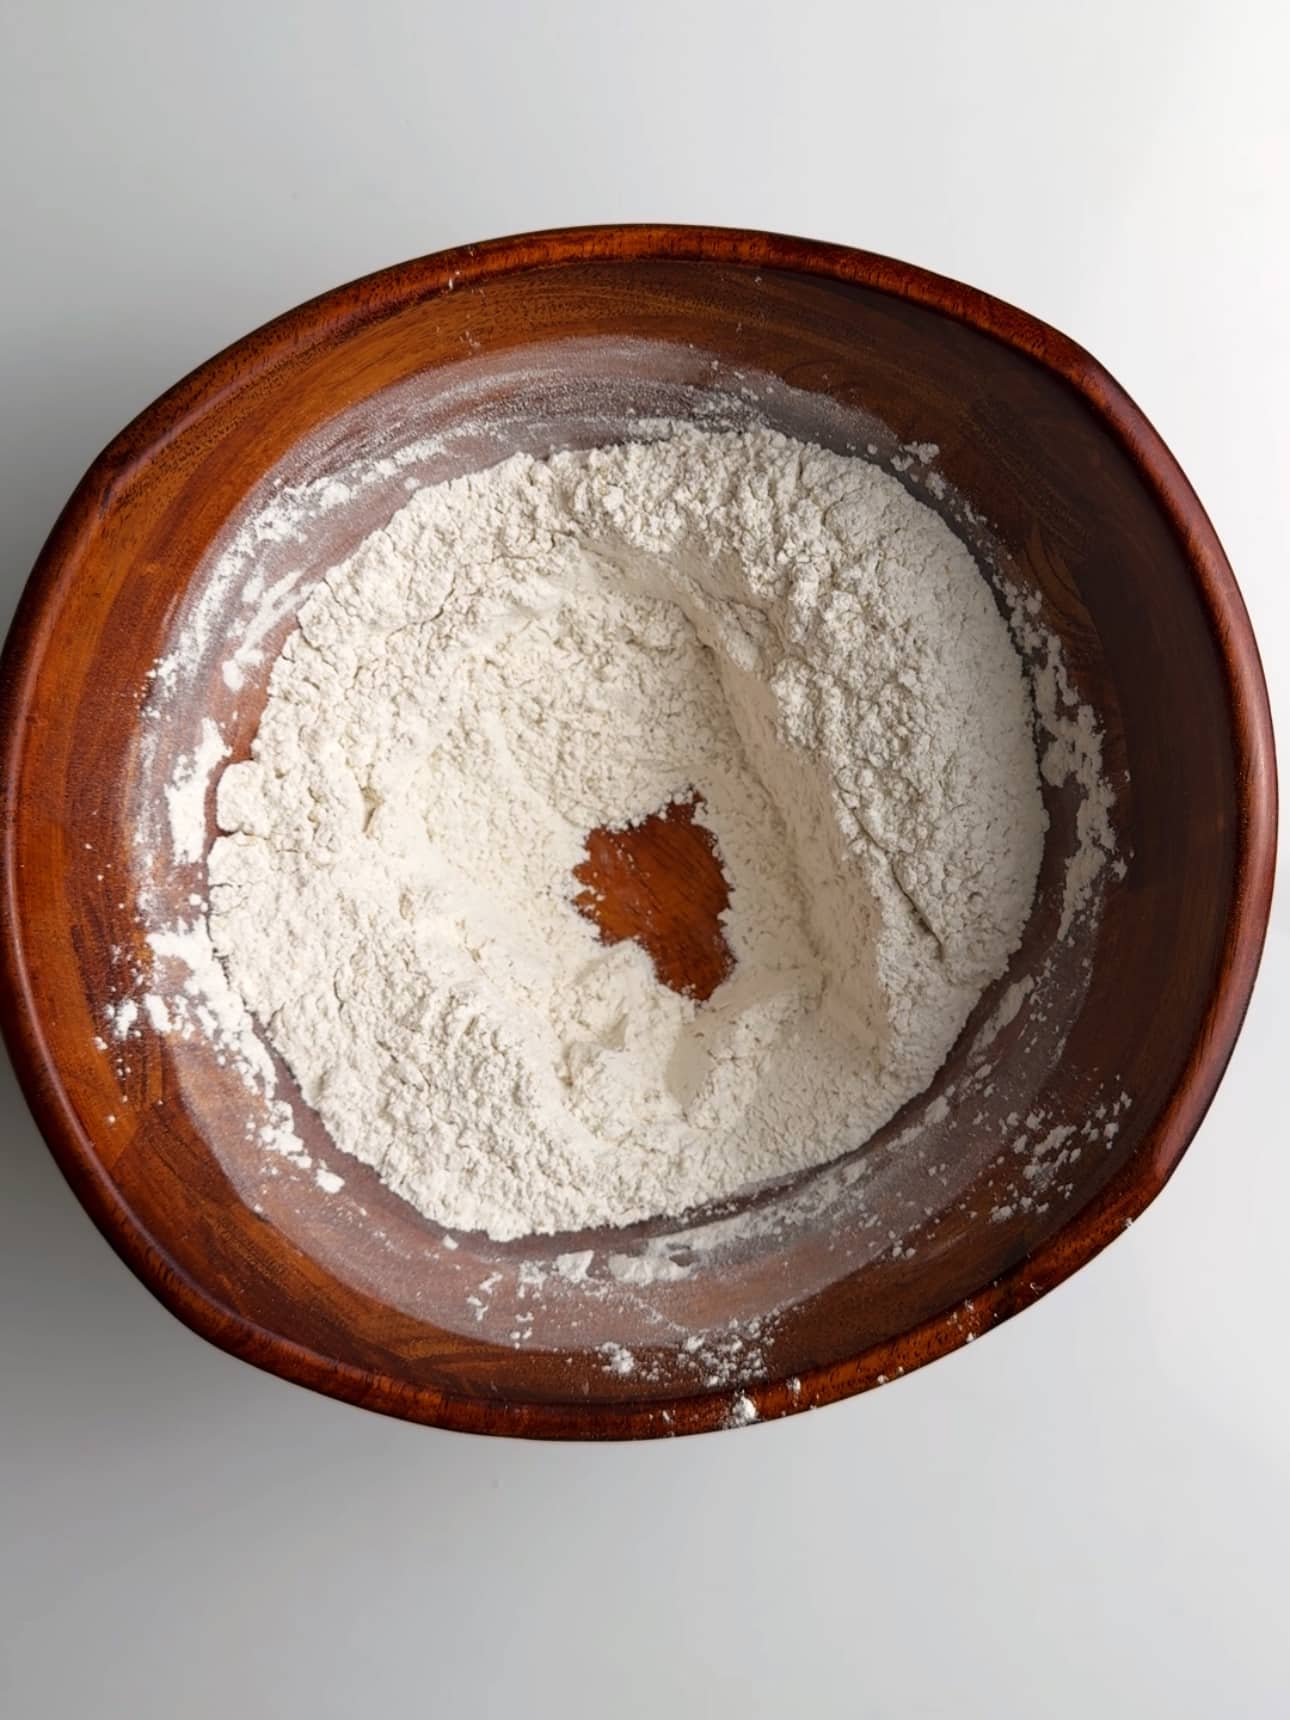
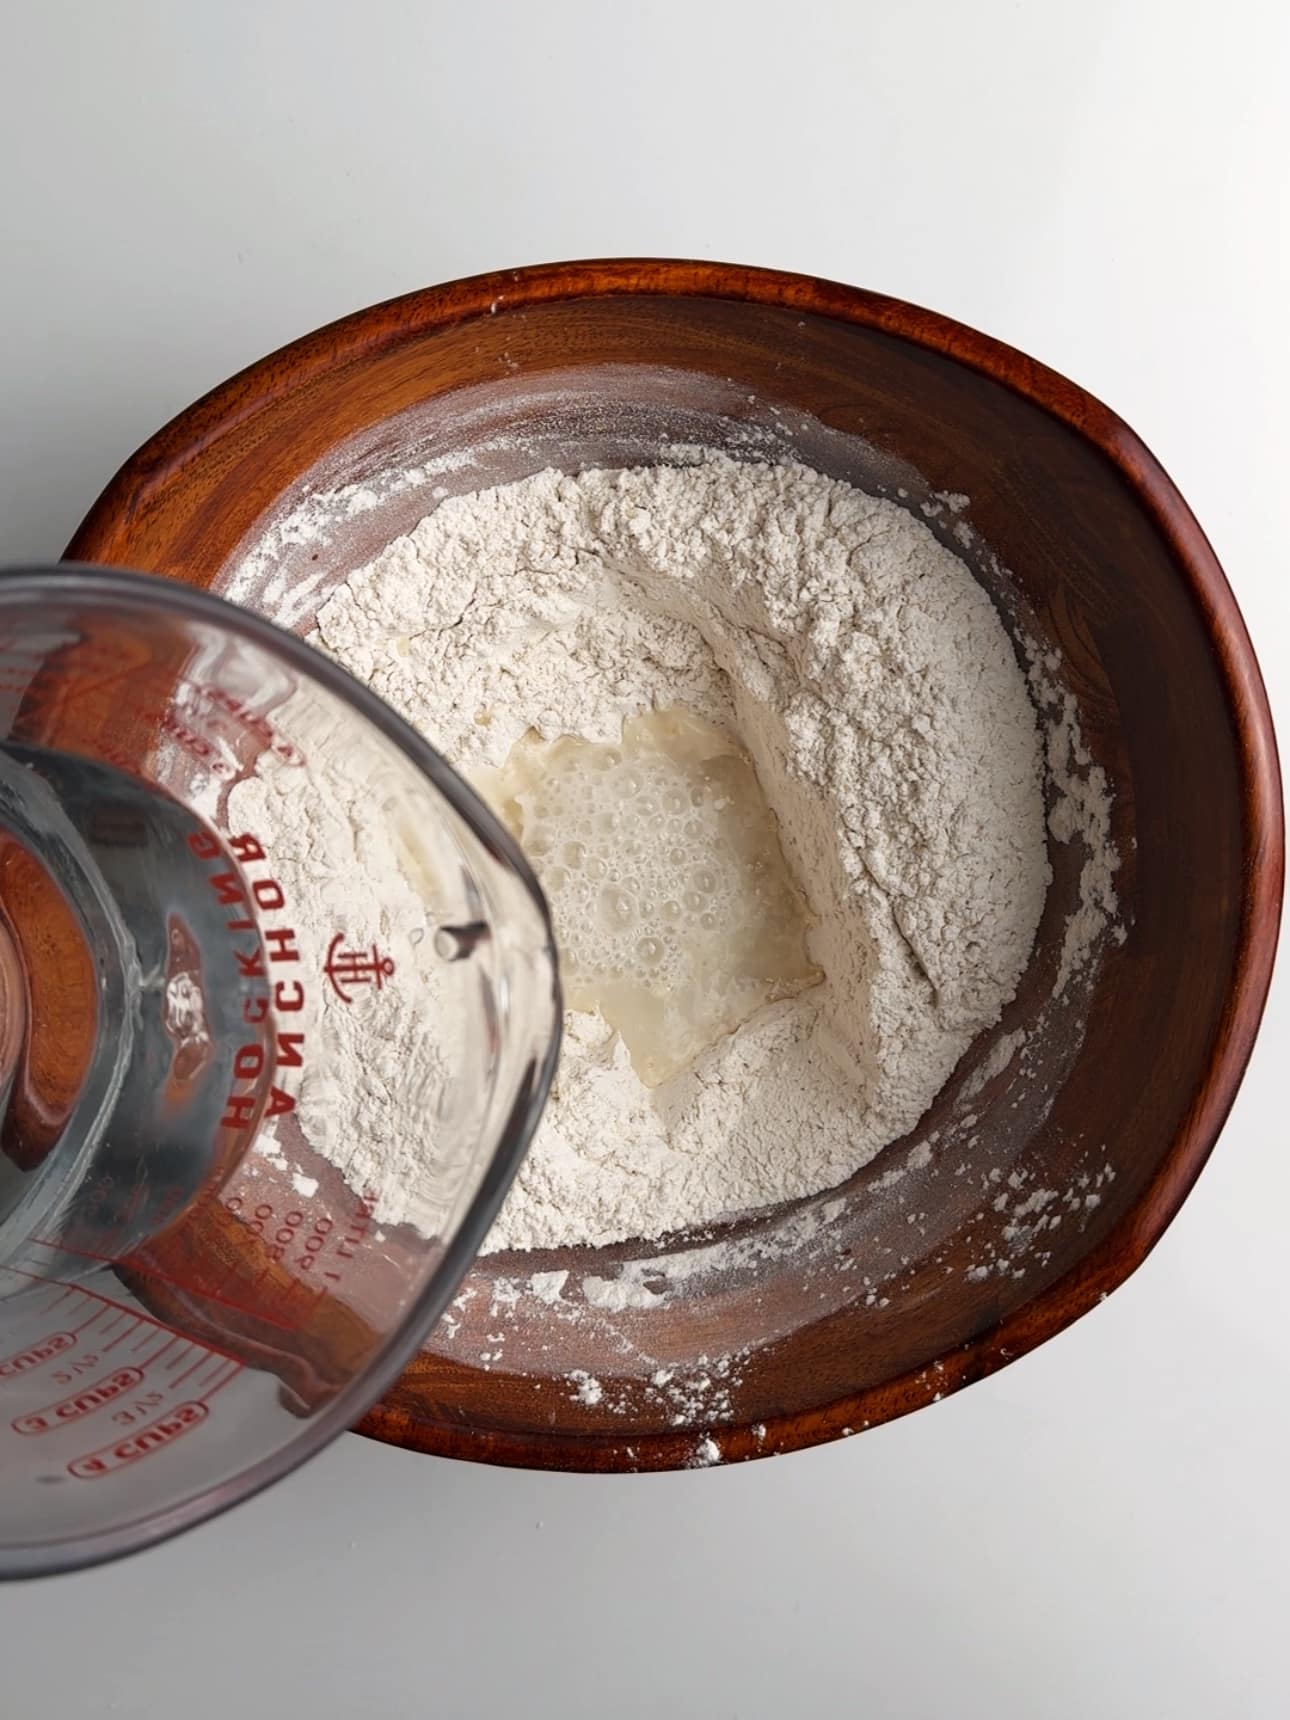
Then make a well in the center of the dry ingredients and pour in the warm water. Then pull the dry ingredients into the water (you can use a whisk for this step) and create a soft batter like consistency.
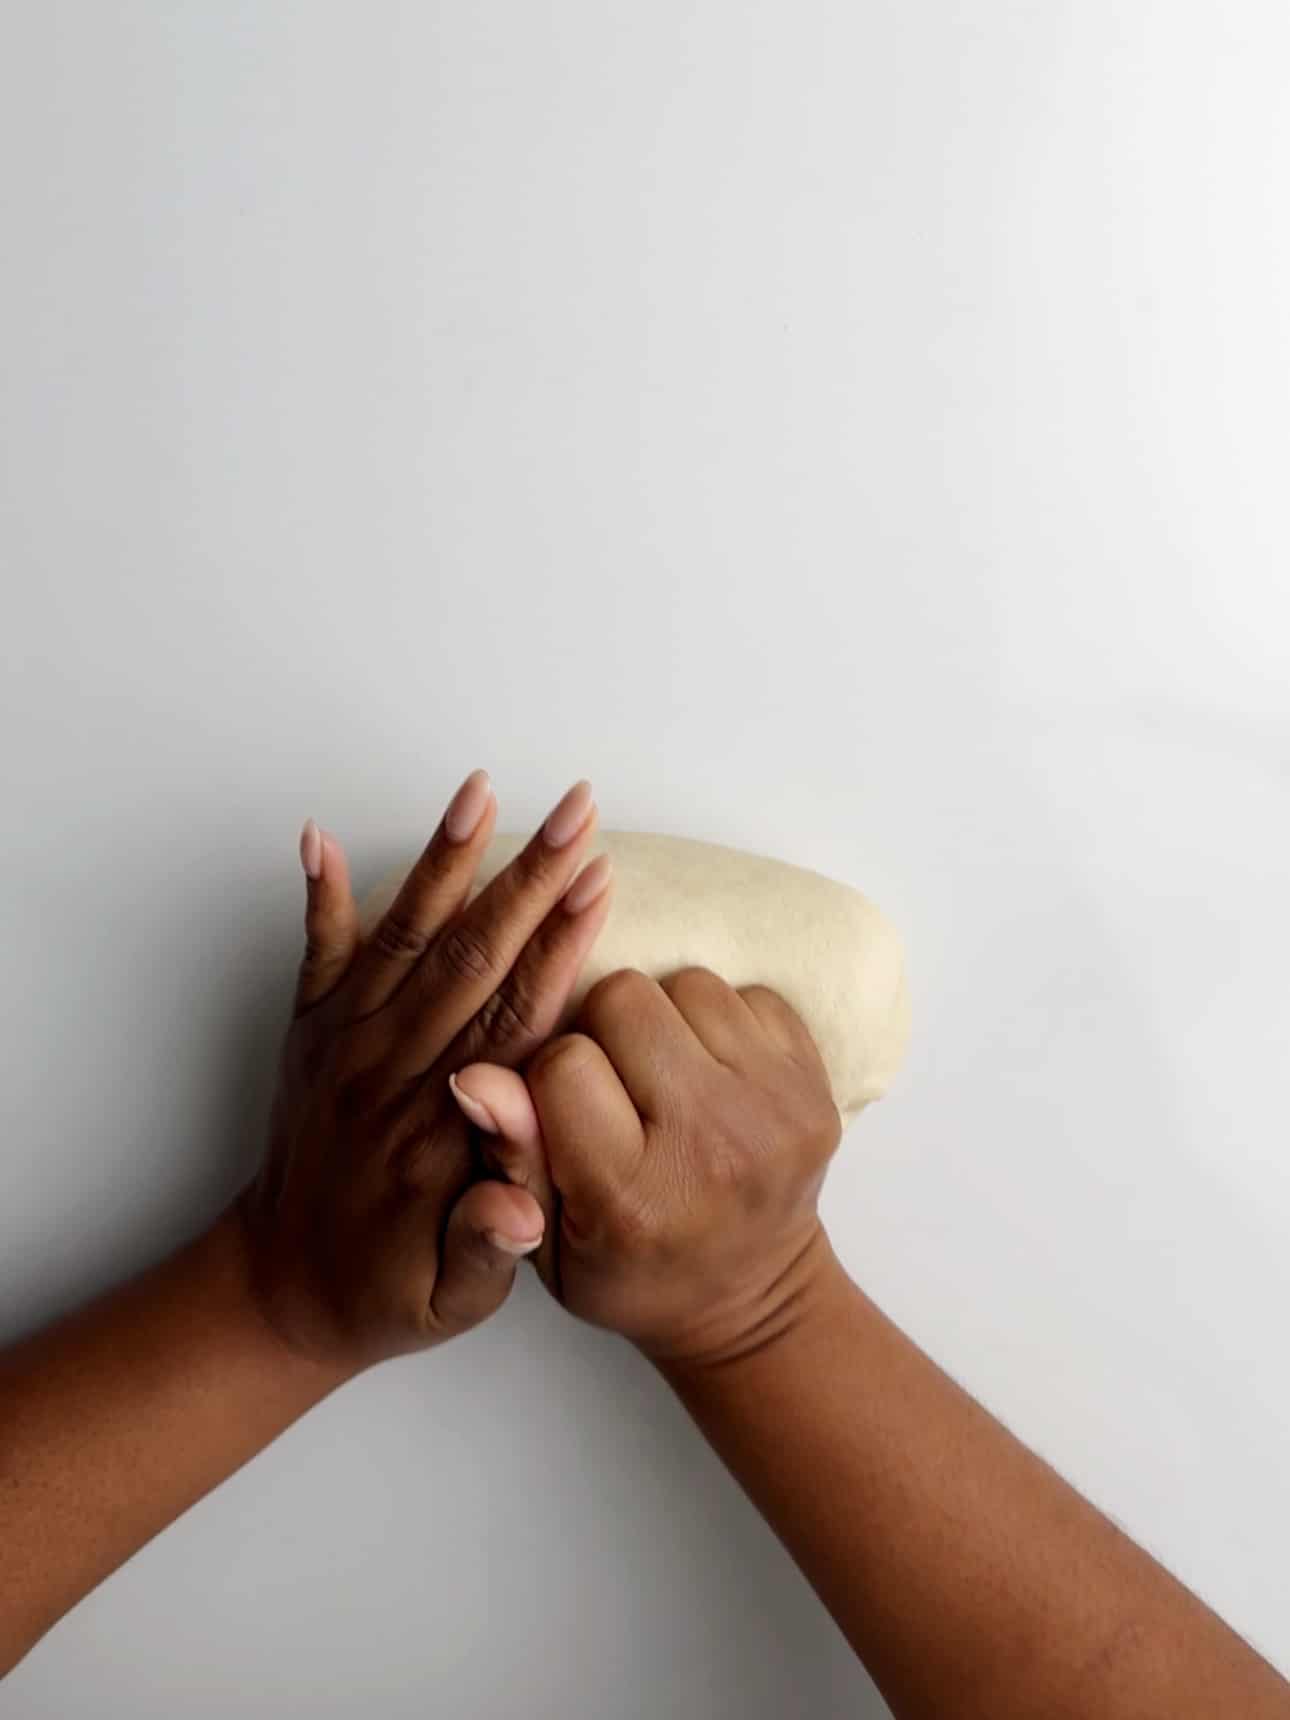
Next use a spatula to combine the dry and wet ingredients, then turn onto a floured surface and knead to make a dough ball. This next step is requires some elbow power. Knead the dough ball until it is smooth (about 10 minutes by hand) or about 3 minutes in a stand mixer.

Proof the Pot Bake Dough
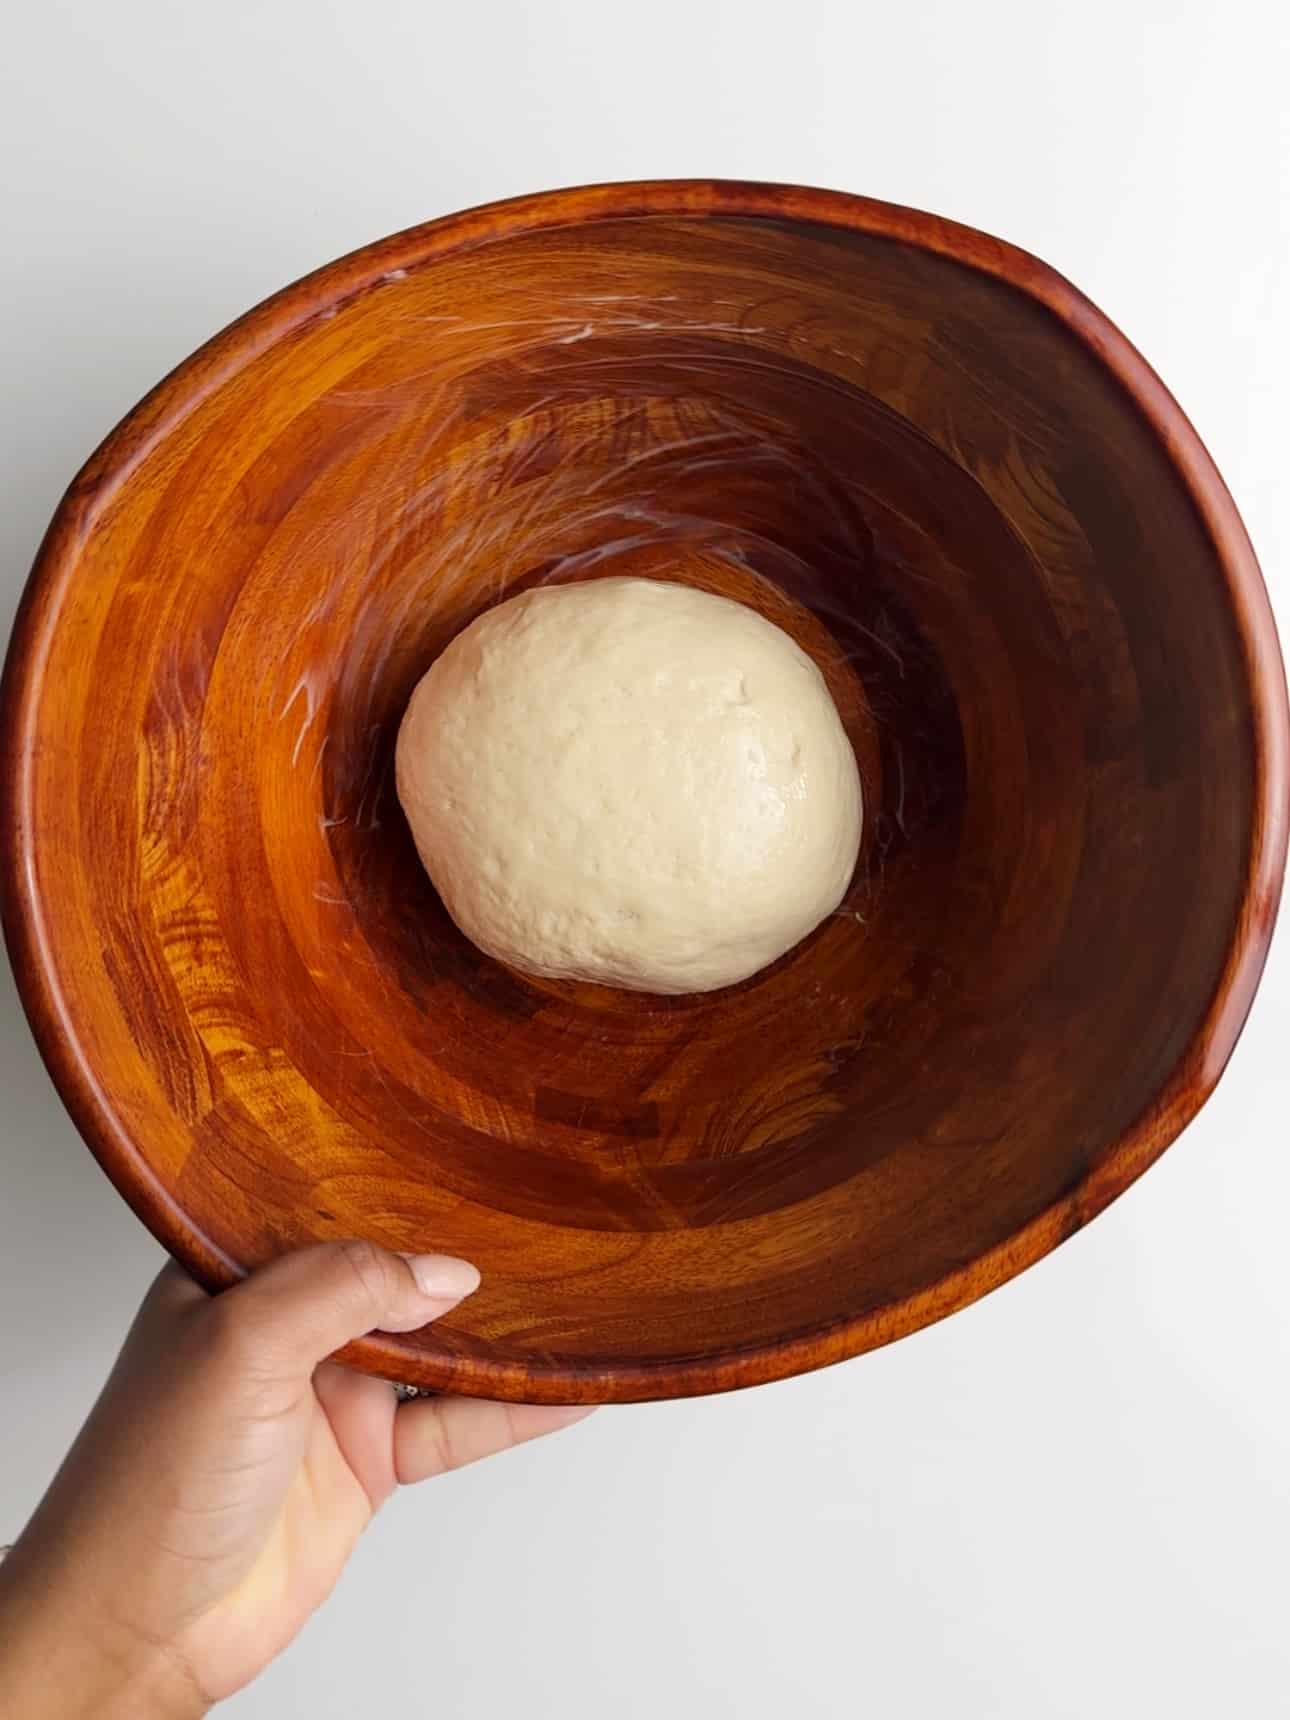
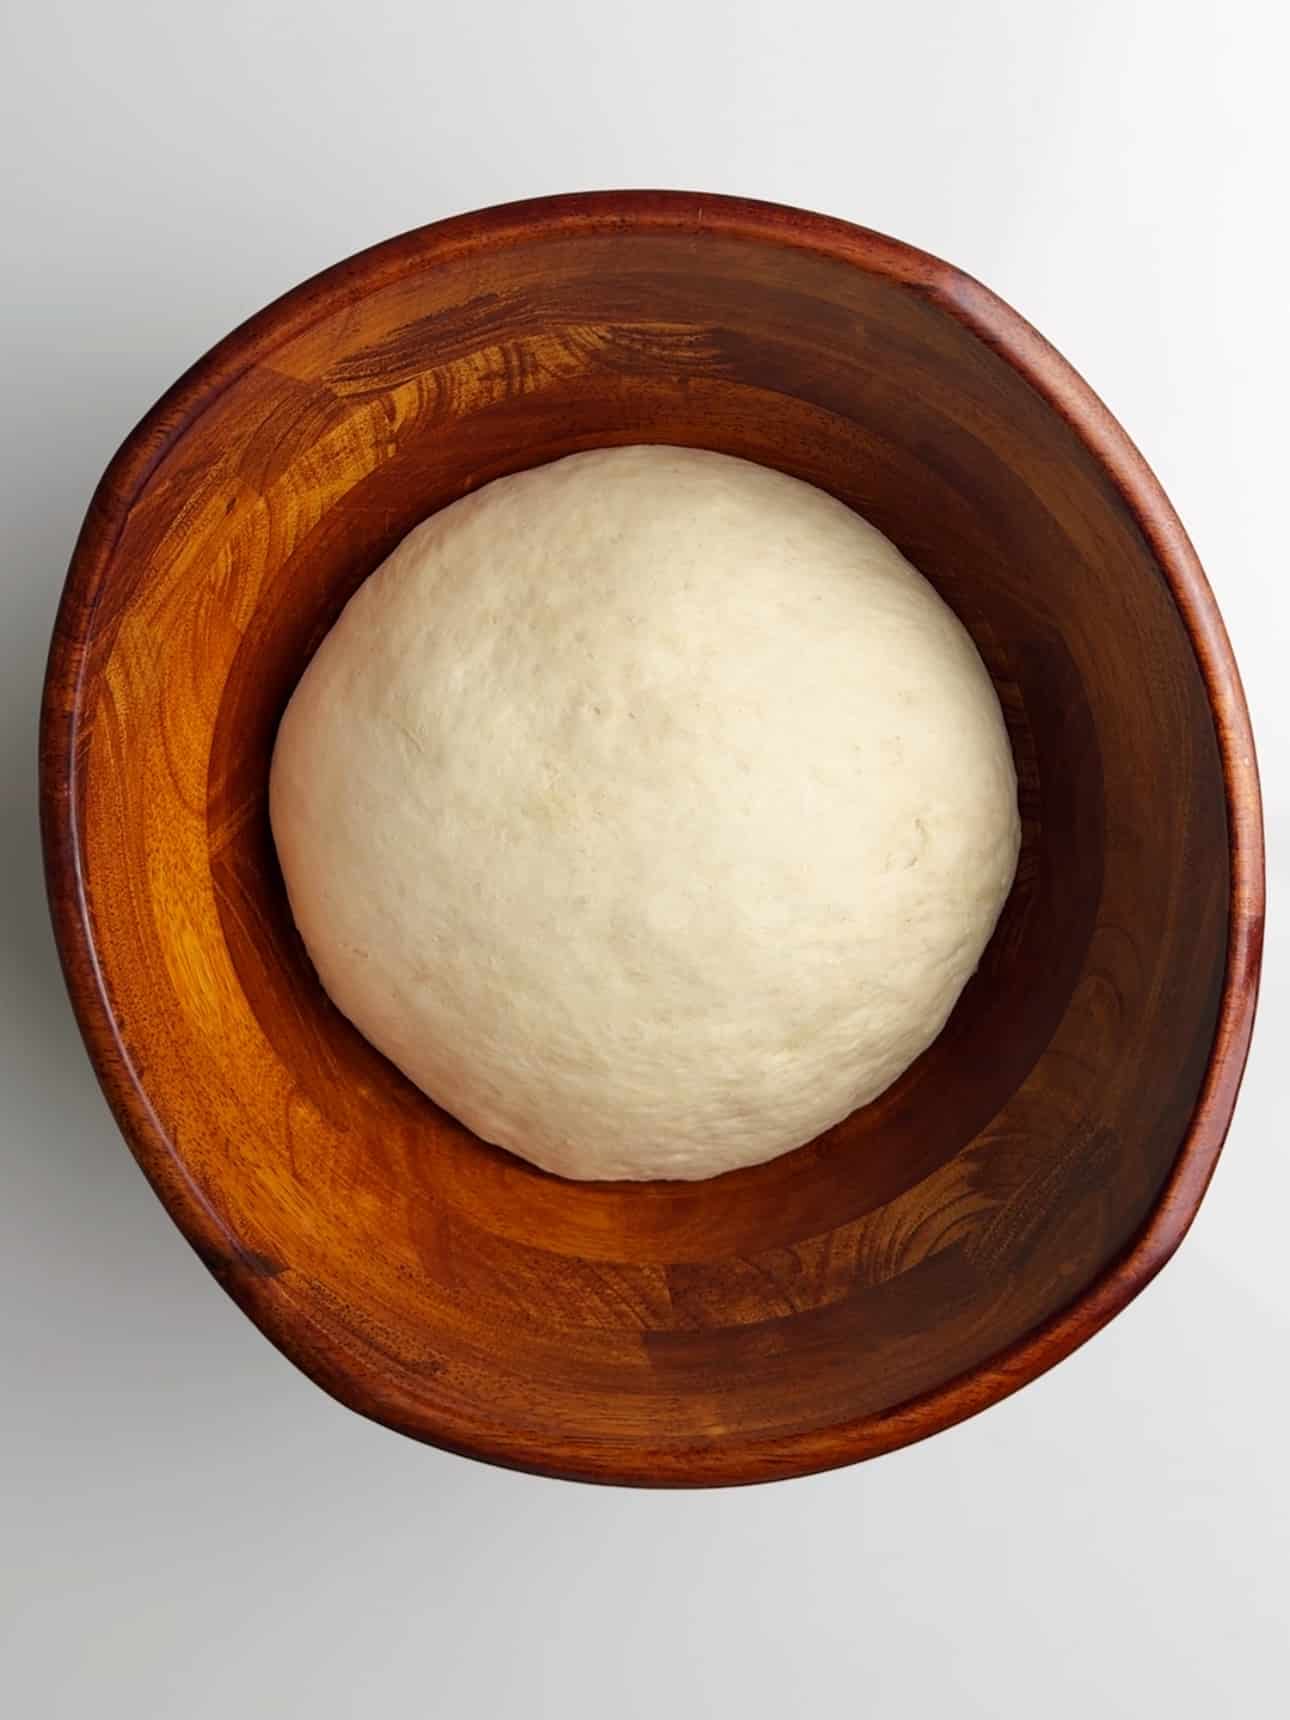
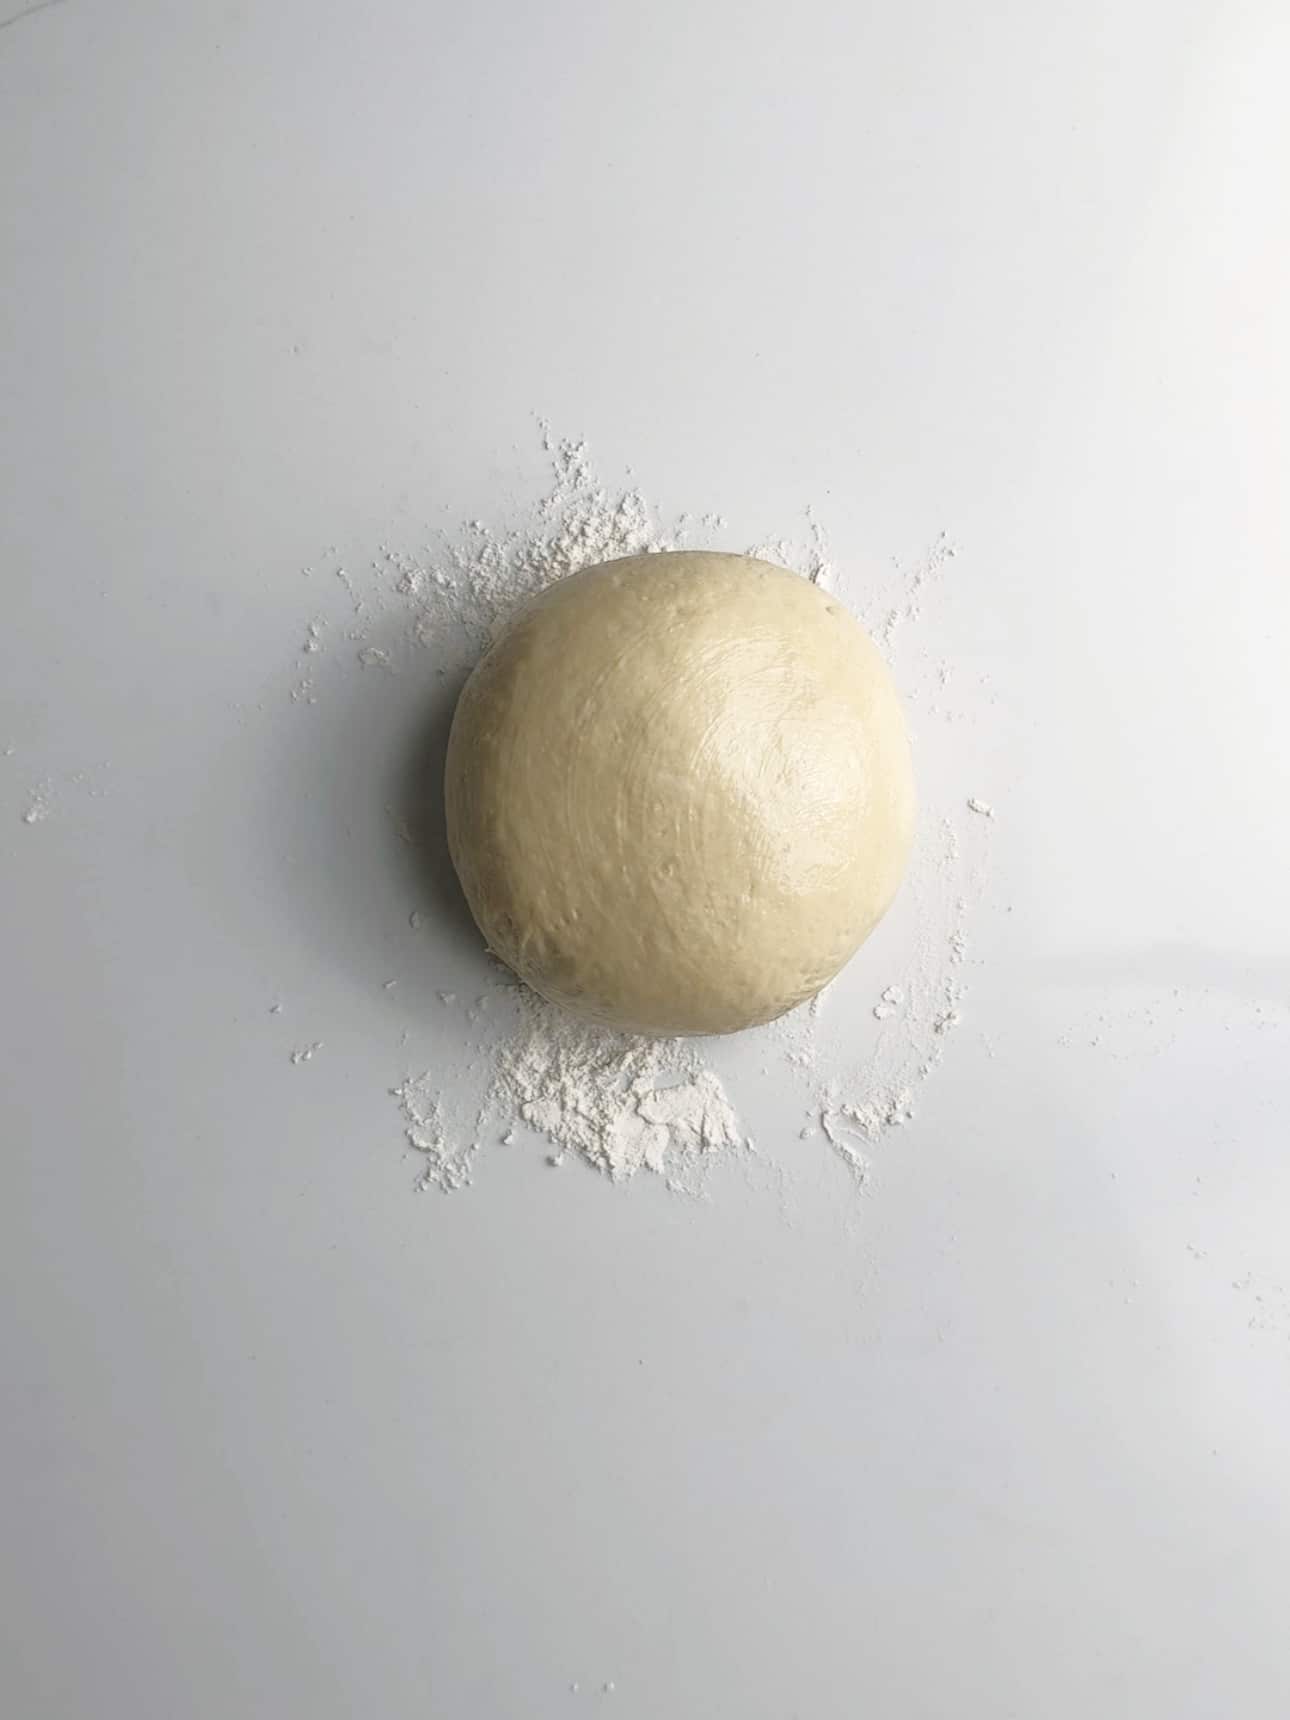
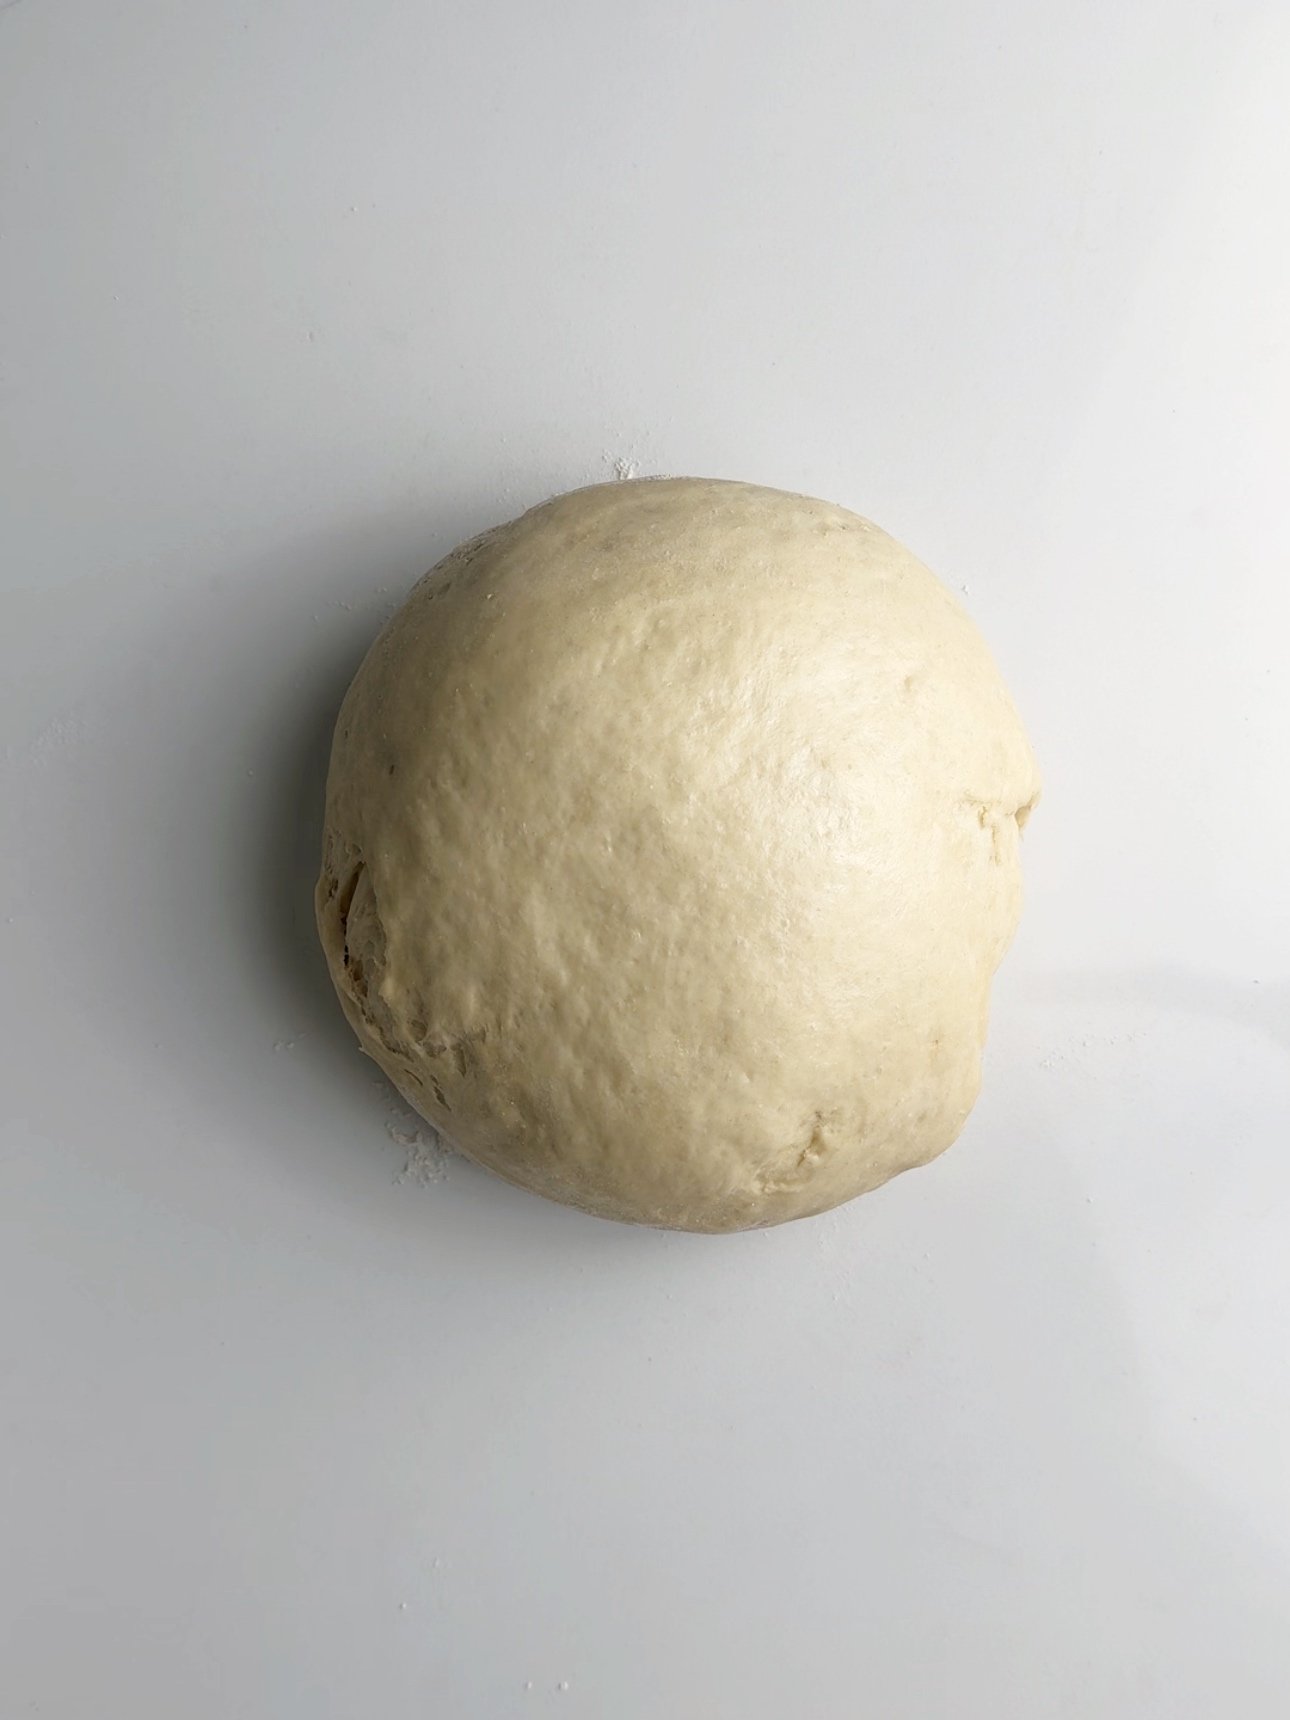
Next, transfer the dough ball to a greased bowl, cover and let rest for an hour or until it doubles in size.
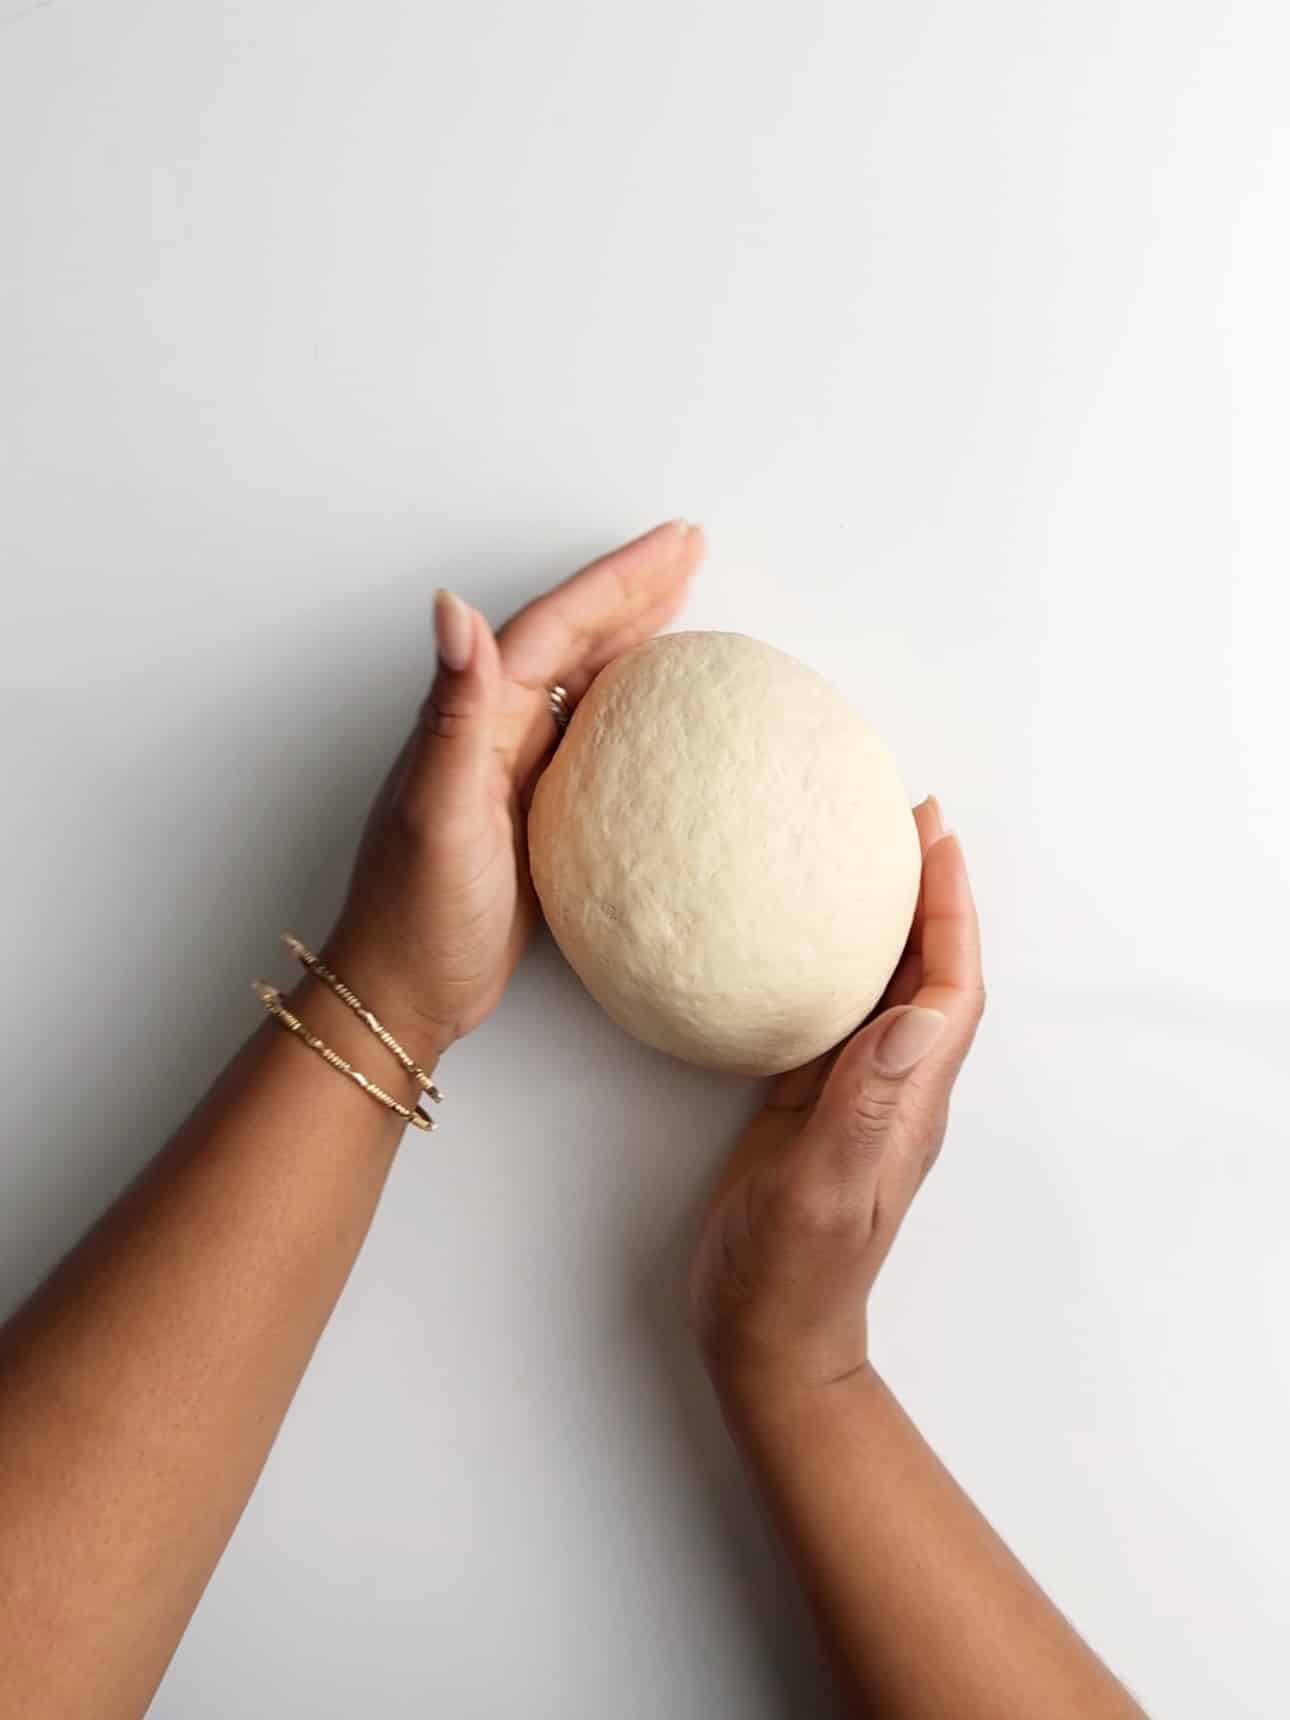
Once the dough doubles in size, punch down and knead again into a tight ball, ensuring to seal up the bottom.
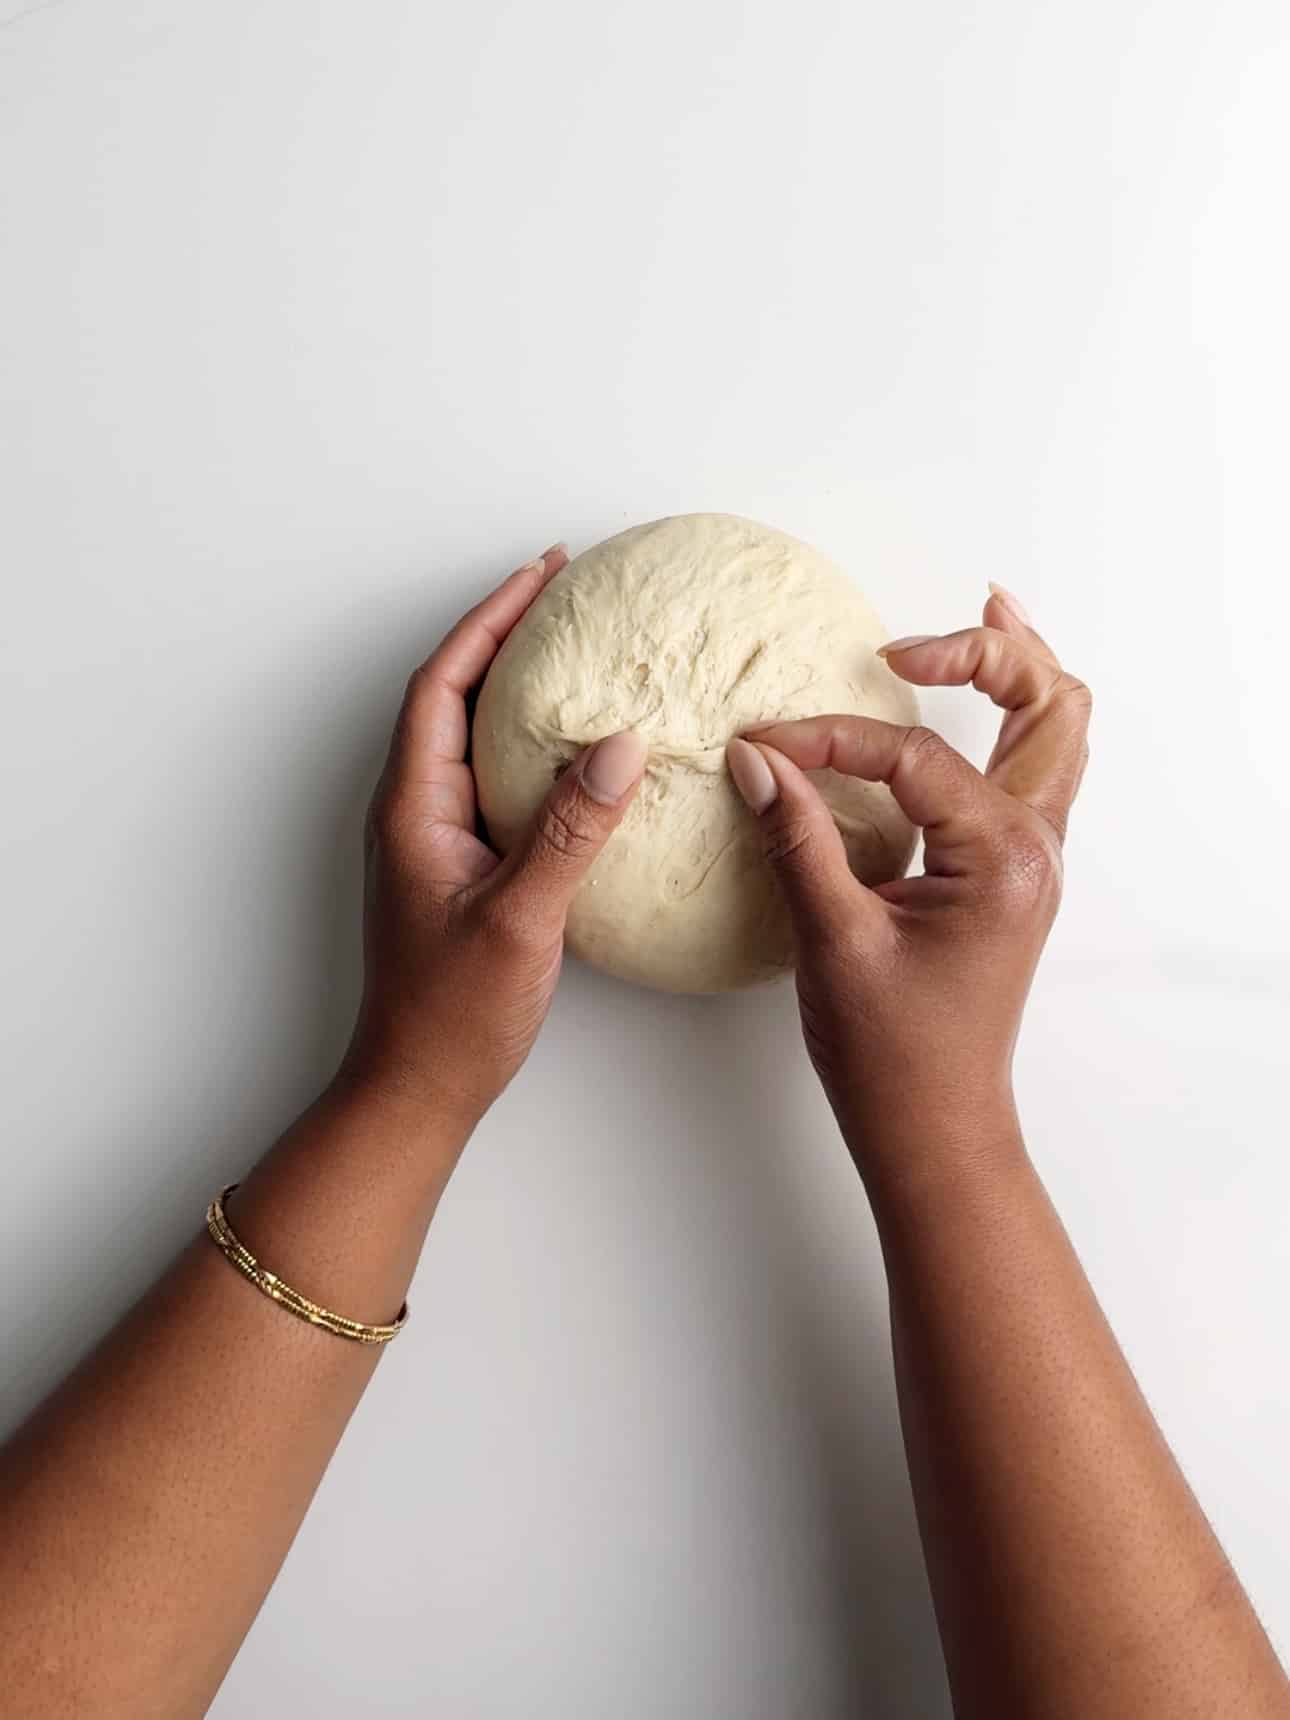
Then leave on a floured surface, cover and let it rest for another hour. Doesn’t this sound just like making bread? See why I sometimes call this pot bread?
Shape the Pot Bake
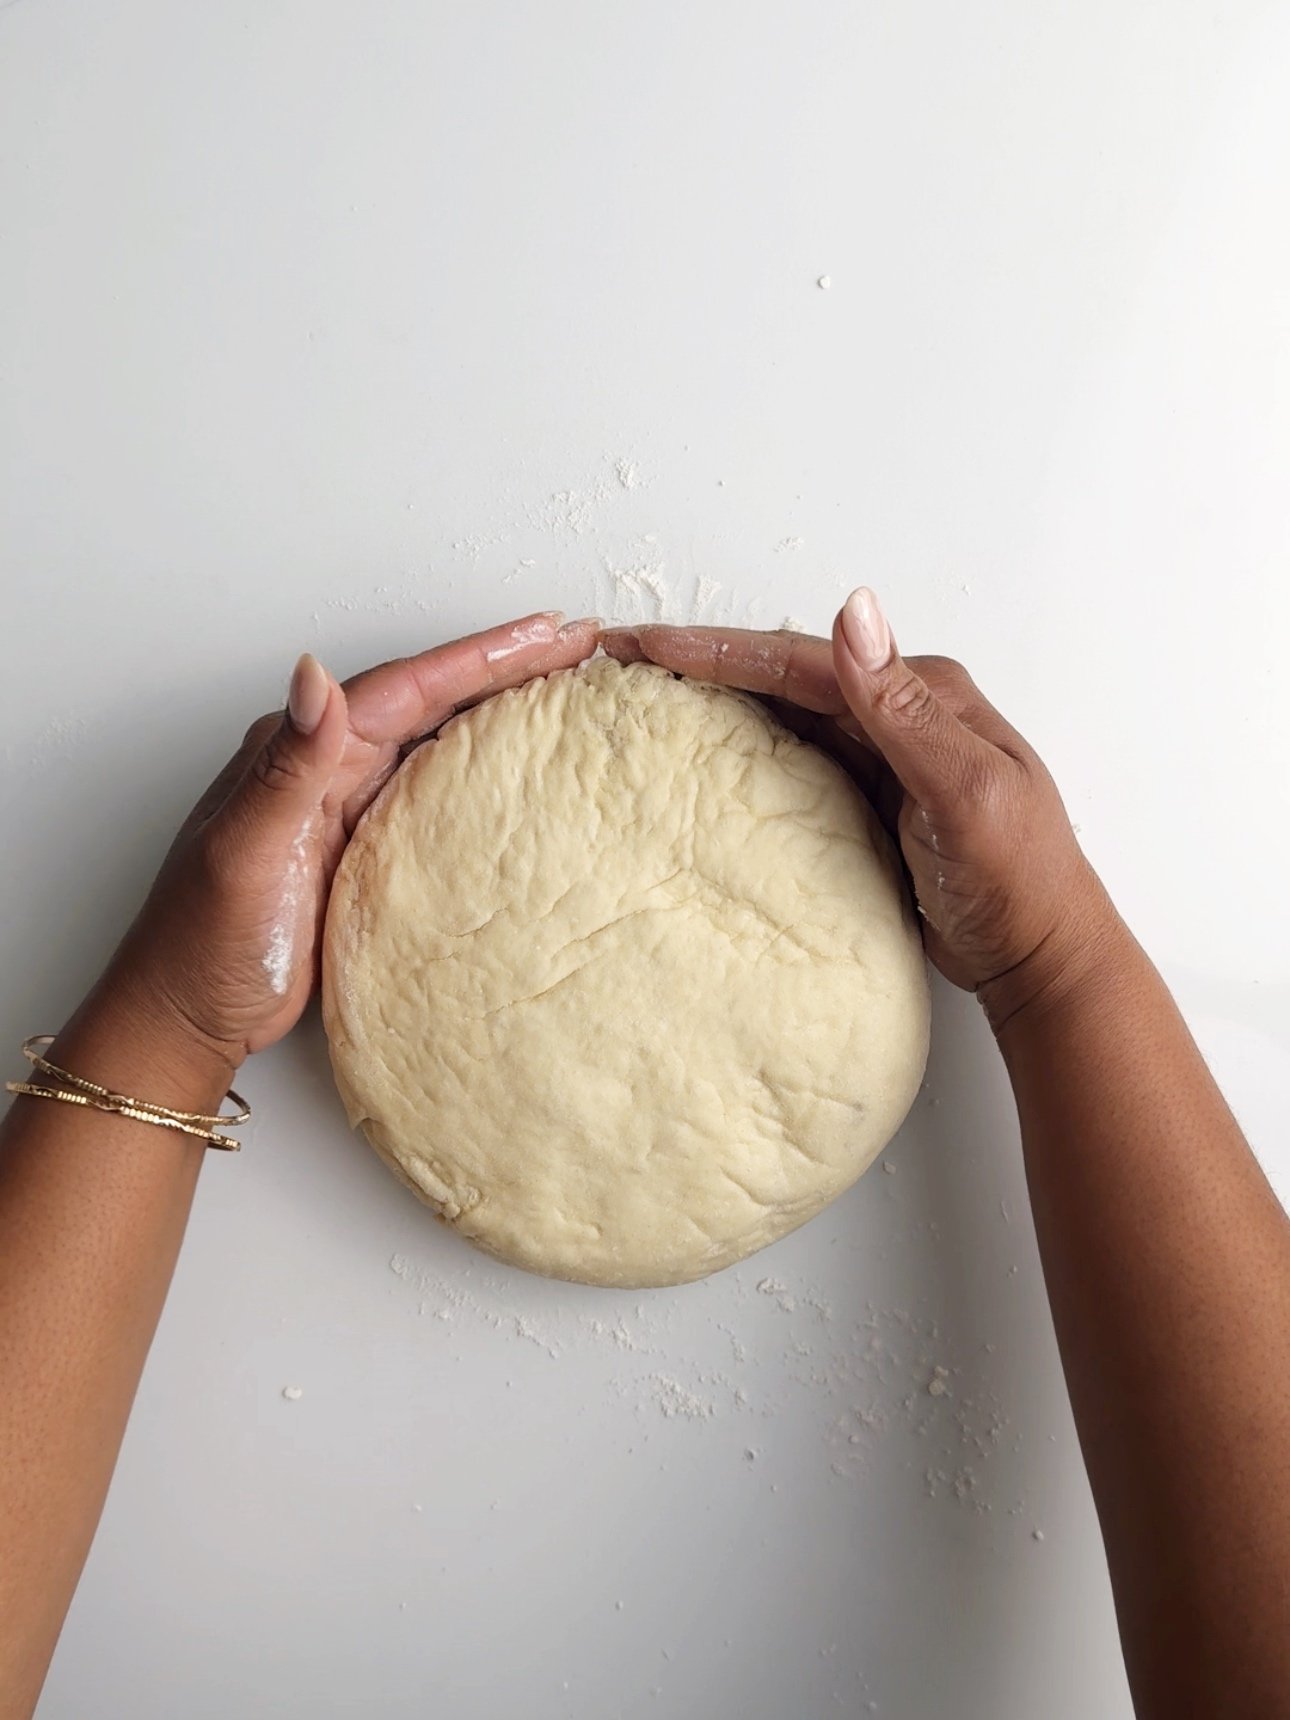
After an hour of resting, dust the top of the dough with some flour then press the top of the dough ball to flatten.
Cook the Pot Bake
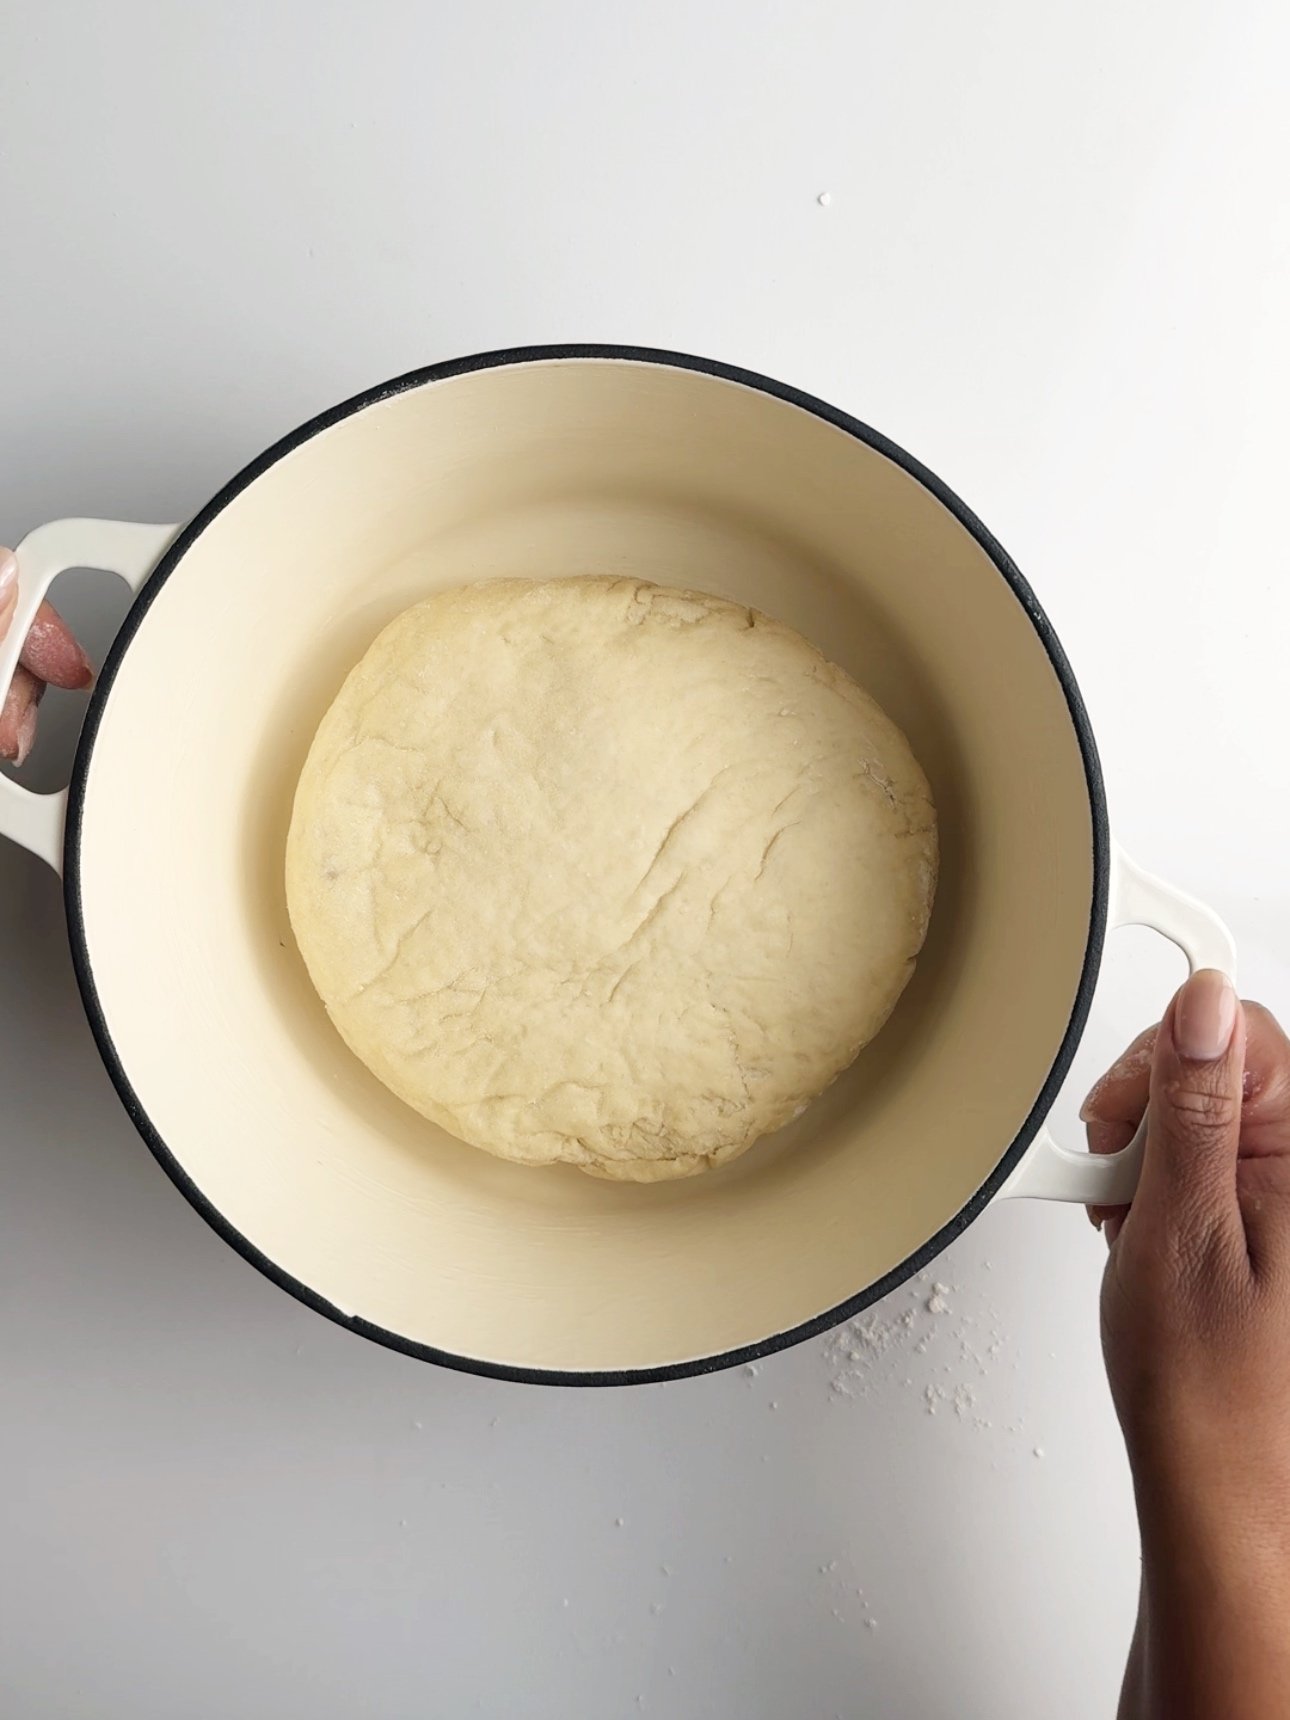
Then brush the inside of a cast iron dutch oven with oil. Cover the inside completely with the oil. Next add the flattened pot bake and cover. Add to medium medium heat to warm up the pot (about 5 minutes). Then reduce the heat to medium-low or lowest heat if you have a high flame. Cook the pot bake for 30 minutes.
Then flip the pot bake over. Using oven mittens or a kitchen towel, hold both handles of the dutch oven and give it a hard push upwards, like if you are flipping an omelette. If you do it hard enough the pot bake will rise in the pot and turn over. You can also turn the pot on the side so that the pot bake slides out and then flip over.

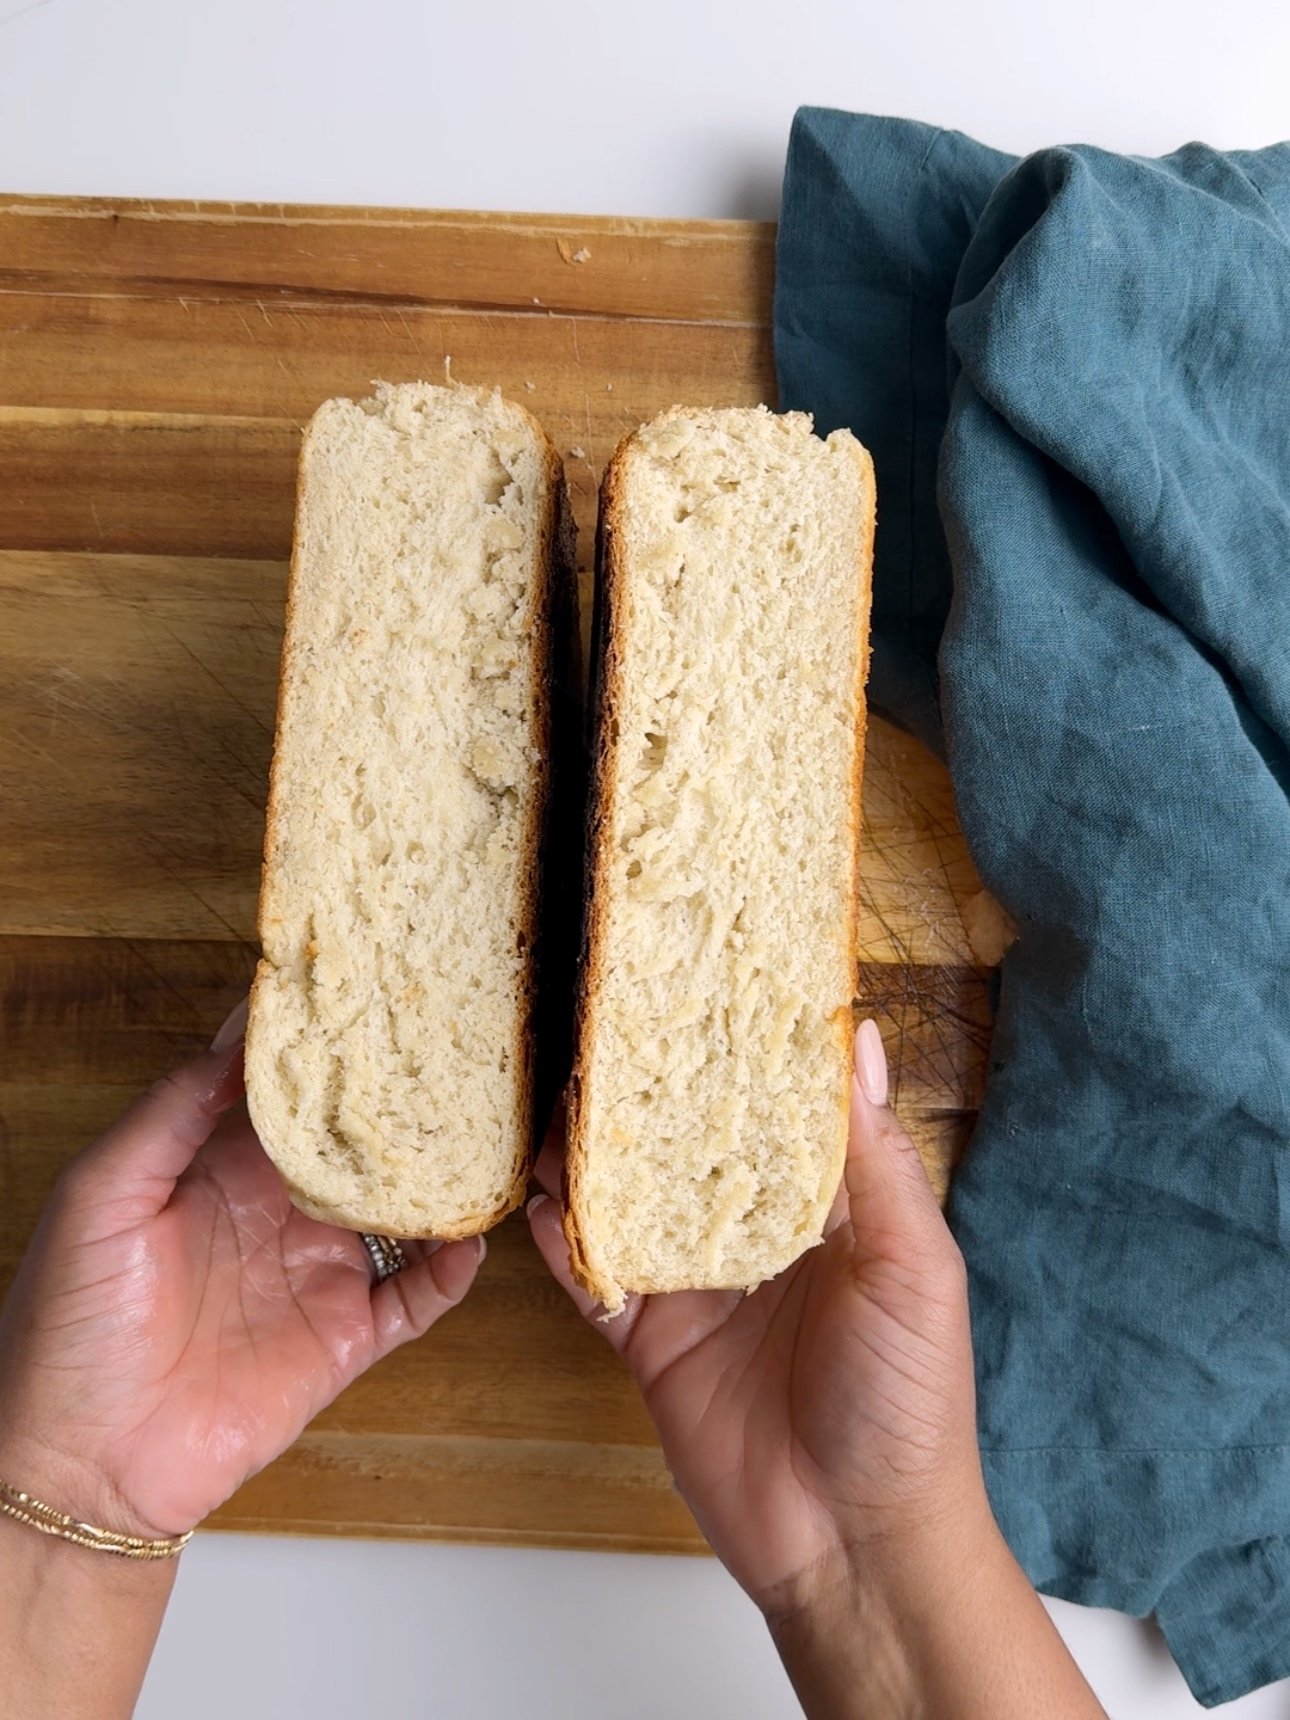
When the bake is ready, flip out of the pot, rub butter on both sides and place on a cooling rack or cutting board. Cover with a clean dish towel and allow it to rest until it cools down a bit. Then slice it open, slather with butter and enjoy!

Tips for the Best Pot Bread
- Do not cook the bread on high heat. After my pot was on heat for 10 minutes, I touched the side of the pot to feel the temperature of the pot. It was warm to the touch but not hot. This is the right amount of heat for cooking pot bread. If the pot is cold, then it is not warm enough and your dough will not cook all the way through. If the pot is hot to the touch, then the dough will burn.
- Be patient. Although this is a simple dutch oven bread recipe, it has to cook low and slow. It takes about 45 minutes to cook and about 2 hours of resting time in between. It is not the kind of bread you make in a hurry.
- No babysitting is required. You don’t need to check the bread at any time while it is cooking, except at the halfway mark when you flip the bread. So it was easy for me to put it on and walk away as long as my timer was nearby.
Frequently Asked Questions
Although a dutch oven is the best option for cooking bread on the stove, you can use any deep pot. A saucepan or stock pot that is at least 5-6 quarts will work.
When my dad made this bread growing up, he made it using an old heavy cast iron pressure pot that we kept around just for pot bread making. He didn’t use the pressure pot cover but only needed it because it was a thick and heavy pot that allowed for even distribution of heat and the creation of oven-like conditions when heated. I have a very clear image of that pot sitting on a kerosene oil stove on the counter in our kitchen, slowly cooking bread.
Guyanese Pot Bake
Equipment
- Dutch Oven
Ingredients
- 4 cups all purpose flour (plus extra for dusting)
- 1/4 tsp salt
- 1/4 cup brown sugar
- 1 tablespoon Instant/Rapid rising yeast (1 packet)
- 1 tablespoon butter (or dairy free alternatives)
- 1 1/14 cup Warm water (about 110 °F)
- 2 tablespoon oil (for the pot)
Instructions
- In a large mixing bowl, combine the flour, salt, brown sugar and yeast, brown sugar. Mix well, then add the butter. Rub the butter into the dry ingredients either using your finger tips or a fork.
- Then make a well in the center of the dry ingredients and add in the warm water. Use a whisky to bring together the water and the dry ingredients until it forms a thick batter.
- Next use your hands or a spatula to continue to combine the dry ingredients with the thick batter, to make a dough.
- Turn the dough onto a floured surface and knead until smooth (about 10 minutes). Then shape into a ball, add to a greased bowl, cover and let proof for an hour or until it doubles in size.
- Once the dough doubles in size punch down and knead again into a smooth ball. Then sprinkle a light dusting of flour on your work surface, place the dough on top of the flour, cover with a kitchen towel and let it proof for another hour.
- When ready to cook the pot bake, press down the risen bread until the top flatten a little, then shape it into a circle that would fit your pot.
- Then grease the inside of a dutch pot and transfer the pot bake to the dutch oven, cover and add to medium heat until the pot warms up (about 5 minutes). Then reduce the heat to medium low and continue to cook for 30 minutes.
- Then flip the bread over in the pot. Hold the two handles of the pot and give it a good up and down toss. The bread should flip over. Alternatively you can use a spatula or turn the pot on the side and then flip the bread over.
- Continue to cook for another 15 minutes then remove from the pot and brush with butter on both sides. Cover and allow to cool for a few minutes before slicing up and enjoying with butter, jam or cheese.
Notes
- You can make the dough in the stand mixer. Just add all of the ingredients to the stand mixer and mix with a dough hook attachment until it forms a soft and smooth dough.
- You can use baking powder in this recipe. Swap the instant yeast for the same amount of baking powder. Follow the instructions exactly as written, but after the first knead of the dough, rest the dough for 45 minutes. Then reshape and press to flatten then rest for 15 minutes before adding to the greased pot. Continue with the rest of the instructions as written.
- Use a deep cast iron pot with a heavy lid.
Nutrition
The information listed in the recipe card is an estimate provided by an online nutrition tool. The tool evaluates ingredient names and amounts then makes calculations based on the number of servings listed for the recipe. It is provided as a general guideline and not as a precise calculation. For precise nutrition information please feel free to add the ingredients to your preferred nutrition calculator or consult a doctor or licensed nutritionist.
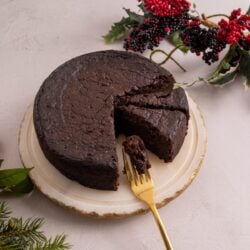 Non-alcoholic Guyanese Black Cake
 Pumpkin Flan
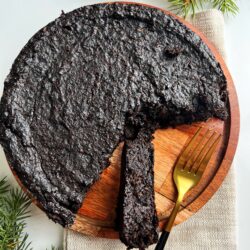 Almond Flour Black Cake
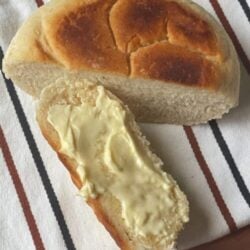 Gluten Free Pot Bread
Leela Says
I saw this on your IG day before and I have to try this! You make it look so easy and melt-in-your-mouth delicious! I don’t have a dutch oven but I do have a heavy iron pot somewhere I am sure! Definitely will be trying this out tomorrow night as I will be making my dough tonight (God’s willing)!
Rashawna Green Says
Love this recipe.
Althea Brown Says
Thank you.
Mary Says
Hi Althea
Have you tried a gluten free version of the pot bread?
Althea Brown Says
Working on it
Dillon Says
So much nostalgia in this post, loved even my mom made pot bakes (bread), with the pressure cooker pot. And the term pork-knocker I haven’t heard in a while. Thanks for sharing this recipe and the memories inherent
sharon maria Ali-Ramroop Says
wow. im so excited to try out theae new recipes and add them to my kitchen and introduce to my family. i love cooking. thank you.
Althea Brown Says
Thank you so much