Sada roti is a simple, 4 ingredient Guyanese flatbread that is soft and fluffy when properly cooked. Learn how to make sada roti that swells up perfectly every time with this easy roti recipe. Serve this bread with your favorite curries, stews or even with dab of butter.
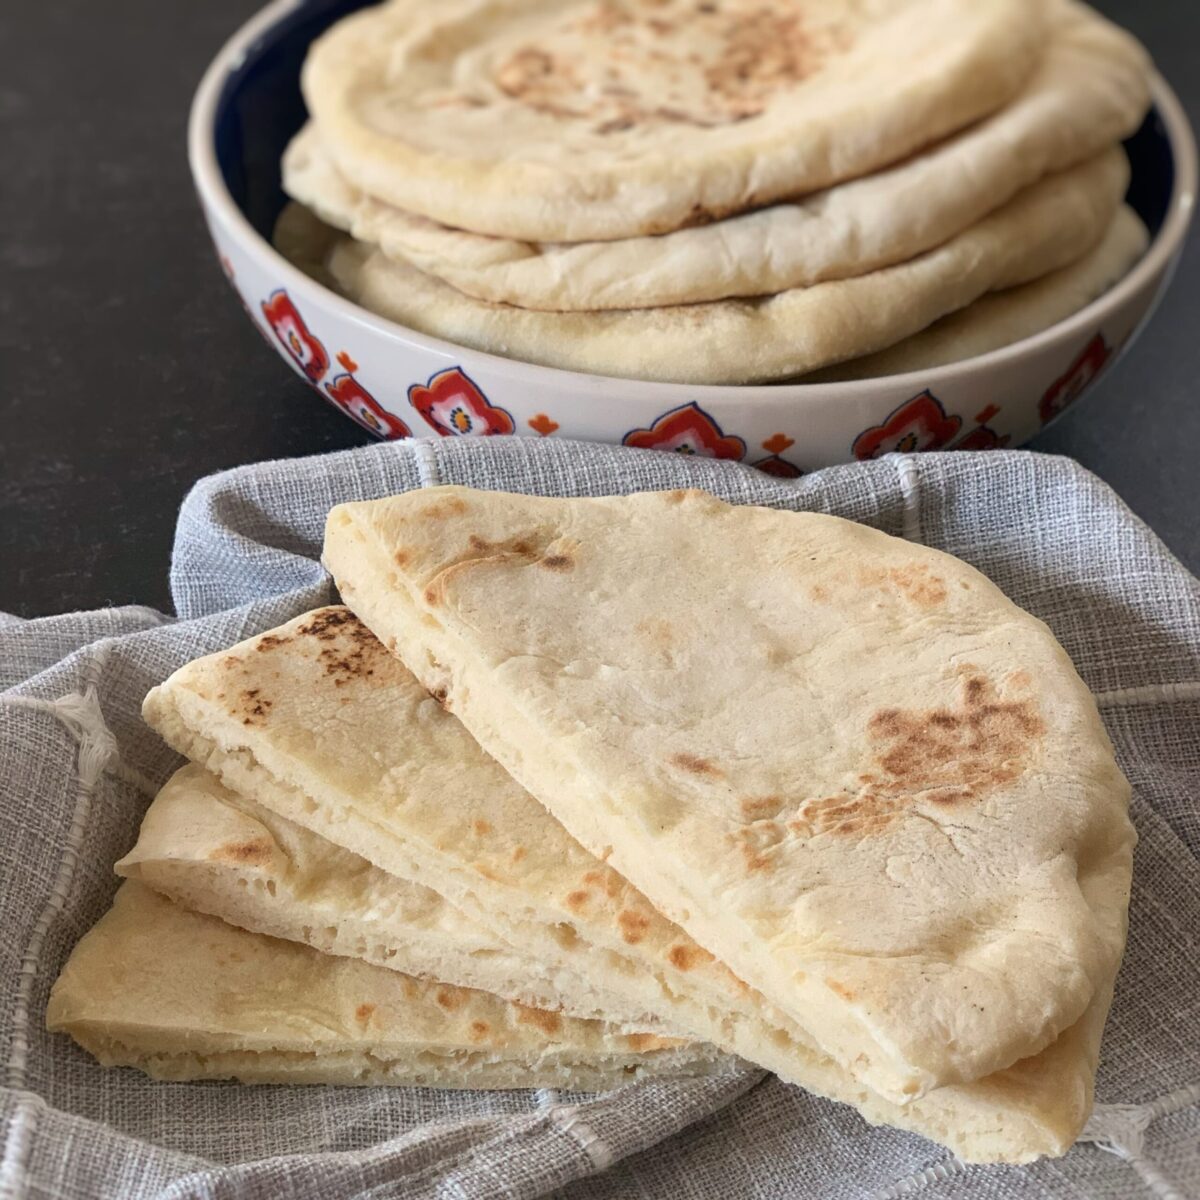
Guyanese Sada Roti
I’ve been making sada roti since I was about 11. It is one of the first rotis my mom taught me how to make. When I used to eat gluten without any issues, I enjoyed my sada roti with baigan choka or roasted eggplant (Try my Instant Pot Baigan Choka Recipe). These days I don’t make it often, but when I do they are enjoyed by my family who are all roti lovers.
Why You’ll Love This Sada Roti Recipe
- Beginner Friendly: If you are new to making roti, this is the perfect starter recipe. Made with just 4 ingredients (and no yeast), these come together quickly.
- Authentic: This recipe is as authentic as it gets. Your sada roti will have all the flavors or traditional Guyanese and Trini sada roti, just like your mom’s!
- Versatile Flat Bread: Enjoy this with breakfast, lunch, or dinner. Serve it as a side dish with your favorite Guyanese recipes or enjoy it topped with butter, peanut butter, hummus or jam. The serving possibilities are endless!
- Absolutely Delicious: Warm and incredibly fluffy, sada roti is a simple yet tasty comfort food that you’ll make time and time again!
What is Sada Roti?
Sada roti is a Guyanese flatbread inspired by Indian settlers who introduced it to the Carribean. It is a version of Indian rotis made with atta (whole wheat flour) but instead it is made with maida (all purpose flour). Unlike the Indian roti, it has baking powder as a rising agent. Of all the types of roti, this is the easiest to make.
Ingredients for Sada Roti
I guarantee you have everything you need to whip up a batch of pillowy soft sada roti.
- All purpose flour: The main ingredient in this recipe.
- Baking powder: This is what makes the dough rise.
- Salt: Some recipes exclude salt but it tastes pretty bland without it. A little goes a long way.
- Water: Use warm water for easier mixing.
See recipe card for quantities.
How to Make Sada Roti
Form Dough
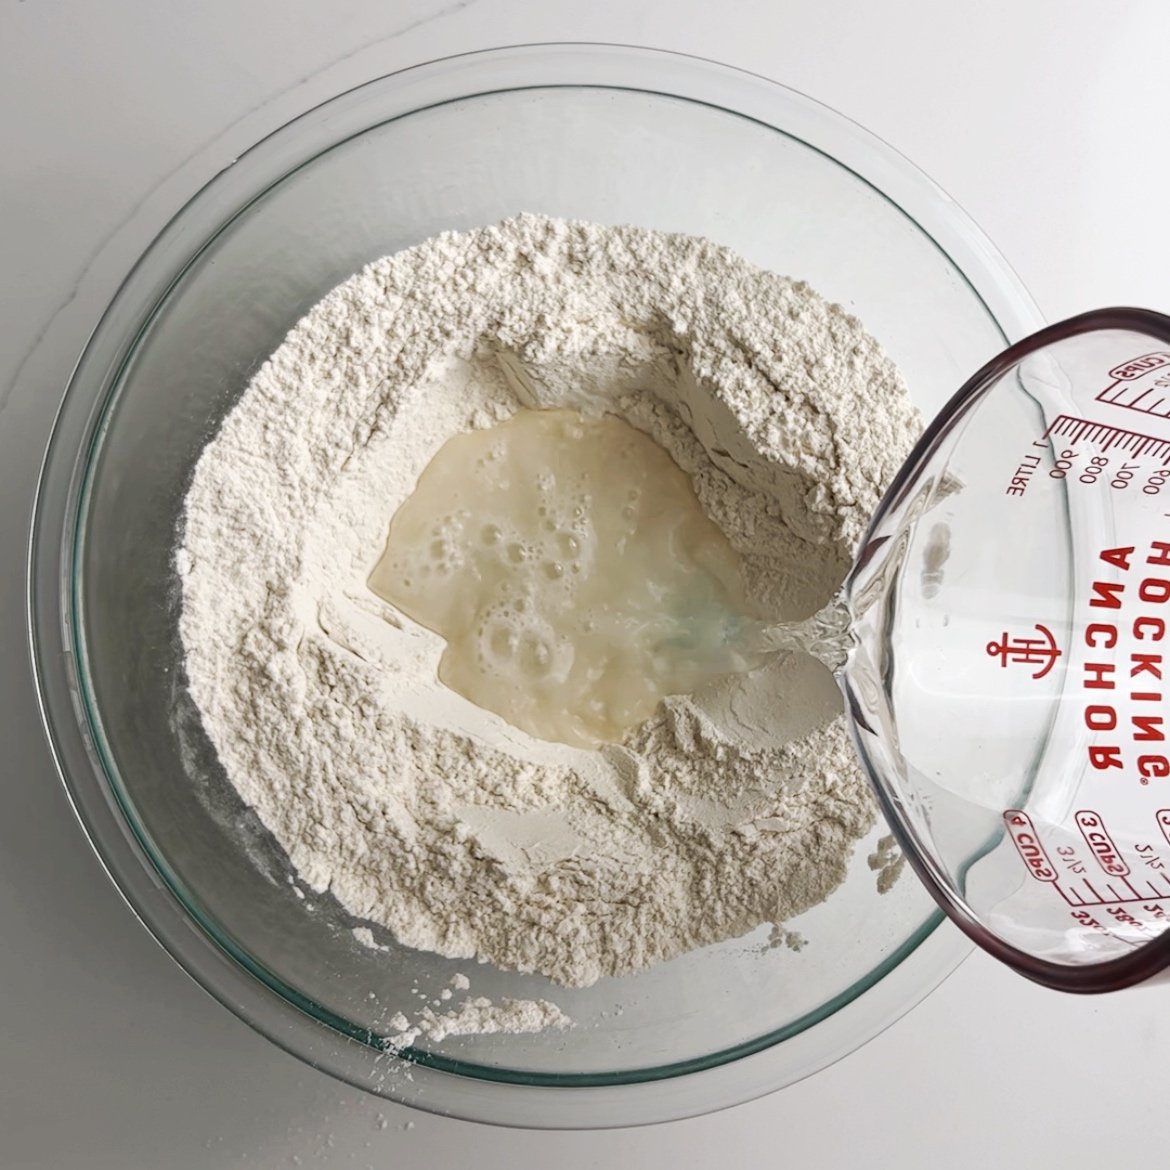
Combine flour, baking powder, and salt in a large mixing bowl and mix ingredients together. Then form a well in the center of the dry ingredients and add all of the water. Mix together to form a soft, sticky dough.
Knead Dough
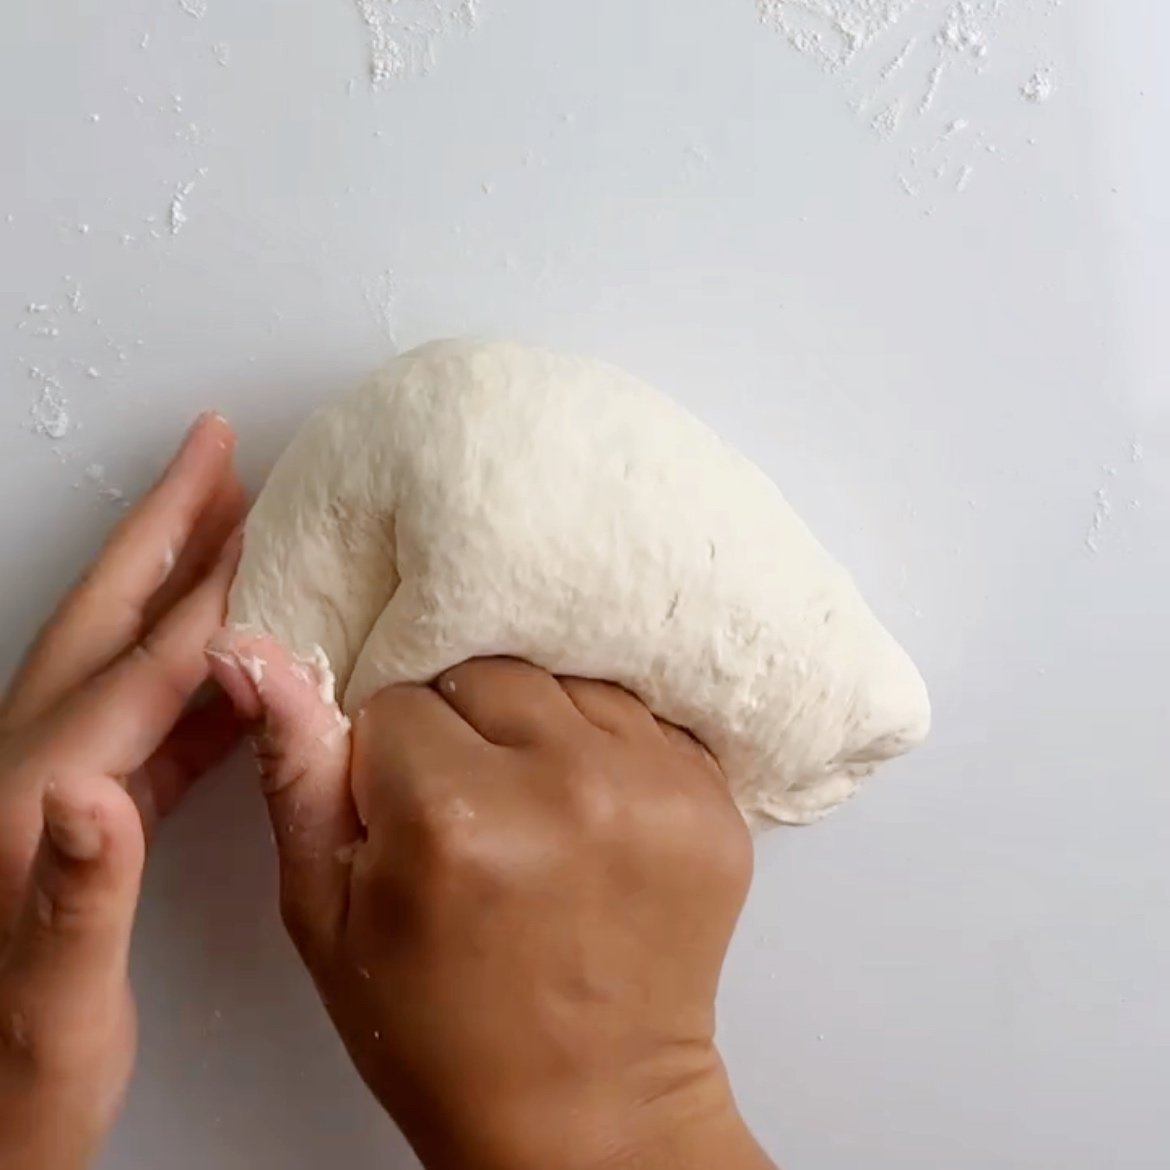
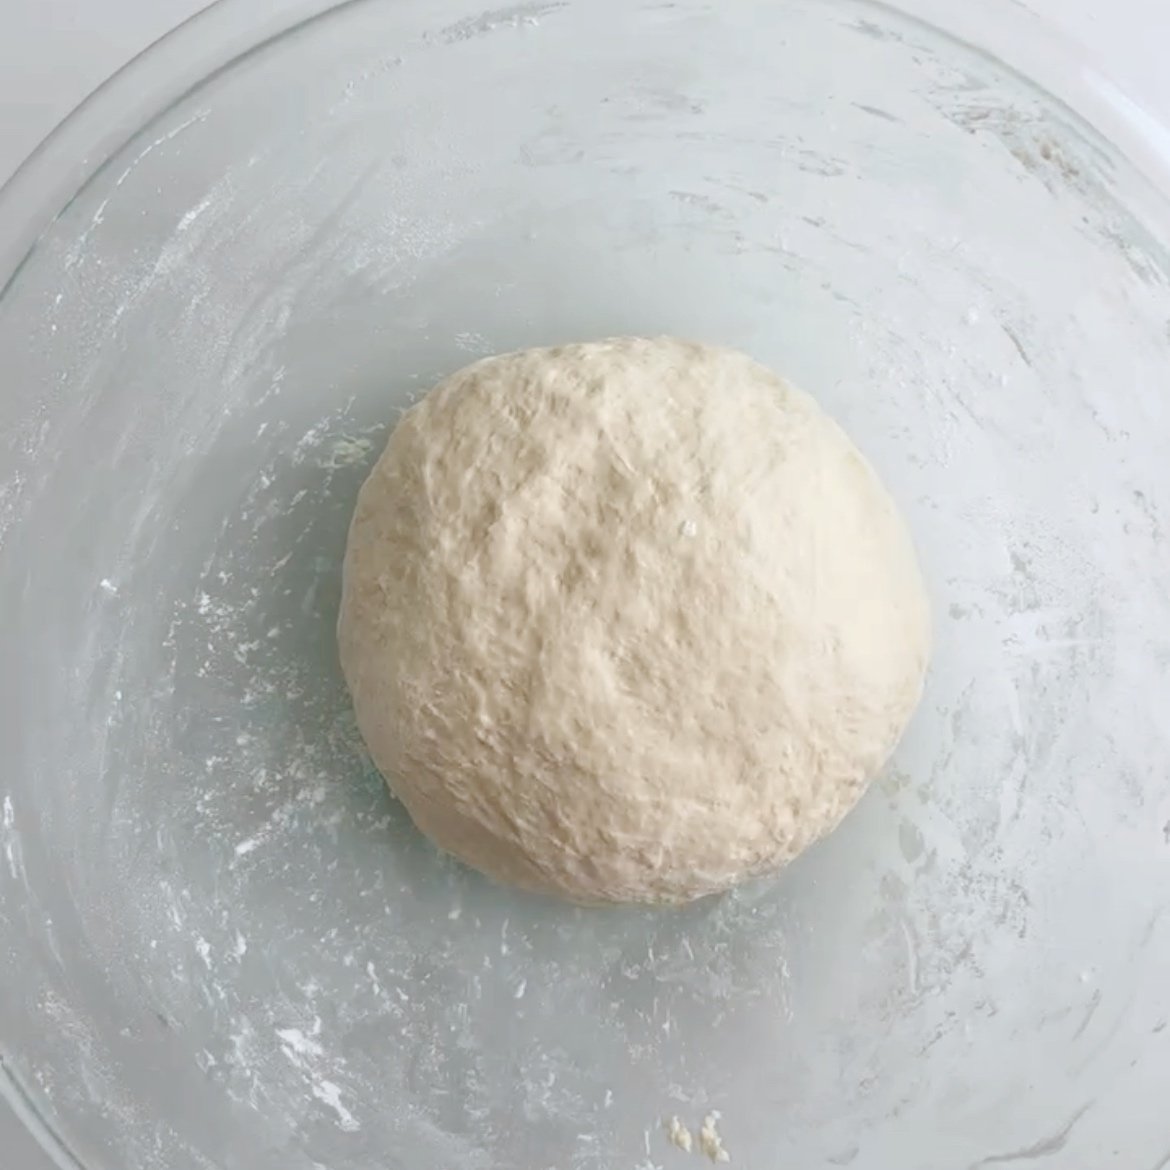
Turn dough onto a floured surface and knead the dough using the squeezing method (see video for demonstration). Knead dough for 5 to 10 minutes then return to the mixing bowl, cover and let rest for 30 minutes.
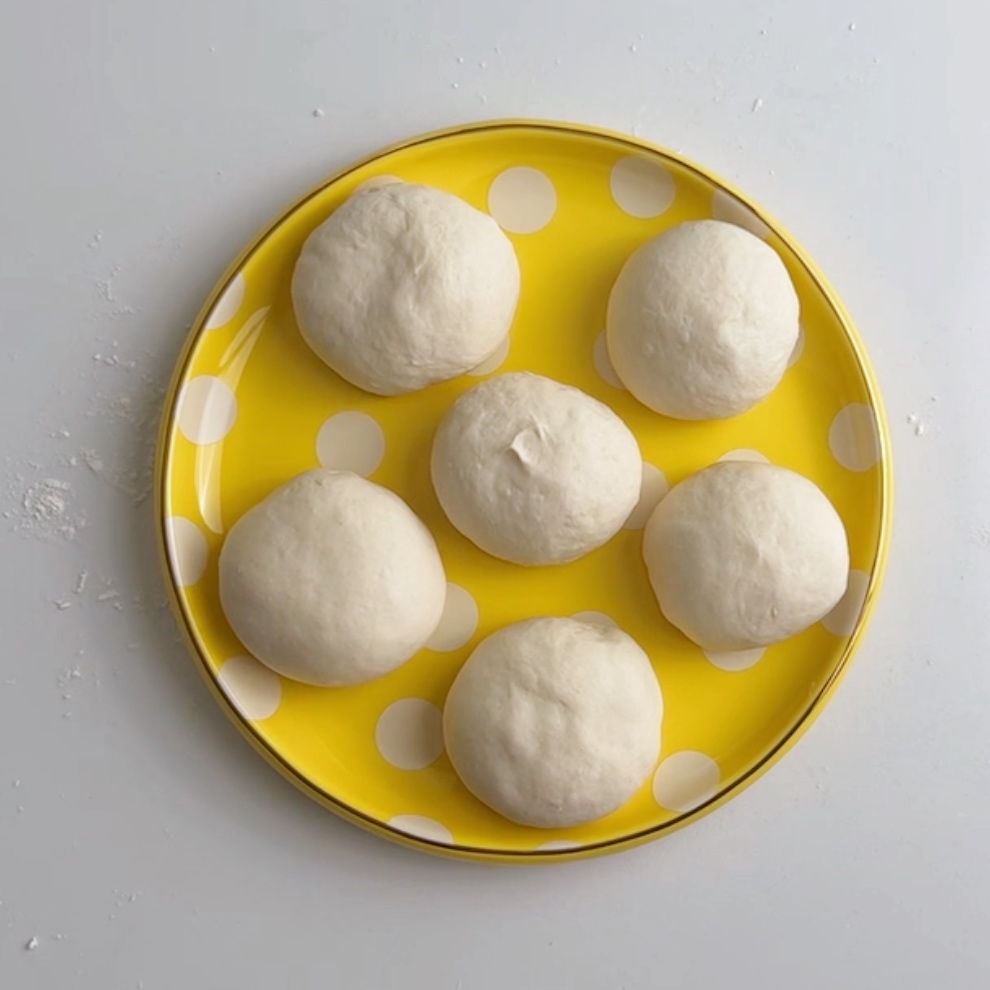
Once the dough has rested for at least 30 minutes, separate it into 8 equal pieces. Shape the dough pieces into 8 smooth balls, then cover and let the dough rest for another 30 minutes.
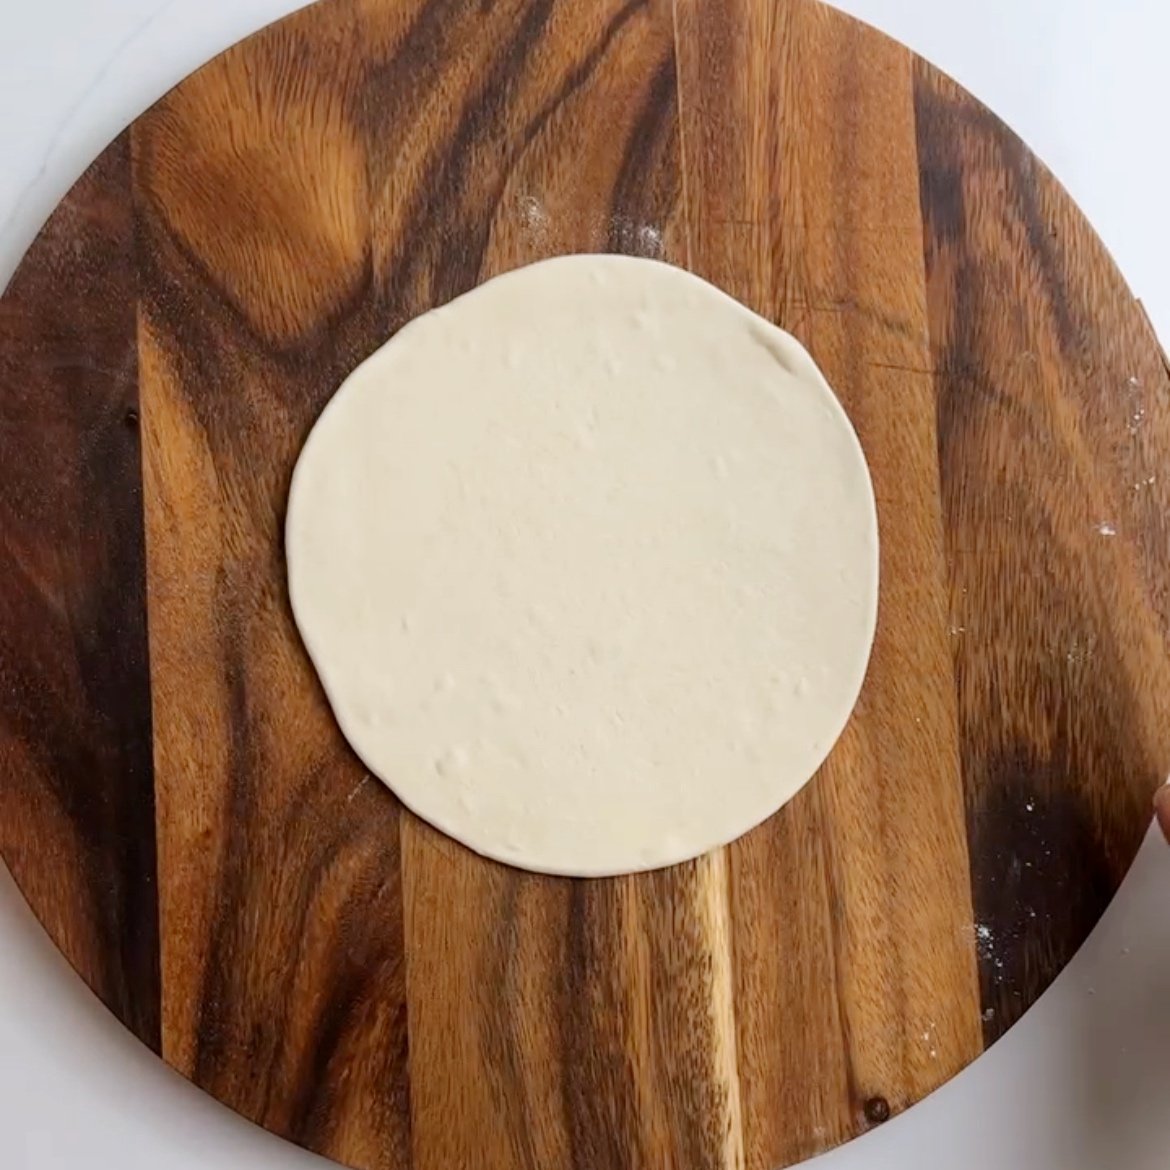
After the dough rested for 30 minutes, on a floured surface roll the dough into flat disks about 3/16th of an inch thick and about 8 inches in diameter (about the size of a wide open palm).
Place your tawa or flat cast iron skillet on medium heat and bring up to temperature. When hot add your rolled out sada roti to the tawa or skillet. Then cook until small air pockets appear on the top of the roti.
Next flip the roti over to cook on the other side. The side that was previously on the tawa or skillet should be lightly cooked. Cook on the flipped side for about 1 minute then flip back on the lightly cooked side and allow to continue to cook until the roti inflates
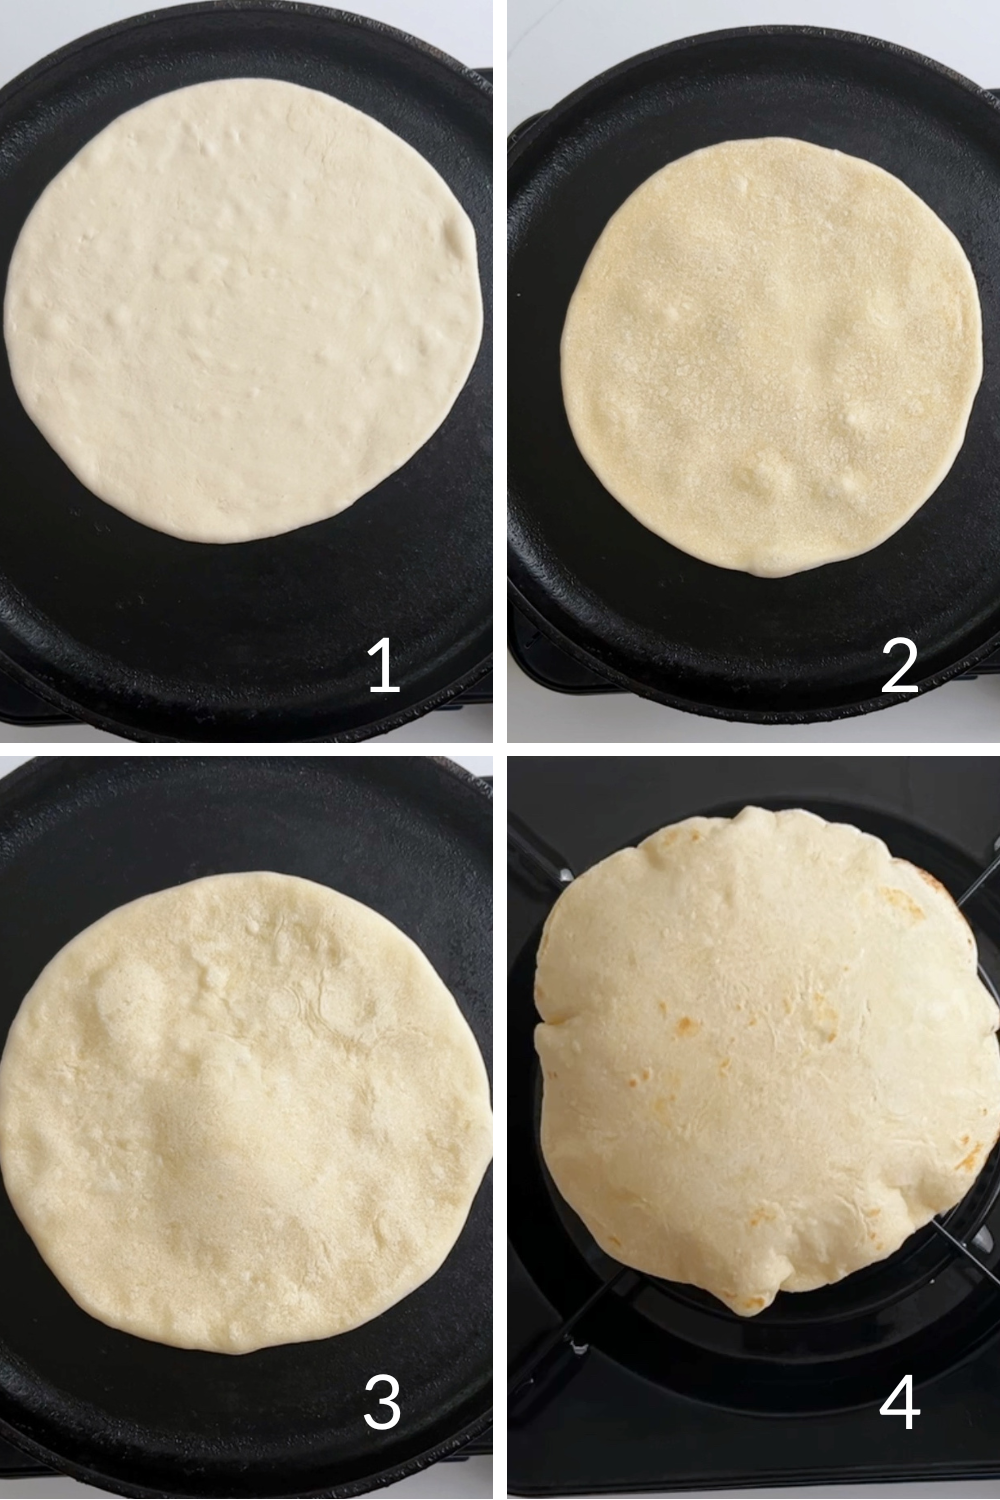
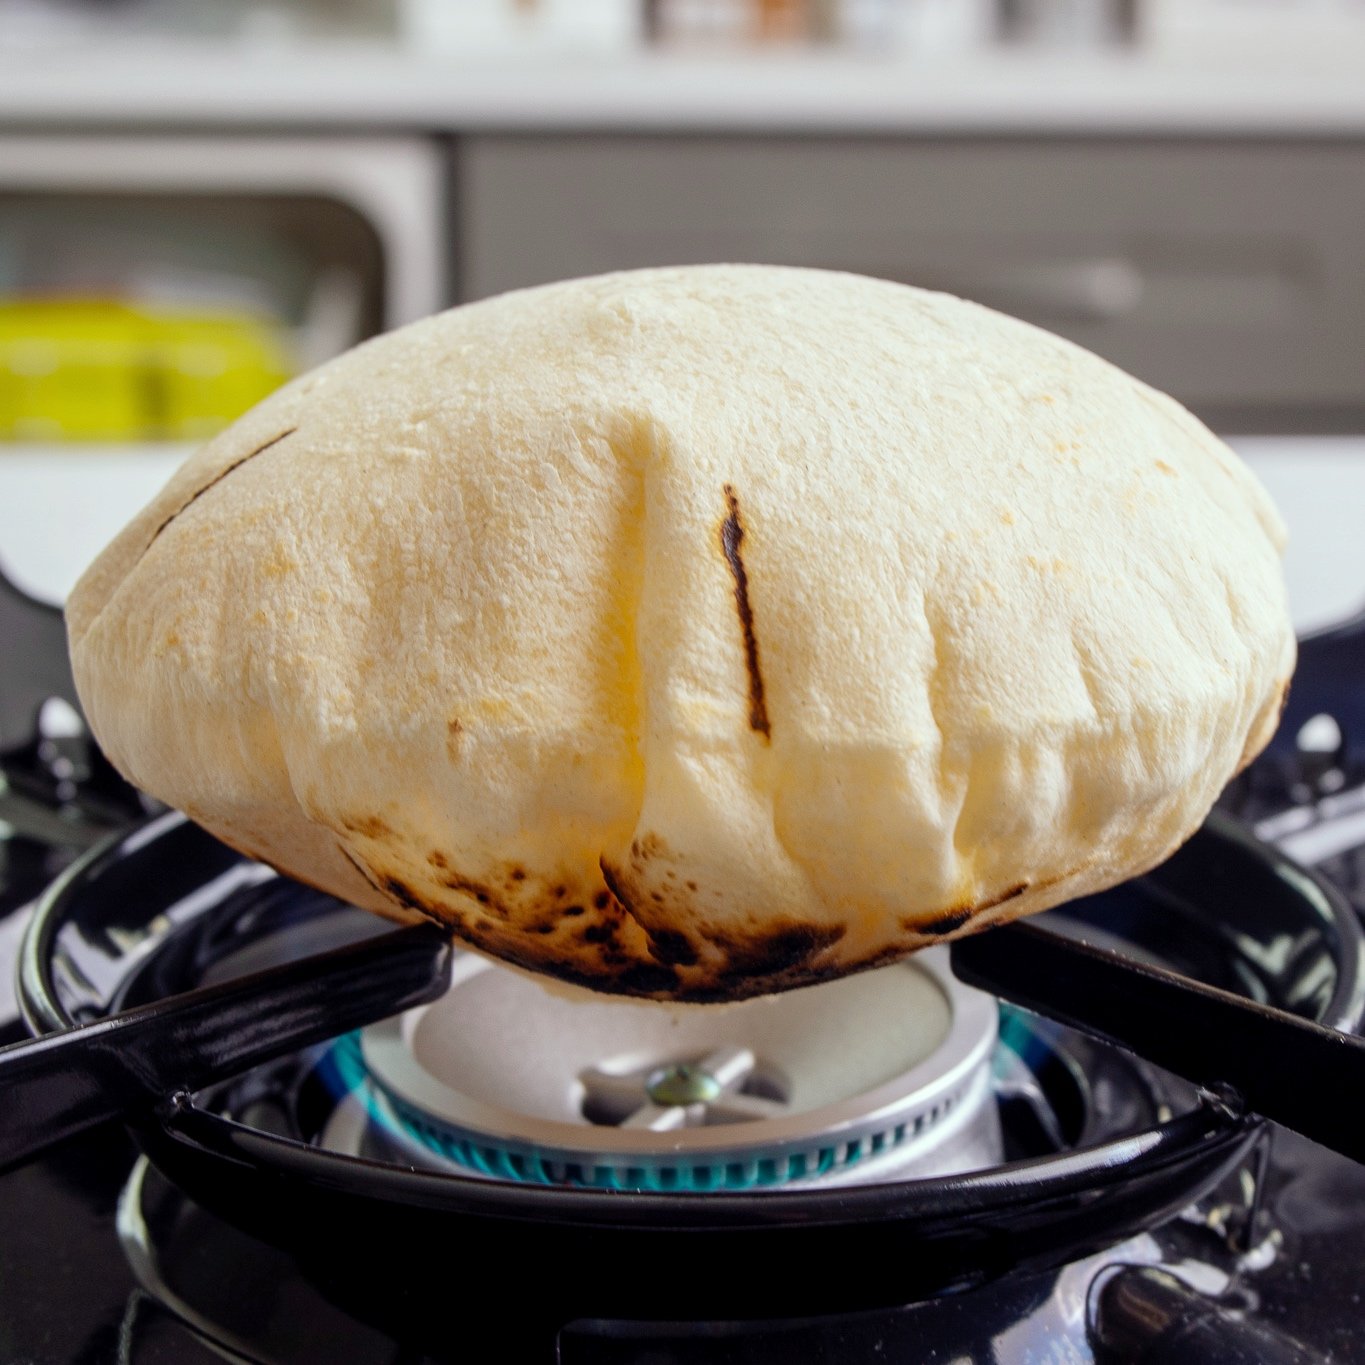
Sometime, you can reduce your heat to low, then slide the roti over the open flame to help accelerate the inflation process.
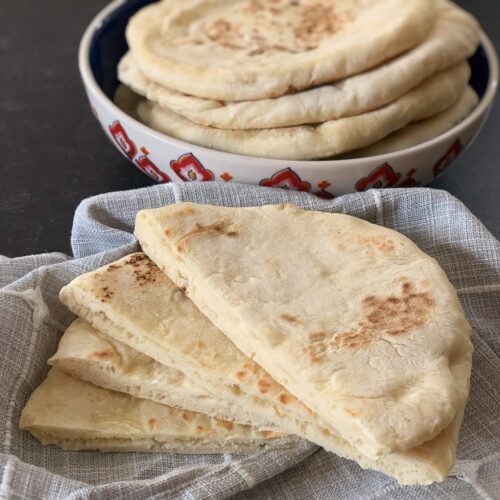
Once roti swells into a round ball remove from the heat and wrap roti in a dish towel to keep warm and soft.
Repeat these steps to cook all of the rotis.
Sada Roti Step by Step Tutorial:
How to Get Sada Roti to Swell
You want sada roti to puff up for a luxuriously fluffy bread and there are a few ways to achieve it.
- Place the roti on the edge of the tawa or skillet.
- Continuously rotate the roti on the tawa.
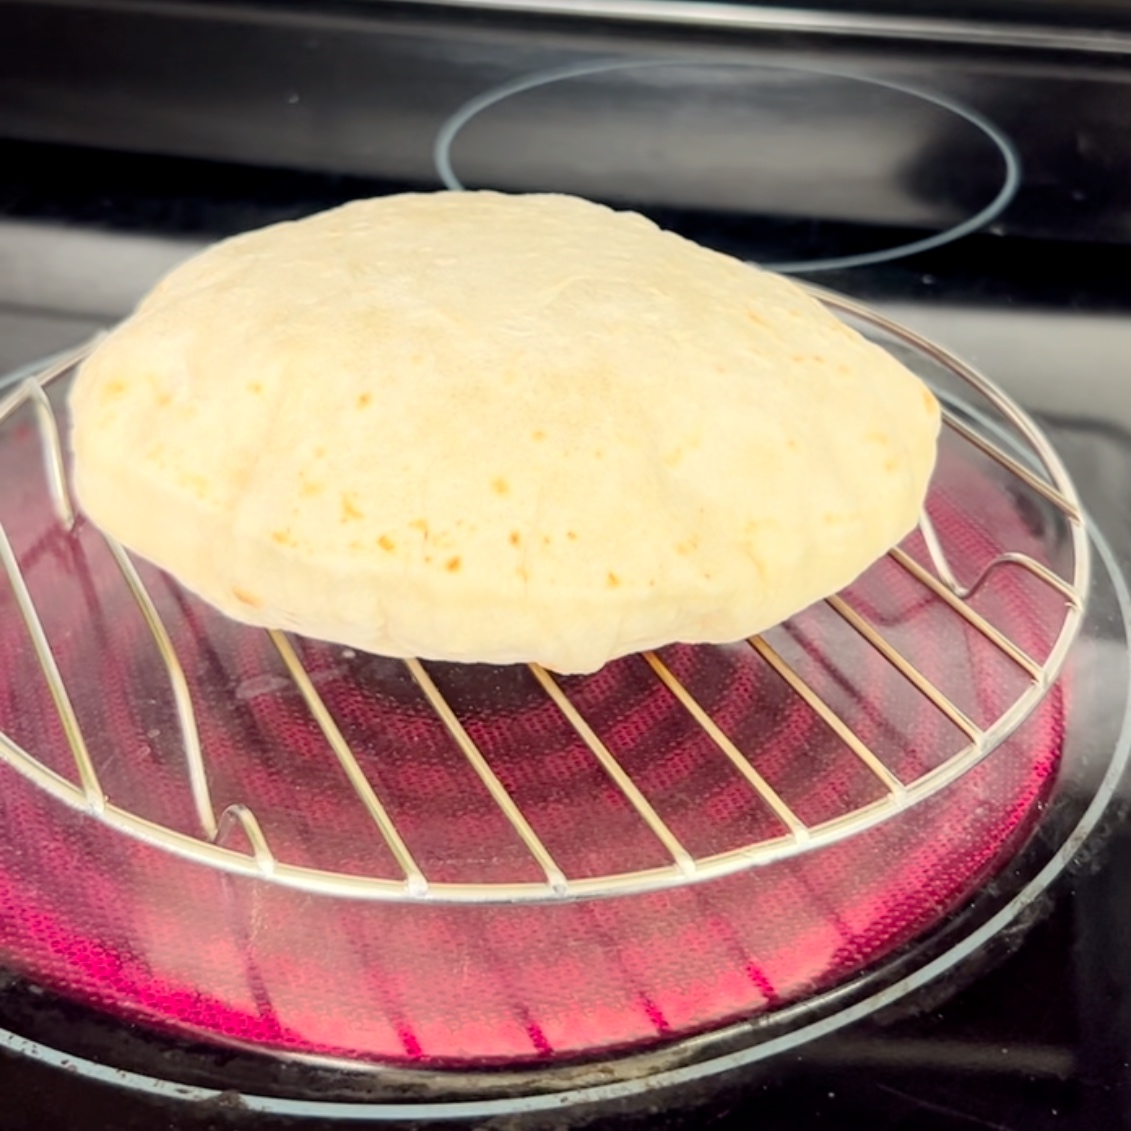
- Place a trivet over the burner and place the roti on top so it will puff up and develop a nice char.
- Pop freshly cooked roti into the microwave for 10-15 seconds

Equipment
- Rubber Spatula: An optional tool to mix the dough.
- Large Mixing Bowl: This contains the dough.
- Tawa or Skillet: The ideal cooking vessel is the tawa but a flat cast iron skillet will work too.
Storage
This batch of sada roti lasted an entire week and was still soft. I kept them wrapped in a kitchen towel and in a ziplock bag. After 3 days I put them in the fridge. On day 5 my husband had one with butter for breakfast and it was as soft as when freshly made.
When reheating in the microwave, wrap with a damp paper towel.
Tips for the Softest Sada Roti
- Use a rubber spatula when mixing the dough. It ensures the dough is smooth with no lumps. You also won’t have to knead as much afterward.
- Do not use the pull-and-tuck method for this recipe because the dough will become stiff. Instead, gently tuck the dough underneath so the top of the sada roti dough balls remain smooth.
- Although the dough balls should be rolled into round disks, it does not have to be perfectly round.
- Apply roti disks to a hot tawa but it should not be smoking. Cook over medium heat.
- Continuously rotate the roti for even cooking. Your sada roti is in good shape if you can move it with your hands without it sticking to the pan.
FAQ
As you are handling the dough, add a bit of flour to your hands if it is too sticky. Apply more if needed just before cooking it on the tawa so it doesn’t stick to the cooking surface.
There may be a hole in the roti so hot air is escaping. Avoid this by making your dough as smooth as possible. Also, ensure your dough is not too dry and that it remains soft while handling it.
Alternatively, you may have cooked it on one side for too long. Flip the roti once bubbles begin to form on the surface.
Both are flatbreads cooked on a tawa but paratha roti is made with some type of fat. Paratha is laminated with fat and flaky while sada roti is not.

Sada Roti
Equipment
- Rubber Spatula
- Large Mixing Bowl
- Tawa or Skillet
Ingredients
- 4 cups all purpose flour
- 3 tsp baking powder
- 1 tsp salt
- 1 3/4 cups warm water
Instructions
- Combine the flour, baking powder and salt in a large mixing bowl and mix together well. Then form a well in the center of the dry ingredients and add all of the water. Mix together to form a soft, sticky dough.
- Turn the dough onto a floured surface and knead the dough about 5 minutes by squeezing the dough. The finally turn the dough over onto itself to make a smooth ball.
- Return the dough to the mixing bowl, cover and let rest for at least 30 minutes, but no more than an hour (to prevent crusting).
- Once dough has rested for at least 30 minutes, separate into 8 equal pieces. Shape the dough pieces into 8 smooth balls by rolling in your palm on a smooth surface. Then cover and let the dough rest for another 30 minutes.
- After the dough rested for 30 minutes, on a floured surface roll the dough into flat disks about 3/16th of an inch thick and about 8 inches in diameter (about the size of a wide open palm). You can also roll your sada rotis out thinner and larger if you prefer.
- Heat up your tawa or skillet on medium heat. When hot add your rolled out sada roti. Then cook until small air pockets appear on the top of the roti.
- Next flip the roti over to cook on the other side. The side that was previously on the tawa or skillet should be lightly cooked. Cook for about 1 minute then flip again and continue to cook until the roti inflates
- Sometimes, you can reduce your heat to low, then slide the roti over the open flame to help accelerate the inflation process. This is called sahke roti.
- Once roti swells into a round ball remove from the heat and wrap roti in a dish towel to keep warm and soft. Repeat the cooking steps to cook the remaining sada rotis.
- Cut into halves and serve warm with your favorite curries and stews or just a dab of butter.
Notes
Nutrition
The information listed in the recipe card is an estimate provided by an online nutrition tool. The tool evaluates ingredient names and amounts then makes calculations based on the number of servings listed for the recipe. It is provided as a general guideline and not as a precise calculation. For precise nutrition information please feel free to add the ingredients to your preferred nutrition calculator or consult a doctor or licensed nutritionist.



 Non-alcoholic Guyanese Black Cake
 Pumpkin Flan
 Almond Flour Black Cake
 Gluten Free Pot Bread
Selina Renfrow Says
My go to recipe as I learn to get the hang of making roti on my own.
Adam Says
Hi! When I make the dough, it feels like it already has a crust of dough before I’ve even allowed it to rest to rise, and when I come back after 30 mins, it doesn’t look any different or have that soft super sticky feeling you had in your video.
What do you think I’m doing wrong? It seems I use too much flour, but I only use my finger tips and dip into a bowl than a shallow plate because I always had the tendency to add too much flour, producing dusty roti. Please let me know if you have any advice!
Althea Brown Says
How are you measuring your flour when making the dough. You may be adding too much flour for the amount of liquid I have in the recipe.
Pam Says
I love sada roti with fried ochro and shrimp , open it like a pocket and fill with ochro ,????. With a nice cup a tea my kind of breakfast
Paul Says
Is it supposed to swell up like that?. Dont remember it swelling like that. This looks more Trini. Dont know, never really seen sada roti swell up really big.
Guyanese sada roti is a big thick thing…it dont look like naan like the Trini, ones. This is how I realized sada roti is the equivalent to naan after seeing the ones Trini version.
Dont know if you know or remember but, in Guyana people used to call it cartwheel, its substantial for people who work in the fields all day, or running after a herd of cows.
Nella Says
10 outta 10!
Thank you Althea for this amazing recipe!
Anita Khan Says
Easy to follow. Pereverything. time.
Anita Khan Says
PERFECT EVERY TIME
Althea Brown Says
Thank you
Althea Brown Says
Thank you so much.
Anita Khan Says
Perfect instructions. The roti swell and my family thinks I am a hero. Thank you.
Althea Brown Says
You are a hero. Claim it. ????????????????
Lee Says
Microwave it for 30 seconds will inflate the roti.
Radha Says
Thanks so much for sada roti recipt i now try it for the first time my roti swell thanks