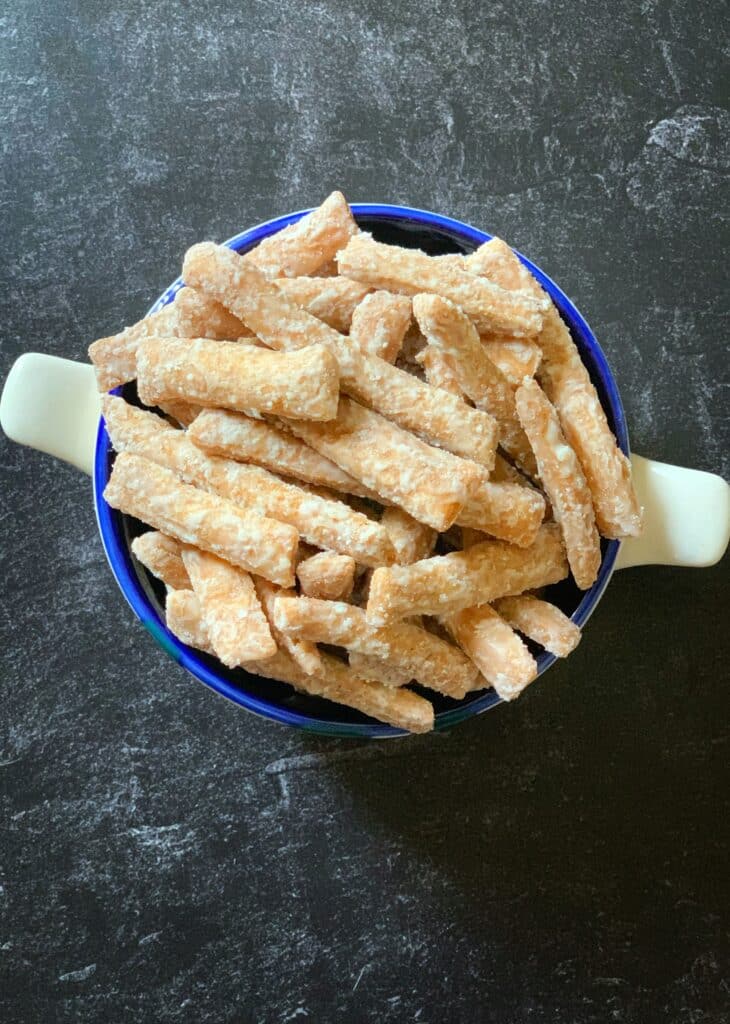
Gluten free Crunchy Mithai is a great way to enjoy one of my favorite snacks without the tummy ache that I get from gluten. Most of you know that I have a gluten sensitivity. Therefore, I avoid gluten in my diet as much as possible. Since being diagnosed with this sensitivity 4 years ago, I converted most of my favorite Caribbean favorites into gluten free versions. Like this crunchy mithai. This gluten free version is so good, you won’t miss the real thing.
Choosing the right gluten free flour
Not all gluten free all purpose flours are created equal and yield the same results. For this recipe I am using King Arthur Measure for Measure Gluten Free Flour. I’ve tried other all purpose cup for cup gluten free flour in this recipe and did not get the same results. Therefore, I highly recommend using King Arthur Measure for Measure Gluten Free Flour when making your gluten free crunchy mithai.
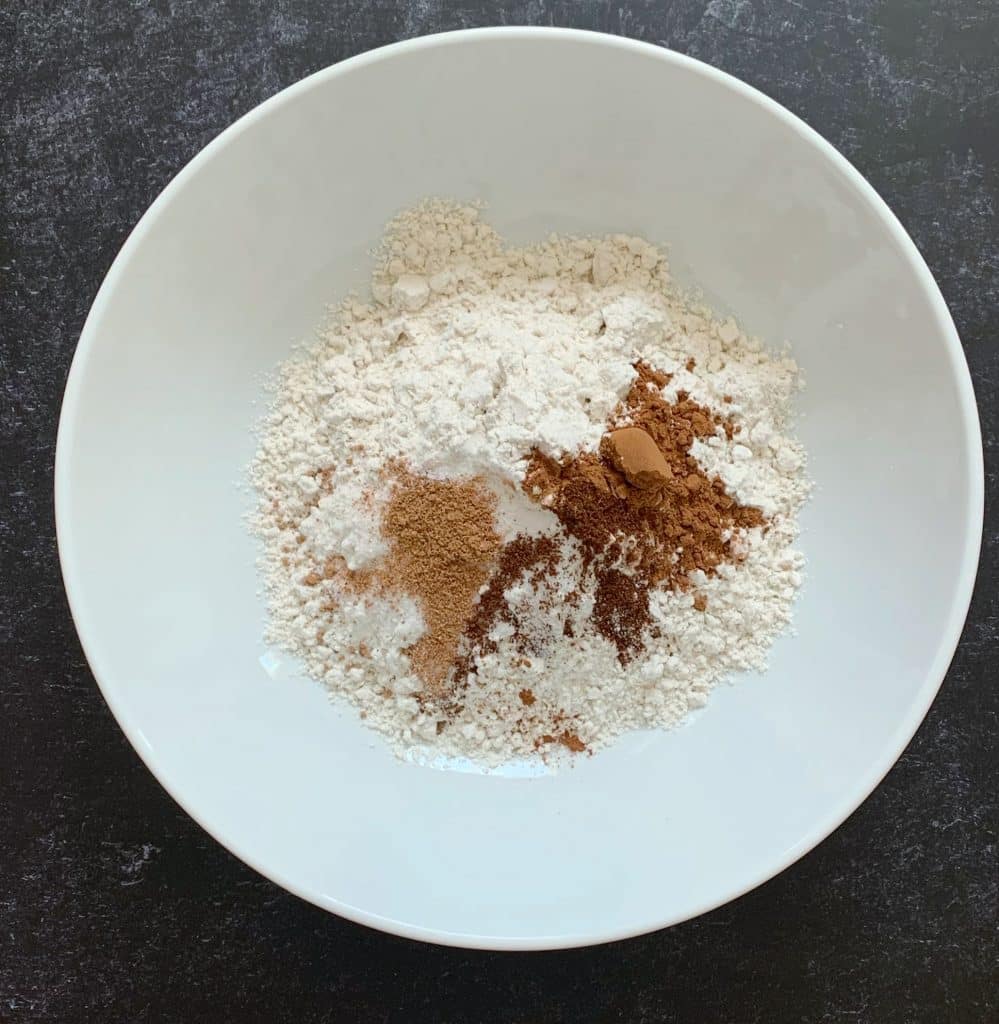
Gluten free flour tends to taste a bit bland, therefore I amped up the spices in this recipe and added 1 tablespoon of sugar for a bit of additional flavor. I also made this recipe dairy free and vegan. I love when a recipe can fit into many dietary needs and still be as tasty as the original version. My next challenge is to make it refined sugar free!
Making the Gluten Free Crunchy Mithai Dough
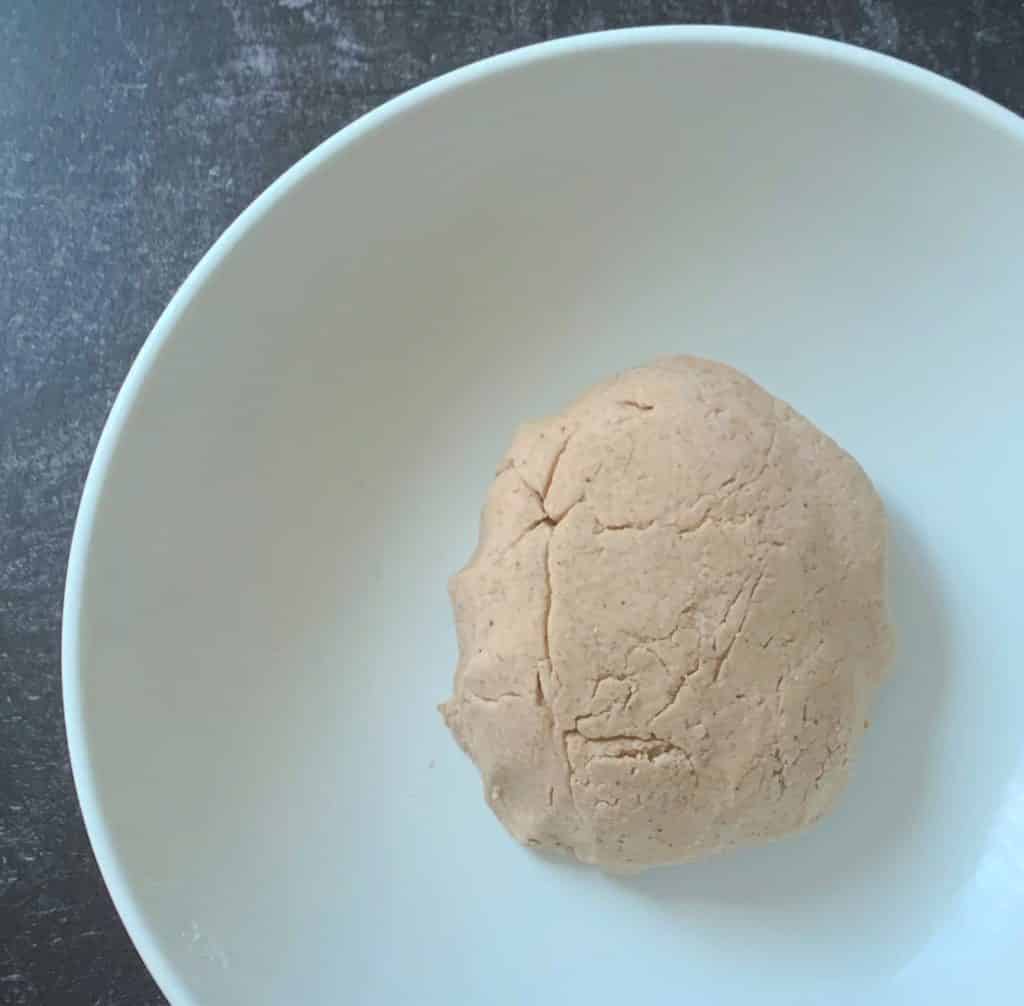
The gluten free dough is a lot harder to work with that regular dough. Unlike the regular crunchy mithai dough, this gluten free dough needs to be soft. The gluten free dough can be quite sticky to work with. Therefore, I recommend using a rubber spatula to mix the wet and dry ingredients together and pull it into as smooth a dough ball as possible. And once you’ve pulled it together and the dough rests for a bit, work the dough between parchment paper to prevent it from sticking on your work surface and rolling pin.
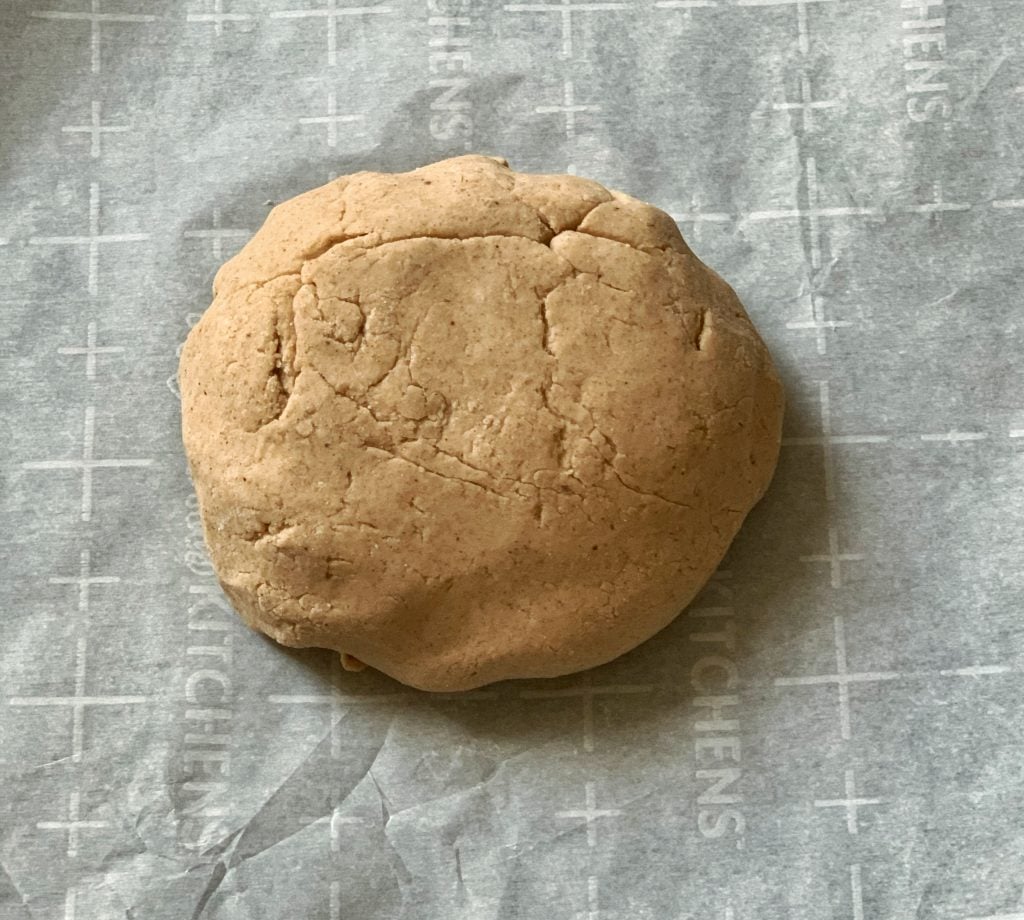
It is better to work the dough in small pieces, so I cut the dough ball into 4 and work with each small piece of dough at a time. But if you prefer to roll the entire dough ball out and cut it into strips that is also an option. Do what works for you.
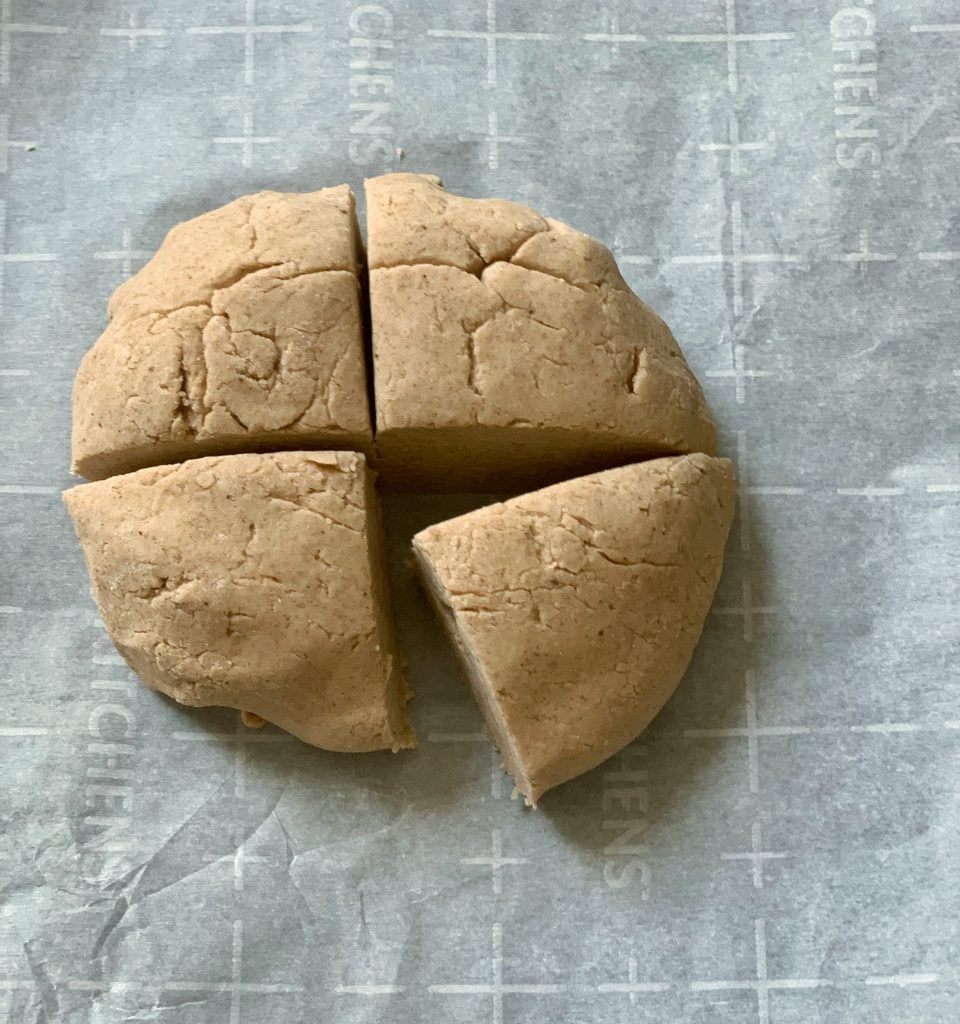
Shaping the Gluten Free Mithai
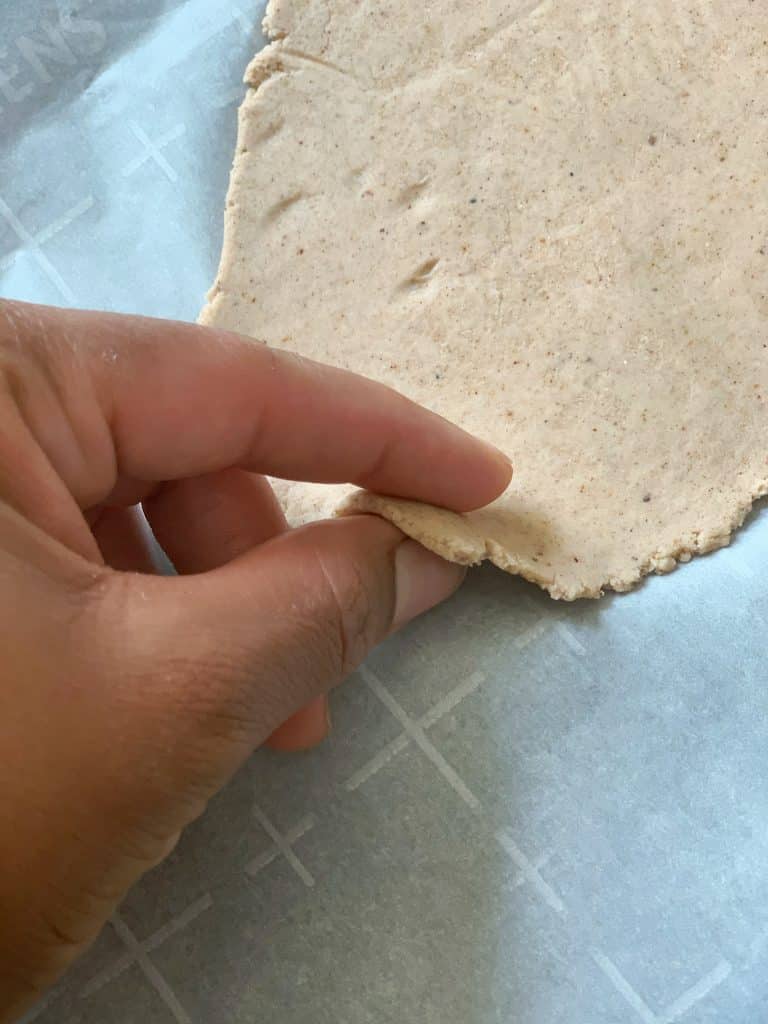
This dough is not like regular dough. You can try to roll the mithai into the traditional mithai shape but it will not work. Trust me I’ve tried and the dough falls apart or becomes so compacted that it cooks up into the hardest stick of unappetizing dough you ever bit into. So for these mithais, I just roll the dough out until it is about 3/16 of an inch (so a little thicker than 1/8 inch), then I cut it into neat, somewhat even strips. I kept mine to 2 inches in length just to make it easier to fry and not curl up or fall apart.
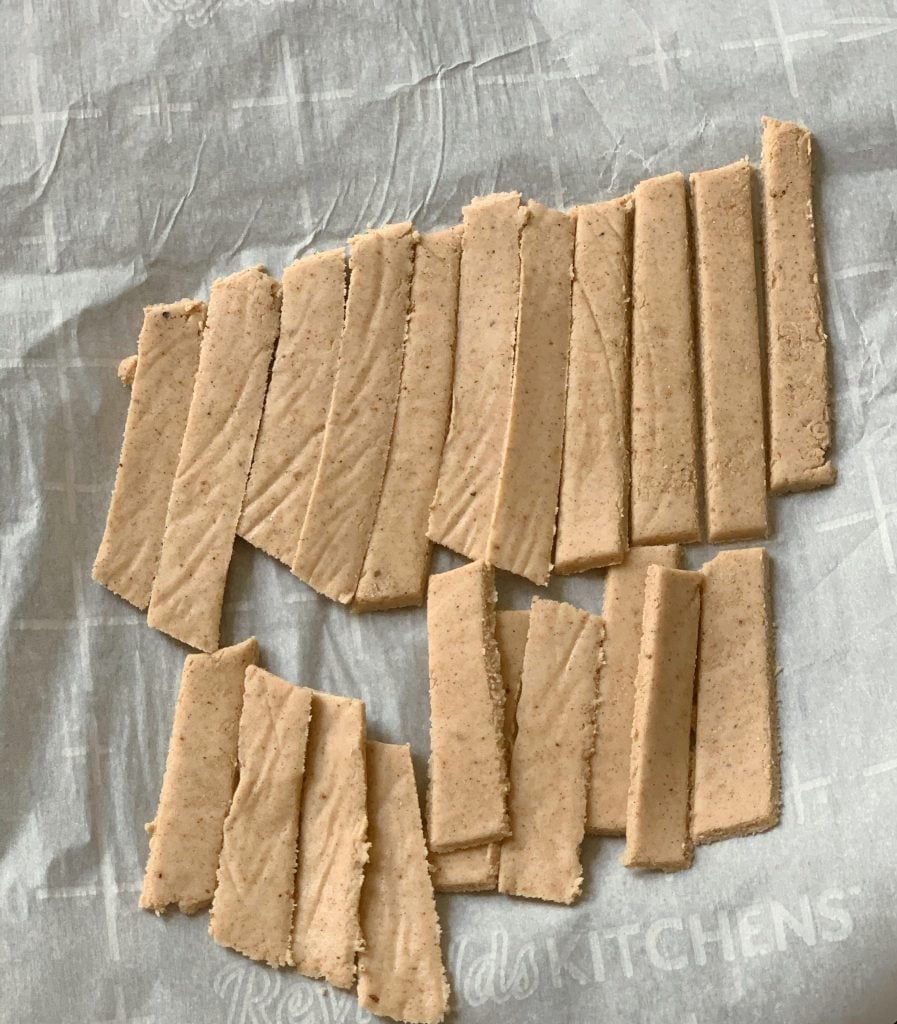
Frying the Mithai
I fried my Mithai on medium to medium-low heat. It’s a somewhat low and slow fry. Remember you are working with gluten free dough that can be less stable than regular dough so don’t use the same amount of heat that you would for regular mithais. Fry your gluten free mithai until they are crunchy and some what golden brown (It may not get to that true golden brown stage because fried gluten free flour often looks a bit pale). This takes between 3-5 minutes per batch.
When I think the mithai is ready, I remove one piece from the oil, let it cool down completely then break it in half, checking for crunchiness. Then I take a bite to ensure it is crunchy all the way through. Once I’ve achieved those two markers, I remove the rest of the mithai from the oil and heat and drain in a bowl lined with paper towels.
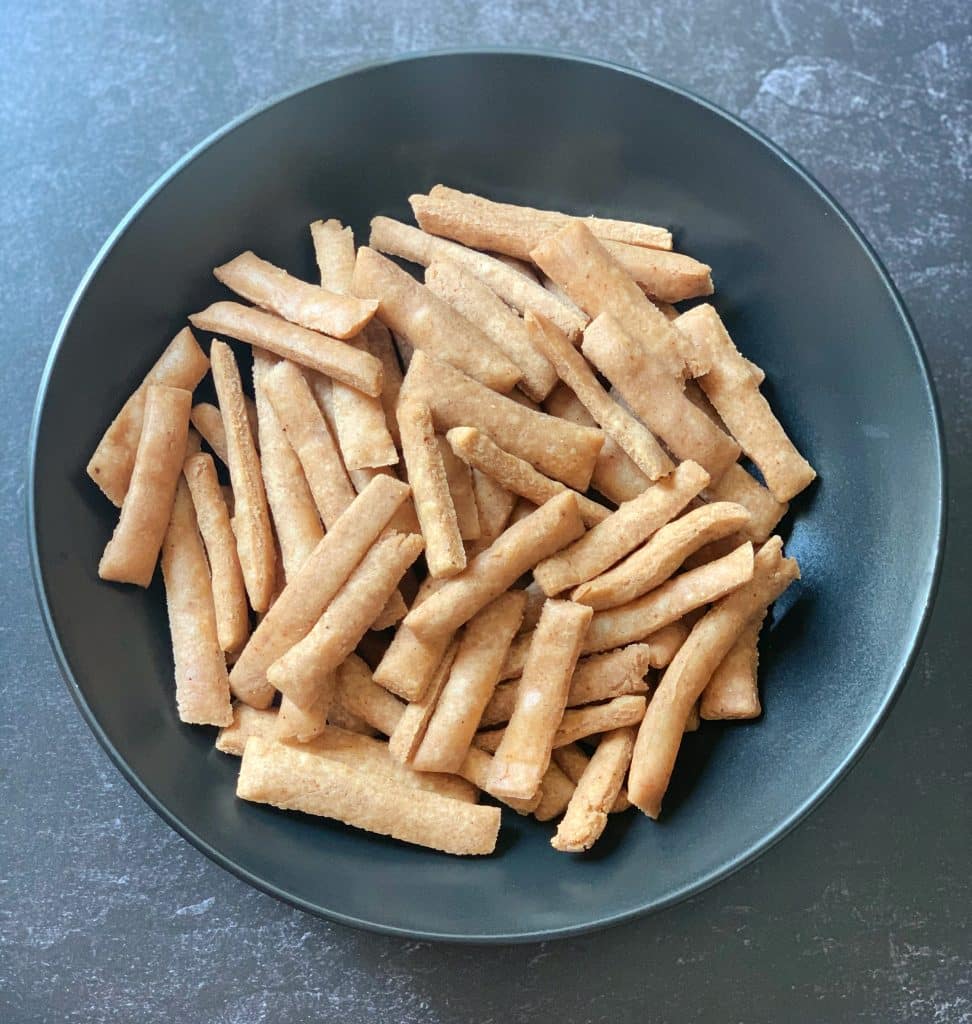
The cooked mithais before the sugar syrup was added were actually quite tasty and I had to stop myself from munching on them for fear of eating them out before we got to the sugar syrup. My children also enjoyed these quite a bit!
Adding the sugar syrup
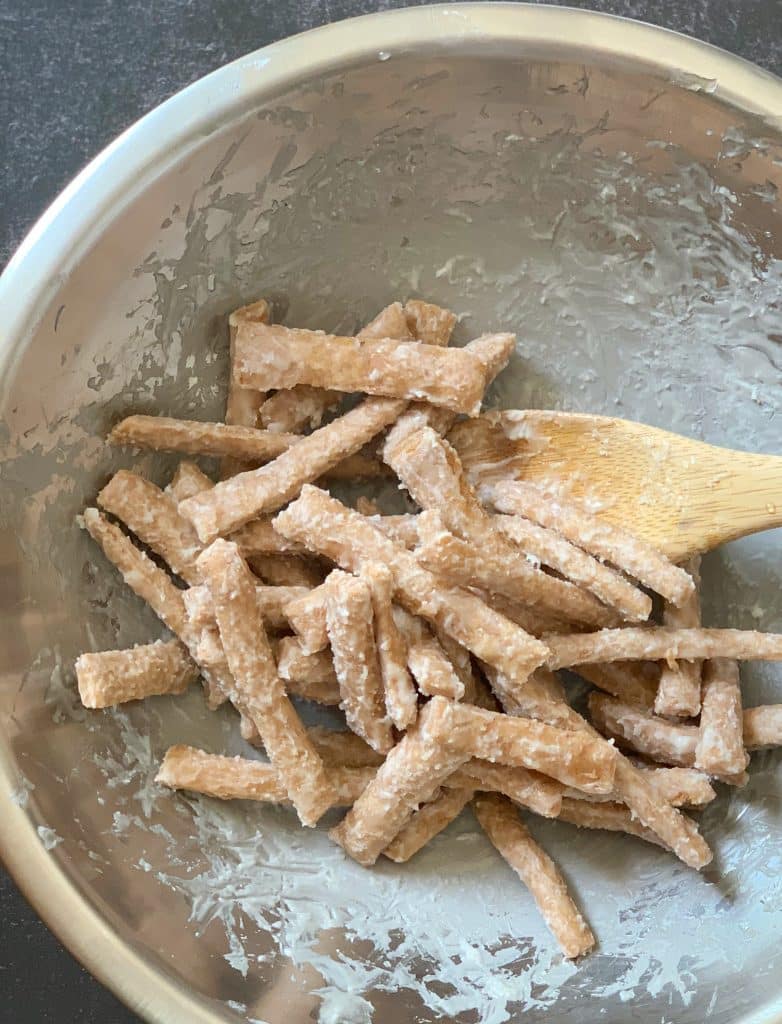
This step is sometimes the hardest part for most. Making and adding the sugar syrup can be a bit tricky. But a mithai is not a mithai if it is not coated in a light dusting of crystalized sugar. In the past I had many failed sugar syrup moments when the sugar didn’t get to the right stage (soft ball stage) and made the mithai a soggy mess. Don’t let all your hard work go to waste. Learn how to check your syrup for the soft ball stage by reading the article linked here. Also I highly recommend investing in an instant read food thermometer. It is an essential kitchen tool. No guessing if the syrup is at soft ball or not. Just stick the thermometer in and record the temperature and you’ll be sure if it is ready or not.
I added the sugar syrup to small batches a little at a time and gently tossed the gluten free crunchy mithai until the sugar crystalized. The gluten free crunchy mithai is a bit more delicate than regular crunchy mithai so please be gentle when tossing in the sugar to prevent the mithai from breaking into pieces.
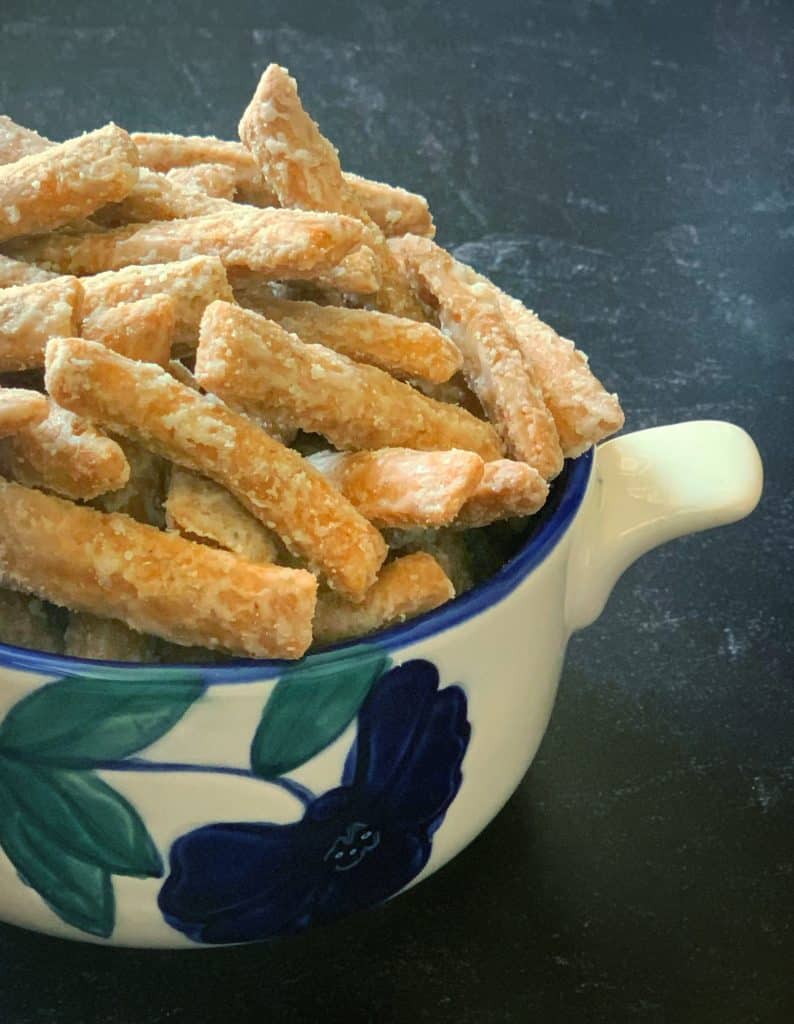
The Gluten Free Crunchy Mithai Recipe

Gluten Free Chruncy Mithai

Ingredients
- 2 cupsKing Arthur Gluten Free Measure for Measure Flour
- 1 tablespoon of granulated sugar
- 1 teaspoon of ground cinnamon
- 1/2 teaspoon of ground nutmeg
- 1/4 teaspoon of ground cloves
- 1 tablespoon of coconut oil melted
- 1/2 teaspoon of vanilla extract
- 3/4 cup of coconut milk warmed
- 3 cups of oil for frying
For the sugar syrup
- 3/4 cup of granulated sugar
- 3/4 cup of water
- 1 teaspoon of vanilla extract
Special tool or equipment
- Parchment paper for rolling and working with the dough
Instructions
- Combine the gluten free measure for measure flour, ground cinnamon, ground cloves, ground nutmeg and granulated sugar in a mixing bowl. Mix together well and set aside
- Then in a separate bowl or cup combine the warm coconut milk, vanilla and melted coconut oil and mix together well
- Next add the warm coconut milk mixture to the dry ingredients and mix together to form a soft dough ball. A rubber spatula is a great tool for this step
- Then cover the dough ball with a damp paper towel and let rest for at least 30 minutes
- After 30 minutes divide the dough ball into 4 pieces
- Then working a piece of dough at a time, place the dough between two sheets of parchment paper and roll until the dough is about 3/16th inch thick
- Next cut the dough into strips that are about ½ inch wide and 2 inches in length
Frying the crunchy mithai
- Add 3 cups of oil to a large saucepan, then place on medium to medium-low heat
- When the oil comes up to temperature and is hot but not smoking, add the mithai strips. Try not to add them in clumps as they may stick together
- Fry on medium-medium low heat until the mithai is golden brown (this should take between 3-5 minutes) then remove from the oil and place in a bowl lined with a few sheets of paper towel. The paper towels will “soak up” any excess oil from frying
- Repeat until all of the dough has been rolled out and fried
Making the sugar syrup
- Combine the sugar and water in a small saucepan then mix together until the sugar dissolves
- Then place saucepan on medium heat and bring to a boil
- Continue to boil until the syrup reduces and is at the soft ball stage or 235 °F (click here to learn how to test for “soft ball” without a thermometer)
Coating the mithai
- When the syrup reaches the soft ball stage, pour the syrup over the fried mithai and gently toss until the sugar crystalizes. I do this in small batches to ensure that all of the mithai are evenly coated with sugar
Notes
The information listed in the recipe card is an estimate provided by an online nutrition tool. The tool evaluates ingredient names and amounts then makes calculations based on the number of servings listed for the recipe. It is provided as a general guideline and not as a precise calculation. For precise nutrition information please feel free to add the ingredients to your preferred nutrition calculator or consult a doctor or licensed nutritionist.
Try my Gluten Free Soft Mithai Recipe:
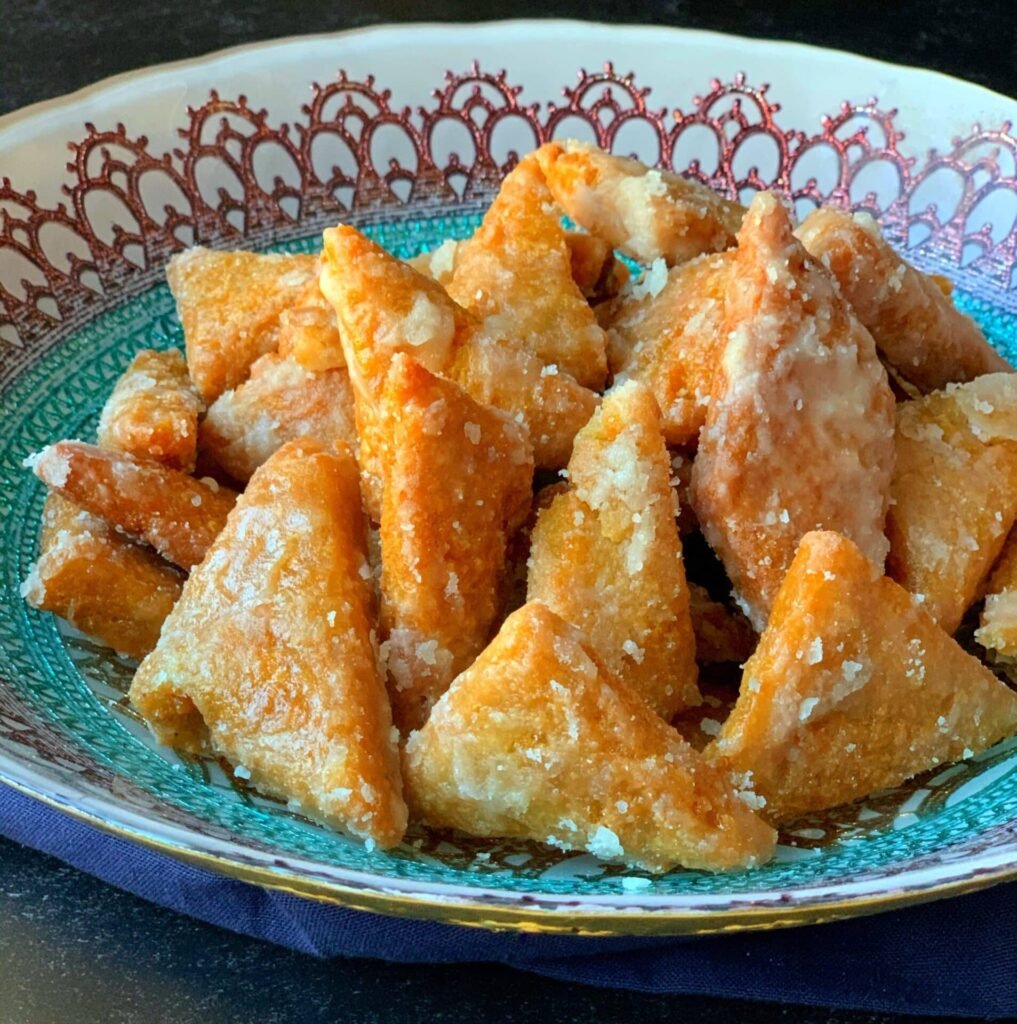


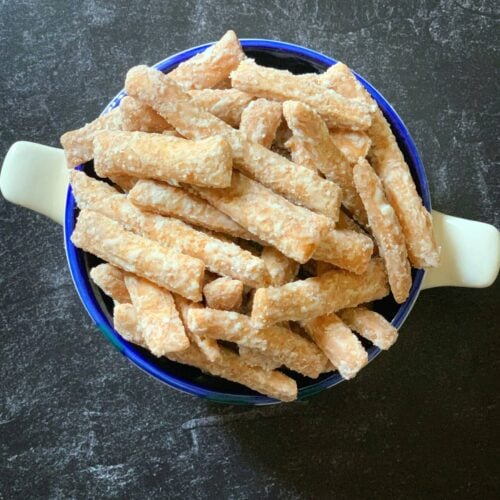
 Aunty Cheryl’s Crunchy Mithai
 Guyanese Pholourie (Split Peas Fritters)
 Cassava Egg Ball
 Boil and Fry Channa (With Instant Pot Instruction)
Leave a Rating and a Comment