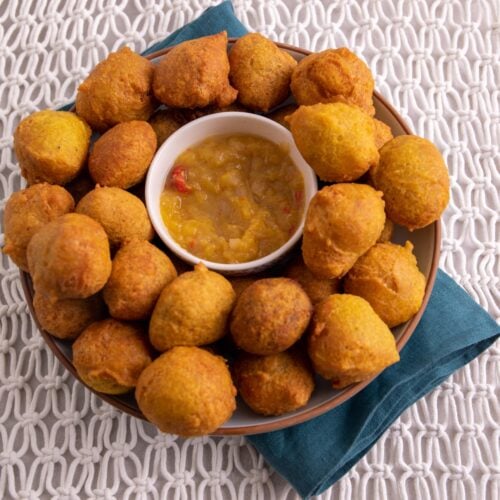
Guyanese Pholourie is a fritter made with split peas, flour, herbs and spices. It is typically served with mango sour, a popular Guyanese chutney/relish. A variation of pholourie is made without split peas, but I prefer the split peas version also called dhal pholourie.
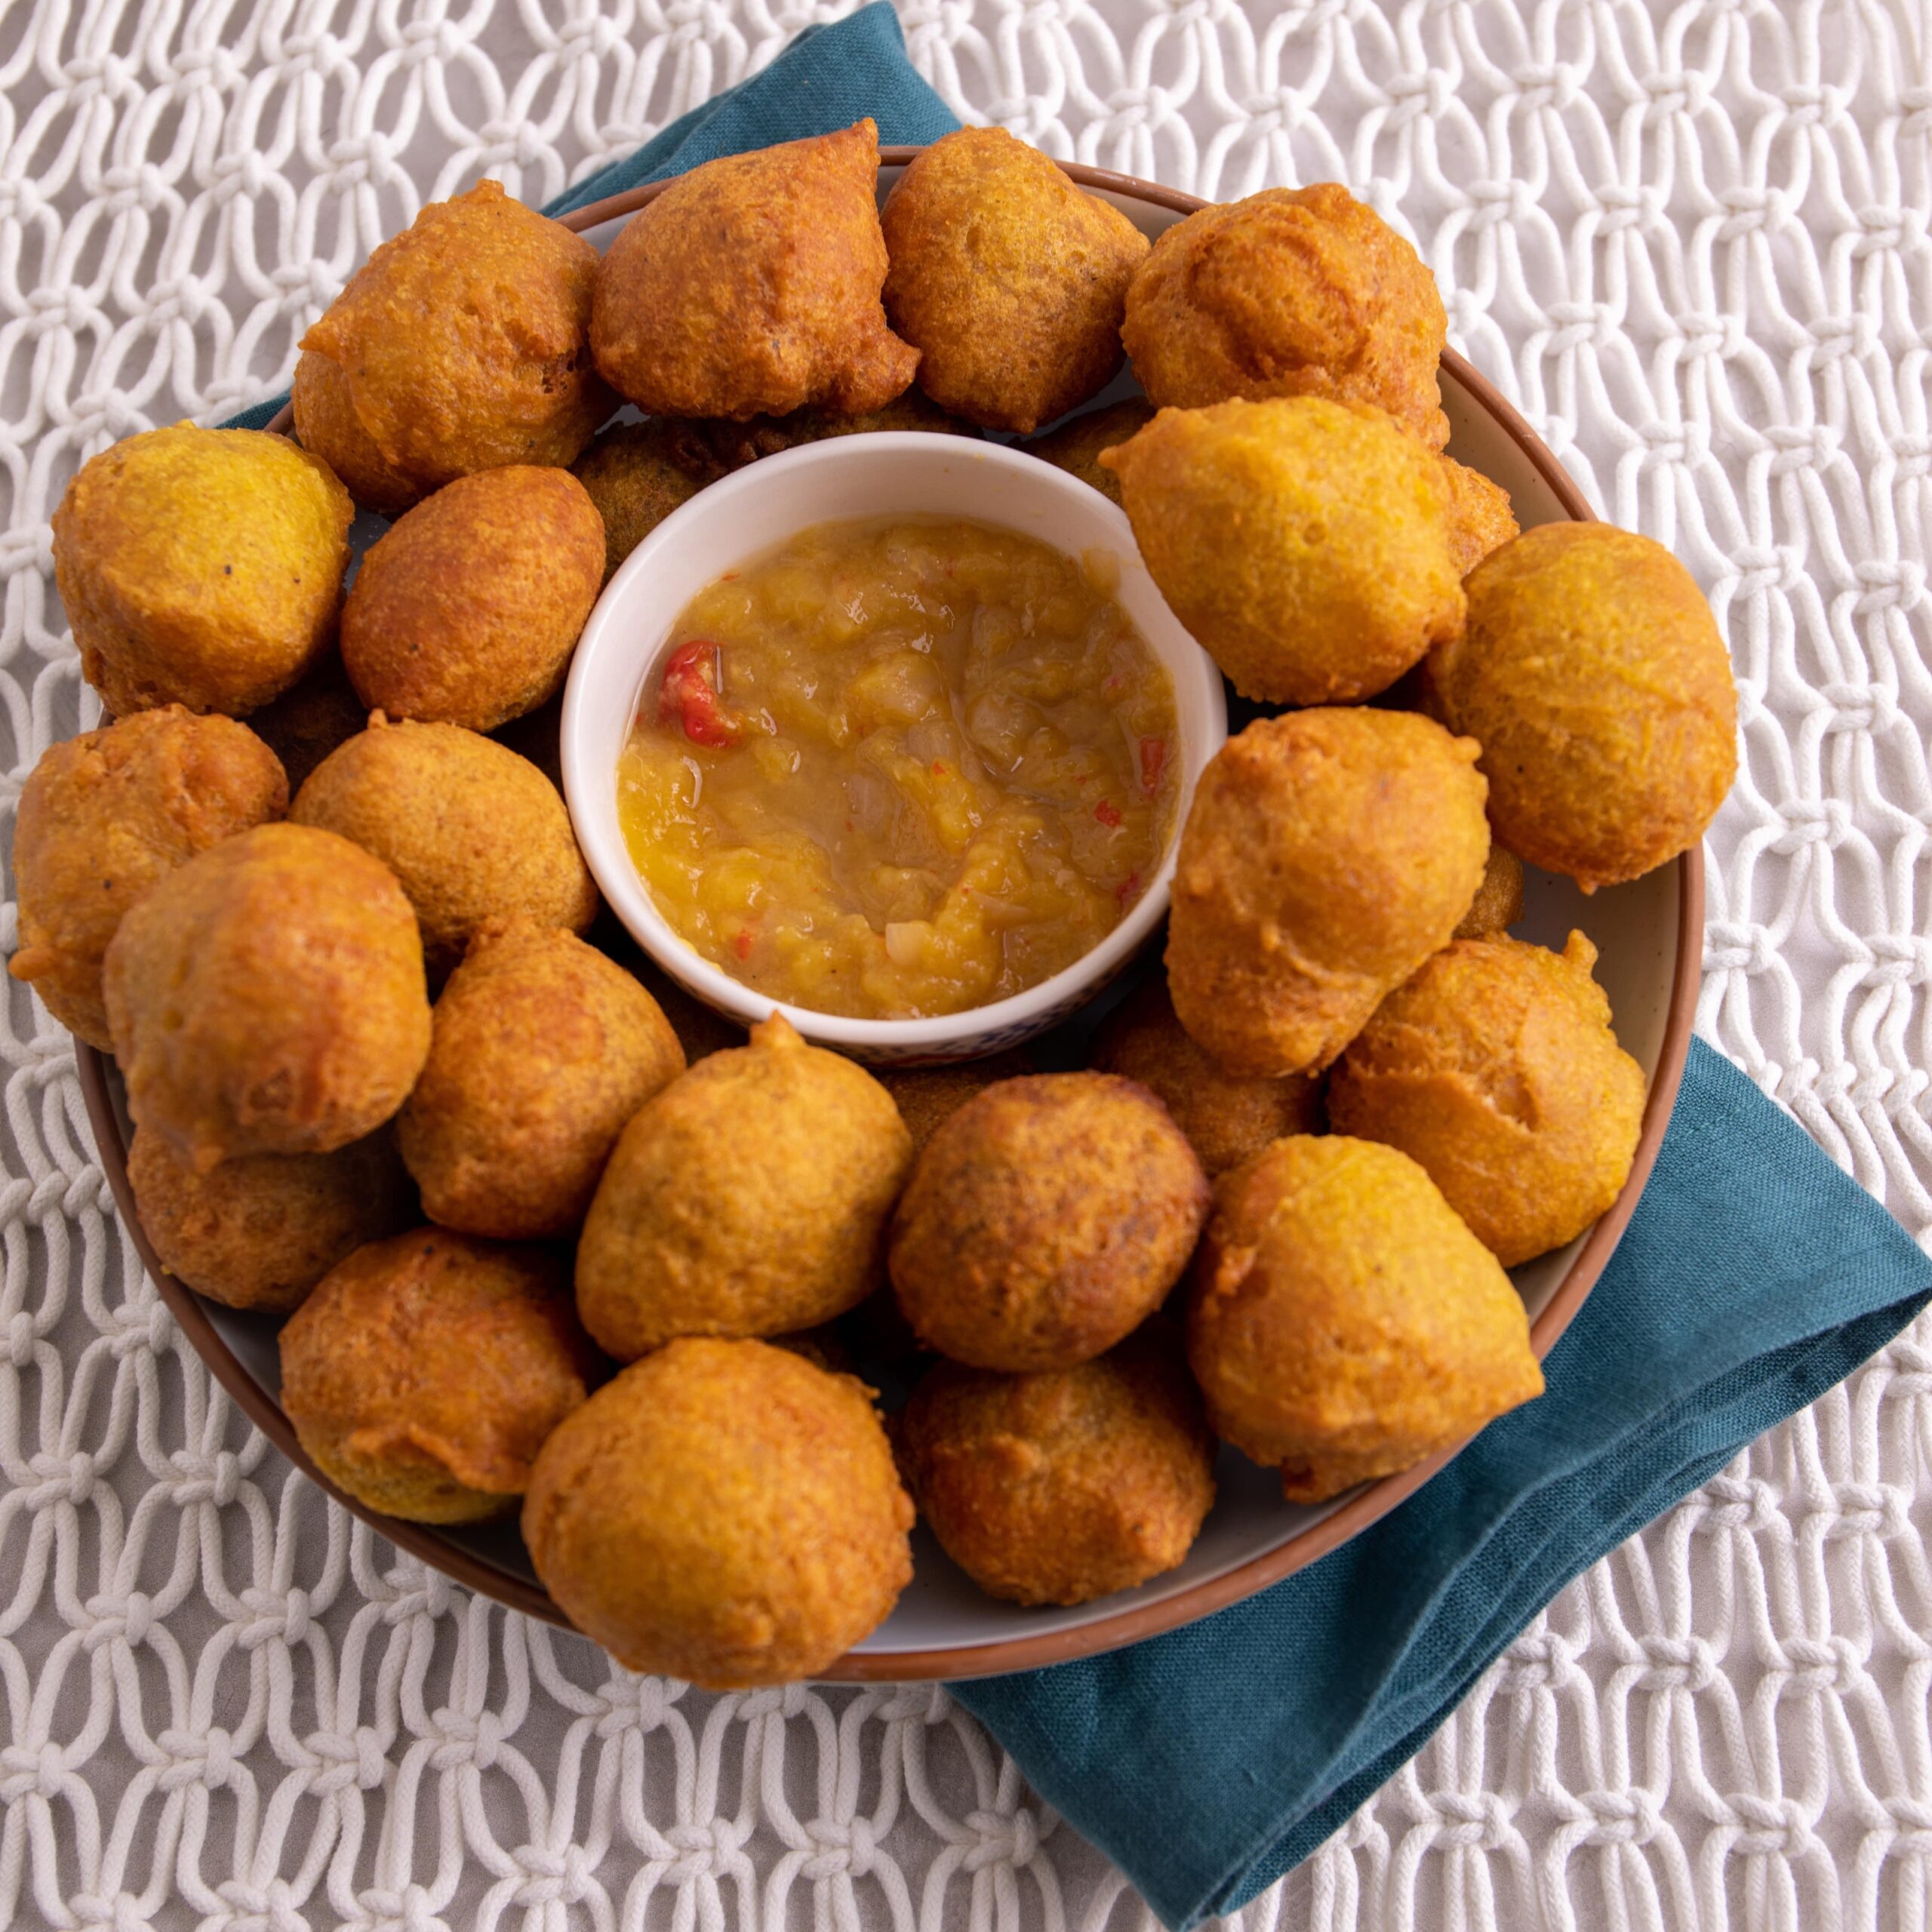
When I was growing up in Guyana, my favorite school yard snack was pholourie. From Primary School to High School, buying Pholourie and mango sour for snack or even lunch was a rite of passage. Now I make pholourie for my children as their after school snack and they love it.
Ingredients for Guyanese Pholourie
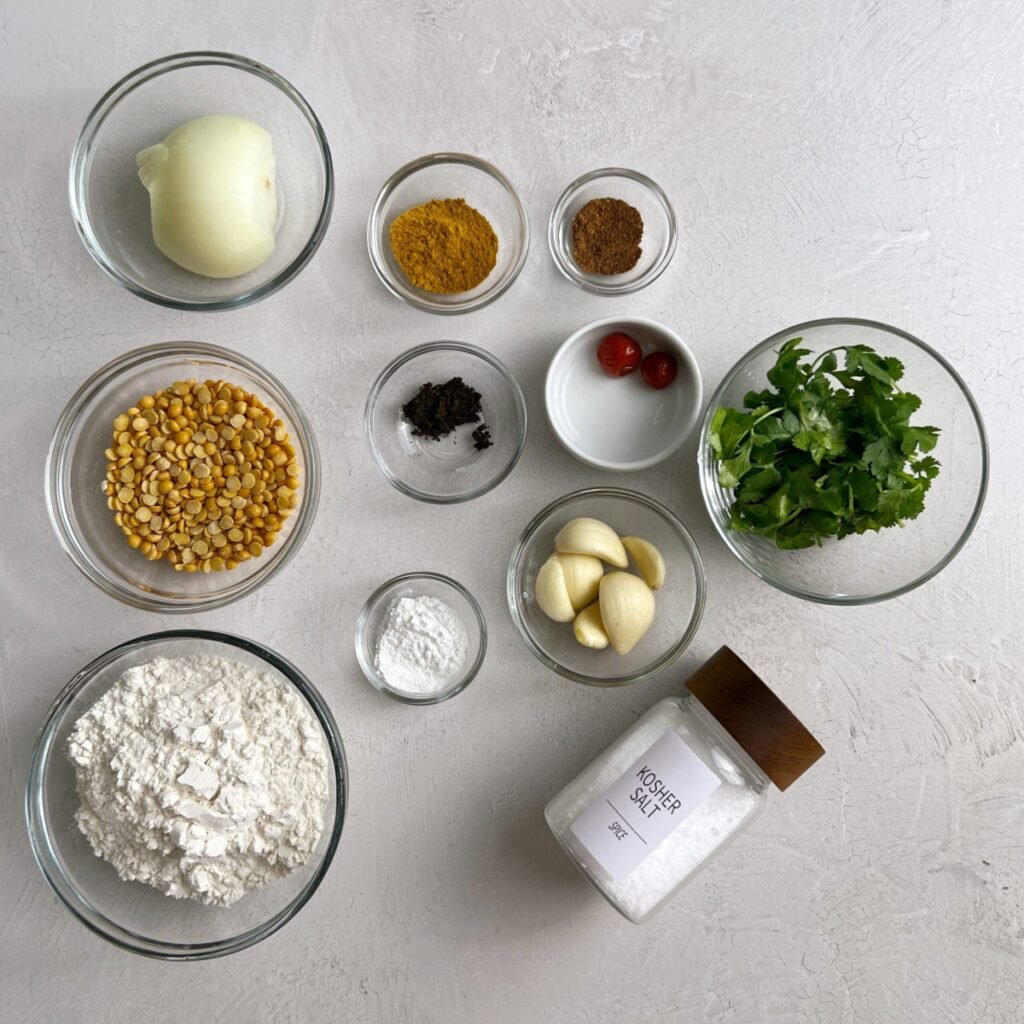
- Yellow Split Peas
- All Purpose Flour
- Baking Powder
- Onion
- Garlic
- Geera (roasted Ground Cumin)
- Garam Masala
- Curry Powder
- Salt
- Coriander leaves (Cilantro) / Culantro (optional)
- Wiri Wiri Peppers or other chilis (optional)
See recipe card for exact measurements
Step by Step Instructions for Pholourie
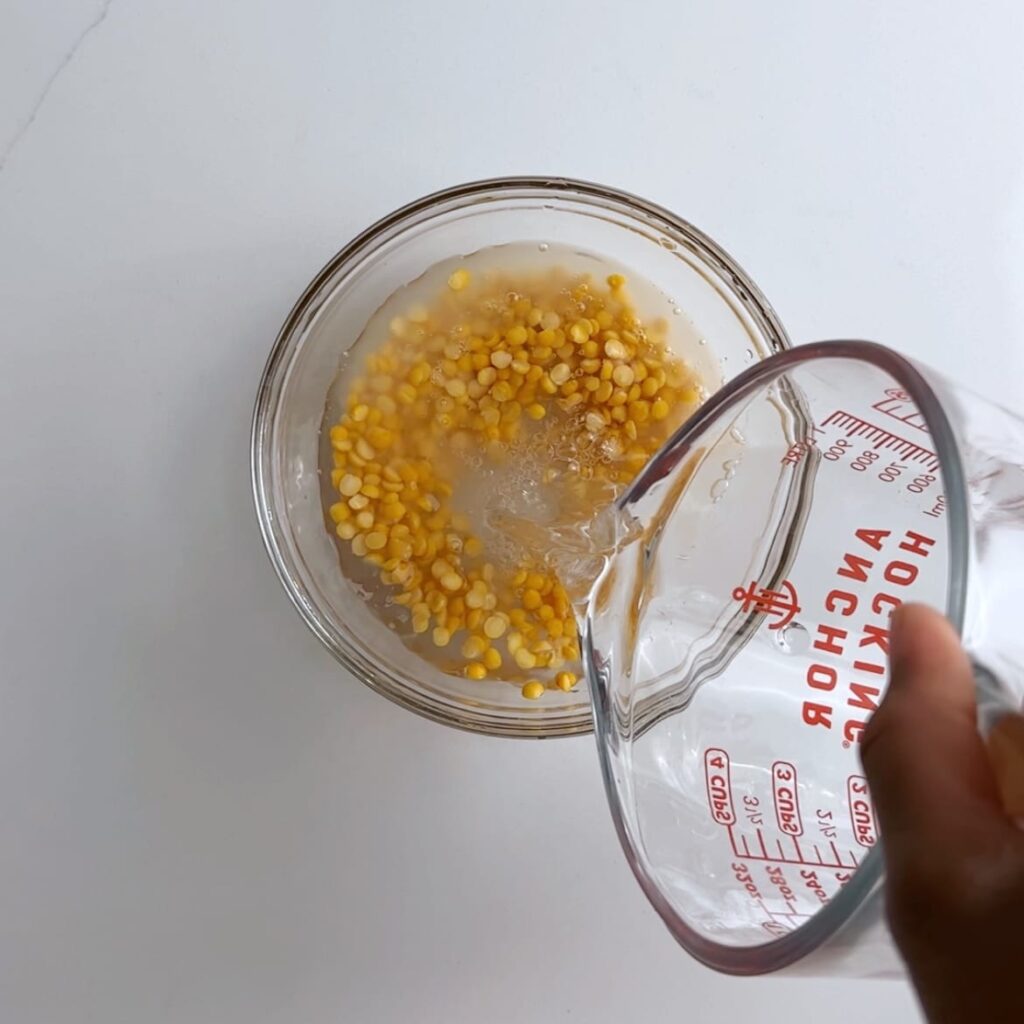
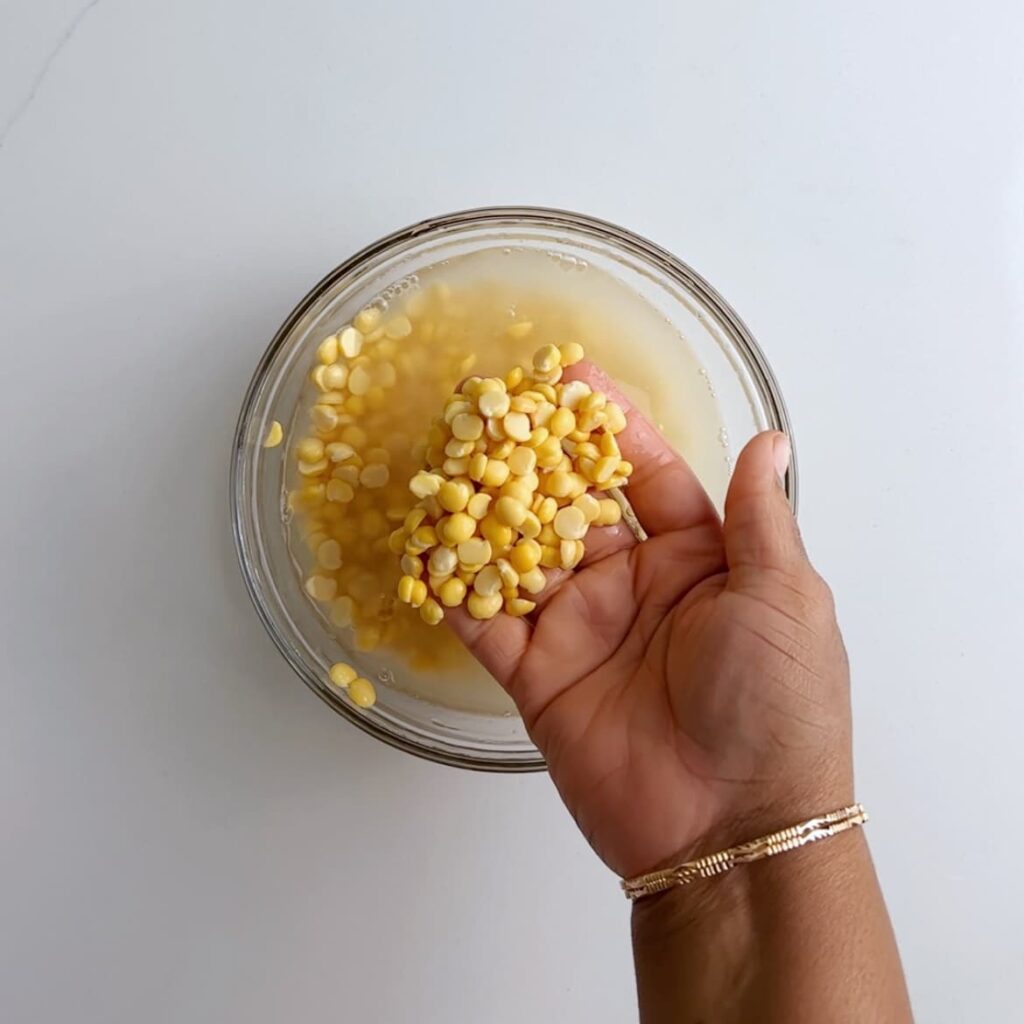
Step 1: Soak the split peas over night. Rinse the split peas then soak with water over night or until the peas double in size. This allows for a smooth blend when processing the peas and a less grainy pholourie.
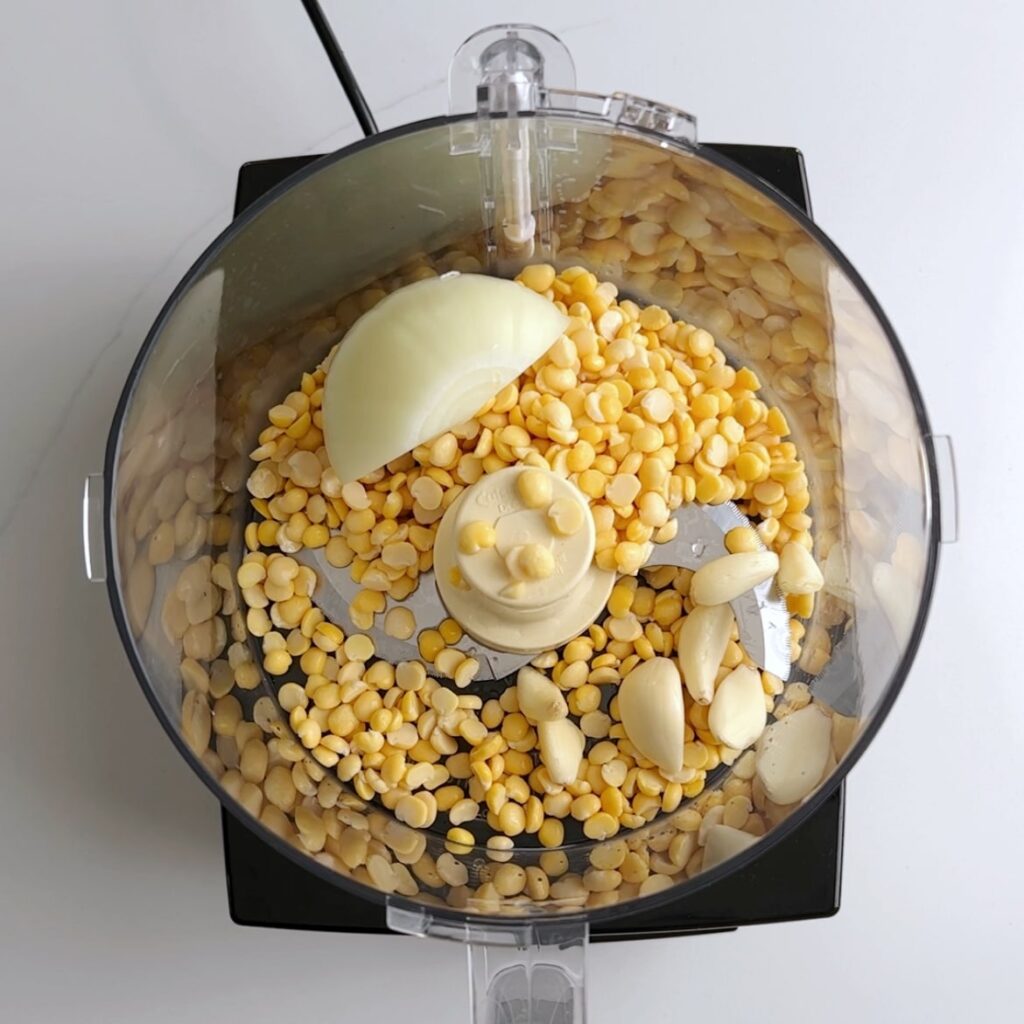
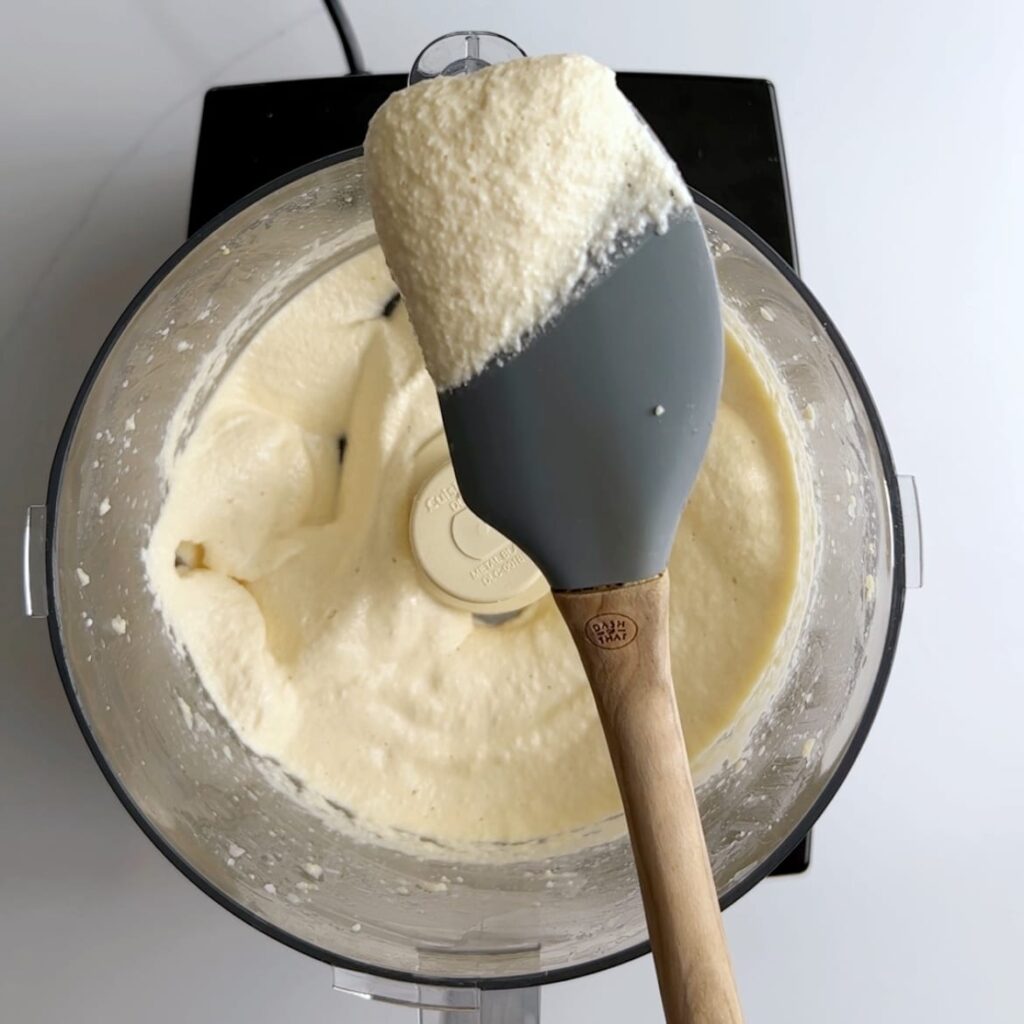
Step 2: Add the soaked peas along with the onion and garlic to a food processor. Then. blend until smooth. The longer you blend the smoother and fluffier the pholourie will be.
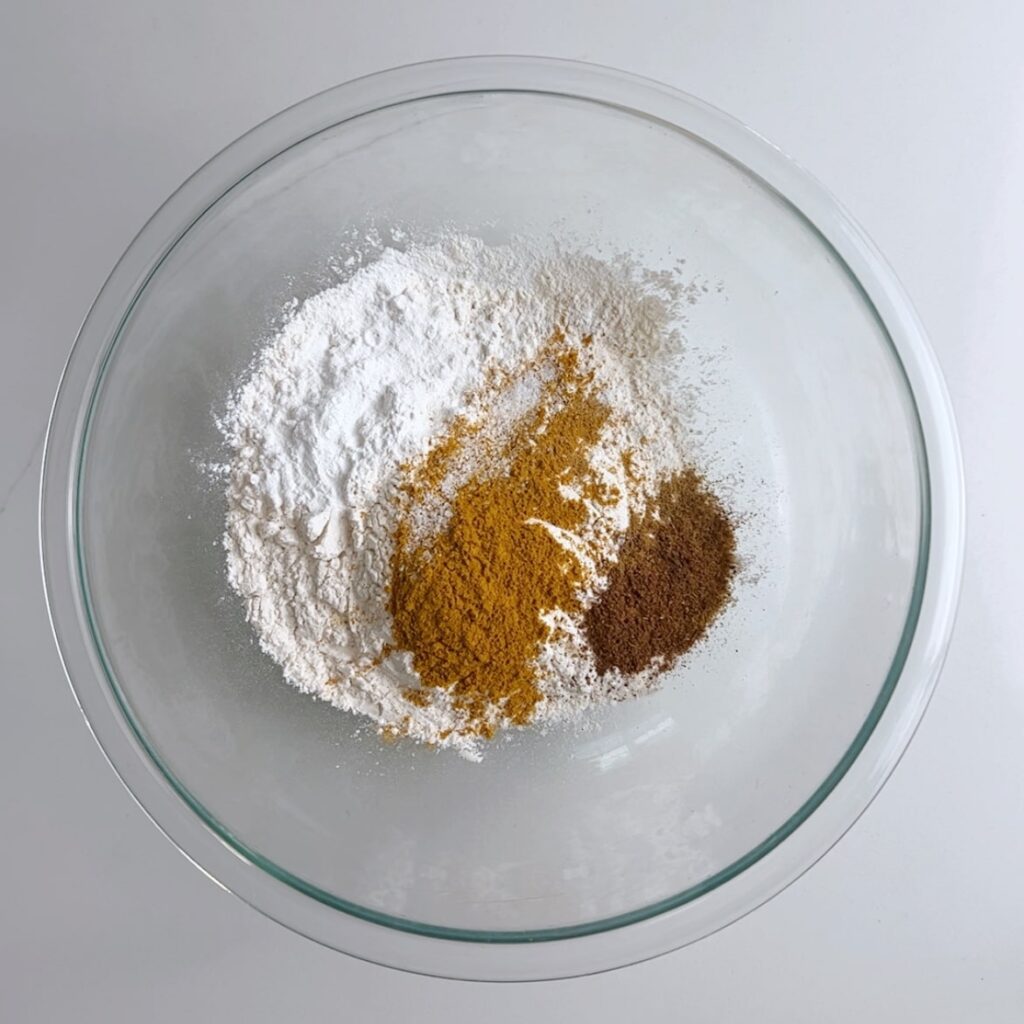
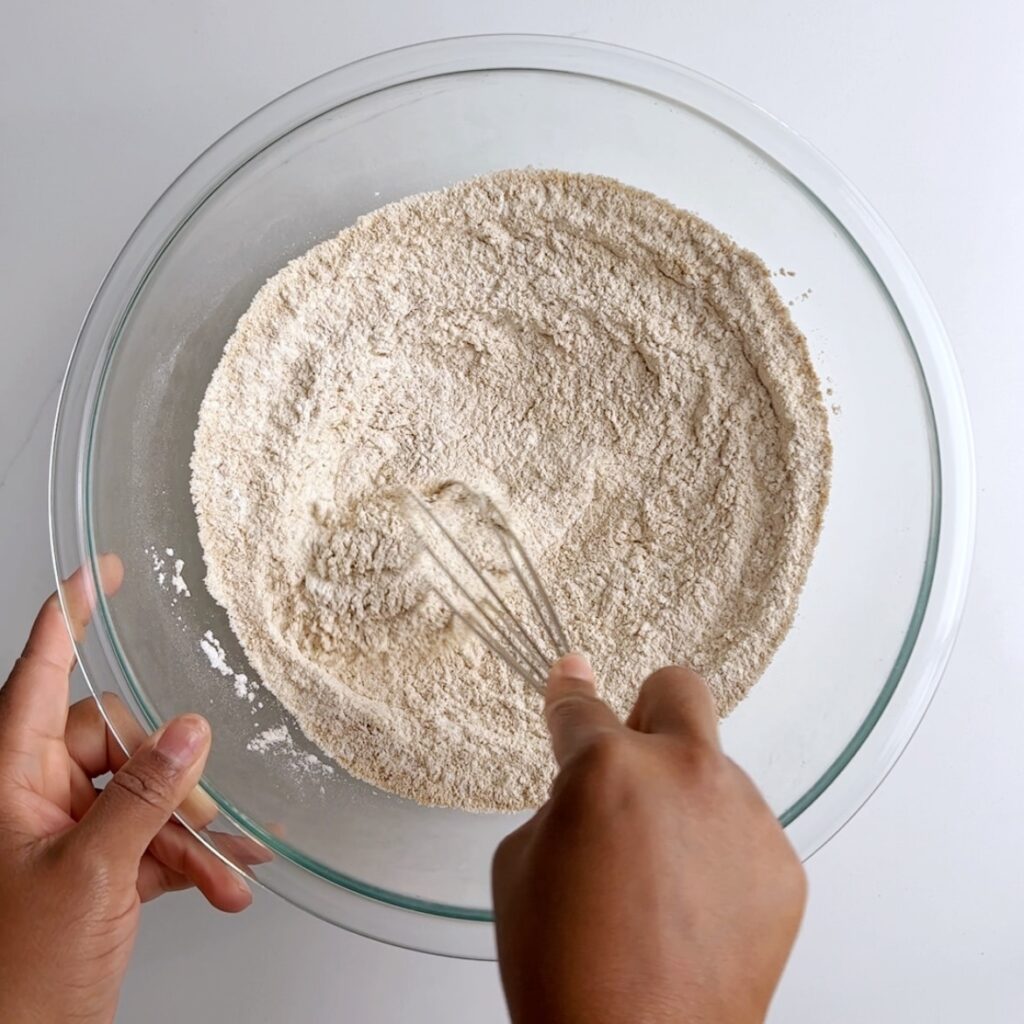
Step 3: Combine all of the dry ingredients and mix together well.
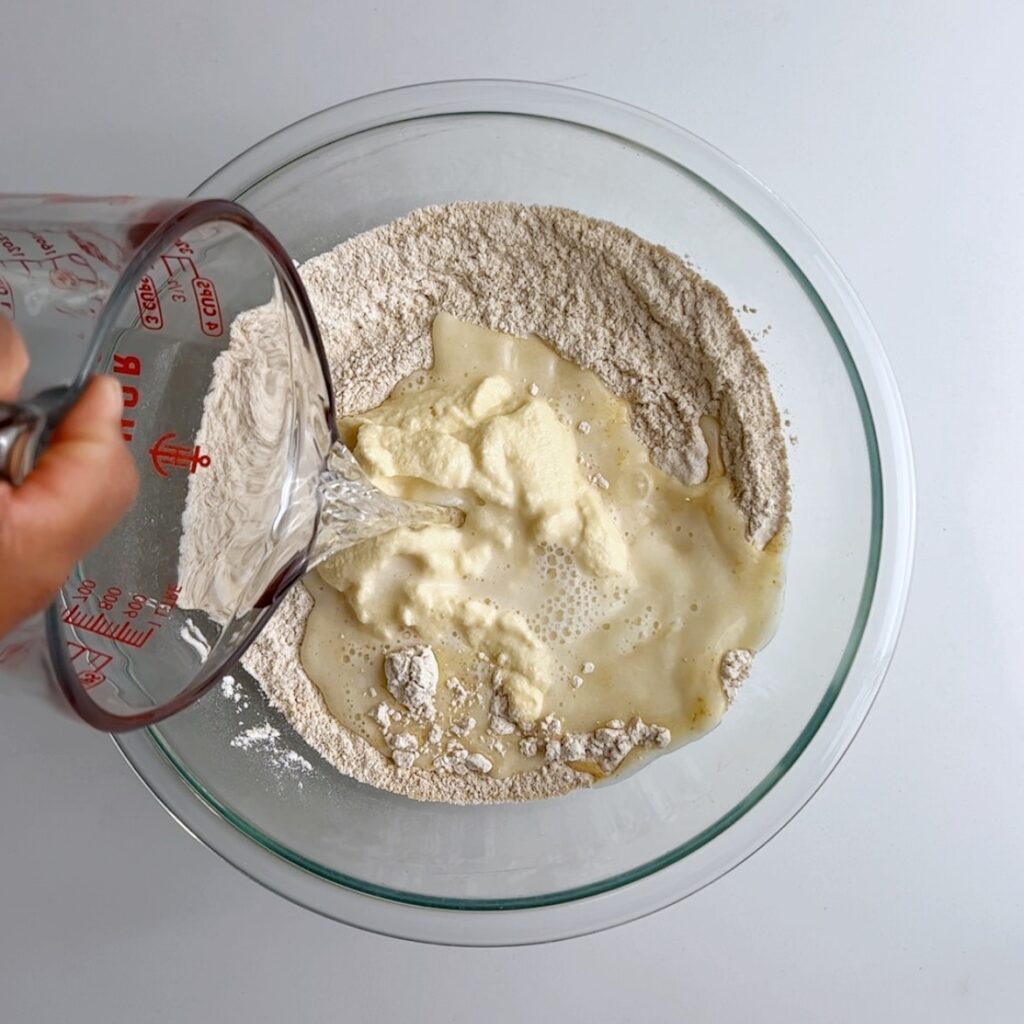
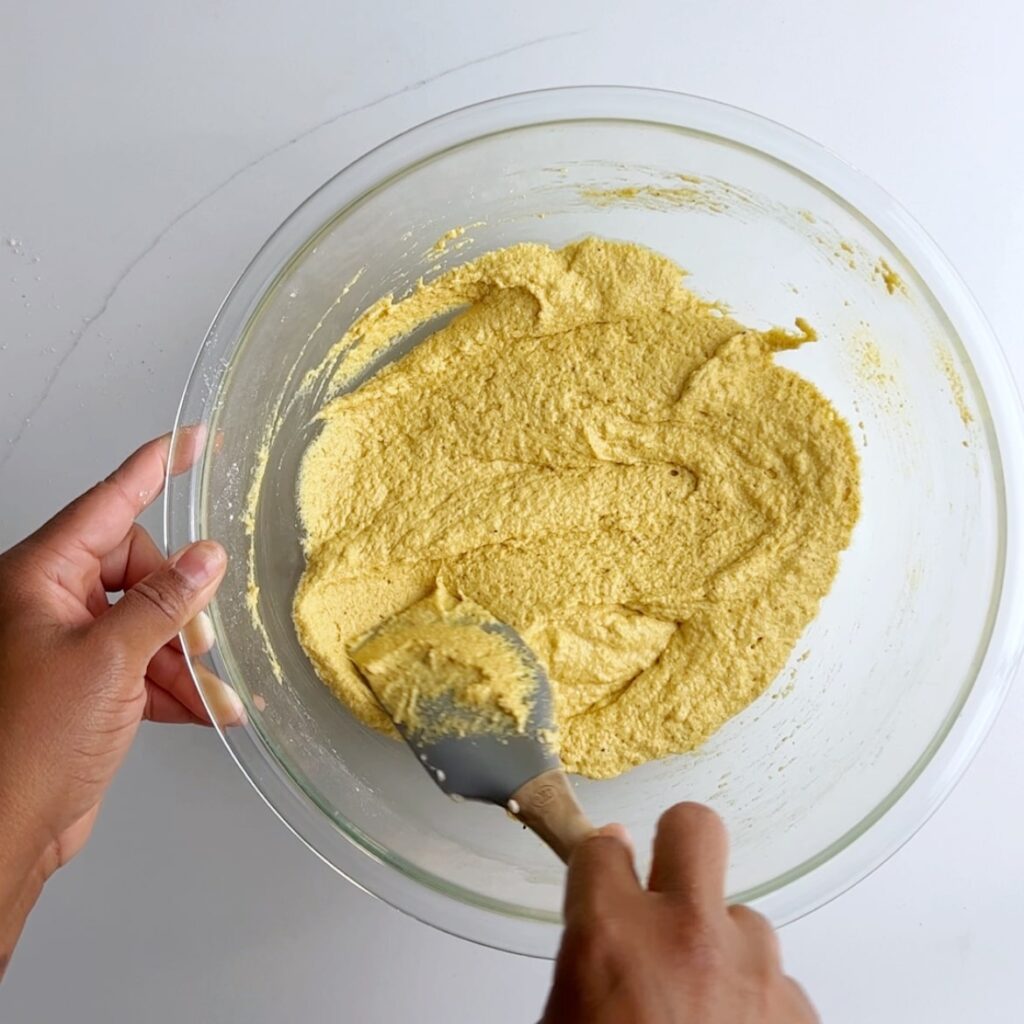
Step 4: Add the blended peas and some water to the dry ingredients and mix together to form a soft batter.
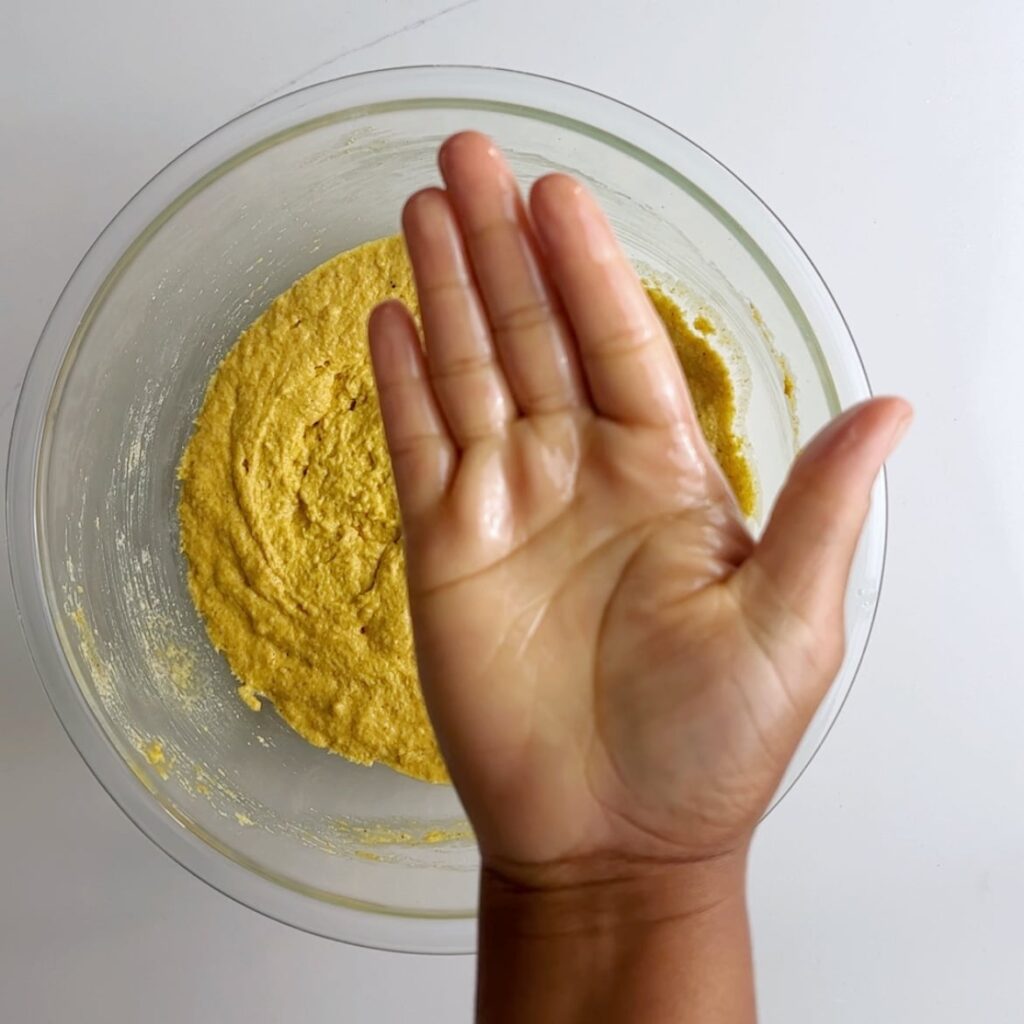
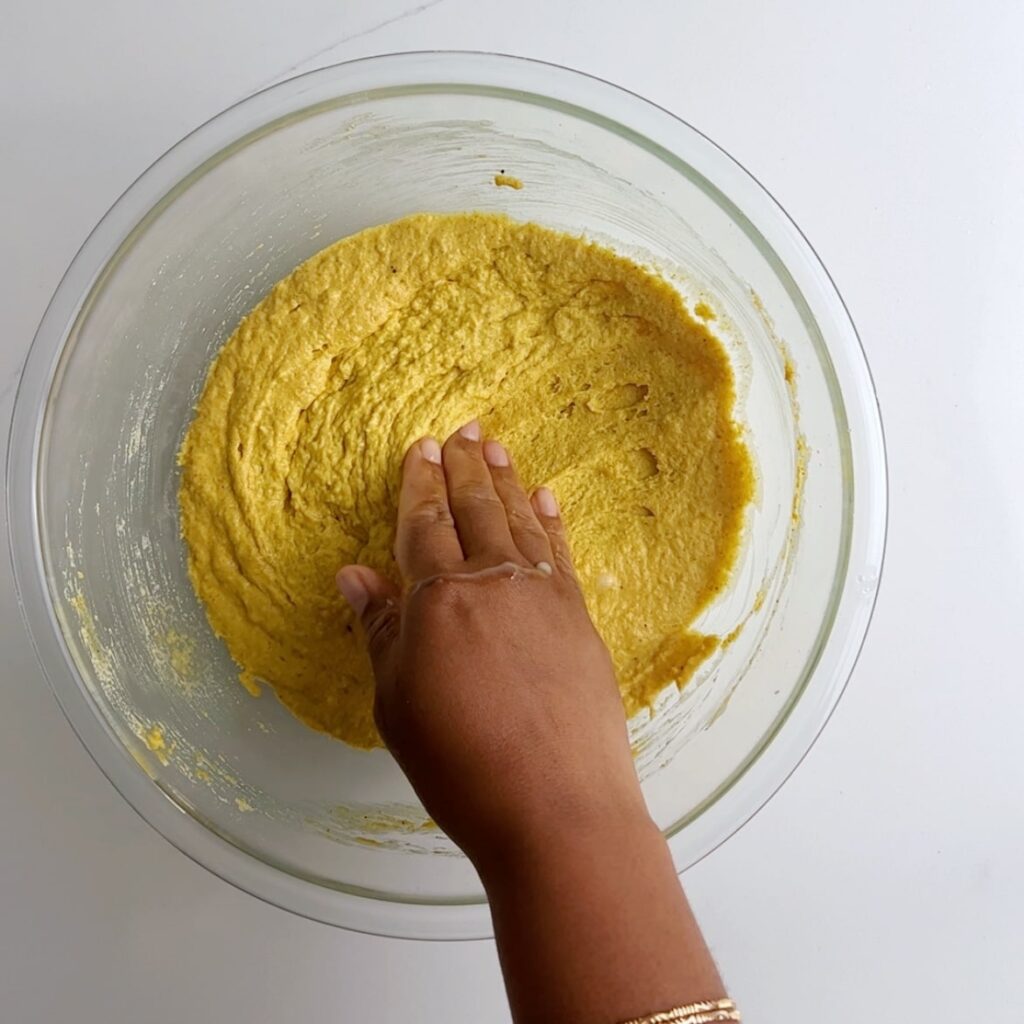
How to drop pholourie batter with your hands
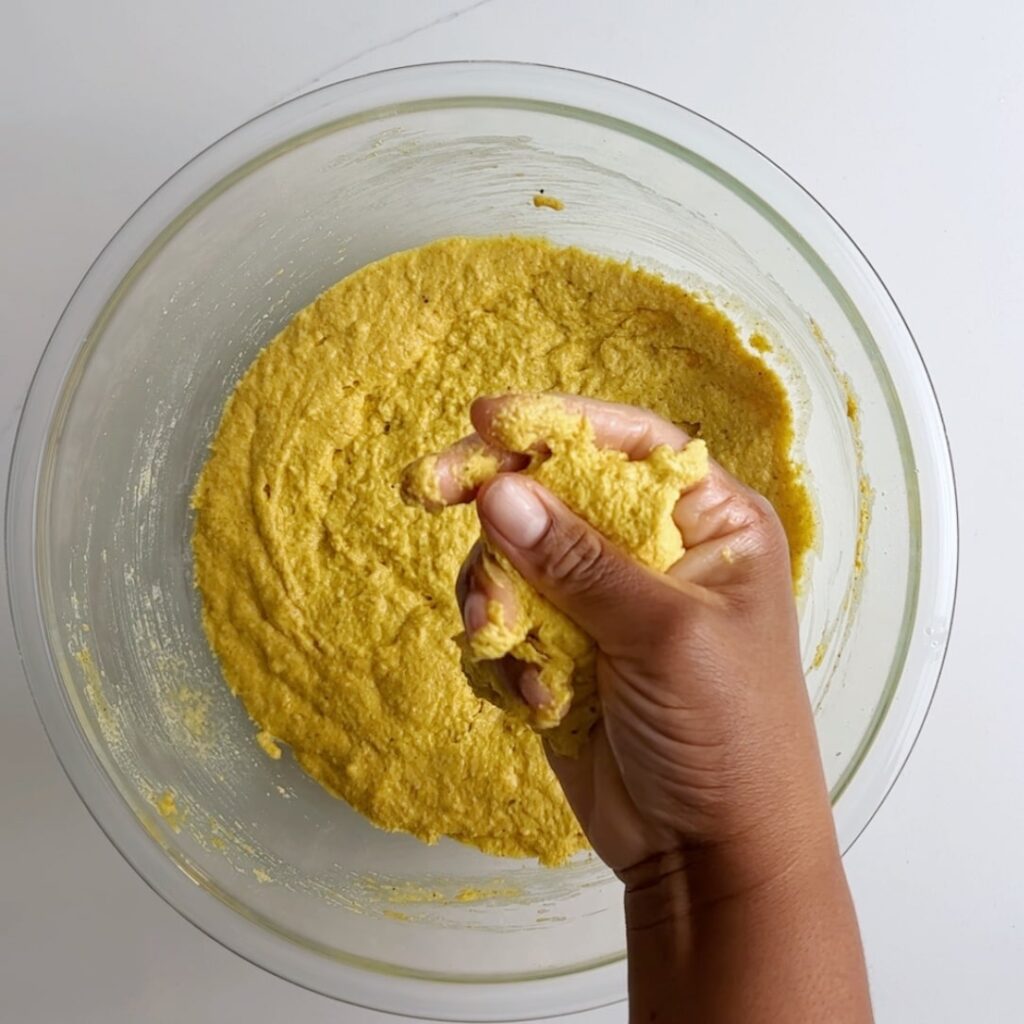
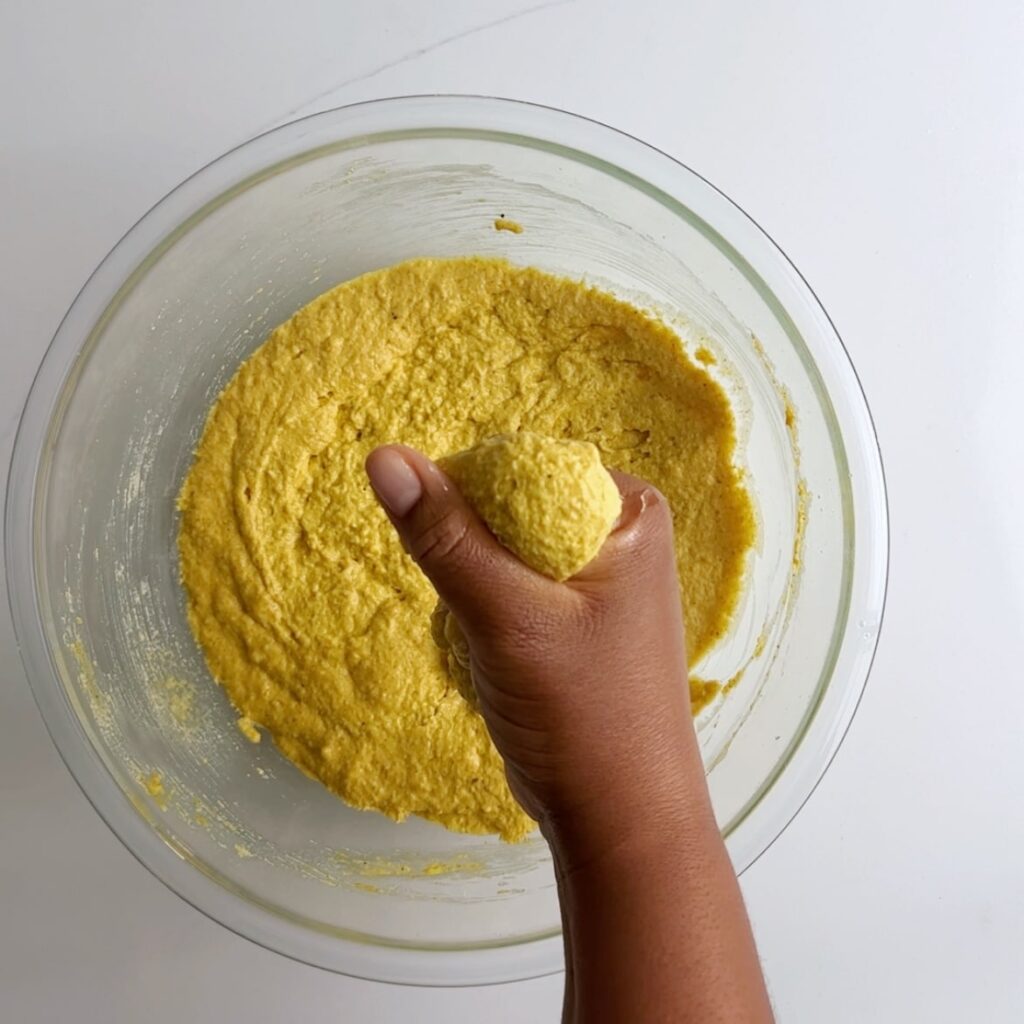
Traditionally pholourie batter is dropped using your hands. You can add some oil to your palm, then squeeze the batter through the opening between your thumb and pointer finger and gently drop it into the oil.
How to drop pholourie batter with a cookie scoop
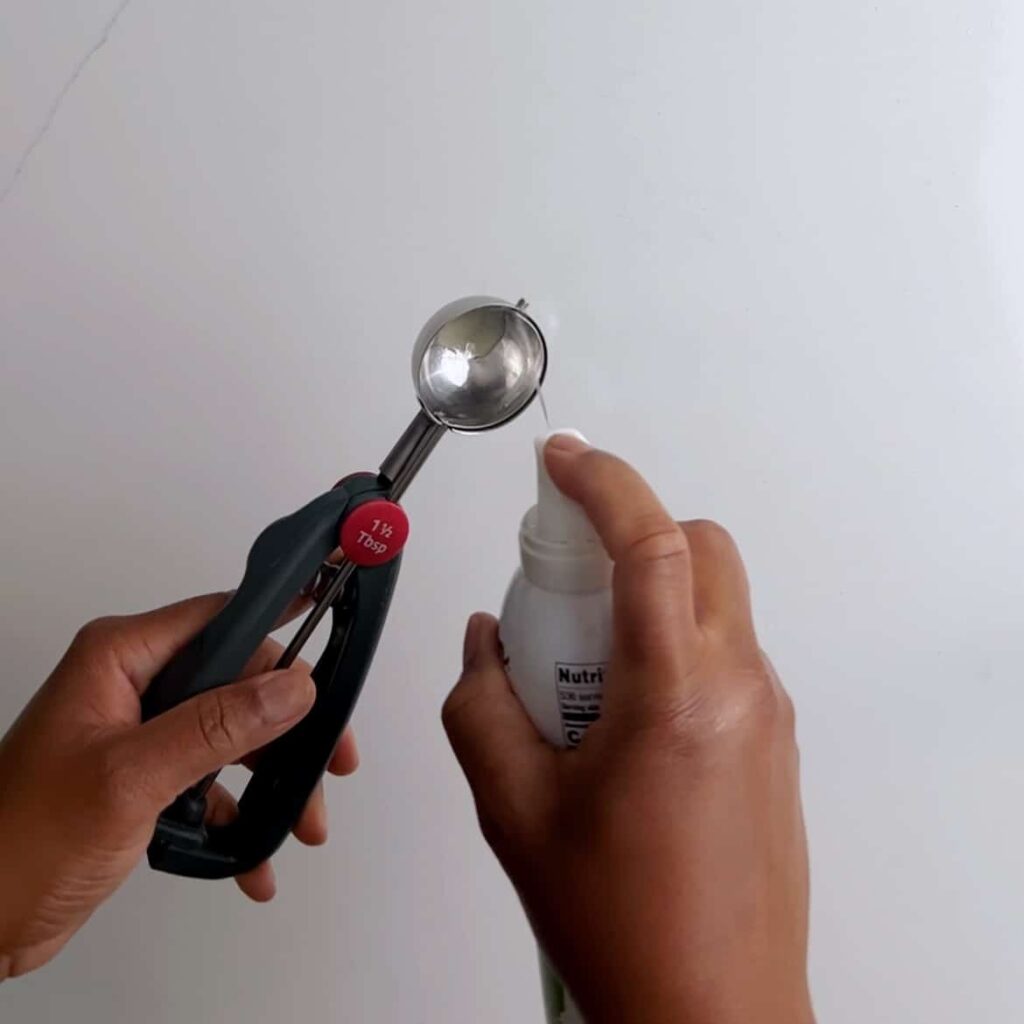
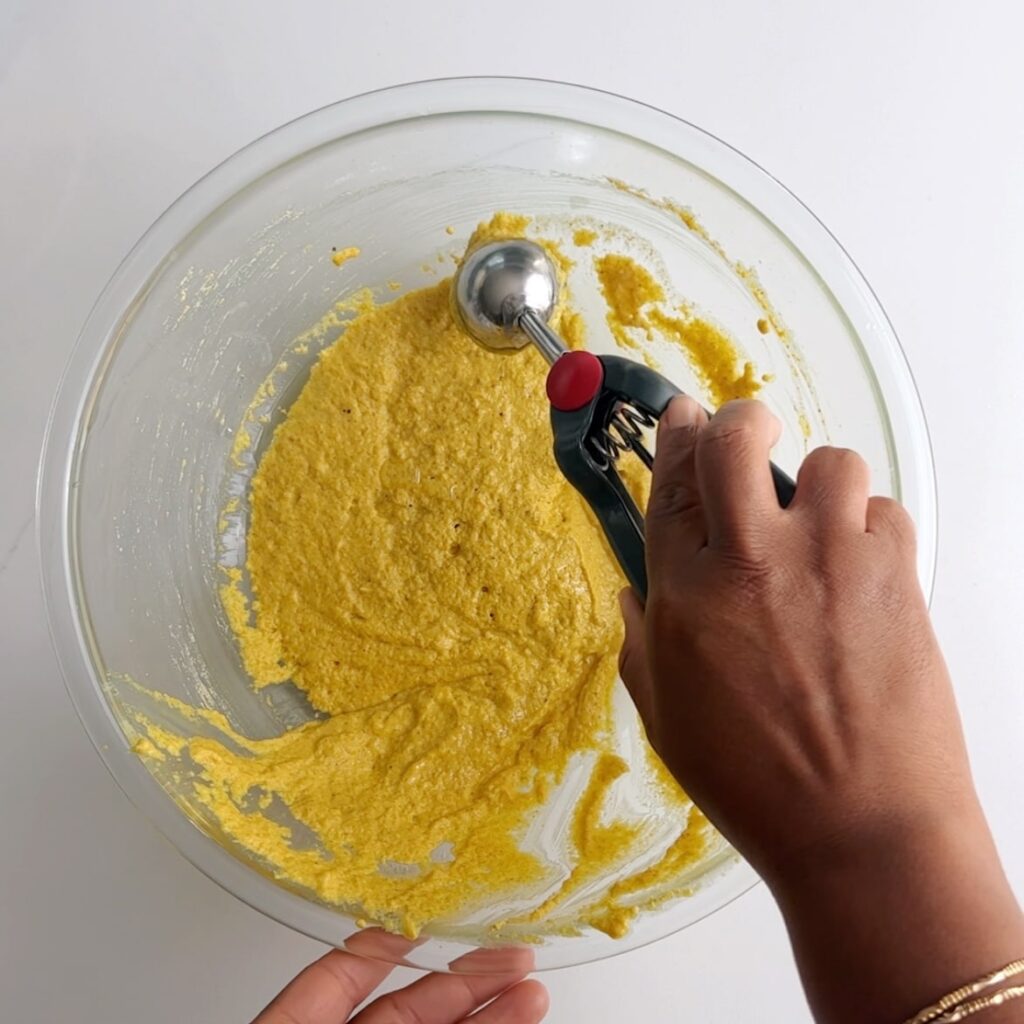
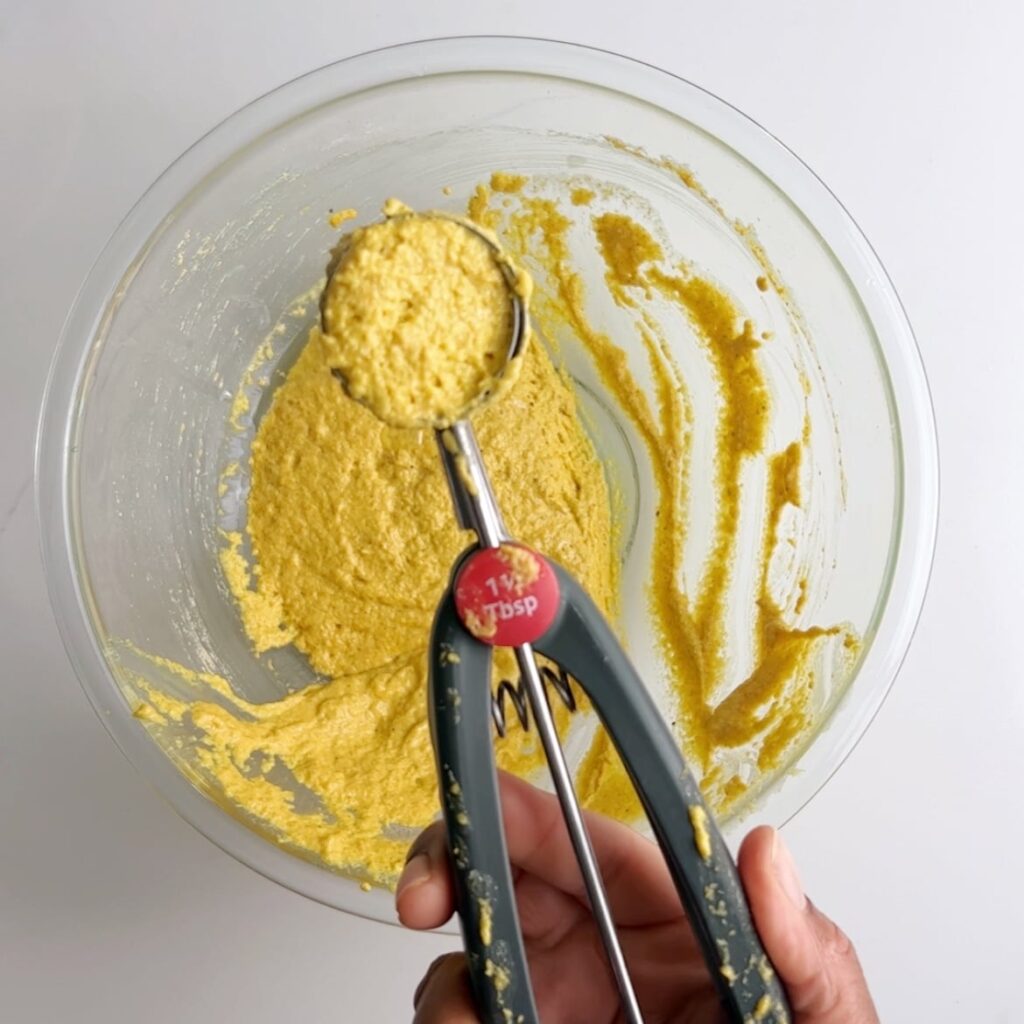
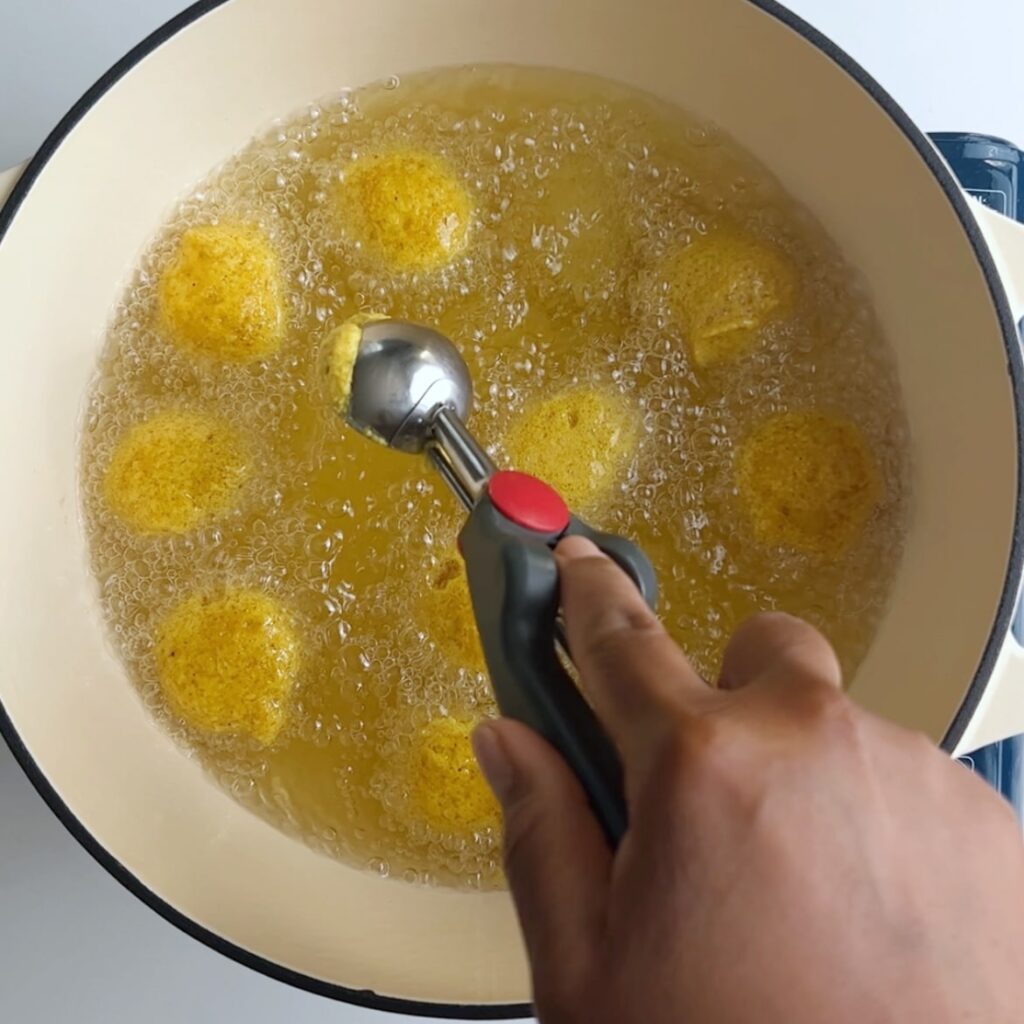
If hand dropping the batter is too complicated or scary, you can use a cookie scoop. Start by spraying your cookie scoop with cooking spray or dipping in oil. Then fill the cookie scoop with batter smoothing out the base. Next gently release it into the hot oil. I prefer this method because it guarantees a consistent shape and size with minimal effort.
Substitutions
- Onion and Garlic – instead of adding onion and garlic, you may add a bit of green seasoning (about 2 tablespoons) to the pholourie batter. Green seasoning is a fresh herb blend consisting mainly of scallions, celery, thyme, onion, garlic and pepper.
- Curry Powder – Most pholourie recipes use turmeric instead of curry powder. I love the flavor of the additional spices and heat in curry powder. However, feel free to substitute the curry powder in this recipe with 1/2 teaspoon turmeric.
- Baking Powder – Many pholourie recipes use yeast instead of baking powder. I prefer the baking powder version, but if you wanted a yeast version you could swap the baking powder to 2 teaspoons of dry active yeast and 1/2 teaspoon of sugar (to bloom the yeast). Please note that this requires blooming the yeast before adding it to the other ingredients.
Top tip
Let your batter rest for at least an hour, if time along. This give the baking powder some extra time to work and the batter becomes very aerated, resulting in the lightest and fluffies pholouries!
Variations
Here are some different ways to make this recipe your own:
- Spicy – Want to make your pholourie spicy, use a red curry instead of the yellow curry in addition to the wiri wiri peppers.
- Add chopped herbs – I love adding finely chopped cilantro and scallions to the batter. It enhances the flavor of the fritter and gives it a pop of color and texture.
See this spicy version of this recipe on my website! (placeholder for in-content link)
Equipment
I highly recommend using a food processor to get your split peas to be as smooth as possible. Don’t have a food processor? Then a blender with a smoothie cup, is your next best bet. If you have a high powdered blender, that can also work. Add some water with the peas to ensure a smooth blend.
I used a Cuisinart Professional Food processor and processed until then peas were fluffy. This took about 3 minutes. You can find my food processor at this affiliate link HERE.
Storage
You may keep your freshly cooked pholourie at room temperature for a day, but any leftovers should be moved to the refrigerator after that. Reheating in the microwave for a few seconds will quickly bring to their original freshness.
Video Tutorial For Guyanese Pholourie


Guyanese Pholourie (Split Peas Fritter)

Ingredients
- 1/2 cup Yellow split peas
- 2 cups boiling water for soaking the split peas
- 1/2 large onion chopped
- 6 cloves garlic
- 2 cup All flour
- 1 tbsp baking powder
- 1 tbsp yellow curry powder
- 1 tsp geera
- 1/2 tsp garam masala
- 3/4 tsp salt
- 3/4 water
- 4 cups of oil for frying
- 1/4 cup coriander leaves / cilantro /culantro optional
- 2 wiri wiri pepper optional
Instructions
- Rinse the split peas, then soak with 2 cups of boiling water and allow to sit overnight.
- When ready to cook, drain and rinse the split peas thoroughly then add to a food processor along with the onion and garlic. If using a blender you may add 1/2 cup of water. Blend until it forms a smooth paste this takes about 3 minutes of blending for the fluffiest results.
- In a mixing bowl combine the flour, baking powder, curry powder, geera, garam masala and salt. Mix together well, then add the blended split peas mixture and 1 1/2 cups of warm water to the flour mixture. Mix together to form a thick batter. Then cover and let rest for at least 30 minutes.
- Next add oil to a medium saucepan on medium-high heat. When oil is hot (about 300 °F) spoon mixture, using a spoon or cookie scoop into the hot oil to form little balls. Work in batches to avoid crowding the oil.
- Fry for about 3 to 5 minutes until golden brown. Remove one pholourie from the oil and cut in half to confirm that it cooked all the way through. Then remove the remaining pholouries from the oil. Place on a few sheet of paper towel to allow the excess oil to drain. Repeat the frying process until all of the batter is cooked.
- Allow to cool before serving with mango sour.
Notes
2. Traditionally you fry the pholourie mixture by scooping it up in your hand and squeezing little drops, through the space created by your thumb and index finger.
3. Spray the spoon with some cooking spray or dip it into some oil before you start scooping the mixture and it will help the mixture to just slide right off the spoon.
The information listed in the recipe card is an estimate provided by an online nutrition tool. The tool evaluates ingredient names and amounts then makes calculations based on the number of servings listed for the recipe. It is provided as a general guideline and not as a precise calculation. For precise nutrition information please feel free to add the ingredients to your preferred nutrition calculator or consult a doctor or licensed nutritionist.

 Gluten Free Crunchy Mithai
 Aunty Cheryl’s Crunchy Mithai
 Cassava Egg Ball
 Boil and Fry Channa (With Instant Pot Instruction)
C Marie Says
I would love to know how many this yields roughly? We plan to use the cookie scoop method! We are prepping for a pretty large group. Bless you for sharing these recipes. Thank you so much.
Stephanie Says
Came out perfect, and I’m a very limited cook! My husband said “restaurant quality.”
JH Says
This is one of the simplest pholourie recipes to follow and the end product is delicious.
jazzie Says
am learning to make Guyanese dishes and I love BARA…similar to Poulourie but bigger flaps. A girlfriend shows me her way, but ive tried it twice and it could be the frying pan I used was too flat or insufficient oil.
If u don’t mind, can u please if u have the recipe for this snack, please provide me with same.
Thank you and I am on my way to checking out your site….thank you Jazzie
Stacey Mack Says
So glad I found your site! And even more impressed that you made Pholourie from scratch.
Aletha Says
I love your site thank thank you ????
Althea Brown Says
Thank you!