

Gluten Free Sada Roti is a delicious Guyanese flatbread that tastes nearly identical to traditional sada roti. If you are gluten free and/or paleo like me and just miss roti so much, but can no longer tolerate gluten, this is the recipe for you. It is simple, grain free, and only requires a few ingredients.
Gluten Free Guyanese Sada Roti
Growing up, my mother would only make sada roti when we were out of oil and butter. It wasn’t buttery and flaky like my beloved oil roti (parathas) but they puff up just before you take them off the trivet. They are warm, soft, and fluffy and with this gluten free sada roti, you can indulge without worries!
Why You’ll Love This Gluten Free Sada Roti Recipe
- Simple: This gluten free roti recipe is made with just 5 ingredients in 30 minutes.
- Healthy: This roti is not only gluten free but grain free too so those with dietary restrictions can enjoy it without getting a tummy ache.
- Delicious: The taste and texture are so similar to traditional roti that you’ll have trouble believing it’s actually gluten free!
What is Sada Roti?
Sada roti is a Guyanese flatbread brought to the Carribean by Indian settlers. It is a version of Indian rotis made with atta (whole wheat flour) but instead, it is made with maida (all purpose flour). Unlike Indian roti, Guyanese roti has baking powder as a rising agent. Of all the types of roti, sada is the easiest to make.
Ingredients for Gluten Free Sada Roti
Most of the ingredients you need for this recipe are pantry staples.

- Cassava Flour: This alternative flour, made from yuca or cassava is perfect for gluten free rotis. I started working with cassava flour a few years ago when I found out that I had a gluten sensitivity but cassava and cassava flour is not new to many cultures around the world. In Guyana, our indigenous people use cassava to make bread, cassareep, and wine. Africans use cassava to make fufu.
- Psyllium Husk: Used as a binder for gluten free baking, this fiber is more popularly used in supplements like Metamucil. If you have trouble finding this, use xanthan gum instead.
- Baking Powder: A simple everyday raising agent to help give your gluten free roti a lift and keep them soft.
- Salt: To taste.
- Boiling Hot Water: When extremely hot water is added to cassava flour, it replicates all purpose flour and becomes doughy.
See recipe card for quantities.
How to Make Gluten Free Sada Roti

Combine these simple ingredients with boiling hot water to form a soft dough, then shape the dough into gluten free rotis!

I start by diving the dough into 4 balls, then I press the excess from the trimmed roti ends together to make my fifth roti.

Rolling out the Rotis

For most gluten free recipes it is best to work the dough between two sheets of parchment paper. The parchment paper method is what I used for rolling out my dough balls into roti disks.
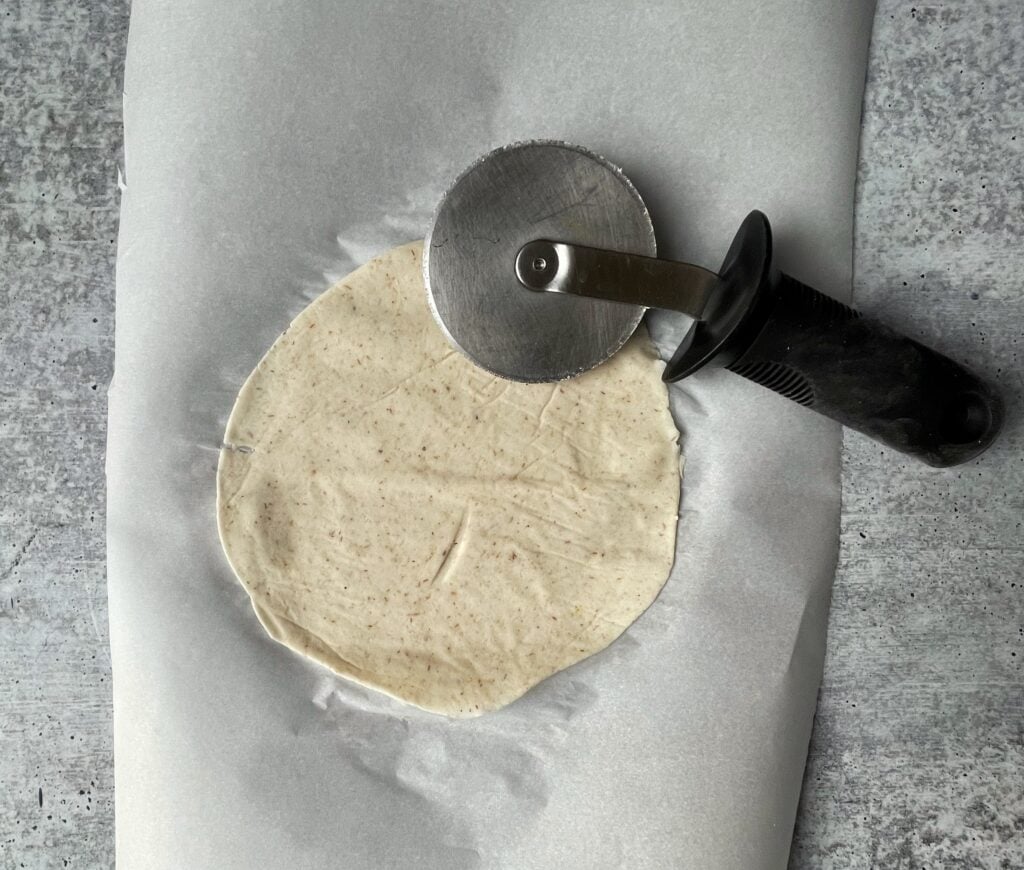
Feel free to clean up the edges and shape into a circle. I love using a pizza cutter for this but you can use anything even a round bowl cover.
Cooking Gluten Free Guyanese Sada Roti

I cook my gluten free sada roti exactly how I cook regular roti. First I cook it for a few minutes on each side of the tawa.

Then I put it over direct heat to finish the cooking. I have an induction cooktop and this little hack is a life saver for anyone wanting to make roti with an induction cooktop. I am using the trivet from my instant pot. You can get one (without the instant pot) here. Or you can buy a round cooling rack like this one. Either one does the trick!

Then just watch that beautiful gluten free sada roti inflate like a puffer fish! This is my favorite part about roti making; watching the roti swell into a delicious ball.
Storage
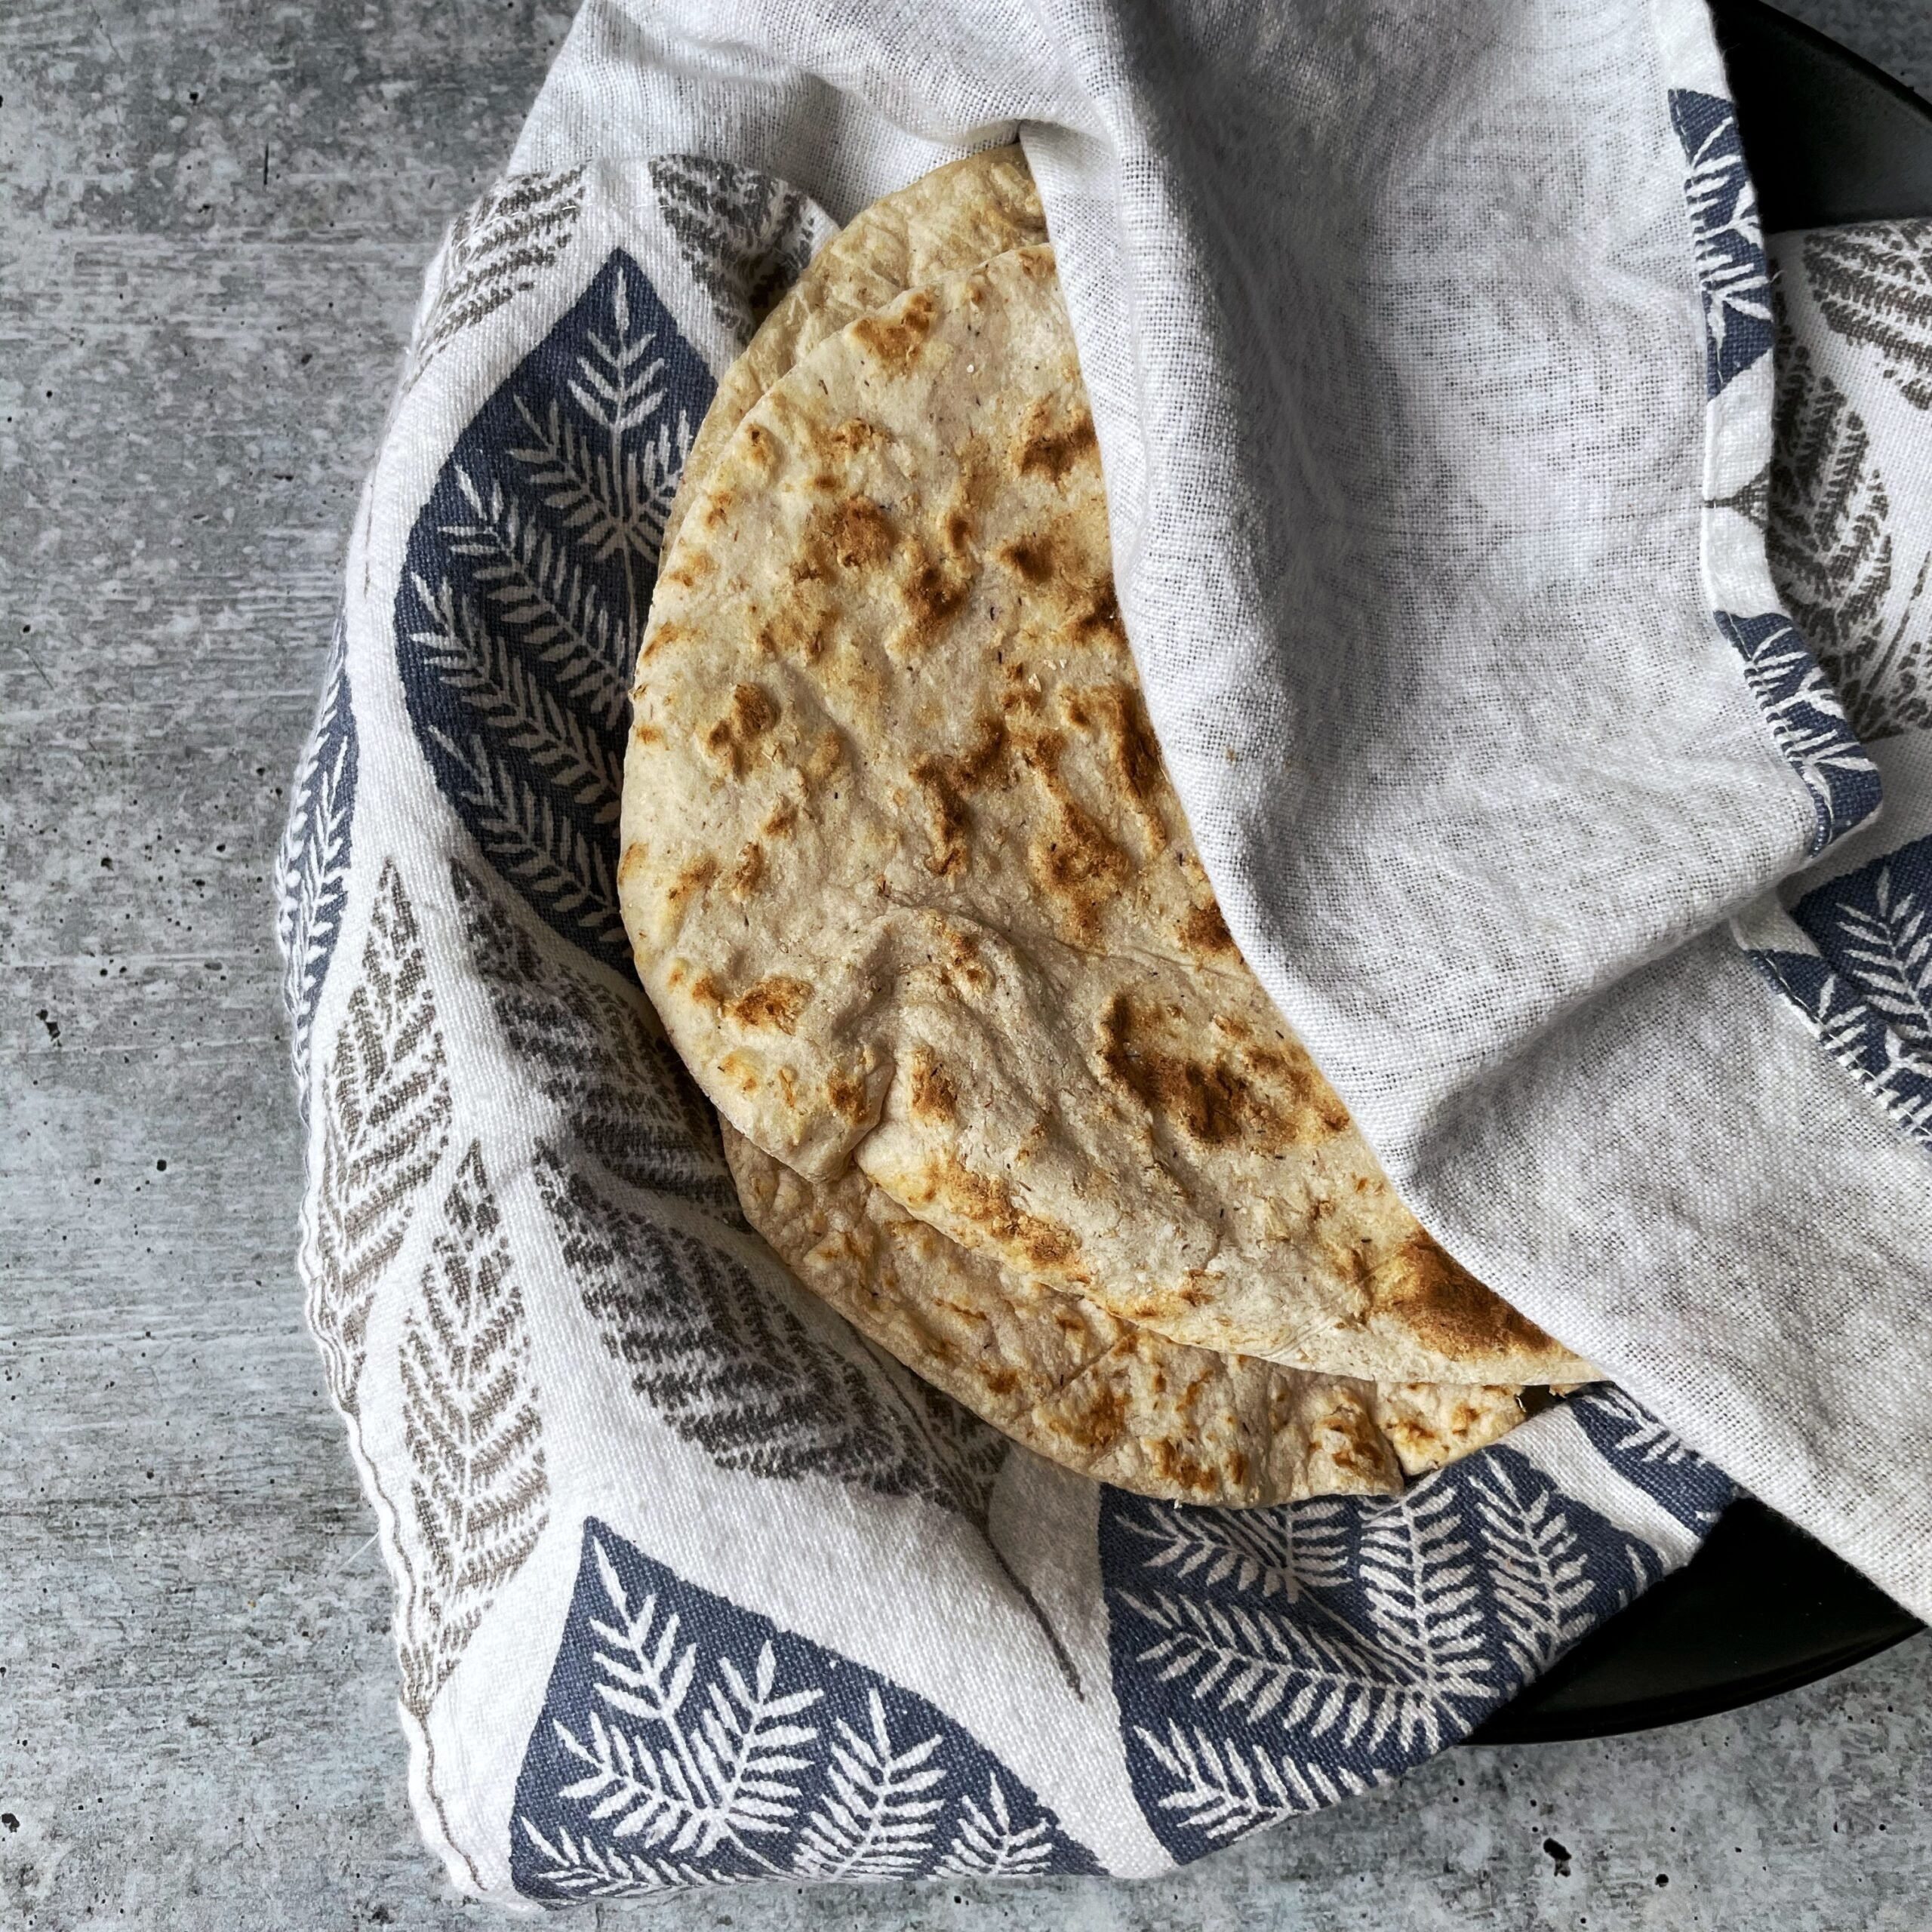
Wrap leftovers in a kitchen towel and in a ziplock bag at room temperature. After 3 days, them in the fridge so they can last for at least two additional days. When reheating in the microwave, wrap with a damp paper towel.
Tips for the Best Gluten Free Sada Roti
- Use the listed ingredients. If I haven’t listed a substitute it’s either because I haven’t tested it or I did and had bad results. With that being said, cassava flour and tapioca starch are not interchangeable.
- You have to use hot water. Not room temperature or warm. Hot water softens the dough for a smooth texture.
- This recipe makes 4-5 average sized sada rotis.
- Use parchment paper when working with gluten free roti dough. This prevents the dough from sticking to the surface or from having to use too much additional flour. This causes the dough to dry out.
Frequently Asked Questions
Cassava flour is the best gluten-free flour for roti. It replicates gluten when activated with hot water.
For soft roti, use hot water, do not overwork the dough, and roll the dough as thinly as possible. Additionally, keep the dough moist. Sometimes this recipe needs more than 1 or 2 tablespoons of water. Start with 3/4 cups and then add 1 tablespoon at a time if needed to get a soft pliable dough.
For longer storage, freeze roti while it is still raw. Place parchment paper between each rolled out roti in order to prevent them from sticking. Then place them in a ziplock bag.
Gluten Free Sada Roti

Equipment
- Spatula or spoon
- Parchment Paper
- Rolling Pin
- Tawa or flat cast iron skillet
- Pizza Cutter
- A trivet for an induction cooktop
Ingredients
- 1 cup of cassava flour
- 2 teaspoons of psyllium husk
- 1 teaspoon of baking powder
- A pinch of salt
- 3/4 cup of boiling hot water
Instructions
- In a mixing bowl combine the cassava flour, psyllium husk, baking powder and salt, then mix together well.
- Next pour in the hot water, a few tablespoons at a time and using a spatula or spoon mix together until combined to form a soft smooth dough.
- Then divide the dough into 4 and roll each dough ball between the palms of your hand to form 4 smooth balls.
- Cover with a damp paper towel and let rest for 10 minutes.
Shaping the roti
- When you are ready to cook the roti, place each dough ball between two sheets of parchment paper and roll into thin disk about 1/8 inch thick.
- You may use a pizza cutter to shape and neaten the edges into a clean circle, then lightly roll the edges with your rolling pin to flatten a bit before cooking.
- Repeat until all 4 dough balls have been rolled into flat disks.
Cooking the roti
- Place your tawa on medium-high heat and bring up to temperature.
- When the tawa is hot add one of the rotis to the tawa and cook for about 1 minutes, then flip and cook on the other side.
- Then if you have an induction cook top, place the trivet directly over the heat, then place the roti on top of the trivet.
- Cook for 30 seconds then flip the roti.
- Continue to cook the roti until it fully inflates, this should take another 30 seconds to a minute.
- If you have a flame cooktop, slide your skillet to the edge and let the direct heat inflate the roti.
- Repeat until all of the rotis are cooked.
- Place the rotis in a towel after cooking to keep them warm and prevent them from drying out.
Notes
Nutrition
The information listed in the recipe card is an estimate provided by an online nutrition tool. The tool evaluates ingredient names and amounts then makes calculations based on the number of servings listed for the recipe. It is provided as a general guideline and not as a precise calculation. For precise nutrition information please feel free to add the ingredients to your preferred nutrition calculator or consult a doctor or licensed nutritionist.
 Easy Grilled Salmon
 Seasoned Plantain Fries
Erika Says
Is there any chance skipping psyllium husk and still having a good result?
Tom Says
Wow thank you for Coming up with this recipe for everyone’s dietary restriction. I’ll have to upgrade my roti recipe
Bridget Says
This recipe is genius! I was literally jumping with joy when they puffed up on my cast iron skillet. Rave reviews from my family who are all gluten- and dairy-free and so so happy to have something so tasty. Thank you for sharing this recipe!
Ranleen Says
Hi Althea, loving your site. A friend of mind sent your gluten free cheese rolls to me on a facebook post and I clicked on the link to your website.
I found out that I was gluten intolerant about 3 years ago after a really bad reaction. I was being treated for ulcers among other things and was experiencing excruciating stomach pains, joint pains etc. I was actually showing symptoms for years but never knew where it was coming from.
I am also from Georgetown Guyana and love all the delicious gluten laden foods that I was so accustomed to eating. I definitely will be trying some of your gluten free recipes. I love that you actually recommend the exact brands of flour you use for specific recipes, I have had so many hits and misses with the gluten free flour that it can be very frustrating and daunting. I have slipped back to gluten foods a few times and was violently sick even with a mouthful so I really just need to be strictly gluten free.
Your site is a real life saver for me so thank you so much
Althea Brown Says
Thank you so much. I literally know how you feel. If you are on Instagram I post a gluten free video or recipe almost every Friday check it out.