
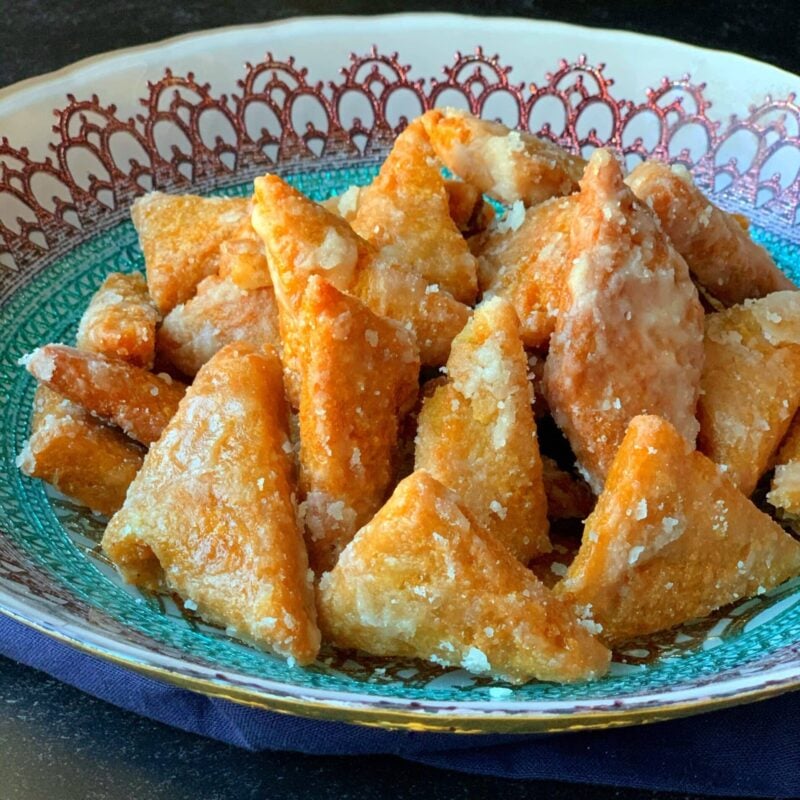
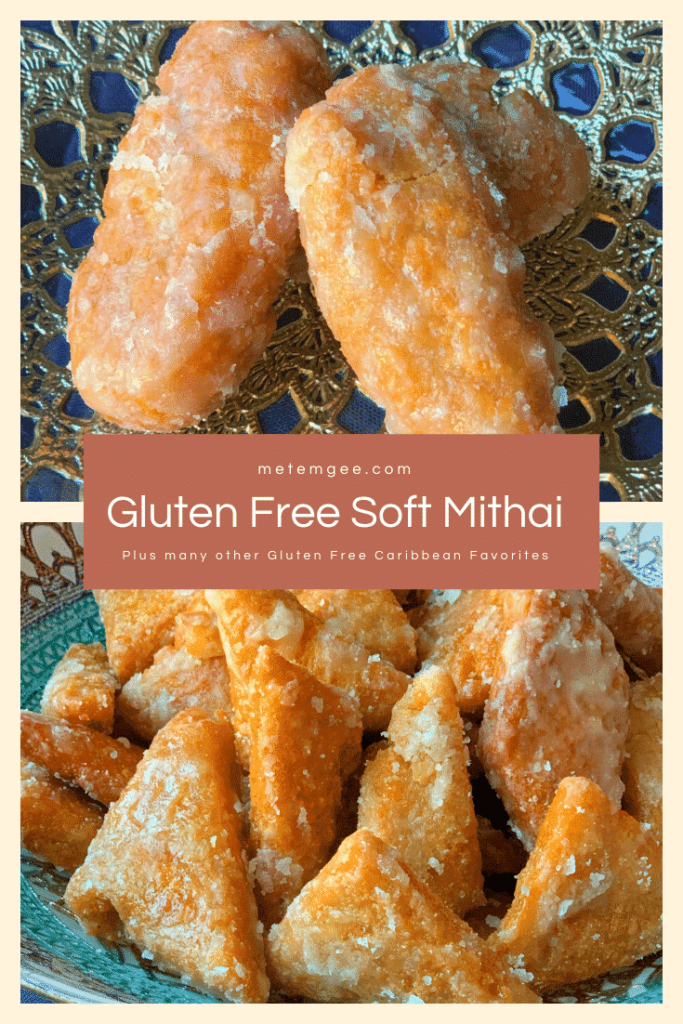
Gluten free soft mithai is a fried dough, enhanced with warm spices, and coated with a sweet sugar syrup. They have a crispy, golden brown exterior with a dense, soft center. This post includes the Carribean mithai recipe two ways; either gluten free or traditional.

Gluten Free Soft Mithai
Growing up in Guyana, I only ate soft mithai at Muslim holidays (such as Eid Al Fitr) or at Muslim weddings. It was not something we made at home and unlike the skinny, crunchy mithai it was not part of our regular snack rotation.
Last October, Alica from Alica’s Pepperpot shared a scrumptious picture of soft mithai and encouraged followers to try some for Diwali. They looked so good that I immediately longed for home and soft mithai. So I decided to make a batch of gluten free soft mithai.
They came out so well, that I’ve been making them ever since. I’ve tweaked the recipe to the point where it is very different from the one that Alica shared but if it were not for that recipe my gluten free recipe would not exist. I’ve since also made a crunchy gluten free mithai recipe that you should try next!
Why You’ll Love This Gluten Free Soft Mithai Recipe
- Great for Those with Dietary Restrictions: My children have dairy allergies so to ease some of their tummy troubles, I made this recipe dairy-free and gluten-free. It’s also vegan.
- Versatile: Make this Guyanese treat gluten-free or traditional, with all-purpose flour. You can also switch up the shape or flavor.
- Tastes like Regular Soft Mithai: Although these are gluten free mithais, nothing is compromised as far as flavor or texture. If anything the addition of coconut milk and coconut oil heightens the flavor. I’ve stopped announcing when things are gluten free, to see if the gluten eaters will notice. My husband just kept commenting on how much coconut flavor it had and how addicting it was. Give them a try (even if you are a gluten eater) and see if you can tell that they aren’t the regular soft mithai.
Ingredients for Gluten Free Soft Mithai
There are two components to this recipe: the mithai dough and the sugar syrup it’s later drenched in.
For the dough
- Measure for Measure Gluten Free Flour: This is an excellent alternative to all purpose flour and works great for baked goods and fried foods.
- Potato flour: It is important to note that I did not use potato starch, which is often confused for potato flour. Potato flour is what helps these gluten free soft mithais to mimic the texture of regular soft mithai.
- Baking powder: This helps the dough rise.
- Salt: Just a pinch is needed.
- Granulated sugar or coconut sugar: To sweeten the dough.
- Spices: I use ground cinnamon, ground cloves, and ground nutmeg.
- Coconut milk: This enriches the dough without adding dairy.
- Water: For moisture.
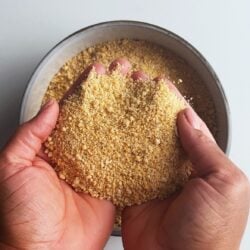
- Grated coconut: For coconut flavor.
- Coconut oil: This adds moisture to the dough.
- Cooking oil: Use an oil suitable for frying such as peanut oil or vegetable oil.
For the sugar syrup
- Sugar
- Water
- Cardamom pods (optional)
- Vanilla
See recipe card for quantities.
How to Make Soft Mithai
Make the gluten free mithai dough
Combine the gluten free all purpose flour, potato flour, baking powder, salt, sugar, ground cinnamon, ground cloves and ground nutmeg in. large mixing bowl and mix everything together.

Then rub the coconut oil into the dry ingredient to form a crumbly texture. Next add the grated coconuts and mix into the dry ingredients, then set aside. Combine the coconut milk and water. Then add the water and coconut milk mixture to the other ingredients and press together to form a soft dough. I add the liquid a little at a time until all the milk-water mixture and other ingredients combine to form a soft dough that I press into a log or ball with my hands.

This mithai dough is soft and pliable. It comes together quickly, but it is important to let the dough rest before cutting it into the mithai pieces and frying. So cover the dough with a damp paper towel and let it rest for 30-40 minutes.
Shaping Soft Mithai
To shape the mithais, divide the dough into 4 pieces by just pinching off large chunks of dough. I pinch mine off as I go, rather than separating it into four balls. Then I roll the pinched off piece into a ball, place between two sheets of parchment paper and roll with a rolling pin until it is about 1/2 inch thick.
Then I cut the rough edges away and cut the rolled out dough into triangles. The pieces from the edges can me smushed together with the remaining dough.


Frying Gluten Free Soft Mithai
To fry the dough, add 4 cups of oil to a large pot on medium-high heat and bring up to temperature. When the oil is hot, add a batch of cut out or rolled out mithais to the oil and fry until mithais are golden brown, stir as often as needed in order to ensure even frying.
Remove from the heat and place in a bowl lined with paper towels to drain any excess oil. Repeat until all of the mithais have been fried.
Adding the Syrup
Making the sugar syrup or glaze for mithai is often the hardest part for most people. Not knowing when it is ready can sometimes be daunting. My first couple of times making mithai (years ago) I didn’t cook the syrup long enough and when I poured it over the mithai it didn’t crystalize into that white coating that is synonymous with mithai. How disappointing. All of my hard work wasted. I was left with a soggy and sweet mess.
Now I can eye ball it and know when it is ready but if you are not there yet, I highly recommend that you invest in a candy or instant read thermometer. They are relatively cheap and help with accuracy when cooking. They are perfect for fudge making too. Of course you can also just test your syrup in some water to see if it is at the soft ball stage. Check out this article for How to test for stages of sugar syrup.

After adding the sugar syrup to these mithais, I gently tossed them around to help crystalize the syrup. You may want to do this in batches to ensure an even coating of the sugar and to also prevent the mithais from breaking up.
Rolling versus cutting
The rolled soft mithais needed a bit more time to cook as they were quite thick but they were just as delicious as the ones that were cut into triangles. My children love these so much. They help me roll them as I cut the dough into strips. I love getting my children involved in the kitchen, especially when I am making treats for them.
Storage
These taste best when eaten immediately. But you can store leftovers in an airtight container so they don’t go stale. They’ll last up to 3 days. To reheat, place soft mithai on a plate, cover it with a paper towel, and out it in the microwave for about 30 seconds.
Tips for the Best Soft Mithai
- Ensure the oil is hot before adding the dough. If the oil isn’t hot enough, the dough will absorb the oil, making it soggy.
- Letting the dough rest makes a difference in the final results. I’ve rushed through making these mithais before and when I don’t let the dough rest the mithais are soggy and flat. They don’t get that little bit of puffiness and crunchy exterior that I love so much.
- You may cut the dough into any shape you like. Or cut them into strips and gently roll them into chunky logs which is how the soft mithais were shaped when I was growing up in Guyana.

Frequently Asked Questions
The dough may not have rested for long enough.
Boil the sugar syrup until it reaches a temperature range of 235°F and 245°F. This occurrence is referred to as the “soft ball stage.” Use a candy thermometer for accurate measuring.
Gluten Free Soft Mithai

Equipment
- Large Mixing Bowl
- Large Pot
- Small Saucepan
- Parchment Paper
Ingredients
For the dough
- 2 cups of Measure for Measure Gluten Free Flour
- 1 cup of potato flour
- 3 teaspoons of baking powder
- 1/4 teaspoon of salt
- 2 tablespoons of granulated sugar or coconut sugar
- 1 teaspoon of ground cinnamon
- 1/4 teaspoon of ground cloves
- 1/4 teaspoon of ground nutmeg
- 3/4 cup of coconut milk
- 3/4 cup of water
- 1 cup of grated coconut
- 1/4 cup of coconut oil
- 4 cups of oil suitable for frying
For the sugar syrup
- 1 1/2 cups of sugar
- 1 1/2 cups of water
- 2-3 cardamom pods optional
- 1 teaspoon vanilla
Instructions
Make the dough
- In a large mixing bowl combine the gluten free all purpose flour, potato flour, baking powder, salt, sugar, ground cinnamon, ground cloves and ground nutmeg and mix together
- Then rub the coconut oil into the dry ingredient to form a crumbly texture
- Next add the grated coconuts and mix into the dry ingredients, then set aside
- Combine the coconut milk and water. I used cold coconut milk and water
- Then add the water and coconut milk mixture to the other ingredients and press together to form a soft dough. I add the liquid a little at a time until all the milk-water mixture and other ingredients combine to form a soft dough that I press into a log or ball with my hands
- Cover the dough with a damp paper towel and let it rest for 30-40 minutes
Shaping and Frying
- After the dough has rested divide the dough into 4 large balls
- Place each ball between two sheets of parchment paper, then using a rolling pin roll each dough out until it is 1/2 inch thick
- Then cut away the rough edges and cut the dough into triangles. Alternatively you may cut the dough into 3 inch by 2 inch strips and then roll them into thick logs
- Next, to fry the dough, add 4 cups of oil to a large pot on medium-high heat and bring up to temperature
- When the oil is hot add a batch of cut out or rolled out mithais to the oil and fry until mithais are golden brown, stir as often as needed to ensure even frying
- Remove from the heat and place in a bowl lined with paper towels to drain any excess oil
- Repeat until all of the mithais have been fried
Making the syrup
- Combine the sugar, water and cardamom in a small saucepan then mix together until the sugar dissolves
- Then place saucepan on medium heat and bring to a boil
- Boil uncovered for 5 minutes then remove the cardamom pods
- Continue to boil until the syrup reduces and is at the soft ball stage or 235 °F (see notes for testing soft ball)
Coating the mithai
- When the syrup reaches the soft ball stage, remove from the heat and stir for about 30 seconds to begin the crystallization of the syrup. Then pour the syrup over the fried mithai and toss until the sugar crystalizes. I do this in small batches to ensure that all of the mithai are evenly coated with sugar. Additionally the gluten free soft mithai is more tender than regular mithai and therefore more likely to fall apart during this step if you are not gentle
Notes
You may also skip the potato flour and use only gluten free all purpose flour. I prefer the texture of the mithai with the potato flour but just all purpose or measure for measure gluten free flour also works really well.
Nutrition
The information listed in the recipe card is an estimate provided by an online nutrition tool. The tool evaluates ingredient names and amounts then makes calculations based on the number of servings listed for the recipe. It is provided as a general guideline and not as a precise calculation. For precise nutrition information please feel free to add the ingredients to your preferred nutrition calculator or consult a doctor or licensed nutritionist.
 Farine
 Creamy Farine (Cassava) Grits
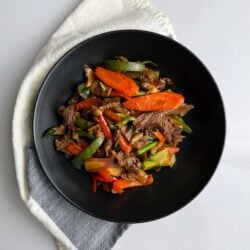 Steak and Veggies Stir Fry (Whole30)
 Gluten Free Pinwheels
Mary Says
I tried Alica’s recipe. Boiling the syrup for 35mins was a disaster. It crystallized in the pot. I prefer trying the thermometer method for doneness. Will try the recipe again with the custard powder recipe.
Althea Brown Says
35 minutes is too long. 5-10 minute sis all you need depending on your heat.
Mardene Carr Says
I have never heard about this so I learned something today. Well laid out!